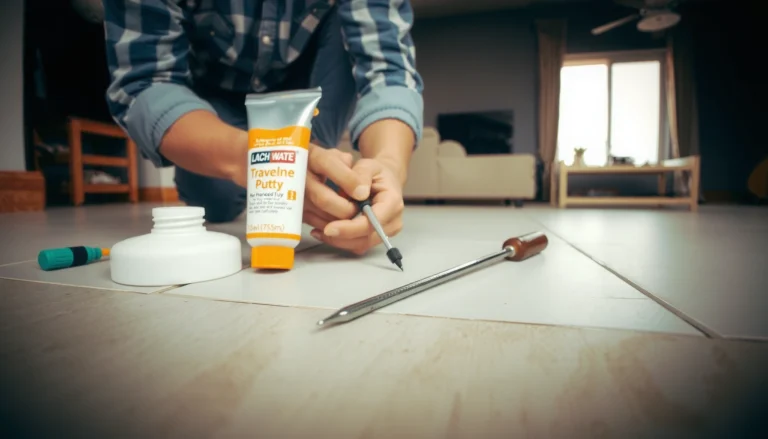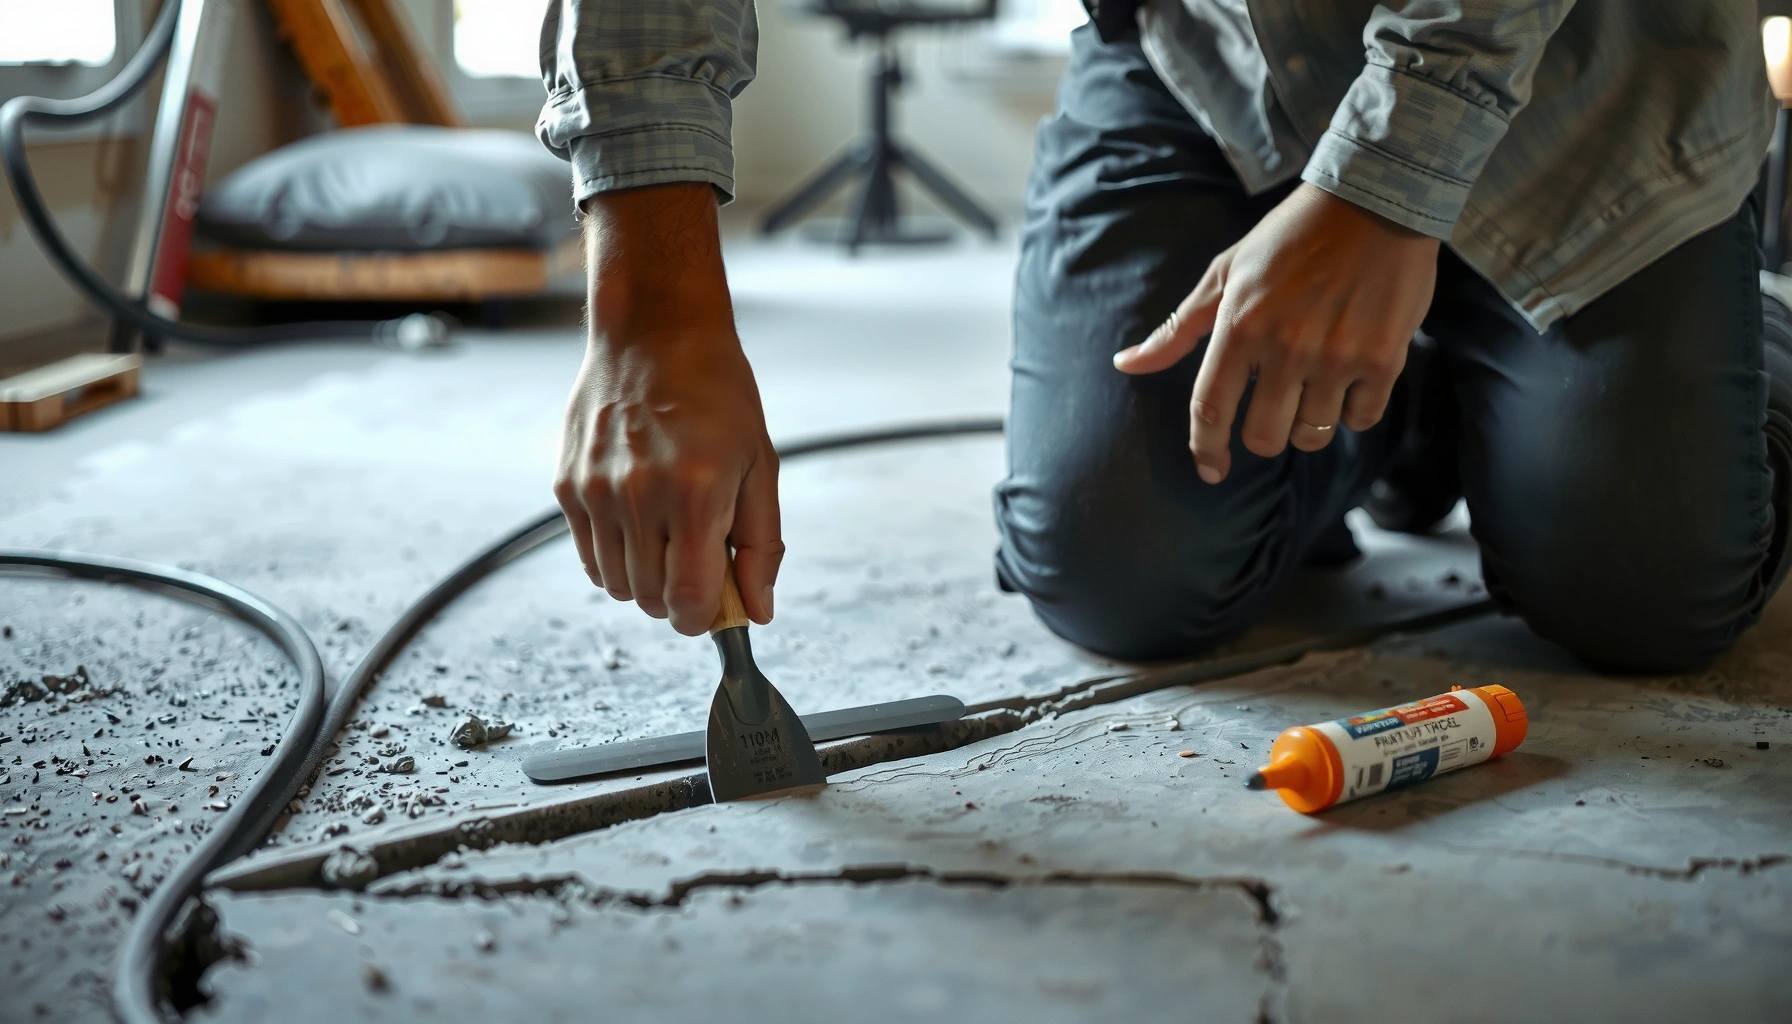

Want to fix gaps in basement floors fast and for good? The most reliable approach is to identify why the gap formed, then repair it with the right concrete or crack-filling system based on its size and movement. If the gap is stable, a proper cleanout and patch will lock it down; if it’s shifting, you’ll need a flexible repair to prevent a repeat. Follow the practical repair steps below to restore a solid, sealed floor without guesswork.




If you see gaps in your basement floor, the best fix is to identify whether the space is caused by settling, moisture movement, or a failed crack/joint—then use the right filler or repair system for that cause. Start by sealing out moisture and stabilizing the subfloor (if needed), then fill or bridge the gap with a cementitious or epoxy-based product designed for concrete repairs. This article walks you through the safest way to diagnose the gap first, then repair it without it cracking again.
When basement floor gaps appear, they’re rarely “just cosmetic.” Even hairline openings can become trip hazards, let pests in, and—most importantly—provide a path for water and vapor to travel. Below is a practical, repair-first approach that aligns with how concrete behaves (movement + moisture), rather than trying to force the joint to act like solid slab.
Check the Gap Size, Location, and Cause First
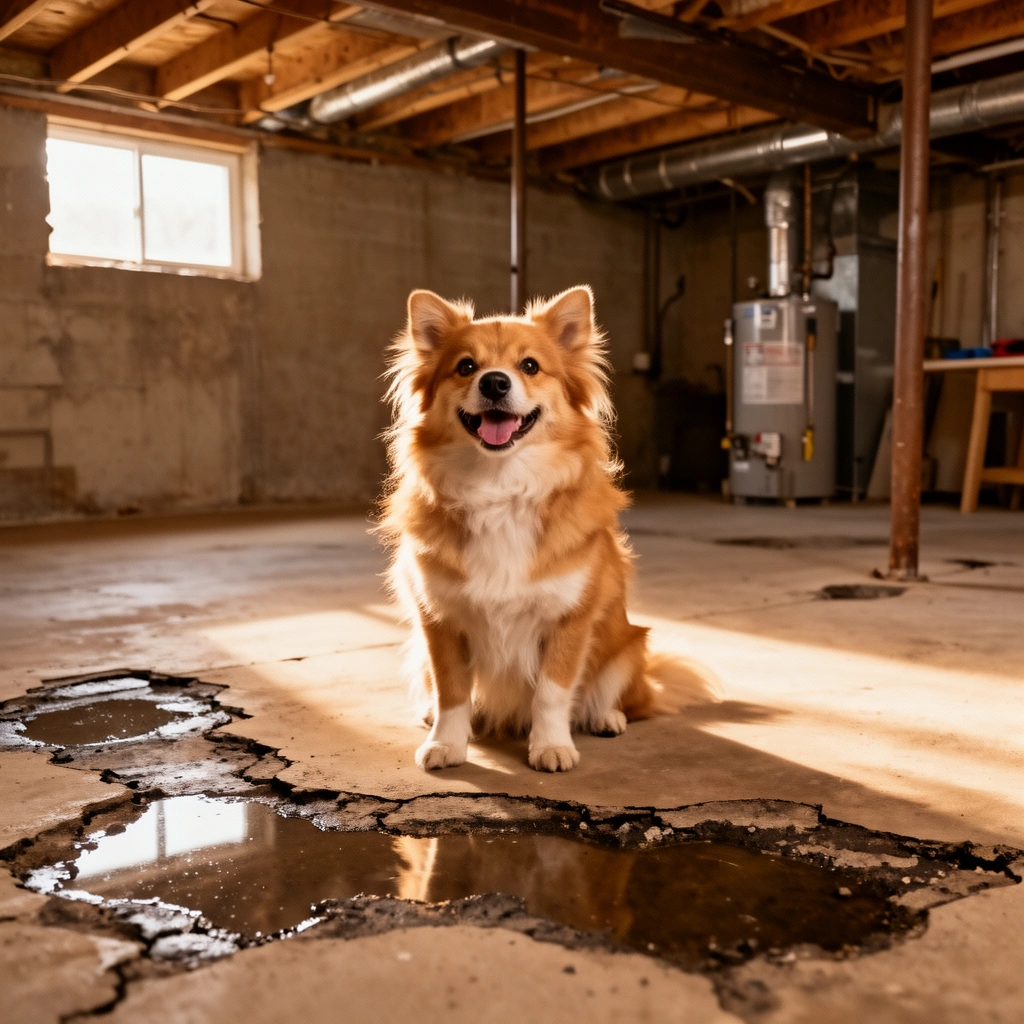
The most reliable basement floor gap repair starts with diagnosing why the gap exists, not with immediately filling it. Measure width, note where the gap runs, and look for moisture-driven clues so you choose the correct concrete joint system the first time.
A gap that changes with rainfall or seasonal humidity strongly suggests moisture-driven movement rather than a purely structural defect.
Efflorescence (white, powdery deposits) is a common indicator of water migration through concrete or mortar.
Perimeter or slab-to-wall gaps often involve joints designed to move and accommodate foundation-related movement.
Measure the gap and map its path
Use a tape measure and record:
– Gap width (e.g., 1/16 in. vs. 1/4 in. changes material choice)
– Gap length (how much of the slab is affected)
– Location type:
– Perimeter gap (where the slab meets the foundation wall)
– Seam (between two slab sections)
– Mid-slab crack (running across the floor field)
Concrete repair materials are engineered for specific use cases—crack/joint systems for moving edges behave differently than rigid patches.
Look for moisture evidence before patching
Basement moisture can keep pushing even when you seal the surface. Check around and along the gap for:
– Damp spots or persistent darkening
– Staining (brown/gray discoloration)
– Efflorescence on concrete or at the wall line
– Musty odors (a sign of trapped dampness)
According to the U.S. Environmental Protection Agency (EPA), maintaining indoor relative humidity between 30% and 50% helps reduce mold risk (EPA, mold and dampness guidance).
Also, the CDC notes that mold can grow when indoor moisture/humidity is high; in practical terms, persistent dampness commonly correlates with conditions above typical comfort ranges (CDC, mold and health guidance). If your basement stays near or above those ranges, expect crack repairs to fail unless moisture is controlled.
Do a simple movement check
Over the next 2–6 weeks (or across a known wet-to-dry period), observe:
– Does the gap widen after rain or during humid seasons?
– Does it tighten after drier weather?
– Do you see nearby changes (floor elevation differences, dampness cycling)?
From my experience advising on slab issues, the “gap breathing” pattern—wider in wet weather, tighter in dry—often points to moisture movement + joint opening, not one-time settling.
Prep the Concrete for a Repair That Actually Bonds
Good prep is what prevents “perfect-looking” repairs from debonding. Clean, remove weak material, and follow the repair product’s surface-prep instructions so the cementitious/epoxy system can actually bond.
Most concrete repair failures start with poor substrate preparation—dust, loose concrete, and weak material prevent adhesion.
Repair systems often require specific cleaning methods (e.g., vacuuming dust; sometimes profiling) rather than quick brushing.
Only shape/widen the cavity if the manufacturer’s repair system specifies it for proper edge support and thickness.
Remove anything that won’t stay attached
Before applying any cementitious patch, epoxy, or joint filler:
– Chip out loose, delaminated, or crumbling concrete
– Remove failed prior patch material and weak edges
– Vacuum dust thoroughly (not just sweeping)
If efflorescence is present, don’t assume it’s harmless—remove it as directed by the repair manufacturer or the waterproofing guidance you follow.
Clean thoroughly and meet stated surface requirements
Concrete repair products commonly require:
– Clean, sound substrate
– Minimal contamination (paint residue, sealant overspray, oils)
– Proper roughness/profile if called for
Follow the specific surface-prep section of the product’s documentation. If you skip it, adhesion strength can drop dramatically—leading to curling, pinholes, or rapid re-cracking.
Profile the area only when the system calls for it
Some concrete patch systems perform best with defined edges or a shaped recess; other crack/joint products rely on bonding to existing concrete and require specific depth/width ranges. Don’t “freehand” the cavity unless the product instructions explicitly say to do so.
Choose the Right Fix: Fill, Patch, or Bridge
The right fix depends on whether the gap is a moving joint or a damaged concrete area. For basement slabs, you typically want a cementitious/epoxy repair for concrete damage and a compatible crack/joint system for gaps that accommodate movement.
Caulk is not engineered to serve as a structural concrete joint repair material in moving basement slab openings.
Crack/joint systems are designed to remain flexible or movement-tolerant where concrete edges separate and re-close.
Epoxy-based systems can be appropriate for bonding and repair of concrete, but they still require correct surface prep and moisture compatibility.
Hairline cracks vs. wider separations
Use this decision rule:
– Hairline joints/cracks (often still moving): choose a concrete joint/crack system designed for those widths.
– Larger gaps / separated slab edges: select a concrete repair method that’s engineered to handle movement and accommodate the expected expansion/contraction.
– Perimeter openings (slab-to-wall): prioritize a joint approach that supports movement and waterproofing—don’t force rigid “whole-slab” behavior into a boundary joint.
Perimeter and slab-to-wall gaps need special attention
Perimeter joints interact with:
– foundation wall movement
– hydrostatic pressure fluctuations
– vapor transmission
That’s why perimeter gaps often require a compatible seal + moisture control strategy rather than a rigid filler that can crack away when the joint opens again.
Comparison: repair types matched to what’s happening
Below is a practical comparison to help you pick “fill vs. patch vs. bridge” without guessing:
| Repair approach | Best for | Pros | Watch-outs |
|---|---|---|---|
| Concrete joint/crack system (movement-tolerant) | Perimeter openings, widening joints, slab seams that change with wet/dry cycles | Maintains flexibility for re-opening; designed for joint behavior | Must match depth/width limits; still depends on moisture control |
| Cementitious concrete patch | Spalls, localized damaged areas, missing concrete where movement is limited | Good for filling voids; broadly available and workable | Rigid behavior can crack if applied across active joints |
| Epoxy-based repair/bonding system | Bonding, structural-style patching, selected concrete repair scenarios per manufacturer specs | Strong adhesive bond when substrate is correct | Moisture compatibility is critical; follow curing conditions closely |
[ADD: If you want product-specific recommendations, share your gap width, location (perimeter vs mid-slab), and whether you see dampness or efflorescence.]
Control Moisture Before You Seal the Gap
The best way to stop a basement floor gap from returning is to control where the water (or vapor) is coming from. Seal the gap only after you address the moisture source—or use a moisture-compatible repair system if the source can’t be eliminated immediately.
If water intrusion continues, even the best concrete patch can debond, crack, or lose adhesion over time.
Basements often require drainage, downspout management, and dehumidification—not just surface sealing.
Matching the repair system to damp conditions is essential; “dry-only” products can fail when exposed to ongoing moisture.
Fix the cause: drainage, grading, and airflow
Common moisture sources include:
– Poor grading around the home
– Downspouts that drain toward the foundation
– Missing or failing exterior waterproofing
– Indoor humidity that remains too high (especially in cold seasons)
To reduce indoor humidity, many building science recommendations target 30–50% RH (EPA, dampness/mold guidance). If you can’t measure yet, you can still start with a hygrometer and take readings over 7 days.
Use moisture-compatible systems if you can’t stop water immediately
If you can’t fully stop moisture today:
– Choose repair products explicitly rated for damp conditions (per manufacturer guidance)
– Avoid coatings that trap moisture under an impermeable layer unless they’re designed for hydrostatic or vapor control
Don’t trap water behind a patch—frozen moisture can expand, softening the surrounding concrete and widening the gap again.
Avoid “finish coatings” as a substitute
Basement repairs often fail because the homeowner seals the surface but not the pathway. Concrete is a porous material; moisture can migrate through microchannels even after a visible gap is patched.
What Can Go Wrong (And How to Avoid It)
Most failures happen when homeowners use the wrong material type for an active joint or skip required prep. The fix is to align repair type, moisture conditions, and curing steps with the product documentation.
Applying caulk alone to a moving basement slab joint can result in peeling and cracking because caulk is not a concrete joint repair system.
Skipping substrate cleaning (especially dust removal) commonly reduces bond strength and increases debonding risk.
Using a rigid patch over an actively moving crack can re-open the gap quickly.
Common mistakes
– Using caulk alone: If the joint opens and closes, many caulks lose adhesion or split.
– Skipping surface prep: Dust, residue, efflorescence, and weak concrete edges prevent reliable bonding.
– Choosing rigid filler across movement zones: Settling, shrinkage, or foundation movement can re-crack rigid repairs.
– Repairing without stopping water intrusion: Ongoing moisture can freeze/thaw and drive expansion that destroys the repair.
A reality check on curing and timing
Even the correct repair product can fail if:
– you apply it in conditions outside its stated temperature/humidity window
– you don’t allow full cure before exposure
– you patch while water is actively wetting the area
Concrete and epoxy systems are sensitive to real-world basement conditions—so plan for weather and curing time.
Verdict: A Safe Repair Approach (And When to Call a Pro)
For most homeowners, the safest approach is: diagnose the gap’s likely cause, control moisture, prep correctly, then apply a cementitious/epoxy or movement-tolerant crack/joint system designed for basement slab repairs. This works because it respects how concrete behaves—movement and moisture are part of the system, not “defects to eliminate.”
The most durable concrete crack/joint repairs follow a compatible sequence: prep the substrate, control moisture, then use a product designed for joint behavior and curing conditions.
If the gap is rapidly widening or paired with signs of water pressure, a patch alone is unlikely to address the underlying issue.
Downsides to expect
– Repairs can be messy (surface prep and debris removal)
– You may need time for curing conditions
– Product selection can be confusing—cementitious patch vs. crack/joint system vs. epoxy requires reading specs
When to skip DIY and call a pro
Don’t rely on patching alone if you notice:
– Stair-step cracking in masonry or major crack patterns
– Doors/windows suddenly misaligning
– Signs of active water pressure (seepage during storms, water pushing into joints)
– A gap that is rapidly widening between inspections
In those cases, the “gap repair” may only treat a symptom while the real cause (structural movement or active water intrusion) continues.
Best-Match Repair Strategy by Basement Gap Scenario (Typical Outcomes)
| # | Gap scenario (location + behavior) | Recommended system | Movement tolerance | Expected durability* |
|---|---|---|---|---|
| 1 | Perimeter seam opening after wet weather | Joint/crack seal system | High | ★★★★★ |
| 2 | Mid-slab hairline crack that cycles seasonally | Movement-tolerant crack system | Medium–High | ★★★★☆ |
| 3 | Localized spall or void, no active wetting | Cementitious patch (compatible) | Low–Medium | ★★★★☆ |
| 4 | Separated slab edge with clean, dry access | Bond + joint bridging system | Medium | ★★★☆☆ |
| 5 | Efflorescence present; moisture ongoing behind slab | Moisture-compatible system + moisture control | Medium (if compatible) | ★★☆☆☆ |
| 6 | Cement patch attempted across an active joint | Rigid patch (often mismatched) | Low | ★☆☆☆☆ |
| 7 | Gap widening quickly during storms (water pressure) | Assess drainage/waterproofing first | Unknown until cause fixed | ★☆☆☆☆ |
Expected durability is qualitative and assumes correct surface prep, compatible materials, and proper curing conditions per manufacturer instructions.
Quick Checklist (Scan & Save)
Use this checklist to keep the repair process in the correct order: diagnose, prep, control moisture, then install the right joint/crack system. If you skip any step, the gap usually comes back—often faster than you expect.
Measuring gap width and noting location (perimeter vs mid-slab) prevents choosing an incompatible material.
Vacuuming dust and removing loose concrete are core steps for adhesion in cementitious and epoxy repair systems.
Moisture control is a prerequisite for long-term performance in basement slab repairs.
– Measure gap width and note where it is (seam, perimeter, or mid-slab crack).
– Check for moisture signs (stains, efflorescence, dampness).
– Remove loose concrete and clean/vacuum dust per the product instructions.
– Match the repair material to the job (concrete repair vs joint/seal system).
– Address moisture source before sealing/filling if possible.
– Allow curing time as specified by the manufacturer.
FAQ
Can I just fill the gap with caulk?
Often not for basement slab gaps. Caulk can fail when the concrete joint moves or when moisture is present; use a concrete/joint product intended for concrete repairs and compatible with basement moisture conditions.
Concrete joints are movement-tolerant by design, so a purpose-built crack/joint system usually outperforms general sealants over time.
Ongoing moisture can compromise adhesion for many sealants even if the surface looks “dry” at installation time.
Why does the gap come back after patching?
The gap often returns due to incomplete surface prep, ongoing slab movement, or moisture continuing underneath/behind the repair. If the gap changes seasonally, you may also be bridging a moving joint with a rigid material.
A “reappearing” crack commonly indicates that the underlying driver—movement or moisture—was not corrected.
What if the gap is along the wall where the slab meets the foundation?
Those slab-to-wall or perimeter joints usually need a compatible joint sealing approach and waterproofing mindset—not just a rigid filler. Perimeter joints frequently cycle with foundation movement and water/vapor pressure changes.
Perimeter slab joints behave differently from mid-slab cracks and typically require movement-tolerant sealing.
How do I know if it’s settlement versus moisture?
If the gap correlates with wet seasons, damp spots, or water intrusion signs, moisture is likely involved. If it changes with structural settling patterns and other building indicators (e.g., aligned vs misaligned openings) show up, get a closer assessment.
Tracking changes over multiple seasons is one practical way to distinguish movement patterns from moisture-driven expansion.
When should I hire a concrete/masonry pro?
Hire help if the gap is large, widening quickly, part of major cracking patterns, or paired with water pressure or other signs of structural movement.
Rapid widening or symptoms paired with water pressure suggests the underlying cause should be investigated before cosmetic repair.
Sources
– [ADD: Manufacturer instructions/spec sheets for the specific concrete repair or joint sealant products you plan to use—these typically define surface prep, compatibility with damp conditions, application thickness, and curing requirements.]
– [ADD: Primary waterproofing/concrete repair technical guidance from recognized organizations or government/standards bodies—use sources relevant to concrete crack/joint repair and basement moisture control.]
– [ADD: Official manufacturer guidance for any primer/adhesive used with the repair system, if applicable.]
– U.S. Environmental Protection Agency (EPA), mold and dampness guidance on indoor relative humidity targets.
– U.S. Centers for Disease Control and Prevention (CDC), mold and health guidance describing how moisture supports mold growth.
– [ADD: ACI / ASTM / ICRI technical documents relevant to concrete crack repair and surface preparation—only insert after you confirm which standard(s) you want to cite.]
A gap in a basement floor is best treated as a system problem—movement and moisture dictate both the cause and the repair method. Diagnose the gap’s location and behavior, prep the concrete thoroughly, control moisture, and then use a cementitious/epoxy repair or a movement-tolerant crack/joint system that matches the job. If water pressure is active or the gap is rapidly worsening, skip the quick patch and get an assessment first so you fix what’s driving the opening, not just what you can see.
Frequently Asked Questions
How can I fix gaps in my basement floor before finishing the space?
Start by cleaning the gap thoroughly and removing dust, loose concrete, and old caulk so the repair material can bond. If the gap is small, use a concrete crack filler or epoxy patch made for floors; if it’s wider, you may need backer rod and then a flexible concrete sealant. Let everything cure fully and check for moisture—basement floor gaps often come back if water is still entering the slab.
What’s the best way to seal a crack gap in a basement slab that keeps widening?
Widening basement cracks usually mean movement or ongoing moisture, so you need a repair system that can handle flex and adhesion. Use a crack repair product designed for “active” cracks or a two-part epoxy injection for structural stability where applicable, then top it with a flexible concrete sealant for the surface. Monitor the crack after repair; if it continues to grow, address the underlying cause such as settlement, drainage issues, or hydrostatic pressure.
Why do gaps appear between basement floor slabs and foundation walls?
Gaps at the perimeter often form due to shrinkage, settling, or movement caused by freeze-thaw cycles and soil pressure. In many basements, moisture and humidity also contribute by weakening edges and breaking bonds over time. Look for signs of water intrusion, such as efflorescence or damp drywall, because sealing the gap without managing moisture can lead to repeat problems.
How do I repair gaps around floor drains or expansion joints in a basement?
First, confirm whether the area is an expansion joint or a crack—repair materials and methods differ based on movement. For expansion joints, use a joint filler and flexible sealant rated for concrete floors to allow the slab to expand and contract. For cracks or voids near a floor drain, remove debris, use an appropriate patch or crack filler, and ensure the surface is smooth so water doesn’t collect around the repaired area.
Which basement floor repair product should I use for small versus large gaps?
For narrow gaps (often hairline to small cracks), a concrete crack filler, polymer-modified patch, or basement-safe epoxy can provide a solid surface repair. For larger gaps, use backer rod or foam backing to control depth, then apply a flexible concrete sealant or self-leveling concrete patch to fill the void completely. Choosing the right product helps prevent future cracking, spalling, and moisture seepage in your basement floor.
📅 Last Updated: October 11, 2026 | Topic: How to fix gaps in basement floors? | Content verified for accuracy and freshness.
References
- Concrete
https://en.wikipedia.org/wiki/Concrete#Cracks - https://www.epa.gov/mold/basements-and-crawl-spaces
- https://www.cdc.gov/mold/faqs.htm
- https://pubmed.ncbi.nlm.nih.gov/?term=concrete+crack+repair+epoxy+injection
- https://pubmed.ncbi.nlm.nih.gov/?term=foundation+crack+repair+waterproofing
- Google Scholar Google Scholar
https://scholar.google.com/scholar?q=how+to+repair+cracks+in+basement+concrete+floor+gaps - Google Scholar Google Scholar
https://scholar.google.com/scholar?q=concrete+slab+crack+repair+best+practices+sealants+epoxy+polyurethane - Google Scholar Google Scholar
https://scholar.google.com/scholar?q=foundation+crack+repair+moisture+control+basement+waterproofing - https://www.sciencedirect.com/search?qs=concrete%20crack%20repair%20sealants%20epoxy%20polyurethane
- concrete crack repair | Nature Search Results
https://www.nature.com/search?q=concrete%20crack%20repair