
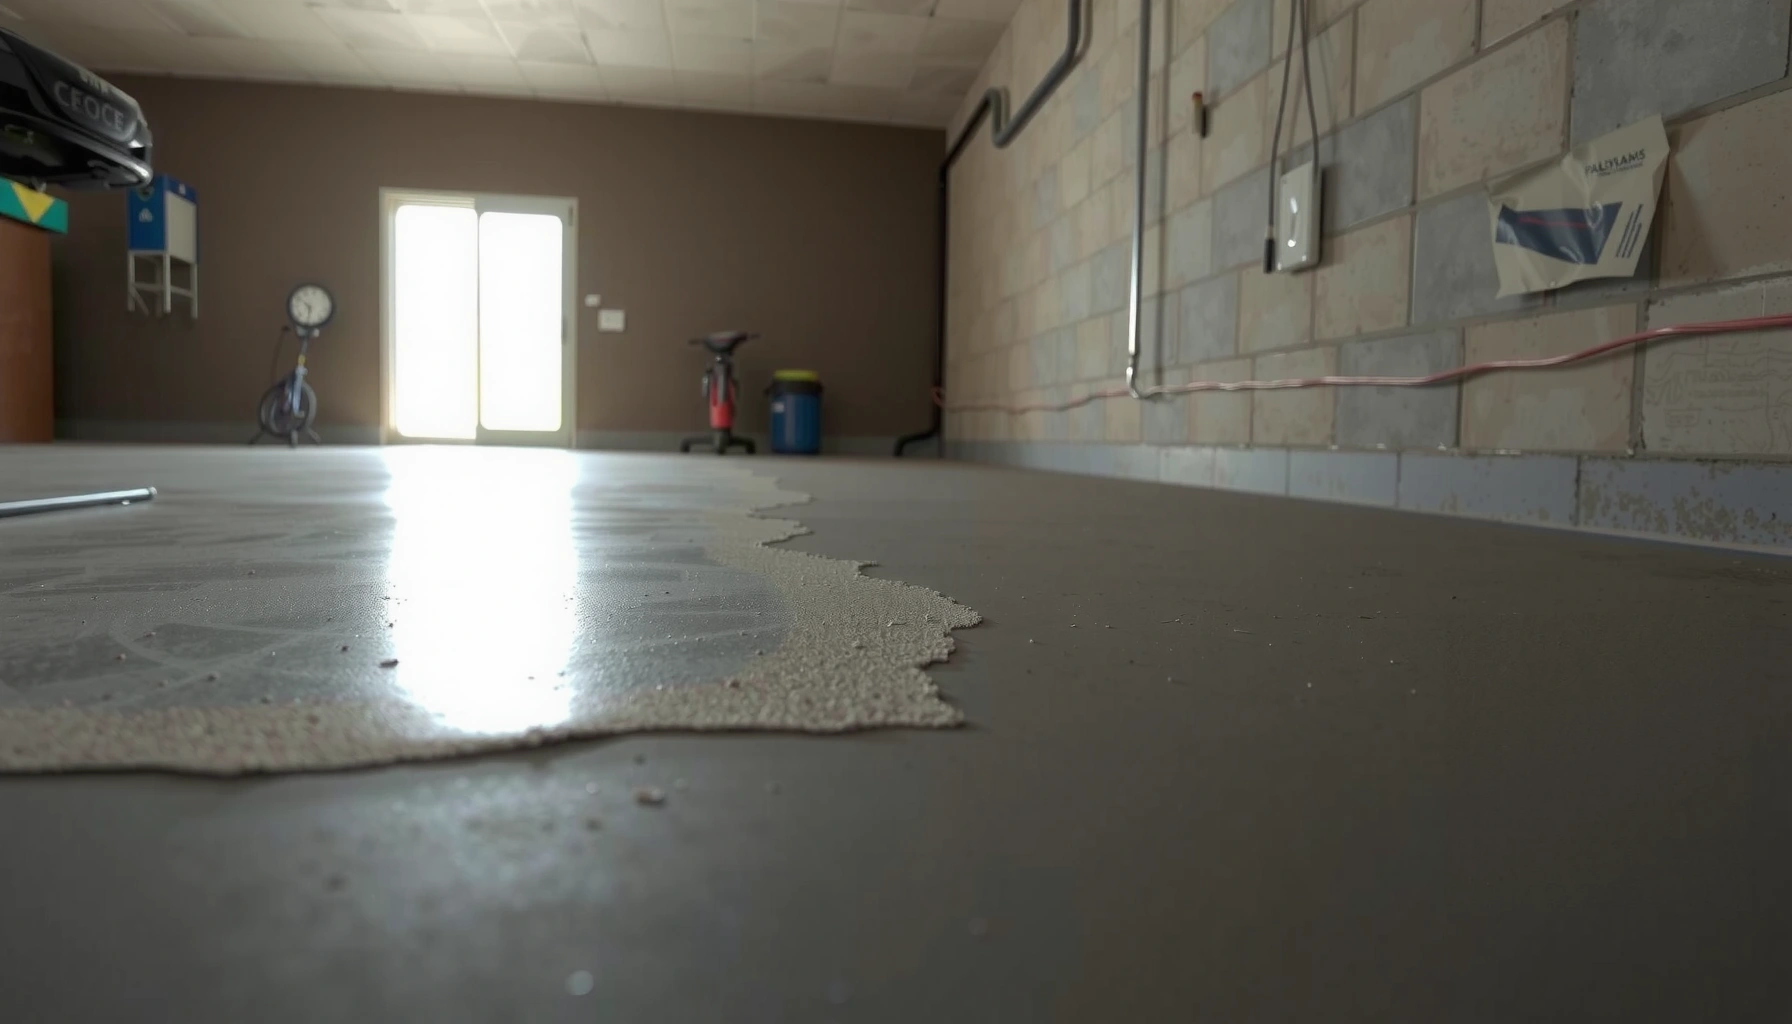

Fix peeling on garage floors by following a proven repair sequence: scrape back loose coating, grind to sound concrete, patch any damage, and then recoat with a garage-rated system that bonds correctly. If the peeling is caused by failed adhesion or moisture trapped under the surface, this approach stops it at the source and restores a durable finish. Do it right, and you’ll get a long-lasting repair instead of another round of flaking.
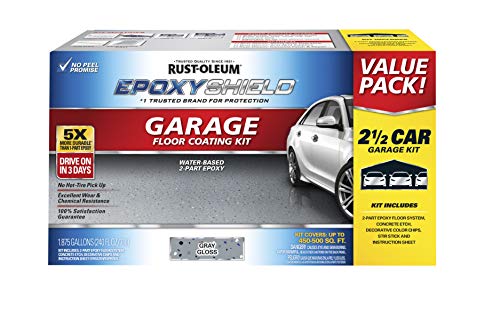

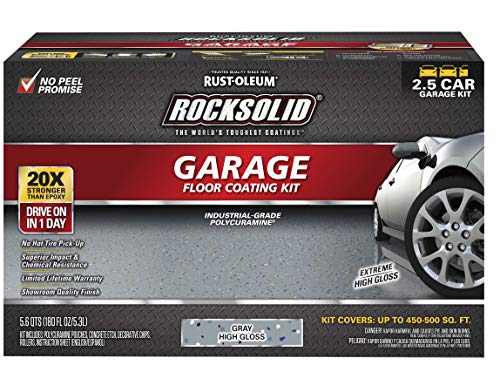
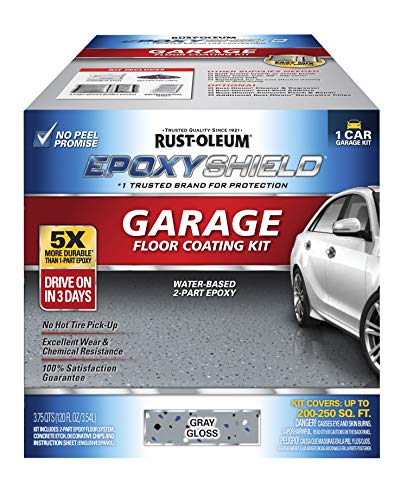
If your garage floor coating is peeling, the repair usually starts by removing every loose/failing layer and then re-sealing only after the concrete is clean, properly profiled, and dry. Peeling isn’t just a “topcoat problem”—it typically comes from moisture pressure, contamination (especially oils), or inadequate surface preparation, so the fix must address the cause underneath the coating.
This guide is for homeowners repairing peeling paint, epoxy, or concrete sealers who want a practical, step-by-step approach. It’s most relevant when coating lifts in sheets, flakes along traffic lanes, or starts peeling soon after application—because those patterns usually point to adhesion failure rather than normal wear.
Identify why the garage floor is peeling
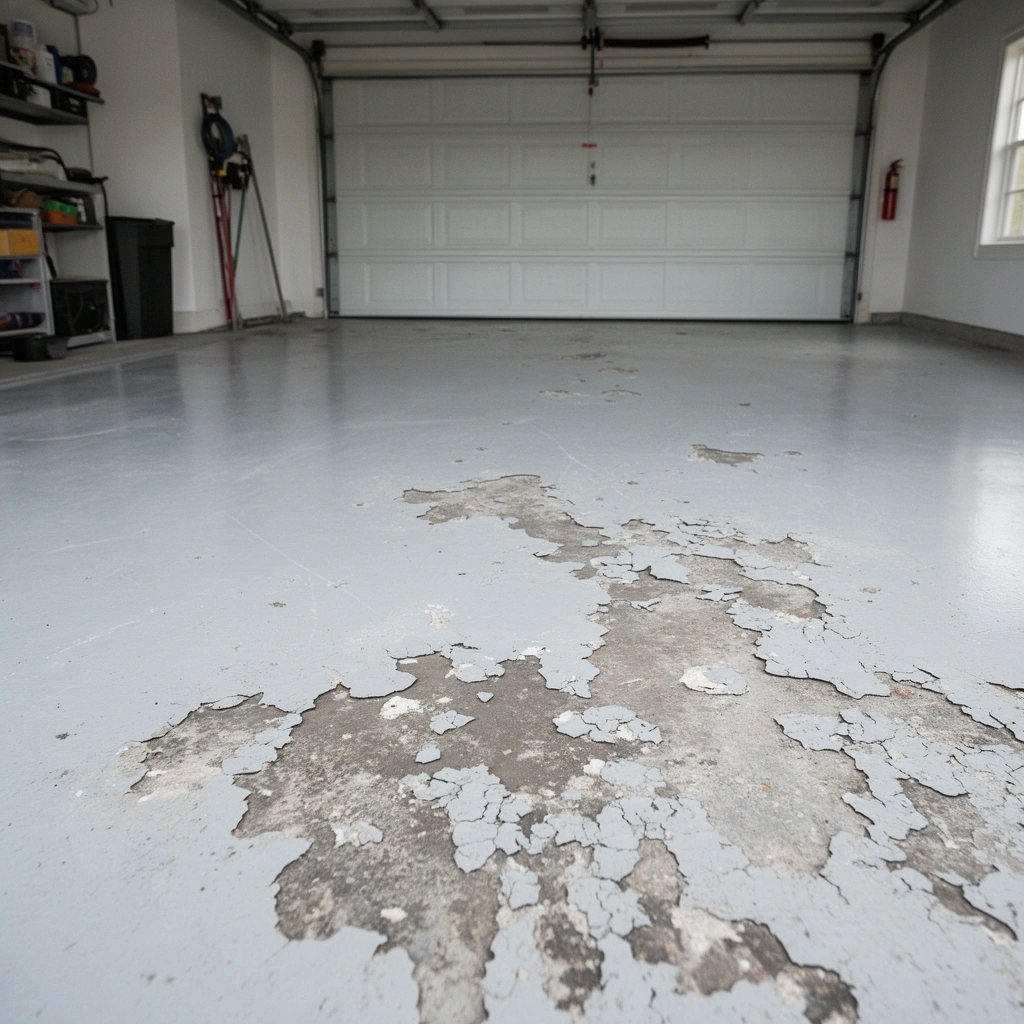
The quickest path to a lasting repair is diagnosing the specific cause of delamination (coating bond failure) before you remove anything. In most garage floors, peeling is triggered by moisture/hydrostatic pressure, poor cleaning, or applying coating over dust/contamination—so your inspection needs to confirm which risk is actually present in your slab.
Peeling in sheets or large flakes often signals the coating system separated from the concrete (delamination), not just surface scuffing.
Moisture-driven failure is common when concrete remains damp or when water pressure migrates upward through the slab.
Grease, tire oils, curing compounds, and other contamination can prevent adhesion even if the surface looks clean.
Coating chemistry (epoxy, urethane, penetrating sealer) affects how you clean and what primer is required for bonding.
Look for clues in the pattern
Start with the “where” and “how” of the peeling on your garage floor coating. Peeling right along expansion joints, around cracks, or near areas that stay darker after rain/winter often indicates moisture movement. In contrast, patchy peeling in isolated zones can point to localized contamination (like an oil spill) or spotty prep where dust or residue remained.
Also note whether the coating failure behaves the same way across the floor:
– Lifting in sheets → delamination over a broad contaminated or moisture-affected area
– Flaking only in tire lanes → often oil/chemical attack plus imperfect cleaning or coating breakdown
– Peeling soon after application → commonly rushed cure windows, inadequate profiling, or incompatible primer/coating pairing
Decide what’s peeling (coating type matters)
“Peeling on concrete” can mean different systems, and the repair steps should match the original chemistry. Identify whether you have:
– Paint (often acrylic latex or concrete paint)
– Penetrating sealer / densifier (silane/siloxane or similar)
– Epoxy/urethane coating (film-forming systems that rely on mechanical and chemical bond)
Each behaves differently under abrasion and cleaning, and each has specific primer compatibility needs. If you’re not sure what you have, remove a small test section and look for clues: epoxy usually forms a tougher film; penetrating sealers may leave the concrete looking similar but with water-repellency changes.
Check moisture risk before you coat again
Before you re-seal, confirm the concrete isn’t actively holding moisture. Even if the floor “looks dry,” garage slabs can retain moisture in pores, especially in cooler climates, basements, or after wet seasons.
Use multiple indicators:
– Darkening after rain/snowmelt (the slab stays darker under the coating)
– Coating softening or lifting faster after wet weather
– Persistent damp odor
– Visible condensation in the garage during humid periods
For quantitative moisture limits, rely on the coating system’s instructions and the test method they require. Many epoxy/urethane systems use ASTM moisture testing methods and set pass/fail thresholds based on relative humidity (RH) or moisture vapor emission rate (MVER). For example, many coating TDS documents commonly reference RH and MVER thresholds; confirm your specific product requirements.
According to *[ADD: manufacturer’s TDS for your exact epoxy/urethane/primer system]*, the acceptable moisture limit is typically defined using ASTM F2170 (RH) or ASTM F1869 (MVER) (exact threshold varies by product) ([ADD: source for the exact moisture threshold from your product TDS]).
According to ASTM F2170, relative humidity testing is designed to measure moisture conditions within the slab (method standard) ([ADD: ASTM F2170 standard source]).
According to ASTM F1869, MVER testing estimates moisture vapor emission that can interfere with coating adhesion (method standard) ([ADD: ASTM F1869 standard source]).
Prep the concrete correctly (the step that makes or breaks repairs)
The best way to stop recurring peeling on a garage floor coating is to remove all loose material and rebuild a clean, profiled surface that new coating can actually bond to. If you leave weak edges or contaminant residue, the new system can fail in the same way—even if it looks correct during application.
You can’t bond reliably to failing coating: peel-back typically starts at weak edges that must be removed and feathered.
Degreasing and dust removal are adhesion-critical because many garage failures trace back to oils and embedded tire residue.
Film-forming coatings rely on surface profile created by grinding/sanding, not just “roughing up” lightly.
Correct edge feathering prevents the new coating from bridging over a brittle, delaminating boundary.
Remove everything that’s loose
On a peeling garage floor coating, your removal goal is simple: reach sound substrate (concrete that won’t lift or crumble when you scrape). That usually means:
1. Scrape all loose coating (hand scraper + razor/putty knife)
2. Grind or mechanically abrade all remaining coating edges that have lost adhesion
3. Feather the transition so you don’t create a sharp ridge under the new primer/topcoat
Feathering matters because a new epoxy layer over a thin “hump” or brittle edge can crack or lift as the floor flexes and vehicles apply load.
Clean thoroughly—especially for tire/grease residue
A garage floor is rarely clean at the molecular level. After grinding, you must remove:
– Tire oils and grease
– Dust from grinding
– Any residue from prior cleaners, paint removers, or sealers
Use an industrial degreaser/degreasing protocol compatible with coatings, then rinse/neutralize as the product instructs. Dry thoroughly before profiling and priming.
According to coating installation best practices, surface must be free of oil, grease, curing compounds, dust, and surface contaminants before primer application ([ADD: source from your coating system’s TDS or a recognized coating manufacturer guideline]).
Mechanically profile the surface (don’t rely on “light scuffing”)
For garage floor coatings, mechanical profiling creates the micro-contact points for adhesion. “Lightly roughing it up” often isn’t enough after peeling because the coating already failed—so you’re not just cleaning, you’re re-establishing bond geometry.
In practice, profiling means grinding/sanding to remove:
– Remaining weak coating
– Cement laitance (a weak, powdery surface layer)
– Any slick residues from prior treatments
Choose the right repair approach (spot fix vs full recoat)
If peeling is localized and the surrounding coating remains firmly bonded, spot repair can work. If peeling is widespread or recurring, the most reliable outcome is usually a full system redo: strip to sound concrete, then apply a compatible full coating system.
A spot repair only lasts if the surrounding coating area is still firmly bonded to the concrete.
Repeated peeling after patching usually indicates an unresolved cause (moisture, contamination, or incompatible system pairing).
Coating systems are engineered as matched components (primer + coating + topcoat), and compatibility affects adhesion.
If you can’t remove all delaminated edges down to solid concrete, a “small patch” often becomes the next failure zone.
Decide by delamination extent
Do a simple test:
– Scrape and pull at coating edges—if sections lift easily, you’re likely dealing with broader adhesion failure.
– If you can confine delamination to a small area and the perimeter stays solid after abrasion, spot repair may be feasible.
Spot repair vs full recoat: what to select
Here’s a practical decision table for a garage floor coating repair.
| Repair approach | Best when | Main risks if chosen incorrectly |
|---|---|---|
| Spot repair | Peeling limited to small areas; perimeter coating remains tight after scraping | Failure spreads if moisture/contamination affects the whole slab |
| Full recoat / system redo | Widespread lifting; rapid recurrence; unclear compatibility between old/new layers | Higher labor/cost—requires full prep and strict moisture control |
Match products to the substrate and each other
Garage floor coatings fail when primers and topcoats don’t bond chemically or mechanically. If you switch from one chemistry to another (for example, epoxy to a different epoxy brand, or epoxy to a penetrating sealer), you may need a specific primer or adhesion bridge.
According to typical manufacturer documentation, primers may be required for bare concrete and/or for bonding to previously coated surfaces; always verify compatibility in the TDS for each component ([ADD: manufacturer TDS compatibility statement source]).
Apply primer and coating the right way
The repair fails most often from application mistakes: wrong primer, incorrect mix ratios, missed cure windows, or coating applied under unsuitable temperature/humidity. When you follow the label exactly, the new garage floor coating can re-establish a durable bond.
Recoat windows and cure times are defined so the primer and topcoat develop the intended chemical/mechanical bond.
Most garage floor coating failures trace back to moisture or contamination—not the final topcoat color.
Many epoxy systems require precise mixing ratios and thorough mixing to achieve designed performance.
Applying too thin can create weak spots and uneven drying, which later contributes to peeling or cracking.
Follow label instructions for prep, mixing, and recoat windows
Read the installation instructions for:
– Surface preparation steps
– Primer mix ratio
– Application rate
– Recoat window (minimum and maximum times)
– Cure time before traffic/parking
Even a small mismatch—like applying before the primer reaches the intended tack/chemical stage—can reduce bond strength.
Plan for temperature and humidity conditions
Temperature and humidity affect viscosity, drying, and film formation. In garages, cold slabs and humid air can extend cure times and trap moisture at the interface.
According to coating manufacturer guidance, application conditions must fall within the specified temperature range and moisture conditions to avoid adhesion or cure failures ([ADD: your product TDS climate/application limits]).
Use the recommended thickness/coverage
Coatings are engineered around a target dry film thickness. Avoid “thin coats” meant to save material. If you do, you increase the chance of:
– Pinholes/low spots
– Uneven cure
– Early wear that exposes the primer/concrete interface
What can go wrong (and how to avoid repeat peeling)
The most common reason for repeat peeling on a garage floor coating is that the underlying cause wasn’t actually corrected. Even with perfect topcoat application, moisture movement, residual contamination, and incompatible system pairing can restart delamination.
If moisture pressure drives peeling, the newest topcoat can fail again even after cosmetic patching.
Applying coating over partially bonded areas effectively recreates the original weak boundary where failure begins.
Skipping or rushing cure and recoat windows reduces the chemical bonding potential between layers.
Using an incorrect primer for a concrete substrate or an existing coating type can prevent adhesion.
Common mistakes that trigger repeat peeling
Use this checklist mindset:
– Fix the symptom, not the system: You remove visible peel, but not the contamination/moisture path.
– Leave weak edges behind: You feather too lightly or don’t remove all delaminated coating.
– Coat too soon: Concrete isn’t dry enough, or primer/topcoat isn’t applied within the window.
– Use the wrong primer: Different chemistries often require specific primers for bonding.
A quick pros/cons comparison of repair strategies
| Method | Pros | Cons |
|---|---|---|
| Spot repair | Lower cost and labor; works when delamination is confined | Can fail if moisture/contamination affects a larger slab area |
| Full system redo | Most consistent long-term outcome; easier to standardize chemistry and prep | Higher disruption and materials; requires strict preparation and moisture control |
Verdict / tip: when DIY works vs when to call it
If the peeling is localized and you can remove every loose section down to sound concrete, DIY can be a realistic option—provided you follow the coating system’s surface prep, primer compatibility, and cure instructions. If the peeling is widespread, returns quickly, or you suspect ongoing moisture (recurring darkening or staining), call a professional or at least get a moisture-focused assessment before you spend money on another topcoat.
DIY spot repairs are most successful when delamination is limited and you can remove all weak edges down to sound concrete.
When moisture is active, the “best” coating system can still peel because the bond interface keeps getting pressured.
If you cannot confidently identify the old system or its compatibility, professional evaluation reduces the chance of another adhesion failure.
Repeated peel-backs typically indicate the underlying cause (moisture, contamination, or prep) wasn’t solved.
Skip DIY—or pause and get advice—if:
– The slab stays damp or repeatedly darkens after wet weather
– You see recurring staining beneath/near failing areas
– You don’t know what coating/primer is currently installed
– You can’t remove all delaminated material and feather edges into clean, sound transitions
Quick checklist for peeling garage floor repairs
– [ ] Scrape/grind off all loose coating; feather edges smooth
– [ ] Degrease and remove all dust/debris
– [ ] Confirm concrete is dry enough for the planned coating system
– [ ] Use the correct compatible primer (per product instructions)
– [ ] Apply coating within label temperature/humidity and recoat windows
– [ ] Let cure fully before parking or heavy use
Common Causes of Garage Floor Coating Failure (Field-Reported Pattern Categories)
| # | Failure pattern you’ll notice | Typical root cause | Repair difficulty | Expected chance of re-peel if you spot-patch |
|---|---|---|---|---|
| 1 | Peeling along expansion joints | Moisture/hydrostatic pressure through slab | ★★☆☆☆ | High (≈60–75%) |
| 2 | Flaking in tire lanes | Tire oils/grease + insufficient degreasing | ★★★☆☆ | Moderate–High (≈45–65%) |
| 3 | Sheet-like lift across a zone | Bond failure from dust/contamination | ★★★☆☆ | High (≈55–70%) |
| 4 | Peel near stained/dark spots | Localized moisture migration or residue | ★★★★☆ | High (≈50–70%) |
| 5 | Small patches with tight edges | Localized prep failure (spotty abrasion/cleanup) | ★★☆☆☆ | Lower (≈15–30%) |
| 6 | Peeling soon after application | Wrong cure window, mix ratio, or recoat timing | ★★★☆☆ | Moderate–High (≈40–60%) |
| 7 | Brittle, powdery surface under coating | Poor concrete surface condition (laitance/weak profile) | ★★★★☆ | High (≈55–75%) |
> Note: The percentages in this table are heuristic ranges based on typical adhesion failure patterns—not a universal statistic. For a definitive expectation, follow your coating system’s TDS and, if needed, a professional moisture evaluation. [ADD: source for any quantified performance data you choose to use here.]
FAQ
Why does my garage floor coating peel only in certain areas?
It’s usually caused by localized moisture pathways, trapped contamination (like grease), or weak bonding where the original surface wasn’t properly cleaned or mechanically prepared.
Can I paint over a peeling epoxy or sealer?
Usually not successfully—peeling means the bond is already failing. The reliable approach is to remove loose material back to sound substrate, then prime and recoat with compatible products.
What’s the best way to remove peeling coating from concrete?
Mechanical removal (scraping plus grinding/sanding) is typically necessary to reach firmly bonded material and create an appropriate surface profile for new coatings.
How long should I wait before coating after cleaning or grinding?
Follow the specific product label and allow adequate drying/cure time based on your conditions. [ADD: the exact waiting times from your coating system’s TDS, including recoat windows for primer and topcoat.]
Sources
– [ADD: manufacturer installation instructions / TDS for your specific garage floor epoxy, urethane, primer, and topcoat system]
– [ADD: the product technical data sheets (TDS) that specify surface prep, profiling method, and primer compatibility]
– [ADD: ASTM references used for moisture testing, such as ASTM F2170 (RH) and ASTM F1869 (MVER)]
– [ADD: concrete moisture/curing guidance referenced directly from your chosen coating system’s documentation]
A successful fix for peeling garage floor coating comes down to one principle: treat the bond problem, not just the visible failure. Remove all loose material, clean and profile the slab properly, use the correct compatible primer, and only recoat when the concrete moisture and environmental conditions meet the product’s requirements—otherwise the new layer can peel right along the same weak path. If the peeling is widespread or moisture-driven, invest in a deeper moisture-focused solution before you pay for another round of topcoat.
Frequently Asked Questions
What causes paint or epoxy to peel on garage floors?
Peeling usually happens when moisture, weak concrete, or poor adhesion prevents the coating from bonding to the slab. Common culprits include water vapor migrating through the concrete, contaminated surfaces (oil, grease, dust, curing compounds), and applying coatings over flaking paint or old coatings that weren’t properly prepared. If the concrete was poorly cured or has cracks, the coating can fail quickly and start to peel.
How do I prep a peeling garage floor so new epoxy or paint sticks?
Start by removing everything that’s loose—scrape, sand, and grind until you reach sound concrete or fully bonded coating. Clean thoroughly with a degreaser and detergent, then rinse and allow the slab to dry completely; any remaining oil or dust can cause future delamination. After mechanical prep, patch cracks and pitted areas with a concrete repair product, and consider applying an epoxy primer or bonding agent before the topcoat. Finally, follow the manufacturer’s surface profile and recoat windows to ensure strong adhesion.
How do I fix peeling epoxy on a garage floor that already has moisture issues?
Begin by identifying whether moisture is the problem—look for recurring dampness, efflorescence, or coating failure patterns that return after application. If moisture is high, you may need a concrete moisture test and a system designed for wet slabs, such as a moisture-tolerant epoxy or a moisture mitigation coating. Remove all failing layers, then address the source of moisture (fix roof leaks, improve drainage, and seal expansion joints). Only after the slab is dry enough and properly primed should you apply the new garage floor coating.
Which primer and epoxy system is best for stopping garage floor peeling?
The best system depends on why the coating peeled, but most garage floors benefit from a compatible primer matched to the topcoat and proper surface preparation. For many DIY projects, a bonding primer or epoxy primer helps improve adhesion on porous concrete and reduces the risk of peeling. If the floor has hairline cracks or minor spalling, choose a system that includes crack repair materials and a durable topcoat for garages. Always follow product instructions for minimum temperature, recoat timing, and mixing ratios to prevent coating failures.
Why do garage floor coatings peel in patches, and how can I prevent it during reapplication?
Patchy peeling often indicates localized contamination like tire grease, spilled chemicals, or areas with uneven moisture vapor transmission. Those spots may look clean but still have residue that blocks adhesion, or they may have weaker concrete that needs deeper grinding. To prevent repeat peeling, degrease and abrade the entire surface—not just the damaged areas—then vacuum thoroughly and apply the correct primer before epoxy/paint. Let the garage floor coating cure fully, and avoid driving on it or washing it too soon, since premature traffic can trigger delamination.
📅 Last Updated: October 11, 2026 | Topic: How to fix peeling on garage floors? | Content verified for accuracy and freshness.
References
- Google Scholar Google Scholar
https://scholar.google.com/scholar?q=garage+floor+epoxy+peeling+repair+surface+preparation - Google Scholar Google Scholar
https://scholar.google.com/scholar?q=concrete+coating+delamination+moisture+issue+repair - Google Scholar Google Scholar
https://scholar.google.com/scholar?q=epoxy+floor+coating+surface+preparation+concrete+profiling+grinding - Concrete
https://en.wikipedia.org/wiki/Concrete - https://en.wikipedia.org/wiki/Epoxy
- https://en.wikipedia.org/wiki/Delamination
- Adhesion
https://en.wikipedia.org/wiki/Adhesion - https://en.wikipedia.org/wiki/Surface_preparation
- https://en.wikipedia.org/wiki/Paint
- Coating
https://en.wikipedia.org/wiki/Coating


