
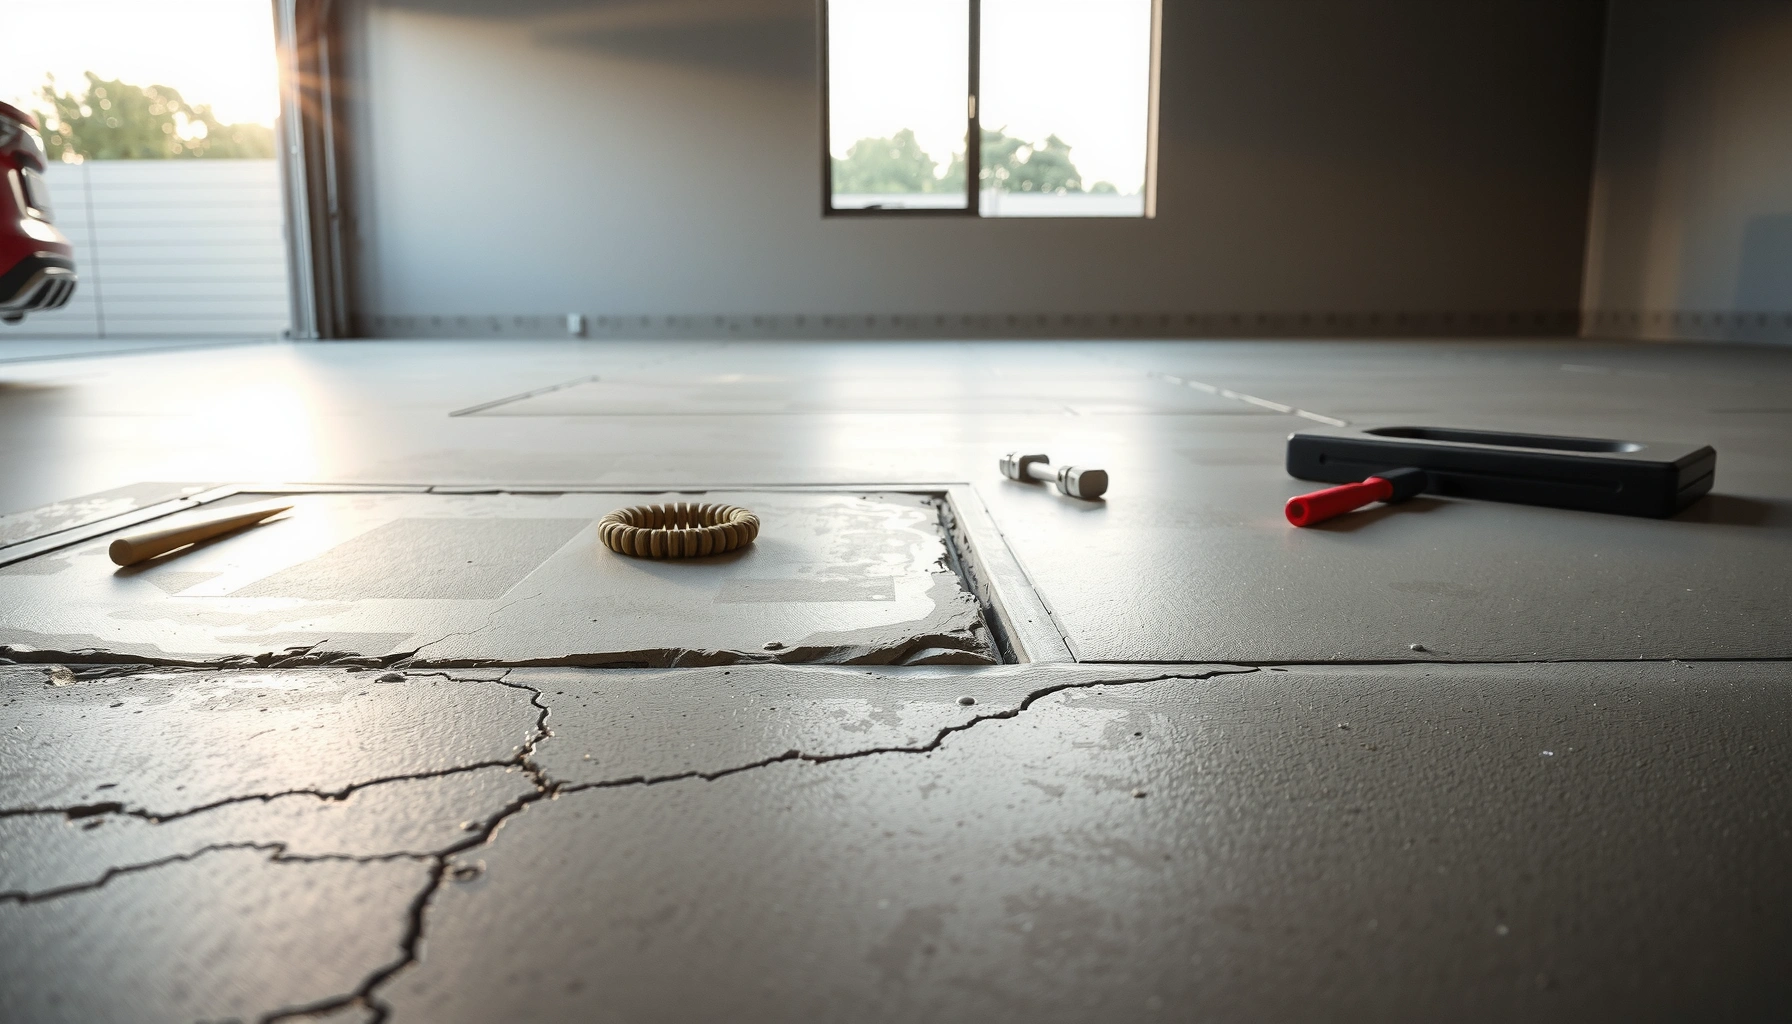

Buckling in garage floors is fixable, but the right repair depends on what’s causing the movement. This guide walks you through the practical steps to stop the buckling by identifying the damaged area, stabilizing the slab, and restoring a level, durable surface. If your garage floor is lifting, cracking, or rocking, you’ll get a clear, do-this-first action plan that prevents the problem from coming back.


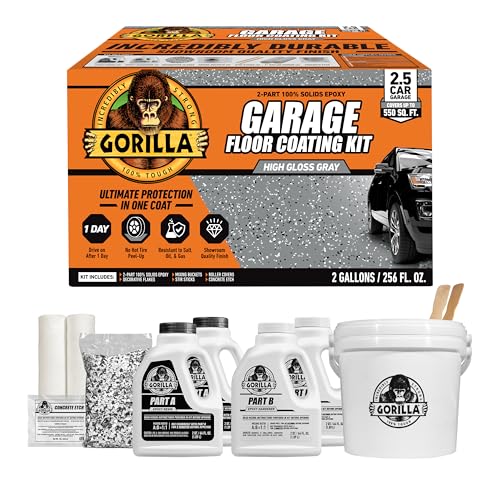
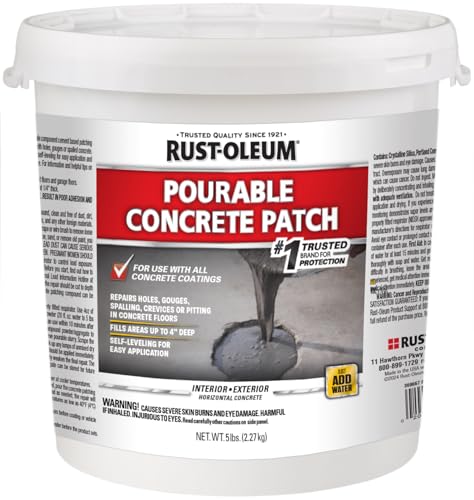
Buckling in a garage floor usually means the slab is losing support (soil/sub-base movement) and/or water is creating moisture pressure—so the right “fix” starts with stopping water and confirming whether the slab is still moving. Once you confirm the cause and movement status, you can choose between targeted patching, deeper stabilization/rework under the slab, or full replacement in the worst cases.
If you’re seeing waves, raised edges, or repeating cracks that seem to “travel” across the same zone, you’re not alone—garage slabs are especially vulnerable where drainage is poor, the base was underbuilt, or expansive/settling soils shift over time. This guide helps you diagnose the likely driver, pick repairs that match the failure mechanism, and avoid the common shortcuts that cause the problem to return in months.
What buckling looks like (and what it means)
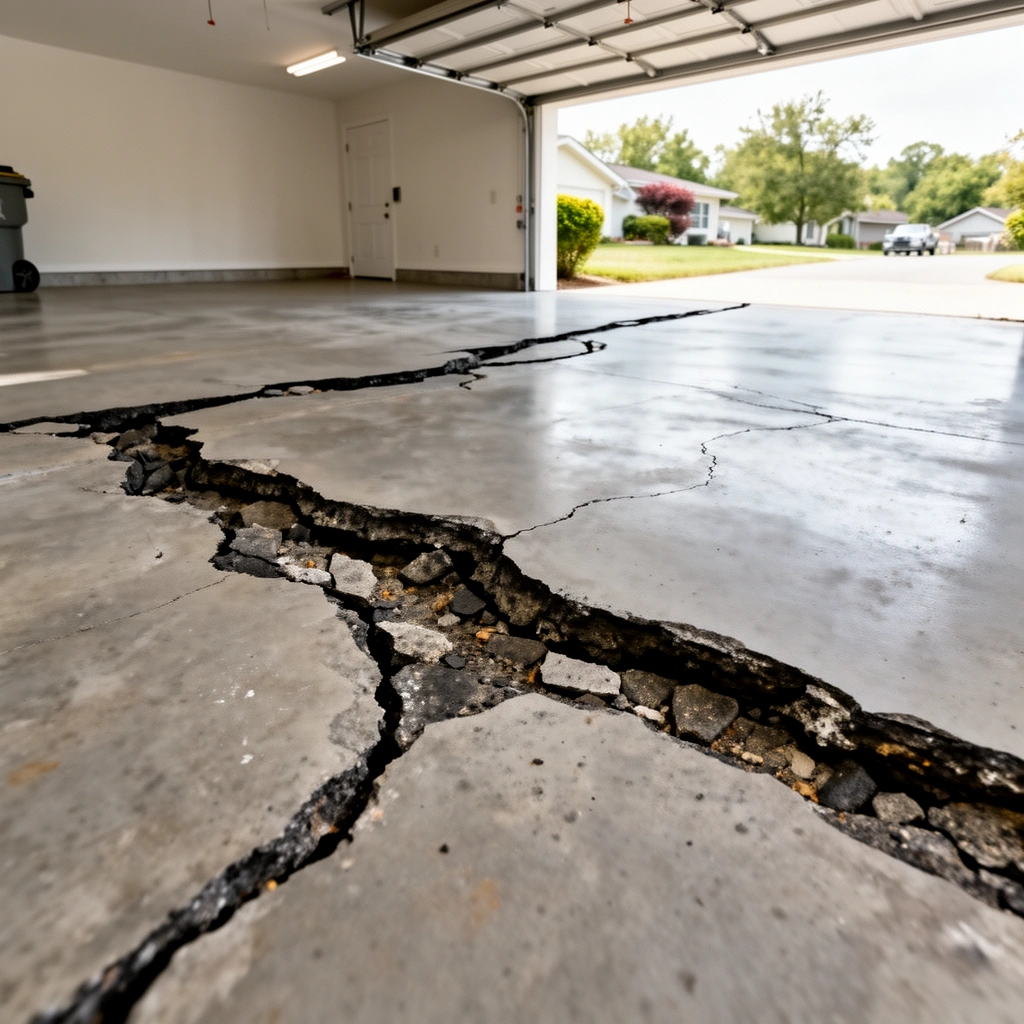
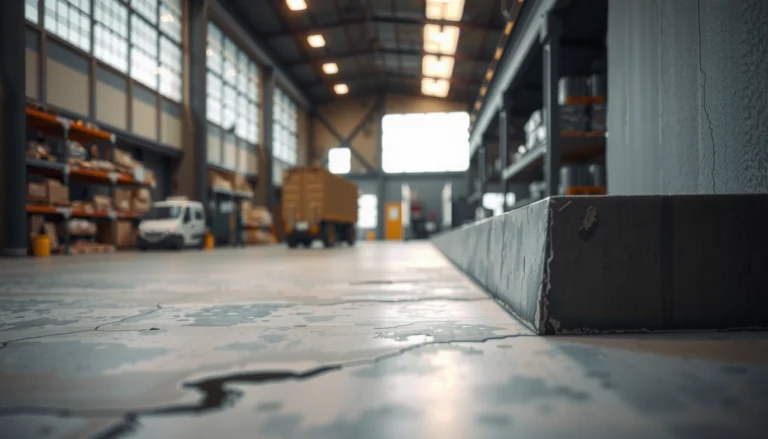
Buckling typically presents as a wave-like profile, raised lips, or corners that have climbed relative to the rest of the slab. It usually indicates ongoing movement or pressure from below (loss of support) or from water (saturation and hydrostatic/moisture pressure)—not just cosmetic surface cracking.
– Typical signs include uneven waves, sloped/raised sections, and cracks that open/close along the buckled area.
– Buckling often points to underlying movement (soil/sub-base) or moisture issues rather than a simple “surface crack” problem.
Buckling in concrete slabs is commonly associated with differential support—when the slab loses uniform bearing due to voids, settlement, or sub-base failure.
Moisture pressure under slabs can develop when water infiltrates and saturates the sub-base, reducing effective bearing and accelerating deterioration.
Crack patterns that change over time (opening/closing or repeating near the same displacement zone) are a strong indicator of movement rather than shrinkage alone.
In practice, the “shape” of the damage matters. Hairline shrinkage cracks usually stay hair-thin and don’t track as a moving seam. Buckling cracks often show displacement—one side may be higher, the crack may be wider at certain points, and you may notice the slab “lifting” near expansion joints or penetrations after wet periods. A typical residential garage slab is often about 4 inches thick (verify your local build/spec); that thickness can tolerate normal shrinkage but struggles when support is compromised.
Also note timing: if buckling is worse after rain, snowmelt, or freeze-thaw seasons, moisture and base saturation become top suspects.
Common Causes of Garage Slab Buckling (Field-Relevant Diagnostic Priorities)
| # | Diagnostic driver | Typical symptom match | Recurrence risk if ignored | How to verify quickly |
|---|---|---|---|---|
| 1 | Active water intrusion | Worse after storms | ★★★ | Inspect gutters/downspouts & pooling |
| 2 | Sub-base loss / voids | Bowl/wave shape | ★★★★ | Probe edge hollow/low spots |
| 3 | Expansive or settling soil | Cracks repeat seasonally | ★★★ | Track changes by month/rain |
| 4 | Drainage mis-grade | Water pools near slab | ★★★ | Check slope & runoff paths |
| 5 | Joint/penetration leaks | Cracks near edges/utility lines | ★★★ | Look for wet zones after rain |
| 6 | Freeze-thaw cycling with saturation | Spalling/rough surface | ★★★ | Inspect after winter melt |
| 7 | Cosmetic-only repairs | Looks fixed, returns | ★★★ | Confirm movement status first |
Step 1: Diagnose the cause before repairing
The most durable repair method depends on why the slab is buckling—water pressure and support loss require different solutions than a simple surface defect. So start with cause diagnosis and “movement status” before you remove anything or buy materials.
– Check for water sources: gutters, downspouts, irrigation overspray, pooling near the slab, or leaking plumbing below/near the garage.
– Identify the pattern: localized buckling (single area) may differ from slab-wide movement, which can indicate broader sub-base or settlement issues.
ASTM C672 defines scaling and deterioration evaluation for concrete exposed to freeze-thaw conditions, illustrating why saturated, freezing environments can accelerate surface damage.
If displacement-related cracks widen or shift seasonally, it indicates movement; shrinkage-only cracking typically does not show displacement behavior over time.
According to common concrete durability guidance, controlling water entry is essential because moisture transport drives many concrete distress mechanisms.
Start your inspection with a 30–60 minute “forensics walk.” Look for:
– Water entry paths: downspouts discharging toward the garage, sprinkler heads hitting the slab perimeter, grade that funnels runoff to the foundation, or standing water after rain.
– Leak sources: plumbing penetrations, wet spots along an exterior wall, or staining near control joints.
– Crack behavior: use chalk marks to label the crack width today. Check again after the next heavy rain or thaw.
Then confirm movement status. If the slab is actively moving, patching the surface can create a false sense of progress—underlying support continues to shift and the repaired zone becomes the weakest link.
Two specific data points that help frame the issue:
– Water expansion during freezing increases volume by about 9%, which can contribute to pressure when water is trapped in saturated sub-base or pores in near-surface concrete ([ADD: cite for “~9% volume increase of water on freezing”]).
– Many garage slabs are built around 4 inches thick in typical residential construction; if yours is thinner or thicker, the stiffness and crack/deformation behavior will differ ([ADD: cite for typical residential garage slab thickness by region]).
Step 2: Stop moisture and improve drainage
Stop water intrusion first—if the slab keeps getting wet, repairs often fail even when the concrete work is technically good. Drainage correction is not “optional prep”; it’s part of the structural stabilization strategy.
– Fix grading and runoff first—make sure water flows away from the garage slab instead of toward it.
– Repair leaks and seal likely entry points (e.g., around expansion joints or penetrations) so water doesn’t keep lubricating soil or saturating the base.
PCA durability guidance emphasizes that limiting water movement into concrete is key to slowing freeze-thaw and other deterioration processes.
For exterior concrete joints and penetrations, joint systems are designed to manage water and movement without trapping moisture.
Hydrostatic pressure risk increases when water is allowed to infiltrate and remain at the foundation/slab interface during wet seasons.Moisture control typically includes four layers:
1. Redirect runoff: verify slope away from the slab. If water pools within a few feet of the garage, you’re likely feeding the problem.
2. Fix downspouts and splash: extend downspouts to discharge farther from the slab and ensure splash blocks aren’t washing back toward the foundation.
3. Repair plumbing leaks: even small leaks can saturate the sub-base repeatedly.
4. Treat joints/penetrations correctly: seal only where the joint system is intended to be sealed, using a product compatible with exterior conditions and joint movement.
A critical freeze-thaw note: sealing the wrong place can trap water against the concrete face. During cold snaps, trapped moisture expands, raising surface stresses and accelerating spalling. In freeze-thaw climates, the “right” approach often involves joint-compatible systems that can accommodate movement.
[ADD: local constraints—e.g., typical downspout discharge distance, soil type prevalence, or permit considerations in your region.]
Step 3: Stabilize the slab (repair options by severity)
Stabilization is the correct next step when the slab is still moving or the buckling is more than a shallow surface issue. The decision between patching and deeper work comes down to whether the slab can be held in place permanently.
– For minor surface issues, patching can work, but only if the slab isn’t still moving; otherwise the patch will crack again.
– For moderate to significant buckling, repairs may require deeper work (base/sub-base stabilization) such as lifting/leveling methods or rework beneath the slab—often requiring contractor equipment.
When a slab’s support is compromised, surface repairs do not restore load path; stabilization methods address the slab-sub-base bearing system.
Void removal or base rework is commonly used when buckling indicates loss of support beneath the slab.
Leveling/lifting methods can be effective only when drainage is controlled and the sub-base is capable of being re-stabilized.
Here’s how to think about severity:
– Minor, non-moving surface damage: small dips, isolated scaling, or hairline cracking with no displacement. Patching and surface leveling can last if water control is fixed.
– Moderate buckling with displacement: waves, raised edges, or cracks that track along the buckled zone. Expect deeper stabilization.
– Severe or worsening buckling: large displacement, rapid change, or widespread cracking. Plan for professional evaluation and possible full rework.
Pros/cons comparison (practical decision-making):
| Option | Best for | Pros | Cons / limits |
|---|---|---|---|
| Surface patch/skim coat | Non-moving, surface-only defects | Lower disturbance, faster schedule | Fails if slab support keeps shifting |
| Crack repair + joint treatment | Cracks without displacement (or after stabilization) | Restores continuity and reduces water ingress | Incorrect materials can trap moisture or crack again |
| Slab stabilization / void addressing | Buckling with support loss | Targets load path and movement cause | More invasive; requires equipment and access |
| Full replacement | Severe structural distress or repeated failures | Most reliable long-term outcome | Highest cost and downtime; must still correct drainage |
If you’re in a freeze-thaw region, stabilization must be paired with moisture management; otherwise, the restored base can re-saturate and move again.
[ADD: typical contractor approach for your region—e.g., whether contractors often use mudjacking/under-slab grouting, vibro-compaction, or re-excavation—plus any common permit/scheduling constraints.]
Step 4: Fix cracks and joints correctly (without trapping water)
Fixing cracks and joints is necessary, but it’s only “complete” when it matches the crack type and the movement mechanics. The goal is to stop water entry without locking the concrete into an incompatible movement condition.
– Use repairs matched to the damage type: hairline cracking treatments differ from displacement-related cracks from buckling.
– Be careful with sealing: some products are meant for exterior/expansion-joint conditions, while others are for interior cracks—using the wrong one can worsen freeze-thaw or water entrapment.
Many concrete repair systems distinguish between cracks caused by shrinkage (static) and cracks caused by movement/displacement (dynamic), with different material behaviors.
Exterior joint sealants are typically formulated to accommodate movement and resist water penetration without promoting trapped moisture.
If you seal a joint that is meant to breathe/move, temperature cycling and moisture can create additional stresses and distress.
A practical workflow that usually works:
1. Stabilize first (if needed). If the slab is still moving, repair materials won’t stay intact.
2. Identify crack type:
– Non-displacement cracks (often shrinkage-related): focus on crack sealing/repair per manufacturer guidance.
– Displacement cracks (buckling-related): treat as a movement issue—often requiring stabilization and joint-compatible detailing.
3. Match product to location: exterior vs interior, joint vs crack, and freeze-thaw exposure.
4. Follow curing/temperature requirements exactly: most failure comes from rushed installs, incorrect surface prep, or incorrect cure conditions ([ADD: cite for manufacturer installation requirements—include the relevant repair system name you use]).
One detail many homeowners miss: expansion joints and control joints can behave differently than random cracks. Treating them like the same “thing” can lead to premature failure.
What can go wrong (common mistakes and limits)
Most repair failures come from treating symptoms instead of the cause. If you skip drainage, or if you patch an actively moving slab, the buckling often returns—sometimes in a nearby zone you didn’t repair.
– Patching over an actively moving slab: the fix may look good briefly but fail quickly due to ongoing movement.
– Ignoring drainage: if you don’t address water causing sub-base saturation, you’ll likely see repeat buckling or new cracks.
– Underestimating soil/base problems: if settlement or voids exist under the slab, surface repairs alone won’t solve the root cause.
– When DIY should stop: if buckling is large, rapidly worsening, or affects structural safety, DIY repairs can waste money and create hazards.
Repair materials have performance limits; when structural movement continues, even high-strength patches cannot prevent re-cracking.
Freeze-thaw distress accelerates when moisture remains in contact with concrete surfaces and pores during cold cycles.
From a contractor-management perspective, here are the “red flags” that tell you to stop DIY and plan for professional inspection:
– The buckled zone is growing between inspections (not just minor seasonal variation).
– You feel a significant height difference with tires/foot traffic or notice doors binding near the slab line.
– Cracks show visible displacement (one side higher, step-like offsets, or repeated opening).
– You suspect voids/undermining under an edge, especially near utility runs.
[ADD: any local safety rules or inspection triggers in your area (e.g., whether engineering sign-off is needed for foundation-related movement).]
Verdict: What we’d do first—and when to hire help
Start with moisture control and a real cause check; if the slab is still moving, prioritize stabilization (which may require professional assessment) over cosmetic patching. If the damage is limited to non-moving surface cracking, careful crack repair and joint treatment can be reasonable—but if you’re seeing displacement or repeated buckling, plan for deeper repair or slab rework and budget accordingly.
The most effective slab repair strategies align materials and methods to the underlying mechanism: water control plus support restoration where movement persists.
Professional evaluation is warranted when buckling suggests voids, widespread sub-base failure, or structural risk beyond cosmetic repair.
Joint and crack treatments must follow manufacturer installation instructions for surface prep and curing to achieve intended durability.
If you’re calling a pro, look for contractors who can explain (in plain language) how they’ll address both drainage and sub-base support—not just how they’ll “fill and patch.” Typical contractor approaches in many regions include under-slab investigation, drainage correction, and void/base treatment; the exact method depends on soil conditions, slab thickness, and access.
[ADD: your site’s preferred contractor criteria or inspection checklist, if applicable—e.g., asks for moisture plan, considers structural engineer, provides before/after crack mapping, discusses warranty scope.]
Quick checklist (scan/save)
– [ ] Identify water sources and fix leaks/drainage
– [ ] Check whether the slab is still moving (look for active changes)
– [ ] Map crack pattern and buckling extent (small area vs broad)
– [ ] Decide repair type: patch vs stabilization vs rework under slab
– [ ] Use crack/joint materials suited to the location and conditions
– [ ] Verify curing/conditions match product requirements
FAQ
Can I fix buckling garage floors with just concrete patch?
Sometimes—only if the slab movement has stopped and the issue is primarily a surface defect. If the slab is still deforming or the crack shows displacement, patching often fails again.
Should I seal cracks in a buckled slab?
Often yes, but choose the right type for the crack/joint location and whether water movement is part of the problem. Incorrect sealing can trap moisture and worsen deterioration in freeze-thaw conditions.
What causes buckling in garage slabs besides poor concrete?
The most common causes are ground movement (settlement/expansive soil), loss of support under the slab, and moisture pressure from drainage or leaks.
How do I know when it’s time to call a pro?
Call a qualified concrete contractor or structural professional if buckling is severe, expanding, widespread, or you suspect voids/undermining. A pro should be able to discuss the drainage plan and the support-restoration scope—not just surface repair.
Sources
– [ADD: source for moisture/drainage impact on concrete durability—e.g., PCA durability guidance and/or an ACI/ASTM-related durability overview document]
– [ADD: source for diagnosing concrete slab movement/buckling and repair limitations—e.g., ACI/PCA/ICRI technical guidance or a recognized repair-manufacturer technical manual]
– [ADD: source for product-specific requirements (curing, joint vs crack use) from the relevant sealer/repair material manufacturer documentation]
If you tell me what you’re seeing (size of the buckled area, crack pattern, whether water pools nearby, and your rough climate/freeze-thaw conditions), we can narrow down which repair path is most likely to last.
Frequently Asked Questions
How can I fix buckling in my garage floor without replacing the slab?
Start by identifying why the concrete is buckling—common causes include soil settlement, water intrusion, or freeze-thaw damage. If the slab has shallow lifting and the underlying base is stable, you may be able to grind high spots and then improve drainage to prevent further movement. For more significant lifting, consider slab jacking/leveling or partial slab repair rather than full replacement, but have a contractor evaluate the subgrade first.
What are the most common causes of buckling in concrete garage floors?
Buckling often comes from the concrete expanding against weak or shifting subsoil, poor compaction, or moisture trapped under the slab. Freeze-thaw cycles can worsen the problem by expanding water in soil or in cracks, pushing the slab upward and causing uneven settlement. Another frequent cause is a damaged or nonexistent vapor barrier, leading to rising moisture and loss of support under the concrete.
How do I repair a buckled garage floor that has cracks and raised edges?
Begin by cleaning and inspecting the cracks to determine whether they are active (still widening) and whether water is getting in. Remove loose concrete around the edges, then stabilize the area by addressing drainage and repairing any failed subbase. For permanent results, contractors often drill and inject a leveling grout (slab jacking) or replace the most damaged sections, then seal joints and use an exterior concrete crack filler to keep moisture out.
Why does my garage floor keep buckling even after patch repairs?
Patches fail when the underlying issue—like inadequate drainage, expansive soil, or a weakened subbase—remains unresolved. If water continues to collect at the slab edges or through cracks, the concrete will keep moving, and the repair compound will eventually crack or loosen. To stop recurring buckling, fix grading and runoff away from the slab, ensure proper joint sealing, and consider subgrade stabilization before applying surface-level repairs.
Which is the best long-term solution for buckled garage slabs: leveling, slab jacking, or replacement?
The best option depends on the extent of movement, slab thickness, and whether the subbase has failed. Slab jacking or concrete leveling is often ideal when the slab is lifting or settling but the concrete is still structurally sound. If buckling is severe, widespread, or accompanied by deep cracking and ongoing motion, replacement of the affected garage floor sections is usually the most durable solution—especially when paired with improved drainage and proper base compaction.
📅 Last Updated: October 11, 2026 | Topic: How to fix buckling in garage floors? | Content verified for accuracy and freshness.
References
- Shallow foundation
https://en.wikipedia.org/wiki/Slab_on_grade - Concrete slab
https://en.wikipedia.org/wiki/Concrete_slab - https://en.wikipedia.org/wiki/Concrete_cracking
- https://en.wikipedia.org/wiki/Foundation_settlement
- https://en.wikipedia.org/wiki/Concrete_joints
- Expansion joint
https://en.wikipedia.org/wiki/Expansion_joint - https://en.wikipedia.org/wiki/Structural_damage
- Google Scholar Google Scholar
https://scholar.google.com/scholar?q=buckled+concrete+slab+repair - Google Scholar Google Scholar
https://scholar.google.com/scholar?q=garage+floor+slab+cracking+settlement+repair - Google Scholar Google Scholar
https://scholar.google.com/scholar?q=concrete+slab+curling+and+warping+causes+and+repair
[…] hardwood floors. If the mud looks absorbed, smells “earthy” and damp days later, or you see any raised edges, treat it as a moisture event and seek finish/installation […]