
Need to repair carpet tiles fast? This guide delivers a straightforward, step-by-step method to fix damaged carpet tiles with minimal downtime and no guesswork. Follow the fastest option for common issues—loose edges, stains, and torn sections—so your floor looks right again the first time.



A loose, torn, or worn carpet tile is usually fixable by lifting the affected piece, cleaning the subfloor, and replacing (or re-seating) it with a matching tile and the correct adhesive/tape for your install type. If you identify your flooring system correctly first (tape/releasable vs. fully glued), the repair is typically faster than replacing the entire floor and far less disruptive to daily operations.
This guide is for homeowners, landlords, and facility managers handling single damaged carpet tiles caused by spills, lifting edges, curling corners, or localized wear—especially when you don’t want to replace the full installation. The steps below focus on common peel-and-stick and releasable installation styles; if yours uses a different backing or full-spread glue, follow the manufacturer’s removal/installation guidance.
Assess the Damage and Identify Your Install Type
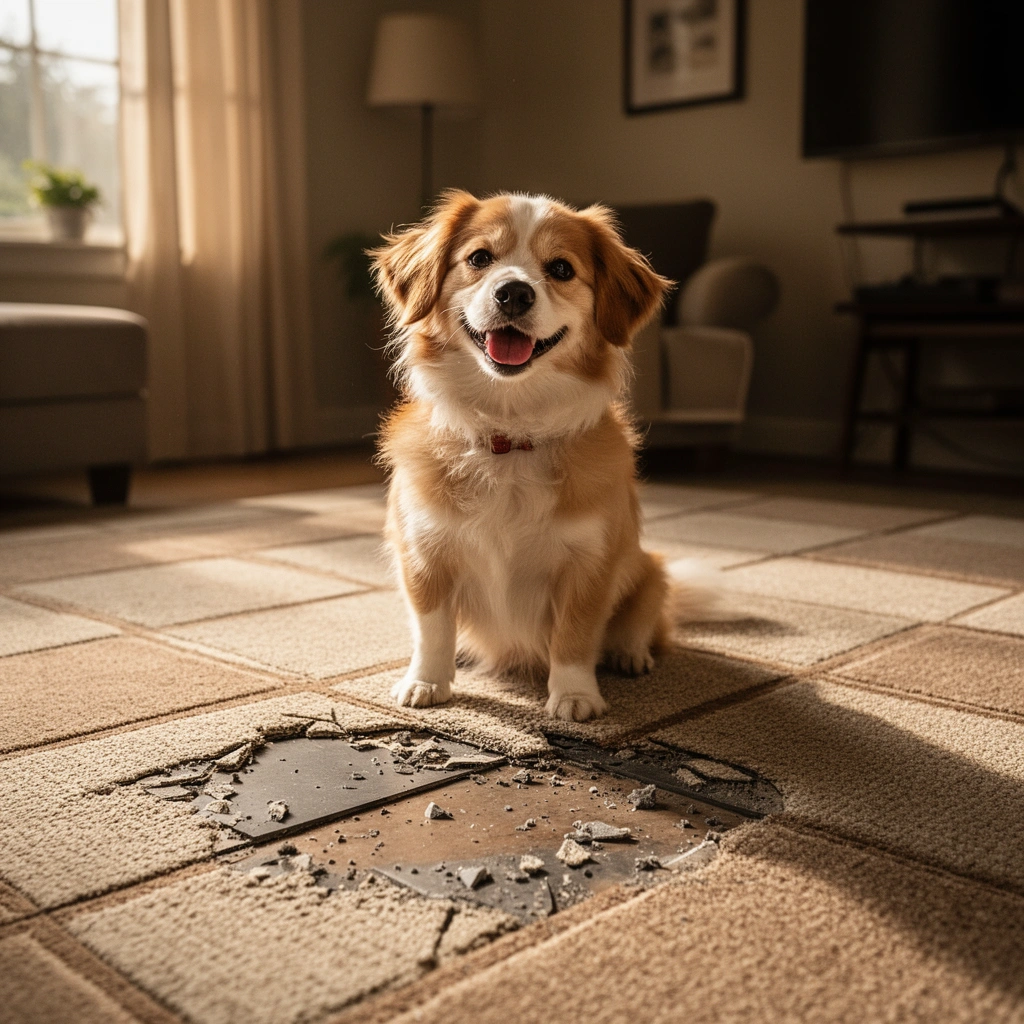
You can repair most localized carpet tile damage by determining what’s broken (the tile, the backing, or the subfloor) and then matching your fix to the installation method. Start with a close inspection—some issues are “replace the tile,” while others are “clean and re-seat” or “address a subfloor/moisture problem first.”
Here’s what to check in the room before you start lifting anything:
– Loose tile: edges lift, corners curl up, or tiles shift when stepped on.
– Torn or damaged face fiber: visible fraying, cuts, or punctures that can’t be cleaned away.
– Wrinkled/curling tile: backing lifted unevenly, often from moisture, trapped debris, or improper prep.
– Stained tile: test whether the stain is surface-level or has soaked into backing (backing saturation usually means replacement).
– Seam issues around the tile: if gaps open at only one location, it’s often alignment, adhesive failure, or debris under the tile—not the entire floor.
To identify your install type, look for evidence at tile edges and seams:
– Tape/adhesive-based (releasable): seams may lift cleanly; residue may be tacky or minimal.
– Loose-lay: tiles may sit without adhesive/tape and shift slightly under pressure.
– Fully glued down: tiles often resist lifting; you’ll see more bonded residue and should expect more subfloor prep.
A successful carpet tile repair depends on install type: releasable systems are designed to lift and re-seat, while fully glued installations require manufacturer-specific removal methods.
If a stain has penetrated below the face fibers into the backing, cleaning alone rarely restores uniform appearance—replacement is typically the more reliable outcome.
Wrinkling and curling commonly point to a subfloor moisture or debris issue under the tile, not just wear on the surface.
Quick diagnostic details that save time
– Press a lifted edge with your fingertips. If it “pops” up and down easily, you likely have releasable tape/adhesive or loose-lay.
– Look underneath if you can safely lift one corner. If you see a sticky tack layer, plan on residue cleanup and correct reattachment.
– If multiple tiles near the problem are loose, consider whether the issue is localized subfloor flatness or moisture rather than one tile.
Remove the Damaged Carpet Tile Safely
You usually remove one tile without pulling up the neighbors by cutting around the perimeter (if bonded) and lifting slowly. The goal is to protect adjacent tiles’ edges and keep seams tight when you install the replacement.
Follow this careful removal approach:
– If the tile is bonded (adhesive or tape):
– Use a sharp utility knife to cut along the tile perimeter edges where it meets neighbors.
– Start at a corner and work gradually so you don’t tear adjacent backing.
– If the tile is loose-lay:
– Lift from a corner and pull upward with steady pressure.
– Avoid dragging the tile across neighbors (this can catch fibers and create new frays).
– If a tile is partially torn:
– Remove larger pieces first, then return for smaller remnants so you fully clear the subfloor surface.
Safety notes:
– Wear gloves—carpet backing and old adhesive residue can be rough.
– Keep debris contained; small backing fragments can interfere with seating and create seam visibility.
When carpet tiles are bonded, trimming around tile edges before lifting reduces the risk of damaging adjacent backing and widening seams.
Residual adhesive and trapped debris are a leading cause of “higher-than-surrounding” repaired sections because they prevent full flat contact.
Minimal tools checklist for removal
– Utility knife with fresh blades
– Putty knife or floor scraper (for gentle residue removal)
– Shop vacuum and clean cloths/rags
– Painter’s tape or masking tape (to temporarily mark boundaries)
– Gloves and knee protection (for comfort during tight access)
Clean, Prep the Subfloor, and Check for Height Issues
A clean, dry, smooth subfloor is what makes a one-tile repair look “invisible” after you install the replacement. In most cases, you’re not just cleaning—you’re correcting the two biggest causes of future lifting: adhesive residue thickness and subfloor unevenness.
Do this prep step thoroughly:
– Remove residue: scrape off adhesive blobs, tape strips, and backing remnants.
– Vacuum well: use a shop vacuum to remove fine dust—dust can weaken tack contact.
– Check dryness: moisture can prevent adhesive bonding and encourage future curling.
– Confirm flatness: if the area has bumps, the replacement tile will “rock” underfoot, creating a visible seam line.
If you find moisture damage or repeated failure in the same area:
– Stop the repair and address the subfloor condition first (subfloor moisture intrusion, failed leveling compound, or water intrusion points).
– A tile repair over a failing substrate usually fails again—often within weeks.
Most carpet tile failures after repair come from incomplete subfloor cleaning or a subfloor that isn’t smooth enough for full tile contact.
If the subfloor is out of level, a replacement tile can become a trip point because it won’t compress evenly under traffic.
Subfloor prep “musts” (practical standards)
– Subfloor must be dry before bonding/re-seating.
– Residue should be removed enough that the replacement tile sits at the same height as surrounding tiles.
– If you’re unsure about moisture conditions, measure moisture using the manufacturer-recommended approach for your subfloor material.
– [ADD: source for moisture testing method applicable to your subfloor/carpet tile system]
– [ADD: exact moisture threshold or test guidance from the manufacturer] ([year])
Replace the Tile (Or Reattach If It’s Just Loose)
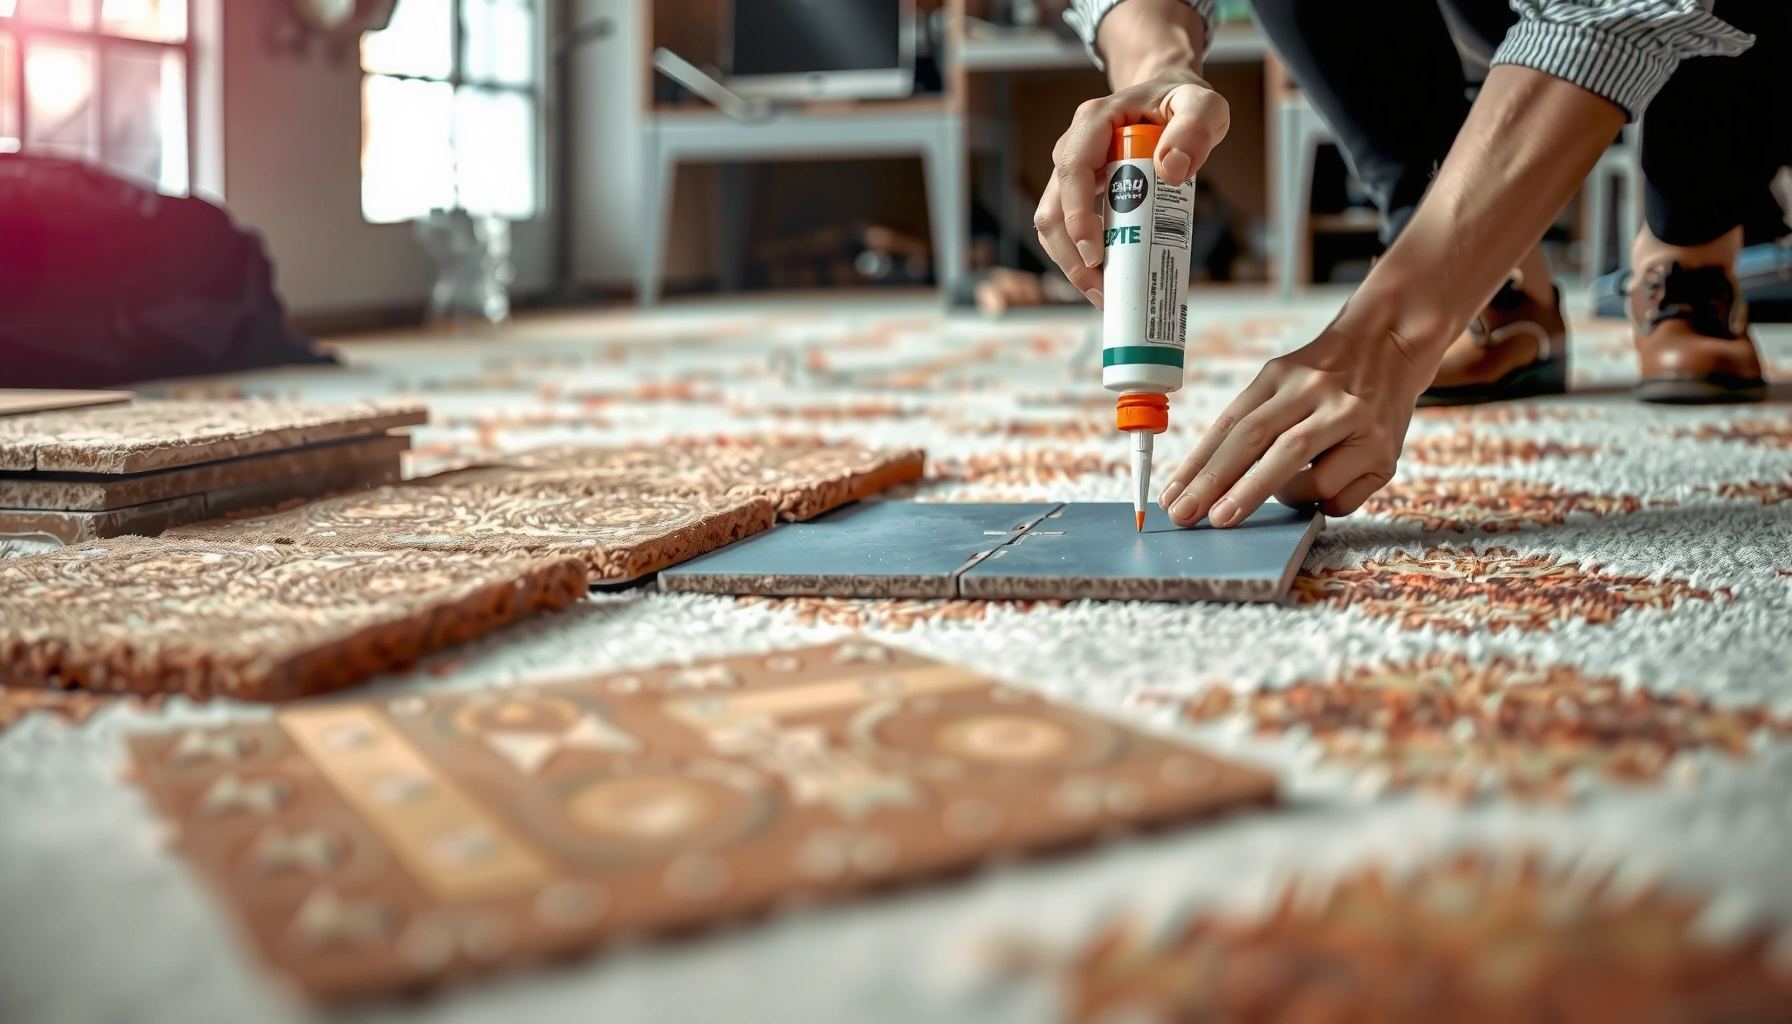
This is the part that determines whether the repair blends in: correct tile match, correct pile/pattern direction, and correct reattachment method. For best results, dry-fit the replacement tile first, then install using the adhesive/tape the manufacturer approves for your flooring system.
Match the tile like-for-like
When selecting your replacement (or reusing the removed piece if it’s intact):
– Color match: select a tile that matches the room’s existing shading.
– Pattern direction: many carpet tiles have directional patterns; align them before pressing down.
– Tile size: confirm your replacement tile is the same dimension (for example, 18″×18″ vs. 24″×24″—sizes vary by product line).
Align the “nap” or texture direction the same way as surrounding tiles. Even if the tile looks “identical,” directional pile differences can show up as subtle streaking.
Reattach the tile using the correct method
The right adhesive/tape depends on your installation type:
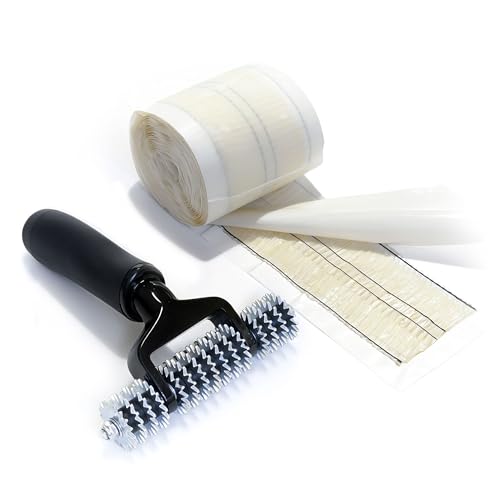
– Releasable tape systems: use the manufacturer-approved tape/locator system; press firmly and evenly.
– Peel-and-stick backing: ensure the backing is intact and the subfloor is clean; press to activate full contact.
– Loose-lay systems: if your tiles weren’t meant to be adhered, you may only need re-seating and trimming debris—don’t add full-spread glue unless the manufacturer allows it.
Pressing technique matters:
– Use firm hand pressure across the tile surface and especially along edges.
– Roll or weight the tile if your manufacturer recommends it.
– [ADD: source for recommended pressure/rolling/weighting guidance]
Carpet tile repairs look best when the replacement matches not only color but also the carpet’s directional appearance (pile/texture direction) and layout grid.
Using manufacturer-approved tape/adhesive for carpet tiles is critical because incompatible products can prevent full bonding or complicate future removals.
Even a well-matched tile can show seams if edges aren’t fully pressed to achieve consistent contact across the perimeter.
Prevent Future Lifting, Staining, and Seam Gaps
After you repair a single tile, the biggest risk is repeat failure due to preventable conditions. The most effective prevention focuses on edge protection (lifting prevention), moisture control, and cleaning practices that don’t break adhesive bonds.
Do this to reduce future problems:
– Use chair pads and glide protection on rolling furniture.
– Add entry matting to reduce grit that can abrade edges and work into seams.
– Blot spills immediately rather than soaking; moisture is a common driver of curling and seam openings.
– Avoid over-saturating during cleaning: excess liquid can travel through the carpet backing and impact adhesion.
If your facility sees heavy traffic or frequent maintenance:
– Consider a maintenance plan that includes regular inspection of seams and edges.
– Address the cause, not only the symptom—frequent edge failures often trace back to recurring moisture or improper cleaning procedures.
Seam gaps and edge lifting are frequently triggered by moisture exposure or repeated mechanical stress at tile perimeters, not just wear.
Drying time after spot cleaning matters: excess moisture can weaken backing adhesion and create a visible seam line.
What works well for facilities
– Floor walk-throughs for early edge lift detection
– Standardized spill response (blot, not scrub/soak)
– Cleaner selection that’s compatible with your carpet backing system
What Can Go Wrong (And How to Avoid It)
Even when you follow the steps, a few mistakes commonly cause repairs to stand out. If you understand these failure modes upfront, you can prevent the “why does it look worse now?” situation.
Here are the most common issues:
– Mismatched pattern/pile direction: the tile can look “off” even when it’s the same SKU.
– Adhesive incompatibility: wrong tape/adhesive can cause weak bonding, discoloration, or residue that affects future repairs.
– Repair height mismatch: residue, trapped debris, or uneven subfloor can create a noticeable trip edge.
– Incomplete cure/adhesion time: stepping on the repaired tile too soon can loosen the edges.
To make this easier to scan, here’s a comparison of the most likely causes and the fix.
| Problem you’ll see | Most likely cause | Fix before you hide it |
|---|---|---|
| Visible seam line | Uneven subfloor or residue under the tile | Remove residue, re-level if needed, re-seat replacement |
| Edge curling returns | Moisture exposure or poor prep | Dry/repair substrate first; use approved adhesive/tape |
| Tile looks streaked | Pile/pattern direction mismatch | Lift and rotate/re-align before final press |
| Tiles won’t release later | Wrong adhesive/tape used | Use manufacturer-approved products for your tile system |
Repairs that “stand out” almost always trace to residue thickness, uneven prep, or directional mismatch—so check these before final press and walk-on.
Mandatory data: failure type vs. best fix (quick view)
Carpet Tile Damage Type: Fastest Reliable Fix
| # | Damage type | Best next step | Typical outcome | Repair confidence |
|---|---|---|---|---|
| 1 | Loose edge (no visible tears) | Re-seat and reattach per system | Edges blend quickly | ★★★★★ |
| 2 | Curling corner | Lift, check subfloor, reattach | Often fixable if dry prep | ★★★★☆ |
| 3 | Torn face fiber / cut | Replace the tile | Appearance restored | ★★★★★ |
| 4 | Localized wrinkling | Remove, remove debris, re-seat | Better if caused by trapped material | ★★★☆☆ |
| 5 | Spill stain (surface only) | Clean per care guidance | May fade without replacing | ★★★★☆ |
| 6 | Spill stain (backing-penetrated) | Replace the tile | Most uniform long-term look | ★★☆☆☆ |
| 7 | Repeated edge failures (same area) | Inspect substrate & moisture | Fixing substrate prevents repeats | ★☆☆☆☆ |
Verdict: When This DIY Repair Works (And When It Doesn’t)
DIY carpet tile repair works best when you have a matching tile, the damage is localized to one or a few sections, and the underlying subfloor is dry and smooth. It fails (or looks noticeably “patched”) when the subfloor is damaged, multiple adjacent tiles are affected, or your system requires specialized full-bond removal methods.
Best DIY conditions:
– You have extra matching tiles from installation.
– The tile issue is limited to one tile (or a small cluster).
– Your install is releasable/tape/peel-and-stick and you can remove without damaging neighbors.
When you should skip DIY:
– The subfloor is crumbling, wet, or uneven beyond simple cleanup.
– You can’t confirm install type or adhesive compatibility.
– The installation is fully bonded and the manufacturer specifies a specific removal/installation workflow.
– The damaged area affects the overall field (visible patterns across multiple tiles).
Downsides to expect:
– Exact matches can be hard if your carpet tile line is discontinued or faded unevenly.
– If adhesive residue cleanup isn’t thorough, seam visibility can be noticeable.
– Repairs can create a slight transition if the subfloor prep isn’t level to surrounding tiles.
The fastest “blend-in” repairs happen when the replacement tile matches pile direction and the subfloor is cleaned so the new tile sits fully flat.
When manufacturers require specialized bonded-system removal procedures, DIY lifting can damage the substrate and worsen the final seam.
Quick Repair Checklist (Save This)
– [ ] Confirm tile type: loose / tape / adhesive / fully glued
– [ ] Remove the damaged tile without pulling up neighbors
– [ ] Clean subfloor: dry, smooth, no adhesive lumps
– [ ] Match tile: same color + pattern + pile direction
– [ ] Install replacement/re-seat tile firmly
– [ ] Let adhesive/tape set per manufacturer guidance
– [ ] Test for lifting by gently pressing edges
FAQ
Can I repair a stained carpet tile instead of replacing it?
Sometimes—if the stain is surface-level and the backing is not compromised. If discoloration has permanently absorbed into the backing or cleaning can’t restore uniform appearance, replacement is usually the more reliable approach. [ADD: source/manufacturer guidance on cleaning vs replacement for your carpet tile type]
What if I can’t find the exact same carpet tile?
If the exact match isn’t available, you may need to replace a larger section to reduce visual differences (especially with directional patterns). The best choice depends on how noticeable the mismatch will be in your lighting and viewing distance. [ADD: source for manufacturer guidance on patching vs section replacement]
How do I remove carpet tiles if they’re fully glued down?
Removal depends on the backing and adhesive used. Follow the manufacturer’s instructions for bonded-tile removal to reduce damage to the subfloor and minimize residue that affects the next installation. [ADD: source for your specific carpet tile system’s removal instructions]
Will using the wrong adhesive/tape ruin the repair?
It can. The wrong adhesive/tape may cause poor bond strength, discoloration/bleed-through, or make future replacements harder. Stick to manufacturer-approved products for compatibility with your carpet tile system. [ADD: source for adhesive compatibility from manufacturer docs]
Sources
– [ADD: Manufacturer installation/removal instructions for your carpet tile system (tile backing + adhesive/tape type)]
– [ADD: Manufacturer care/cleaning guidance (for stain treatment vs replacement decisions)]
– [ADD: Manufacturer product specification sheet for matching tile installation requirements (pile direction/pattern alignment)]
– [ADD: Source for moisture testing method and/or acceptable substrate moisture guidance for your system]
A one-tile carpet repair is usually the fastest way to restore a clean look—provided you identify the install type, remove carefully, prep the subfloor thoroughly, and reinstall with correct matching (including pile/pattern direction) and manufacturer-approved bonding. When the subfloor is compromised or the installation is fully bonded and system-specific, professional help is often the most cost-effective choice because it prevents repeat failures and seam problems.
Frequently Asked Questions
How do I replace a damaged carpet tile without removing the whole room?
Start by cutting out the damaged carpet tile with a sharp utility knife, cutting along the seams so you don’t disturb neighboring tiles. Lift the tile and remove any leftover adhesive residue using a floor scraper and, if needed, a recommended adhesive remover for your subfloor type. Then install the replacement carpet tile by aligning the arrows or pattern marks, pressing firmly for full contact, and smoothing edges so the seams disappear.
What’s the best way to fix loose or lifting carpet tiles?
If a carpet tile is lifting at the edges, first clean the area and remove dust, grit, and old adhesive so the new bond is strong. For most modular carpet tiles, reattach using the correct carpet tile adhesive (e.g., releasable or pressure-sensitive, depending on your installation) and apply it to the subfloor—not the back of the tile. Press the tile down firmly and weight it for the recommended cure time so it bonds flat and stays secure.
How can I repair a carpet tile with a stain or burn mark?
For stains, blot immediately, then use a carpet-safe cleaner and follow the product directions; avoid soaking so the backing doesn’t delaminate. If the stain is set-in, you may be able to carefully trim or lift the damaged fibers, but often the most reliable repair is replacing the affected tile. For burns, patching rarely matches texture, so replacing the tile is usually the best way to keep the floor looking uniform.
Why do my carpet tiles separate at the seams, and how do I prevent it?
Seams commonly separate due to insufficient adhesive coverage, improper subfloor preparation, or temperature and humidity changes that cause tile expansion and contraction. Check whether the subfloor is flat and clean; uneven surfaces and debris can prevent a tight seam. To prevent recurrence, ensure proper subfloor moisture levels, use the correct adhesive system for your carpet tiles, and re-seat any lifted corners promptly.
Which adhesive should I use when repairing carpet tiles?
The best adhesive depends on your existing installation method and subfloor surface. If your tiles were originally installed with pressure-sensitive or releasable adhesive, use a compatible carpet tile adhesive to avoid damage during future repairs. For concrete, ensure the surface is dry and clean, and consider primer if recommended; for plywood or other substrates, choose an adhesive designed for that surface to promote long-lasting bond and easy maintenance.
📅 Last Updated: October 11, 2026 | Topic: How to repair carpet tiles? | Content verified for accuracy and freshness.
References
- Google Scholar Google Scholar
https://scholar.google.com/scholar?q=carpet+tile+repair+replacement+procedure - Google Scholar Google Scholar
https://scholar.google.com/scholar?q=carpet+tile+patching+seams+replacement+guidelines - Google Scholar Google Scholar
https://scholar.google.com/scholar?q=carpet+tile+flooring+installation+repair+maintenance - Carpet
https://en.wikipedia.org/wiki/Carpet - https://www.cdc.gov/mold/cleanup/index.html
- https://www.epa.gov/indoor-air-quality-iaq/cleaning-tips-improve-indoor-air-quality
- https://pubmed.ncbi.nlm.nih.gov/?term=carpet+cleaning
- https://www.sciencedirect.com/search?qs=carpet+tile+repair
- Home – The Carpet and Rug Institute
https://www.carpet-rug.org/ - IICRC – A non-profit organization for the Inspection, Cleaning, and Restoration Industries.
https://www.iicrc.org/