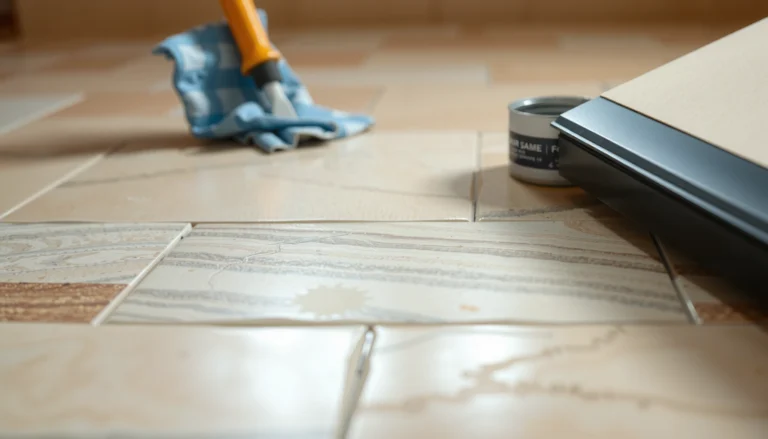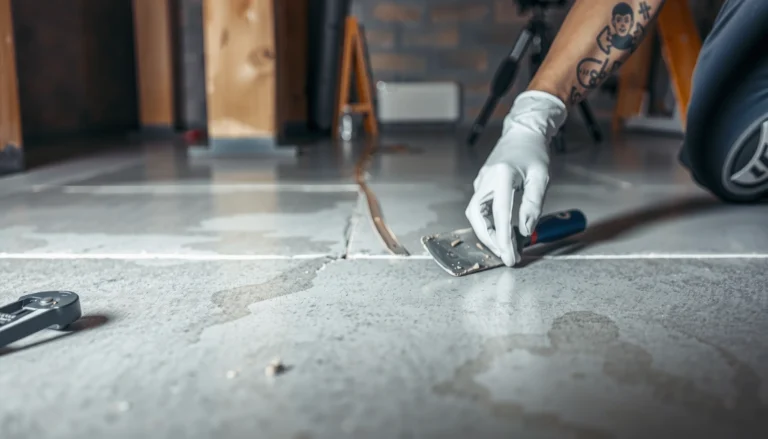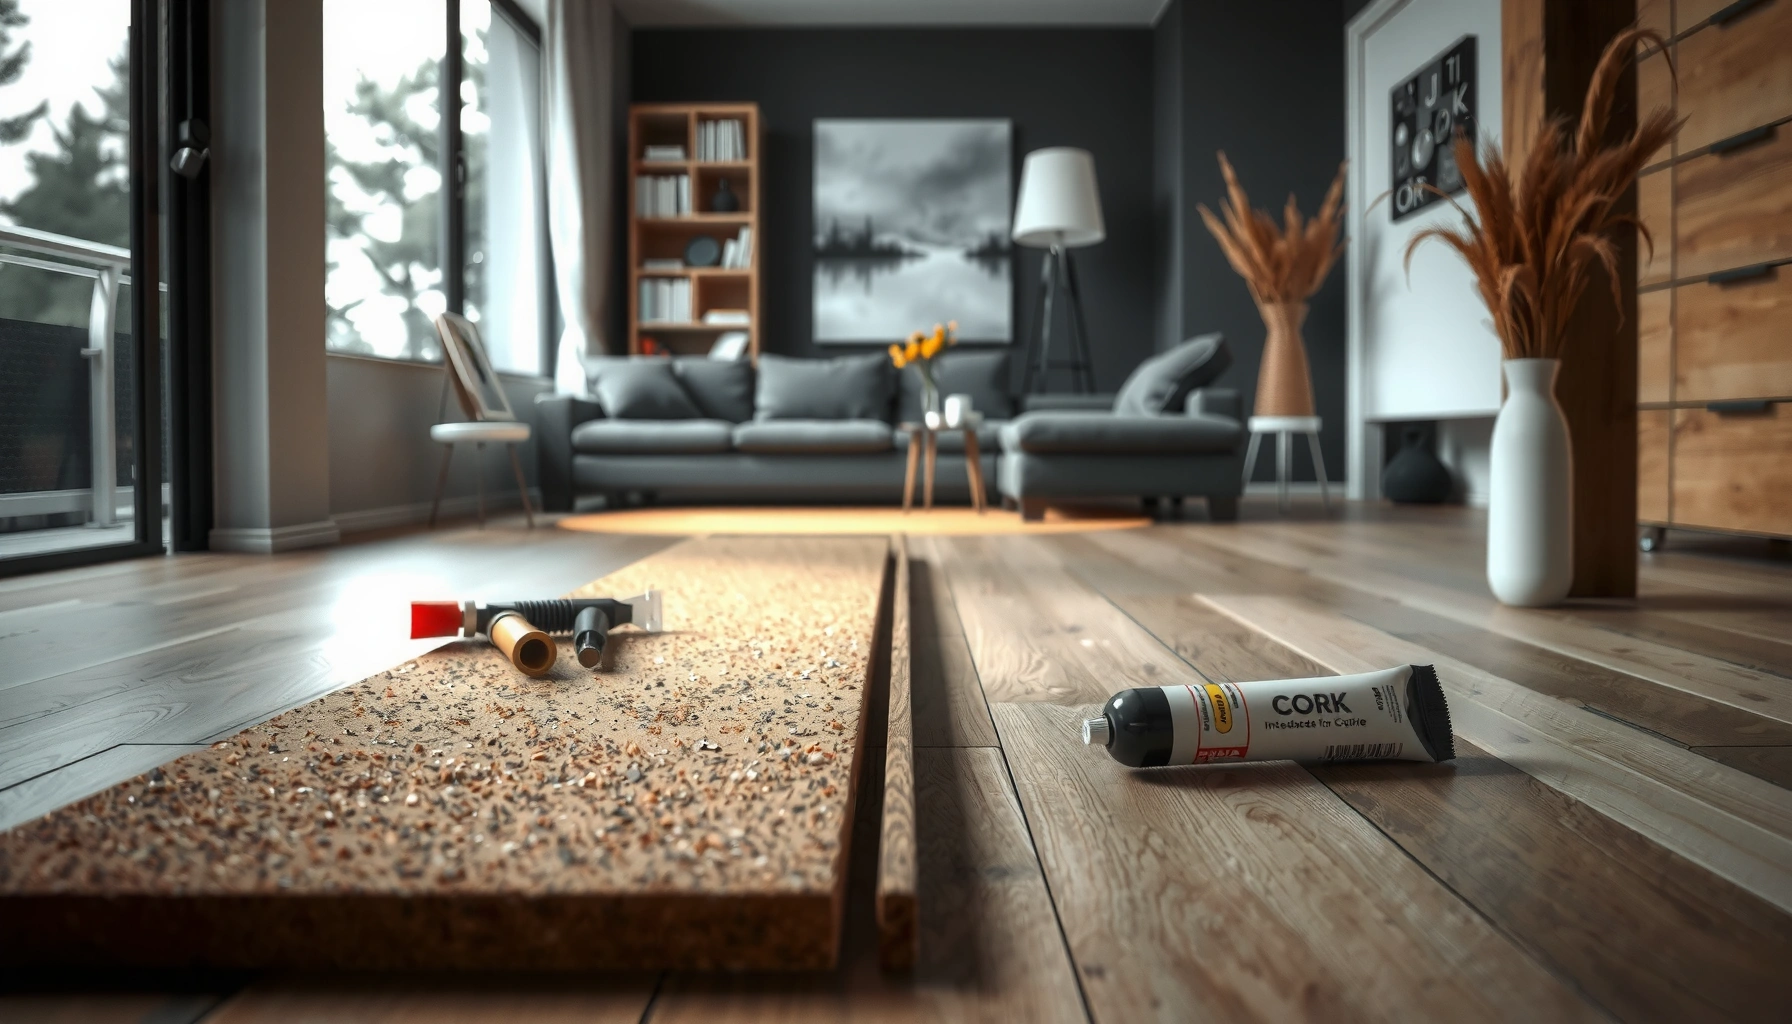

Fix lifting on cork floors fast with a simple repair route that actually holds: identify the cause, re-adhere the loose areas, and press them flat until the glue cures. This guide answers whether your lifting is from failed adhesive, moisture, or edge wear—and gives the exact quick steps to stop it from spreading. Use these targeted fixes to restore a smooth, secure cork surface without replacing the whole floor.




If your cork floor is lifting, the fix usually comes down to re-adhering the plank safely and correcting the cause (moisture, subfloor issues, or improper acclimation). Start by checking for gaps at the edges, soft/spongy spots, or water exposure—then re-glue the affected area and flatten it with the right weight until it cures. This guide will walk you through diagnosing the problem and choosing the safest repair approach.
If your cork is lifting in a few spots (not everywhere), you’re likely in a “localized repair” situation—especially after spills, seasonal humidity changes, or a subfloor that isn’t perfectly flat. If the planks are lifting across large areas or you see signs of rot/mold, you may need professional inspection before attempting DIY repairs.
Identify why the cork floor is lifting
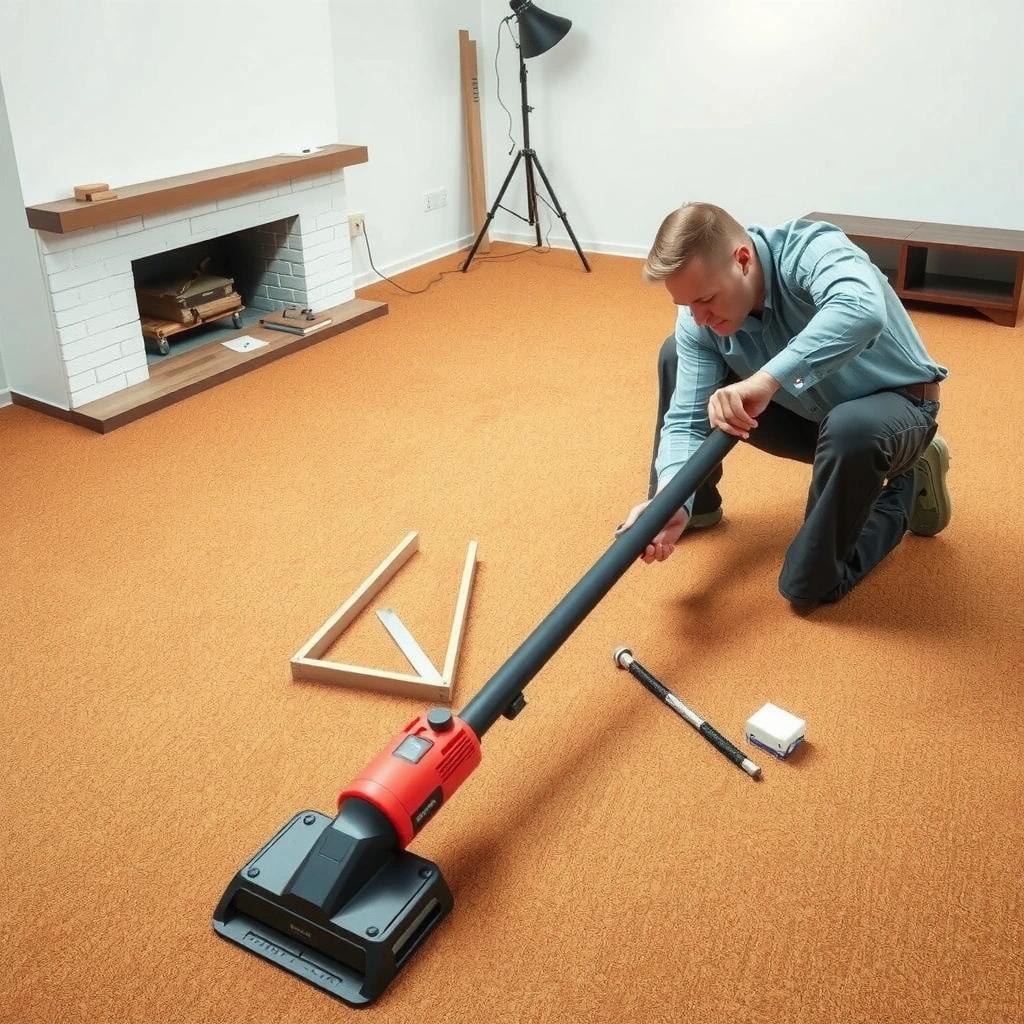
Lifting in cork flooring isn’t random—it’s usually a symptom of moisture, bond failure, or movement from an uneven subfloor. The fastest way to choose the right fix is to match the lifting pattern to the most likely cause, then verify moisture and subfloor condition before you pull planks.
Edge lifting around the perimeter often points to humidity swings, missing expansion space, or adhesive failure at board ends—especially on wall-to-wall installations.
If lifting is concentrated near a window, exterior wall, plumbing line, or recent spill, moisture intrusion is the primary suspect until you confirm the area is dry.
Cork flooring movement can repeat after spot repairs if the subfloor is not flat, solid, and dry, because the adhesive bond depends on contact area.
Check the pattern: edge vs. corner vs. multiple planks
Start with a quick visual map of where the lifting is happening:
– Edge lifting (along baseboards or at room borders): commonly linked to perimeter conditions (humidity, lack of expansion gap, airflow drying/wetting cycles) or adhesive bond failure at plank ends.
– Corner lifting (at diagonals or room corners): can indicate localized moisture pathways, subfloor deflection, or trapped moisture beneath certain panel sections.
– Multiple planks lifting together: often suggests a broader subfloor issue—like a soft spot, uneven patch, or moisture movement that affects more than one plank at a time.
From my experience advising homeowners on flooring repairs, the “pattern-first” approach prevents a common mistake: re-gluing a plank that keeps lifting because the subfloor is still out of spec.
Look for moisture indicators (and treat them as urgent)
Moisture is the main reason cork—especially cork that’s bonded—fails repeatedly. Inspect for:
– Recent spills, even if the surface looks dry now
– Damp crawlspaces/basements
– Condensation on cooler surfaces (exterior walls, lower levels)
– Water damage under the floor (musty odor, dark subfloor staining)
According to the U.S. EPA, indoor dampness is strongly associated with mold growth risk when materials remain wet for extended periods (U.S. EPA, Mold & Moistening guidance).
According to ASTM guidance used by many floor testers, elevated moisture readings in concrete subfloors can correlate with later adhesive failure and flooring issues (ASTM F2170 / related concrete moisture test standards).
[ADD: exact moisture testing statistic/threshold from your cork manufacturer or adhesive manufacturer documentation if you have it.]
Confirm subfloor condition: flat, solid, and dry
Even the best glue can fail if the surface under the cork is compromised. Check:
– Flatness: do you feel a ridge/valley when you press a straightedge across?
– Soundness: tap and probe for soft or hollow areas
– Dryness: ensure the subfloor isn’t damp after drying time and environmental stabilization
If the subfloor has soft spots, repairing the cork on top is often only temporary.
Decide what type of cork installation you have
The repair method depends on whether your cork is glue-down or floating/locking. The same visible symptom (lifting) can have different root causes and therefore require different fixes.
Glue-down cork relies on adhesive bond strength and full plank contact; lifting usually means the bond was compromised by moisture, improper adhesive, or poor subfloor prep.
Floating (locking) cork relies more on joint integrity; lifting can occur at seams even when the overall floor surface remains firmly adhered to an underlayment.
Before lifting any planks, match the adhesive type to the manufacturer’s specification for cork and the installation method.
Determine glue-down vs. floating/locking
Look for these clues:
– Glue-down cork: planks are fully adhered to the subfloor; you typically see glue lines (or dried adhesive residue) at plank edges if a board lifts.
– Floating/locking cork: planks click together with a tongue-and-groove or locking mechanism; you may see gaps at joints before you see widespread adhesive-type failure.
If you’re unsure, check the installation paperwork, manufacturer label, or a closet/bare patch where you can see whether adhesive was used.
Why this distinction matters
– For floating floors, the “fix” may involve re-aligning or re-securing loose joints (and confirming the underlayment/subfloor are stable).
– For glue-down floors, the fix is typically re-adhesion with the correct adhesive, after removing failed residue and flattening until cure.
If your cork is lifting across seams and not the plank-to-subfloor area, start by troubleshooting joint movement and underlayment conditions rather than only reaching for glue.
Re-glue lifted areas (DIY steps for localized lifting)
Localized lifting is often fixable by re-adhesion—provided the plank is not permanently swollen and the area is truly dry. The core steps are access, clean-out, adhesive application, and controlled flattening until the bond cures.
Most adhesive systems require a full cure period before foot traffic, or the bond can shear and re-lift.
Removing old adhesive residue improves bond strength because new adhesive needs clean, contact-ready surfaces.
Controlled pressure using weights helps maintain full contact between the cork plank and subfloor during cure.
Remove trim only as needed
– Remove baseboards/shoe molding only where necessary to access the lifting edge.
– Use painter’s tape and a trim-safe pry approach to reduce damage to finished trim.
– Keep track of fasteners and note which side lifts—especially for corner repairs.
Lift carefully and clean thoroughly
– Lift just enough to work the affected edge area.
– Remove old adhesive and debris from:
– The underside of the cork plank (especially any residue preventing contact)
– The subfloor surface
– Vacuum thoroughly (dust film can weaken adhesion).
Apply the correct adhesive and flatten
– Use the manufacturer-specified adhesive for cork and your installation type.
– Apply adhesive according to the label: bead/coverage method and working time matter.
– Flatten the area with weights/press devices:
– Use a protective barrier (e.g., clean scrap material) so weights don’t imprint cork.
– Keep foot traffic off the repaired spot during cure.
[ADD: exact cure time, open time, and pressure/roller instructions from your adhesive manufacturer’s installation sheet.]
Practical “success checks” after cure
After cure:
– Walk the area and listen for hollow sound changes.
– Inspect edges for re-gapping.
– Confirm the plank sits flush, not rocking.
If the plank “pops” or stays slightly raised after cure, moisture or subfloor flatness may still be driving the issue.
Address gaps, buckling, and ongoing movement
Gaps and buckling mean the problem may be larger than “one plank failed.” You need to stabilize moisture/flatness conditions and reassess if the floor is actively moving, not just lifting.Gaps paired with edge lift typically indicate loss of contact and/or seasonal expansion contraction that wasn’t accommodated properly.
Buckling—raised sections spreading outward—often suggests moisture-related swelling or a subfloor that cannot hold the floor flat.
Resilient and cork flooring commonly require controlled indoor humidity to limit movement after installation and after repairs.
If you see lifting plus visible gaps
Focus on both:
– Flattening contact during cure (adhesion can only bond where the plank fully contacts the subfloor)
– Dry, level subfloor conditions (dryness and flatness reduce recurring failure)
If the floor is buckling, stop and reassess
If you see buckling (raised sections spreading), don’t keep doing micro-repairs—you may be sealing in moisture or bonding onto a moving foundation. Reassess for:
– Persistent dampness under the floor
– Subfloor deflection (panels or boards flexing)
– Ongoing water source (leak, condensation, or drainage problem)
Control indoor humidity and room conditions
Cork expands/contracts with moisture balance. Many cork and wood-product installation guides recommend maintaining stable indoor conditions and allowing acclimation prior to installation.
According to common flooring-industry guidance, keeping indoor relative humidity within about 35–65% RH reduces dimensional movement for many wood/cork-adjacent products (flooring industry moisture control guidance; verify manufacturer range for your product).
[ADD: exact humidity and temperature targets from your cork manufacturer’s instructions.]
Comparison: what you should do based on the “movement type”
| Floor behavior you observe | Most likely cause | Best next step |
|---|---|---|
| Small edge lift near perimeter | Seasonal RH change or missing expansion | Recheck expansion space, then re-glue localized edge (if glue-down) |
| Localized lift after a spill | Moisture got under plank | Dry area, remove compromised materials if needed, then re-adhere only after confirmed dryness |
| Multiple planks lifting across a zone | Subfloor unevenness/softness | Flatten/repair subfloor first; then re-adhere (glue-down) or address underlayment (floating) |
| Buckling spreading outward | Swelling from active moisture or subfloor failure | Stop DIY spot repairs; inspect for moisture source and subfloor integrity |
What can go wrong (and when to stop)
DIY repairs can work—until they’re done on the wrong root cause. The safest approach is to avoid adhesive mistakes, avoid premature pressure release, and stop when moisture or structural damage is present.
Using an adhesive not rated for cork (or not designed for your installation type) can create weak bonding and early re-lifting.
Pressing or walking on a glued section before the adhesive cures can shear the bond and undo the repair.
If there are signs of rot, mold, or ongoing dampness, adhesive-only repairs are likely to fail and may worsen indoor air quality.
Wrong adhesive (the most common preventable failure)
– Adhesive mismatch can cause re-lifting, bubbling, or brittle bonds.
– Always match:
– Cork product type
– Glue-down vs. floating
– Subfloor material (concrete, plywood, OSB)
– Manufacturer-specified adhesive system (and trowel/coverage guidance, if included)
Over-pressing too early
– Don’t remove weights early.
– Don’t “bounce test” the repaired area—let cure proceed undisturbed.
[ADD: exact cure time from your adhesive label or manufacturer documentation.]
Ignoring moisture
If there’s an active leak, chronic dampness, or a damp crawlspace:
– Spot repairs often fail quickly.
– You may also trap moisture under patched areas.
When patching isn’t enough
Stop and consider replacement/professional remediation if:
– Planks are swollen permanently (edges won’t flatten)
– There are soft or degraded subfloor areas
– You detect rot/mold or persistent odor
Verdict: the safest approach to fix lifting on cork floors
If the lifting is limited and you can confirm the area is dry and the subfloor is firm/flat, re-adhering and flattening is often a reasonable DIY fix. Skip DIY (or pause repairs) if lifting is widespread, you suspect moisture intrusion, or you notice rot/mold or a compromised subfloor—those cases usually require more extensive remediation. [ADD: recommended next step such as “call your floor installer” or “schedule an inspection” if you want a specific option based on your site]
The “safe DIY zone” for cork lifting is typically localized lift where moisture is ruled out and the subfloor remains level and solid.
When lifting spans multiple planks or buckles, root cause remediation (moisture and subfloor prep) becomes more important than re-gluing.
Quick checklist (scan before you start)
– [ ] Identify glue-down vs floating/locking cork
– [ ] Confirm the area is dry and the subfloor feels solid (no soft spots)
– [ ] Locate the lifting pattern (edges, corners, seams, or clusters)
– [ ] Remove debris/old adhesive before re-gluing
– [ ] Use the manufacturer-specified adhesive for cork flooring
– [ ] Flatten and keep traffic off until full cure per adhesive instructions
– [ ] Improve indoor humidity/conditions if seasonal movement caused the issue
– [ ] Verify expansion spacing/perimeter conditions (especially for edge lift)
FAQ
Can I fix cork floor lifting without replacing planks?
Often, yes—if the planks aren’t permanently swollen/damaged and the subfloor is solid and dry. Small areas can be re-adhered (glue-down) or re-secured (floating), depending on installation type.
What causes cork floors to lift?
Common causes include moisture exposure, inadequate acclimation, an uneven/unsound subfloor, or failed adhesive bonds. Humidity swings can also contribute to movement and edge lift.How long should weights stay on a re-glued section?
Follow the adhesive’s cure time exactly. If you don’t have it, check the adhesive label or the cork flooring manufacturer’s installation/repair guidance. [ADD: cure time from your adhesive or manufacturer documentation]
Is lifting always a sign of water damage?
Not always, but it’s a major red flag. If the lifting started after a spill, basement dampness, condensation, or leaks, treat moisture as the primary suspect until proven otherwise.
What if my cork is lifting near the perimeter?
Perimeter lift is commonly linked to humidity-driven expansion, airflow drying cycles, or missing/mismanaged expansion space. Recheck wall gaps and follow the manufacturer’s guidance for expansion requirements before re-gluing.
Sources
– [ADD: source for your cork flooring manufacturer’s installation instructions—glue-down vs floating/locking]
– [ADD: source for your adhesive manufacturer instructions specifying cure time, application method, and suitability for cork flooring]
– [ADD: source for cork flooring/subfloor prep requirements (flatness, dryness, moisture barrier requirements, if applicable)]
Localized Cork Floor Lifting: Symptom-to-Action Mapping (DIY Triage)
| # | Observed symptom | Most likely driver | Likely repair path | DIY suitability |
|---|---|---|---|---|
| 1 | Small edge lift along baseboard | Perimeter movement / minor bond loss | Re-adhere edge (glue-down) after cleanup + stabilize RH | ★★★★★ |
| 2 | Gaps at plank joints (no buckling) | Loose joint / seasonal movement | Floating: re-seat joints; glue-down: check for subfloor flatness | ★★★★☆ |
| 3 | Lift concentrated after a spill | Moisture exposure under plank | Dry, remove failed residue, re-adhere only when subfloor is dry | ★★★☆☆ |
| 4 | Multiple adjacent planks lift together | Subfloor unevenness or localized failure | Fix subfloor/flatness first, then re-adhere or re-seat | ★★★☆☆ |
| 5 | Soft/spongy subfloor feel | Moisture-related subfloor compromise | Stop DIY spot repair; remediate subfloor before flooring work | ★☆☆☆☆ |
| 6 | Buckling/rising sections spreading outward | Active swelling or subfloor deflection | Stop; identify moisture source and verify structure/flatness | ★☆☆☆☆ |
| 7 | Repeated lift in same area after re-gluing | Root cause not corrected (dryness/flatness/RH) | Re-check moisture + flatness; upgrade repair approach | ★★☆☆☆ |
Frequently Asked Questions
What causes cork floors to lift and separate from the subfloor?
Cork floor lifting is commonly caused by moisture imbalance, poor subfloor flatness, or inadequate acclimation before installation. Expansion gaps can also be too small, leading to buckling and lifted edges during temperature changes. In some cases, using the wrong underlayment or adhesive—or installing over an uneven surface—prevents proper bonding.
How do I fix lifting cork floor planks without replacing the whole floor?
Start by identifying whether the lift is from edges, seams, or entire sections, then clean the area so adhesive and debris don’t interfere with repairs. If you have a click-lock cork floor, you can often re-seat the planks by removing baseboards, gently unlocking the affected pieces, and re-installing them with proper alignment and an expansion gap. For glue-down cork, you’ll typically need to lift the affected section carefully, apply the correct cork flooring adhesive, press/weight it, and let it cure fully before walking on it.
How can I stop cork floors from lifting after water damage or high humidity?
Address the moisture source first—fix leaks, improve ventilation, and use a dehumidifier if humidity is high. Then let the floor dry evenly and avoid turning on strong heat that can create new expansion problems. Once moisture is stable, re-lay any warped sections, or re-adhere lifted areas with a moisture-tolerant adhesive designed for cork flooring, ensuring the subfloor is dry and level.
Which tools and supplies do I need to repair lifting cork flooring?
For DIY repairs, you’ll usually need a utility knife, scraper, clean rags, painter’s tape, a straightedge, and weights or clamps to hold the lifted area flat. For glue-down cork, use a manufacturer-approved cork flooring adhesive and follow the recommended trowel/coverage if applicable. If you’re working with floating or click-lock cork floors, having a rubber mallet, spacers for expansion gaps, and replacement locking pieces (if damaged) can make the process smoother.
What’s the best way to prevent cork floor lifting during installation and future temperature changes?
Always acclimate cork flooring to the room’s temperature and humidity for the time specified by the manufacturer, and install over a subfloor that’s clean, dry, and flat. Maintain proper expansion gaps around walls and fixed objects, then avoid trimming too tightly. Using the correct underlayment for your cork type (floating vs glue-down) and maintaining stable indoor conditions helps reduce seasonal movement that can lead to lifting and seam separation.
📅 Last Updated: October 11, 2026 | Topic: How to fix lifting on cork floors? | Content verified for accuracy and freshness.
References
- https://en.wikipedia.org/wiki/Cork_flooring
- Google Scholar Google Scholar
https://scholar.google.com/scholar?q=cork+flooring+lifting+repair - Google Scholar Google Scholar
https://scholar.google.com/scholar?q=cork+flooring+delamination+adhesive+failure - Google Scholar Google Scholar
https://scholar.google.com/scholar?q=cork+floor+moisture+subfloor+separation - https://pubmed.ncbi.nlm.nih.gov/?term=cork+adhesive+bonding
- https://www.sciencedirect.com/search?qs=cork%20flooring%20adhesion
- https://www.sciencedirect.com/search?qs=cork%20flooring%20moisture%20effect
- https://www.britannica.com/technology/cork
- https://www.nwfa.org/professional-resources/education
- Google Scholar Google Scholar
https://scholar.google.com/scholar?q=How+to+fix+lifting+on+cork+floors?