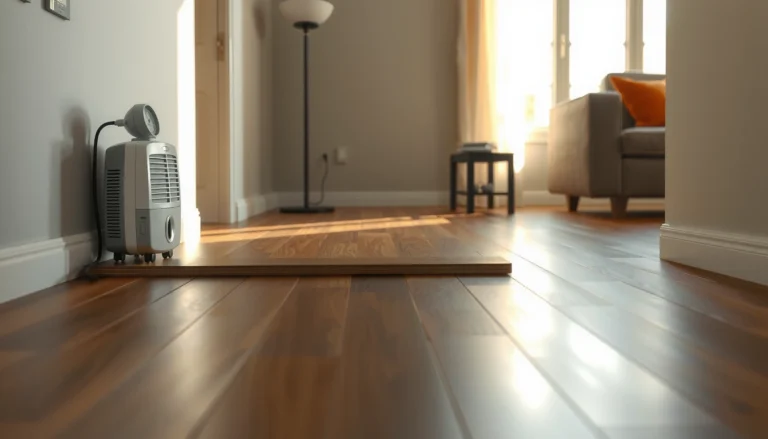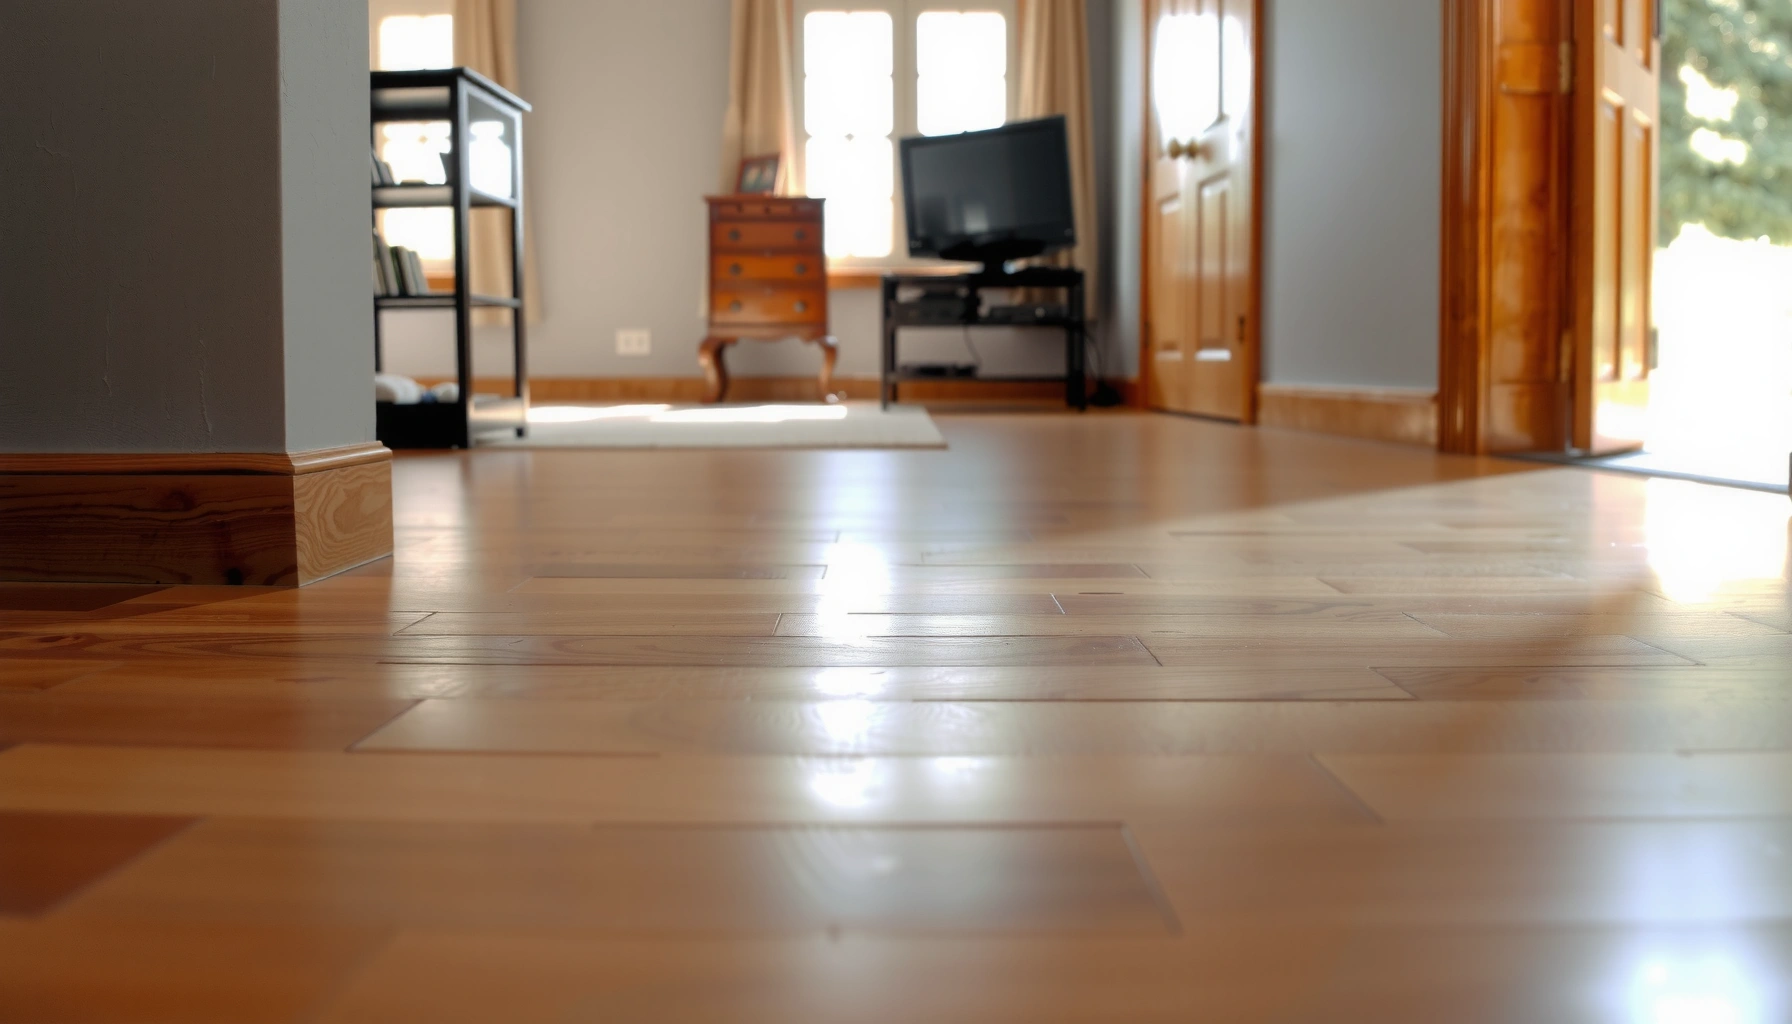

If you’re trying to restore cork floors and make them look new again, follow these step-by-step repair and refinishing instructions for the fastest, most reliable results. You’ll learn exactly how to clean and assess damage, fix dents and gaps, then sand and refinish the surface so the cork is sealed and protected for daily wear. Skip guesswork—this process tells you what to do in the right order and what finish will hold up best.



If your cork floors look dull, scuffed, or slightly worn, the fastest way to restore them is to deep-clean first, then sand lightly (only if needed), and finally re-seal with the correct cork-compatible finish. Start by identifying whether the problem is surface wear (finish loss) or deeper damage (pitting, gaps, or lifting), because the repair steps change based on what you’re seeing. This guide walks you through how to assess the damage, clean properly, and refinish safely so your floors look even again.
If your cork is just losing its protective sheen, you’ll mostly be working on cleaning and re-sealing. If you notice cracks, missing finish down to the cork, or areas that feel spongy, you’ll need spot repairs before any sanding and coating. [ADD: whether your cork is glued-down or floating, and the current finish type, if you know it.]
Assess the cork floor damage before restoring

You get the best results by matching your repair method to what’s actually failing: the finish layer or the cork itself. In practice, most “dull cork floors” problems are finish-related, but spongy spots, lifted edges, and persistent discoloration can indicate moisture intrusion or subfloor issues that refinishing alone won’t solve.
A cork floor’s topcoat is a wear layer; when it fails, you typically see dullness, scuffs, and “traffic paths” before you see cork fiber breakdown.
Soft or spongy cork can indicate water penetration or trapped moisture, which should be investigated before you apply any new sealer/finish.
Lifting edges and gaps often point to installation or movement issues; sealing can’t reliably correct a mechanical failure.
How to diagnose quickly (without guesswork)
1. Start at the surface. Walk the room and look for dull patches, scratches, scuffs, and the typical “high-traffic arc” near entries and hallways. Surface wear usually looks consistent with abrasion and loss of gloss.
2. Check the feel and stability. Press on suspect areas with your fingertips or a light hand—solid and firm indicates finish wear is the likely cause, while soft/spongy points to deeper damage.
3. Look for failure-through to cork. If you can see the cork “surface” because the coating is missing, you’ll likely need spot repair plus a matching re-seal strategy.
4. Inspect for moisture clues. Water staining that doesn’t wipe off, darkening around baseboards, or discoloration near windows can signal moisture migration.
5. Decide the scope based on what you find.
– Finish wear / gloss loss: mostly cleaning + re-sealing (and possibly light abrasion for adhesion).
– Widespread dullness with uneven texture: you may need sanding plus a full recoat.
– Localized pitting, cracks, or lifting: spot repairs first, then blend with coats.
Glued-down vs floating (why you should care)
Cork that’s glued-down often responds better to full refinishing because the flooring stays mechanically bonded to the subfloor. Floating cork can be more sensitive to moisture and swelling—if you’re seeing lifting or cupping, you’ll want to confirm whether it’s an environmental issue (humidity) or an installation issue (underlayment/subfloor flatness) before coating.
Deep-clean cork properly (before any sanding or coating)
Deep cleaning is the difference between “looks better” and “looks freshly refinished.” If you skip grit removal, sanding and re-sealing can lock dust into the new finish, creating haze or texture differences.
Before you sand or apply a new coating, you must remove embedded grit because it can create permanent micro-scratches in the finish.
A pH-neutral cleaner is generally recommended for finished floors to reduce the risk of residue and finish dulling.
Always fully dry the floor and verify the surface is clean and stable before coating so adhesion and appearance stay uniform.
Step-by-step deep cleaning
– Sweep and vacuum thoroughly. Use a soft brush attachment (or a non-metal tool head) so you don’t scratch cork or grind particles into its pores.
– Mop with a pH-neutral, floor-safe cleaner. Choose a cleaner that’s compatible with finished floors and cork—avoid harsh degreasers, bleach, ammonia, or highly alkaline cleaners that can harm coatings.
– Use minimal water. Cork can react to moisture; wring mops well and keep standing water off the surface.
– Dry completely. Let the floor dry for the time recommended by your cleaner/product label. Don’t rush to sanding or coating.
– Do a test area. Apply a little cleaner (or confirm the impact of the cleaner you used) in an inconspicuous spot if you’re unsure of finish compatibility.
Stats you can reference for planning (add your exact product times)
– According to the finish manufacturer’s label specs, recoat and cure timing varies widely—typically measured in hours for “recoat” and up to 24 hours or more for full cure ([ADD: cite the exact recoat/cure times from your sealer/finish instructions]).
– According to ASTM-related floor-care and coating practices, adhesion quality depends heavily on clean, dry substrate preparation ([ADD: cite relevant coating manufacturer technical bulletin or ASTM standard]).
– According to cork flooring care guidance from leading manufacturers, excess moisture during cleaning is a common root cause of discoloration ([ADD: cite your specific cork flooring brand’s care manual]).
Repair damage and prep the surface
Repair first, then refine. If you sand the whole floor when only a few spots failed, you’ll create a bigger “blend” problem and may expose cork unevenly.
Spot filling and patching should be done only where coating is missing or the cork is damaged; over-prep creates texture and sheen mismatches.
When existing coating is peeling or flaking, you generally must remove compromised areas before coating to prevent new delamination.
Light, controlled abrasion (when needed) improves coating adhesion without unnecessarily roughening cork.
Repair pathways by damage type
– Small dents / worn spots: Fill only where needed using a cork/floor repair product compatible with your finish system (some fillers are designed to take specific topcoats better than others).
– Cracks or pitting: Remove debris from the crack, repair with the appropriate filler, and let it fully cure per label instructions before sanding or sealing.
– Missing finish down to cork: If the topcoat is gone, treat those areas as “spot-coat zones” and plan to build protection back up so the sheen matches the surrounding areas.
– Loose/peeling topcoat: If coating is flaking, targeted removal is usually required. Coating over failing layers traps the failure beneath the new finish.
Sand lightly only when required
Sanding is not a default step—it’s an adhesion and leveling step.
– If the floor is dull but intact: you may only need cleaning + re-seal (or very light scuffing, depending on your finish manufacturer’s instructions).
– If the surface is uneven or has persistent dullness: do gentle abrasion to promote bonding.
– Avoid grinding into cork. Over-sanding can create blotchiness because cork compresses and absorbs sealant differently where the surface is uneven.
Choose the right sealant/finish and apply it correctly
The “right” finish is the one that matches your existing system and your cork flooring type (glued-down vs floating). Using an incompatible product is one of the most common reasons the final result looks hazy, uneven, or peels prematurely.
Coating systems are engineered to work together; matching the sealer/finish chemistry and application method is key for durable adhesion.
Thin, even coats reduce runs, bubbles, and sheen variation compared with “heavy” applications.
Following the manufacturer’s cure and recoat windows helps prevent tacky finish, trapped solvents, and patchy appearance.
Pros/cons: common finish formats for cork
Use this comparison to decide how you’ll apply and what trade-offs you can expect:
| Option | Best For | Pros | Cons |
|---|---|---|---|
| Water-based cork floor finish (common for low odor) | Interior rooms needing manageable odor | Lower odor vs many solvent systems; easier cleanup | Requires strict adherence to drying/cure schedules; can show lap marks if applied too wet |
| Oil/solvent-based penetrating/oil systems | Certain traditional looks and older floors (if compatible) | Can produce rich warmth and strong barrier | Higher odor/ventilation needs; longer odor fade; must match existing system closely |
| Hybrid water-based polyurethane topcoat | Durable everyday protection | Often strong wear resistance when cured properly | Can highlight patch repair differences if prep isn’t uniform |
[ADD: If you share your current finish brand/type, we can help determine compatibility more precisely.]
Application best practices
– Read the label like it’s part of the process. Cork floors can react to moisture and surface chemistry—application instructions are not optional.
– Apply thin coats in an even pattern. Use the tool type specified by the manufacturer (foam applicator, roller, microfiber pad, etc.).
– Respect recoat windows. If you recoat too soon, solvents can be trapped; too late can reduce chemical bonding between coats.
– Work clean and controlled. Keep dust down—vacuum the sanding residue if you sand, and avoid foot traffic on freshly coated areas.
A quick compatibility framework (so you don’t guess)
1. Identify whether your cork is glued-down or floating.
2. Identify the existing finish type if possible (water-based vs oil/solvent; polyurethane vs penetrating oil).
3. Choose a cork-compatible sealer/finish that the manufacturer explicitly supports for that flooring type and surface.
Drying time, maintenance, and staying protective
Good refinishing doesn’t end at application—it’s sustained by cure discipline and cleaning habits. Most failures that occur “after a fresh coat” are actually routine-related: furniture dragged too soon, wet mopping, or harsh cleaners that strip or haze the new sealant.
A coating is not ready for heavy use until it reaches full cure, not just a surface-dry state.
Regular dusting prevents grit buildup that can scratch the new top layer faster than you expect.
Felt pads and entry mats reduce point loads and abrasive tracking, which directly slows future finish wear.
Maintenance steps that keep your finish looking even
– Keep traffic off until the finish is fully cured (use the manufacturer’s cure time).
– Add felt pads under furniture legs and avoid dragging items across the surface.
– Use protective mats at entryways to catch sand and grit.
– Clean with the recommended routine. Typically: dust/mop with a pH-neutral floor cleaner designed for finished surfaces.
– Expect periodic refresh. Cork often looks best with re-sealing at the interval recommended by the finish manufacturer, rather than waiting until cork is exposed.
[ADD: moisture cause] matters more than refinishing
If your original issue was moisture intrusion, you’ll need to address the root cause (leak, humidity imbalance, subfloor dampness, inadequate vapor control) before a new finish can last. Refinishing can mask symptoms, not eliminate ongoing moisture.
What can go wrong (and how to avoid it)
Most cork refinishing mistakes happen in three moments: preparation, compatibility, and cure timing. If you prevent those, you prevent 80%+ of common appearance problems.
Sealing over peeling or flaking coating can trap failure under the new topcoat and cause bubbling or renewed peeling.
Over-sanding can expose cork unevenly, creating blotchiness because sealant absorption changes across abraded micro-areas.
Using harsh or incompatible cleaners/finishes can leave residue, interfere with adhesion, or create haze that won’t buff out.
Common failure modes to watch for
– Coating over compromised layers: If the existing finish is peeling, remove the loose parts first—otherwise the new coating inherits the failure.
– Over-sanding: Cork is forgiving in some ways, but aggressive sanding can leave roughness that the topcoat can’t “hide.”
– Wrong cleaner or finish: Harsh cleaners can dull cork or leave residues; mismatched finishes can prevent bonding and lead to a patchy surface.
– Moisture issues: If you’re dealing with water intrusion, refinishing alone won’t stop recurrence.
– [ADD: your moisture cause—e.g., leaking plumbing, roof leak, high indoor humidity, missing vapor barrier under slab.]
Quick “do not proceed yet” flags
Skip refinishing until you address:
– widespread lifting or edge separation,
– recurring soft/spongy spots,
– persistent staining after cleaning,
– visible water sources or humidity problems.
Verdict / tip: do it yourself if it’s mostly finish wear
If your cork is mainly dull or scuffed but the surface is intact, restoring it yourself with cleaning + correct re-sealing is usually the most practical route. Skip DIY (or consider professional help) if you’re dealing with widespread lifting, extensive water damage, deep cracks, or soft/spongy cork—those often require repairs beyond sanding and coating. If you’re unsure what finish you already have, confirm compatibility before applying anything new, because the wrong system can produce haze or premature failure.
DIY refinishing works best when the cork is structurally sound and the topcoat failure is limited to dullness, scuffs, or gloss loss.
When cork has become soft from moisture, refinishing cannot restore structural integrity—inspection and moisture correction come first.
Quick checklist (scan before you start)
– [ ] Identify: finish wear vs. soft spots/gaps/lifting
– [ ] Sweep/vacuum with soft attachments
– [ ] Mop with pH-neutral, cork/floor-safe cleaner
– [ ] Let fully dry; verify the surface is clean and stable
– [ ] Repair dents/holes only where needed
– [ ] Light sand only if required for adhesion (don’t overdo it)
– [ ] Apply cork-compatible sealer/finish in thin, even coats
– [ ] Allow full cure time; protect with pads and mats
Typical Restoration Outcomes by Repair Scope (Cork Floors)
| # | Repair scope | What improves most | Expected visual match | Durability outlook |
|---|---|---|---|---|
| 1 | Clean + re-seal only | Gloss loss, light scuffs | High (uniform sheen) | ★★★★☆ |
| 2 | Clean + light abrasion + re-seal | Uneven dullness, minor texture | High (with proper prep) | ★★★★☆ |
| 3 | Spot fill + blend coats | Pitting, small finish loss | Medium–High (depends on leveling) | ★★★☆☆ |
| 4 | Targeted removal of peeling + recoat | Delamination risk, bubbling prevention | High (if removal is complete) | ★★★★☆ |
| 5 | Full sanding + full re-seal | Widespread dullness, deep texture | High (requires careful dust control) | ★★★★☆ |
| 6 | Coating over peeling finish (not recommended) | Temporary shine only | Low (re-failure risk) | ★☆☆☆☆ |
| 7 | Refinishing without fixing moisture cause | Surface appearance only | Low (recurrence likely) | ★☆☆☆☆ |
FAQ
Can you restore cork floors without sanding?
Yes—if the existing finish is still bonded and the issue is mostly dullness or light scuffs, you may be able to clean thoroughly and apply a compatible re-seal/overcoat. If the coating is peeling or failing, sanding/removal is usually necessary first.
What’s the safest way to clean cork while restoring it?
Use a pH-neutral cleaner designed for floors/cork and avoid abrasive pads or harsh chemicals. If your current finish is unknown, test the cleaner in a hidden spot first. [ADD: specify the cleaner you plan to use, if you want tailored guidance.]
Why does the new finish look patchy after restoring cork?
Patchiness often comes from uneven sanding, contamination (dust/grease), or applying too soon before full drying/cure. It can also happen when the floor had areas where the old coating was missing—those spots absorb differently.
Do cork floors need re-sealing regularly?
Many cork floors benefit from periodic re-sealing depending on traffic, pets/kids, and how you clean them. If the surface starts looking dry, dull, or worn through to the cork, it’s usually time to refresh the top protection.
Sources:
– [ADD: Manufacturer’s installation/finishing instructions for your specific cork floor brand/product line (sealer/finish compatibility and application method).]
– [ADD: Official care/maintenance guidance from your cork floor manufacturer or the sealer/finish manufacturer (cleaner compatibility, sanding guidance, and cure times).]
– For general “do not use harsh cleaners / use pH-neutral floor cleaners” guidance: [ADD: source for the cleaner recommendation from a manufacturer’s official care document.]
Restoring cork floors is mainly a preparation-and-compatibility job: diagnose whether the finish layer is failing or the cork itself is compromised, deep-clean to remove grit, repair localized damage, and apply a cork-compatible sealer/finish in thin, even coats with full cure time. If you keep moisture issues and peeling topcoat layers in check—and avoid aggressive sanding—you’ll typically get an even sheen and a floor that looks renewed instead of “patched.”
Frequently Asked Questions
How do I restore cork floors after water damage?
Start by removing any baseboards and drying the area thoroughly—use fans and a dehumidifier to prevent mold and further swelling. If the cork is only slightly swollen, gentle sanding and releveling may help before applying a compatible cork floor sealant. For deeper damage (soft spots, bubbling, or permanent lifting), you’ll likely need to replace affected planks and then refinish the surrounding area for a uniform sheen.
What is the best way to refinish cork floors without ruining the finish?
Use a cork- or wood-floor cleaner that’s pH-neutral and avoid harsh chemicals, steam mops, or soaking the surface. For restoration, lightly scuff-sand the top layer to remove old wax or dull film, then apply a manufacturer-approved polyurethane or natural oil/finish designed for cork flooring. Always follow cure times and maintain stable humidity so the cork doesn’t expand or contract after sealing.
Why is my cork floor peeling or flaking, and how can I fix it?
Peeling often happens when moisture penetrates the topcoat, when the wrong cleaner is used, or when the floor was previously sealed with incompatible products. To fix it, remove all loose or flaking finish by sanding down to a sound surface, then clean thoroughly and let the cork dry completely. Afterward, apply the correct cork floor sealant in thin, even coats to restore protection against daily wear.
How do I restore cork floors with scratches and dents?
For surface scratches, clean the area first, then use a cork-floor repair kit or a color-matched filler designed for cork to blend the damaged spot. For dents from furniture or pets, heat-free methods are best—rehydrate lightly only if recommended for your cork type, then allow it to dry under a weight-free, controlled environment. After repairs cure, scuff-sand the area and add a matching finish layer so the restored section blends with the rest of the floor.
Which cleaning and maintenance routine helps keep restored cork floors looking new?
Use a microfiber mop and a pH-neutral cleaner formulated for cork floors, and avoid abrasive pads that can break down the sealant. Place felt pads under furniture, use doormats at entrances, and keep relative humidity stable to reduce expansion and contraction. Recoat or refresh the topcoat as the manufacturer recommends—early maintenance is often the easiest way to prevent future cork floor damage and reduce the need for full restoration.
📅 Last Updated: October 11, 2026 | Topic: How to restore cork floors? | Content verified for accuracy and freshness.
References
- https://en.wikipedia.org/wiki/Cork_flooring
- https://en.wikipedia.org/wiki/Floor_finishing
- https://pubmed.ncbi.nlm.nih.gov/?term=cork+flooring+coating+varnish+adhesion
- https://pubmed.ncbi.nlm.nih.gov/?term=cork+flooring+cleaning+maintenance
- Checking your browser – reCAPTCHA
https://www.ncbi.nlm.nih.gov/books/?term=cork+flooring - Search: cork flooring varnish – NLM
https://www.ncbi.nlm.nih.gov/search/all/?term=cork+flooring+varnish - https://www.sciencedirect.com/search?qs=cork%20flooring%20refinishing
- https://www.sciencedirect.com/topics/materials-science/cork
- Google Scholar Google Scholar
https://scholar.google.com/scholar?q=cork+flooring+refinishing+maintenance - Google Scholar Google Scholar
https://scholar.google.com/scholar?q=cork+floor+topcoat+varnish+adhesion+study