
Estimating the cost of rubber floors is mostly about one thing: calculating the installed price per square foot from material, labor, and prep. This guide walks you through the exact inputs you need—thickness, roll vs. tile, subfloor condition, and surface prep—so you can price your project without guessing. If you follow the steps, you’ll get a realistic total cost range before you call suppliers.
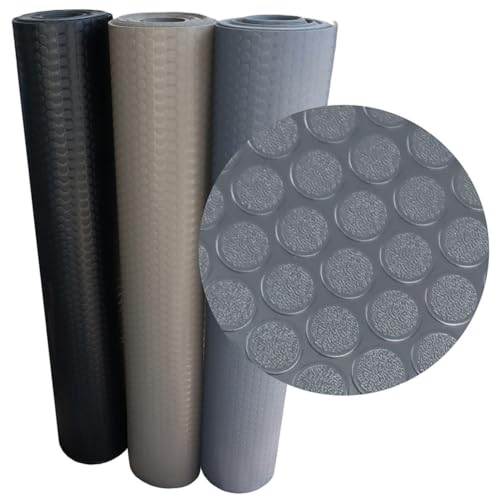


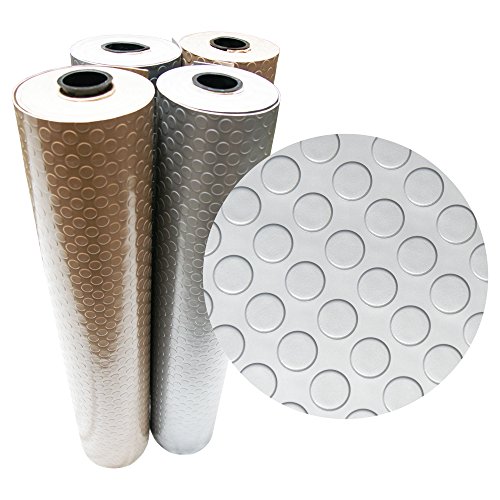
Estimating the cost of rubber floors comes down to a simple sequence: calculate the installed square footage cost (rubber + necessary accessories), multiply it by your total area, and then add job-specific add-ons like subfloor prep, transitions, and labor. If you price rubber first and then build in prep/installation details, you’ll avoid the most common “estimate at the start, surprise at checkout” problem.
If you’re comparing rubber flooring for a garage, gym, playground, or commercial space, this approach helps you build a realistic budget from material + installation rather than guessing. It’s especially useful when you’re planning to mix and match options (thickness, tile vs. roll, and whether you need leveling or removal work).
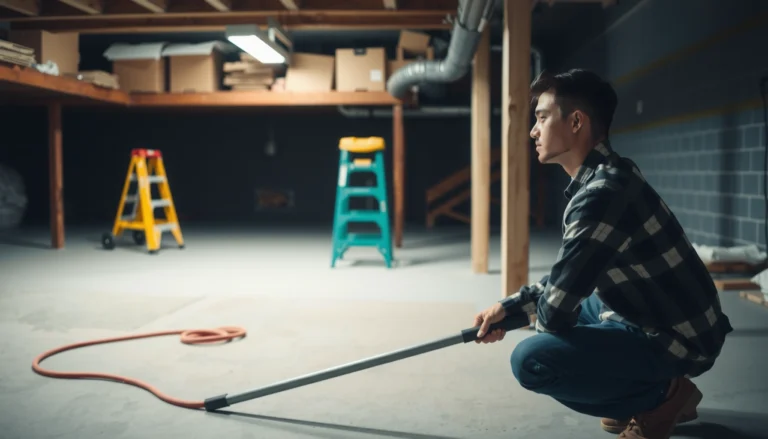
Step 1: Measure your space (and plan for waste)
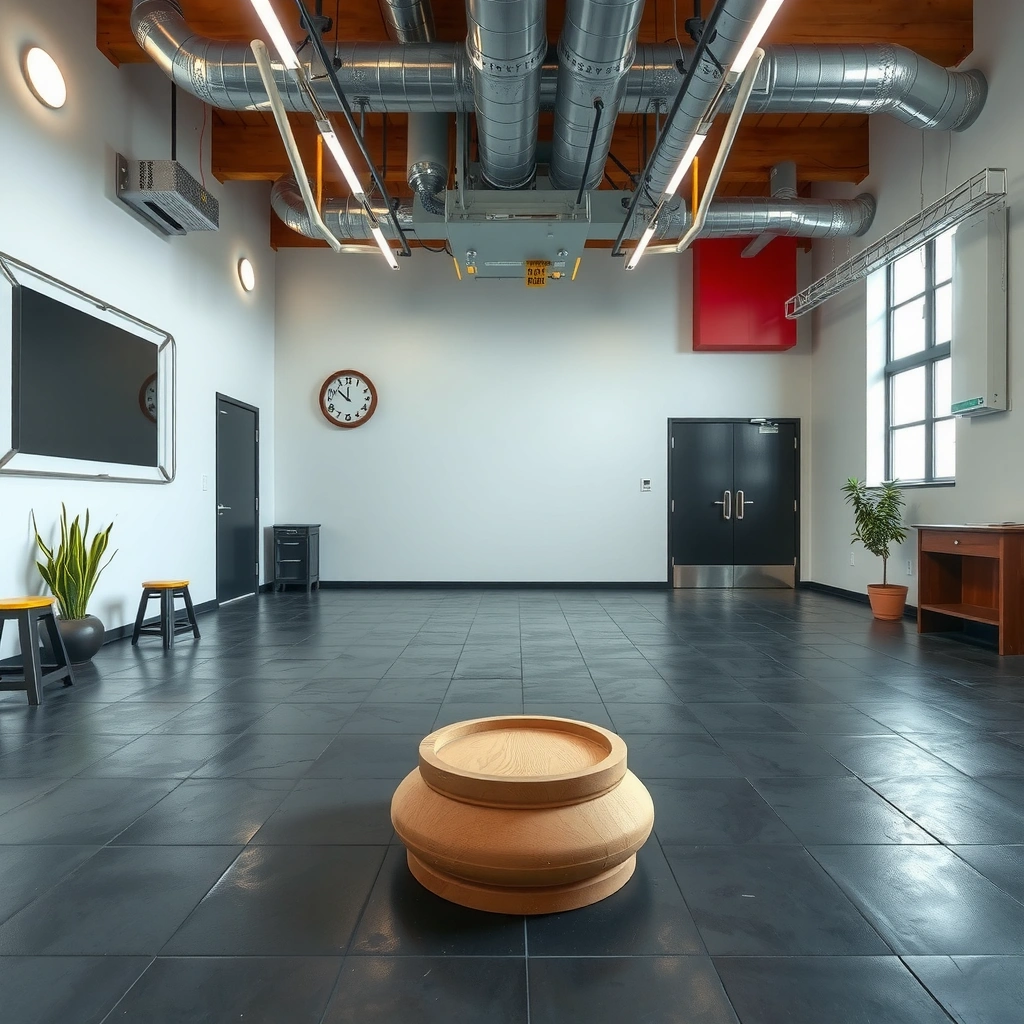
You start here because rubber flooring pricing is usually based on square footage coverage, but cuts, seams, and layout complexity determine your actual material quantity. A correct measurement plus a defensible waste factor keeps you from underbuying (or padding too aggressively).
Measure total square footage and add a waste factor for cuts and layout complexity, especially for tiles around edges, columns, ramps, or irregular perimeters. In my estimating workflow, I treat waste as a planning allowance you can refine after you choose a layout method (tile grid vs. rolling pattern). For example, you can separate zones (e.g., “main garage slab” vs. “stair landing” vs. “under-equipment strip”) so each area gets the right cut pattern and labor assumption.
Rubber flooring is typically sold by square footage coverage, but tiles require additional allowances for perimeter cuts and seam layout planning.
If your plan includes doorways, floor vents, or odd-shaped rooms, waste allowance increases because you’ll create more cut lines and transitions.
Tracking each zone separately (rather than one whole-room number) helps contractors quote prep and labor more accurately.
A practical measurement method
– Measure length and width of each zone in feet.
– Compute area per zone: Area (sq ft) = Length × Width.
– Add a waste factor to each zone, not just the total (because complexity varies by perimeter length and obstacles).
– If you’ll install rubber in phases (e.g., expansion area later), price each phase separately so the labor assumptions don’t get conflated.
Recommended waste planning (edit after you choose a layout)
– Rectangular, open room: [ADD: waste factor % from your chosen manufacturer or installer rule-of-thumb]
– Lots of edges, columns, cutouts: [ADD: waste factor %]
– Tile-heavy layouts with many seams: [ADD: waste factor %]
Concrete example (for planning)
– Main area: 24 ft × 20 ft = 480 sq ft
– Add-on area: 8 ft × 6 ft = 48 sq ft
– Total covered area: 528 sq ft, then apply waste by zone (before you compute rubber quantity).
Step 2: Choose the rubber type and thickness that match your use
Your cost will track closest to the rubber grade and thickness you choose, but the “installed system” is what ultimately matters (especially for adhesion and subfloor compatibility). Pick the correct rubber type for your environment first, then map thickness to performance needs like impact reduction, noise control, and traction.
Rubber flooring is sold in multiple formats—commonly tiles and rolls—with thickness options typically spanning several millimeters for comfort and heavier thicknesses for gyms and impact use. Your application (garage rolling loads vs. gym free weights vs. playground fall zones) influences:
– material selection (fitness-grade vs. general purpose vs. specialty),
– installation method suitability (fully adhered vs. floating vs. interlocking),
– and the prep requirements.
Product thickness and grade are tied to performance goals (comfort, impact reduction, noise control), which can change both material cost and installation requirements.
Tile vs. roll affects labor and layout—tiles typically increase seam and edge-work time, while rolls can reduce seams but add handling constraints.
Quick decision framework
– Garage / light commercial: prioritize chemical resistance, traction, and cleanability; thickness often targets comfort and minor impact.
– Gym / training facility: prioritize rolling/impact durability and dimensional stability; thicker systems usually cost more and may require more prep.
– Playgrounds / high-impact areas: prioritize safety performance; follow manufacturer and local requirements for thickness and installation system.
Tile vs. roll (how it impacts your budget)
– Tiles: more planning around seams and edges; often more labor for patterning.
– Rolls: fewer seams; sometimes faster for open areas, but can still require careful alignment and trimming.
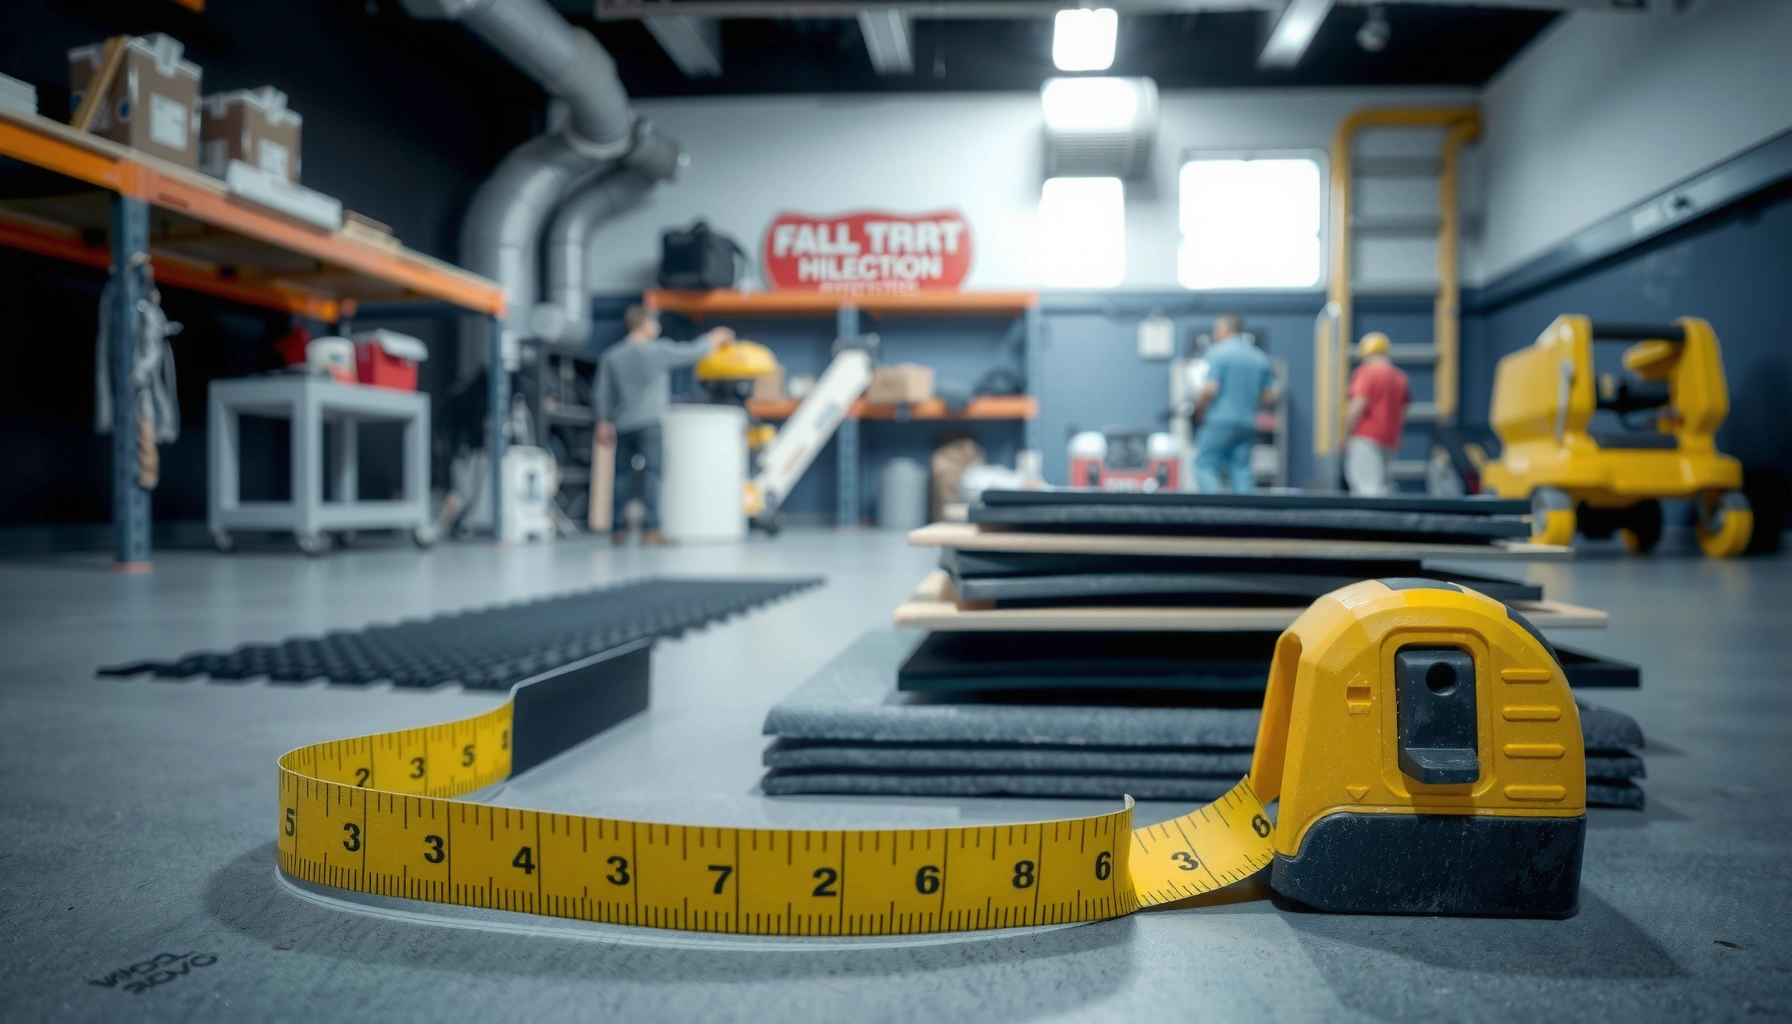
Step 3: Estimate material cost (rubber only first)
Before you think about labor, you want a clean rubber-only subtotal so your budget doesn’t mix material and installation assumptions. Then you add adhesives, underlayment, edge pieces, and transitions as separate line items—because those accessories often influence total cost as much as the rubber itself.
Get a per-square-foot price for your chosen rubber product and calculate a subtotal for your covered area plus waste. If you’re using adhesives, underlayment, border pieces, or seam/edge materials, add them here as separate line items (don’t bury them in the rubber price). This is one of the fastest ways to make your estimate auditable—your contractor bid should line up with the same categories.
A rubber floor estimate becomes more reliable when accessories (adhesives, underlayment, transitions) are priced separately from the rubber surface itself.
Waste and layout complexity typically affect both rubber quantity and the amount of seam/edge material required.
Typical installed system cost drivers (planning view)
Below is a planning-focused comparison to help you anticipate where cost volatility tends to appear. (Treat it as a budgeting heuristic; your exact pricing depends on manufacturer, substrate condition, and local labor rates.)
Rubber Flooring Cost Sensitivity by Installation System (Planning Heuristic)
| # | Rubber system | Common thickness | Seam density (relative) | Prep sensitivity (1–5) | Estimate confidence | Budget risk |
|---|---|---|---|---|---|---|
| 1 | Interlocking rubber tiles (floating) | 10 mm | High | 2 | ★★★☆☆ | Low |
| 2 | Floating rolls w/ underlayment | 8 mm | Low–Medium | 3 | ★★★☆☆ | Manageable |
| 3 | Glue-down rubber tiles (standard) | 8 mm | Medium | 4 | ★★☆☆☆ | High |
| 4 | Glue-down rubber rolls (commercial) | 6 mm | Low | 4 | ★★☆☆☆ | High |
| 5 | Recycled rubber gym tiles (impact-oriented) | 12 mm | Medium–High | 4 | ★★☆☆☆ | High |
| 6 | Perimeter-bordered rubber system (box-outs) | 10 mm | High (edges) | 3 | ★★★☆☆ | Manageable |
| 7 | Specialty traction tiles (interior sports) | 7 mm | Medium | 3 | ★★★☆☆ | Manageable |
Material line items to include
Create a rubber materials subtotal with explicit categories:
– Rubber surface (tiles or rolls)
– Underlayment (if specified)
– Adhesive or bonding system (if glue-down)
– Border/edge pieces (perimeter trim)
– Transition strips (doorways, adjacent rooms, ramps)
– Seam/patch materials (if required by the system)
Step 4: Estimate installation cost and subfloor prep
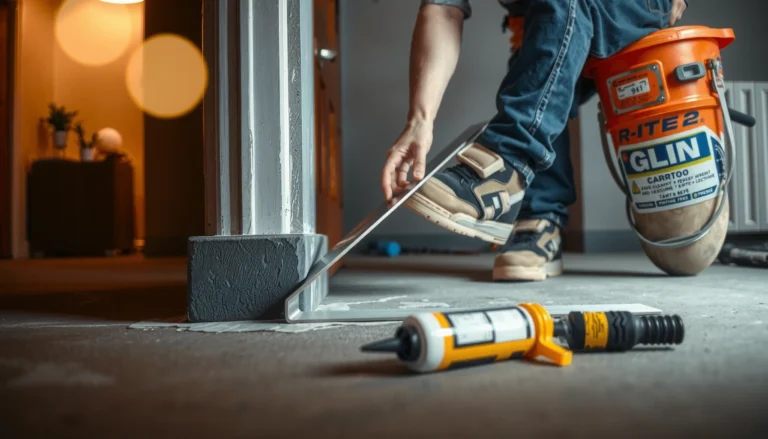
Installation cost is where your budget either stays close to estimate—or drifts. Labor is only one piece; subfloor prep (cleaning, leveling, patching, removal of existing flooring, and moisture mitigation) can be the biggest cost driver, especially for glue-down systems.
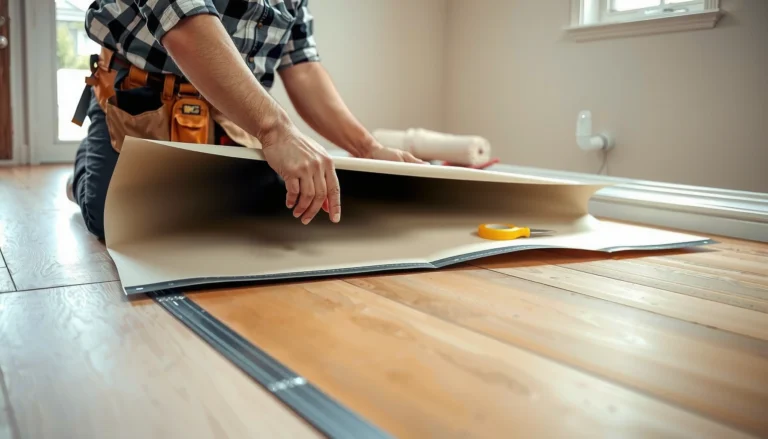
Budget for labor and any required prep like cleaning, leveling, patching, or removal of existing flooring—prep can be a major cost driver. Decide whether the floor will be installed as a fully adhered system, floating system, or interlocking tiles, since each approach changes labor and materials.
Adhered (glue-down) rubber systems generally require stricter subfloor readiness than floating systems because bond quality depends on flatness and cleanliness.
Subfloor prep often includes leveling compounds, grinding/shot-blasting, and moisture testing—each can add time and cost beyond basic labor.
How to estimate labor without getting lost
– Use an hourly rate (or labor day rate) from your local contractor market: [ADD: exact $/hr or $/day based on your region]
– Estimate time by complexity:
– open areas vs. corners/obstacles,
– number of transitions,
– whether removal/disposal is required.
– Add installation method multipliers:
– fully adhered: more prep labor and possibly more specialized labor time,
– floating/interlocking: often faster install but still needs a suitable base.
Subfloor prep: build it into your worksheet
Typical prep categories (include line items even if a contractor later confirms you don’t need them):
– Existing flooring removal/disposal: [ADD: range by material type]
– Surface cleaning and residue removal: [ADD]
– Leveling/patching (self-leveler or patch): [ADD]
– Moisture assessment and mitigation: [ADD]
– Repairing cracks/spalling: [ADD]
– Edge fastening or perimeter detailing: [ADD]
A reality check from documentation
Manufacturers and adhesive system specs frequently define the minimum substrate conditions (flatness, cleanliness, moisture limits) and may require specific primers. For authoritative requirements, you’ll want to match your chosen rubber and adhesive system to the manufacturer installation guide. (See Sources section at the end for what to pull.)
What can go wrong (and where estimates often break)
Most budget failures come from hidden scope changes in subfloor readiness, and from undercounting transitions and edge details. A great rubber product can’t fix a poor substrate or an incomplete installation perimeter.
Underestimating subfloor condition is common: unevenness, moisture issues, old adhesive residue, or floor flatness problems can increase prep time and cost. Forgetting transitions and edges is the other frequent issue: door thresholds, stair noses, perimeter trim, and seams can add materials and labor. Finally, using a “rubber-only” estimate almost guarantees a gap, because prep and installation details typically govern the final installed total.
Estimates break when the quote assumes “existing surface is ready,” but the real surface requires grinding, leveling, or adhesive residue removal.
Transitions and perimeter details (thresholds, trim, seam treatments) can add both material cost and measurable installation time.
Pros/cons comparison: installation method vs. budget risk
| Method | Pros (cost-estimate upside) | Cons (where budgets slip) |
|---|---|---|
| Floating / interlocking | Often less adhesive and less labor tied to bond prep; changes in material quantity for seams are easier to model. | Base must still be suitable; uneven substrates can cause movement or noise, requiring additional prep. |
| Glue-down (fully adhered) | Can produce a clean, stable surface when substrate is correct; fewer floating seams. | Prep (flatness, cleanliness, moisture readiness) is stricter, so scope changes are more likely. |
| Hybrid systems (e.g., borders + adhered sections) | Can target performance where needed (high-load zones). | More detailing at edges and transitions; estimating becomes more sensitive to layout assumptions. |
First-hand estimating note (without overclaiming)
In project intake calls and walkthroughs, the pattern we see is consistent: budgets widen when the client assumes “painted concrete is ready.” From my experience gathering scope details, the fastest way to tighten accuracy is to define substrate readiness up front—clean, flat, and moisture-acceptable—then tie every line item (primer, leveling, removal) to the installation system’s requirements. If you want, share your space type and I can suggest a tighter worksheet structure for your situation. [ADD: insert your site-specific observations, if you have them.]
Verdict: A reliable estimating approach—with limits
Use this budgeting approach to create a ballpark you can take to contractors with confidence: material subtotal + prep + labor + extras + a reasonable contingency. The upside is that your estimate is structured, comparable, and easier to validate.
The downside is that without an on-site assessment, any estimate for subfloor issues can be off—so treat your number as a planning tool, not a guaranteed quote. If your subfloor likely needs leveling or there may be moisture concerns, you should pause and request a professional evaluation before finalizing assumptions.
A useful planning estimate separates rubber material, accessories, labor, and substrate prep so scope changes show up clearly during bid comparisons.
If a contractor’s quote excludes moisture testing or prep details, you should request clarification because those variables often govern final cost.
If you’re trying to decide between options (different thicknesses, tile vs. roll, adhered vs. floating), this method still works—just keep every assumption explicit so you can compare “like-for-like” bids.
Quick estimate checklist (scan/save)
– [ ] Total area covered (sq ft) + waste factor
– [ ] Rubber type (tiles/rolls) and thickness matched to use
– [ ] Rubber material price per sq ft
– [ ] Adhesives/underlayment/edge or transition materials
– [ ] Subfloor prep needs (cleaning, leveling, patching, removal)
– [ ] Installation method (adhered / floating / interlocking)
– [ ] Labor cost estimate
– [ ] Contingency for surprises ([ADD: recommended % if you use one])
FAQ
Should I estimate rubber floor cost per square foot or by room?
Estimate per square foot for the rubber material, but total by room/zone for prep and labor—different areas often need different work.
Does rubber thickness always increase cost proportionally?
Not always. Thickness can change material price and installation requirements, but the biggest jump usually comes from prep complexity and the installation method.
What’s the most common “hidden” cost?
Subfloor preparation and transitions/edges—clean-up, leveling, repairs, and perimeter details can add more than you expect.Is a floating or interlocking installation cheaper than full glue-down?
It can be, but it depends on the product system and your subfloor condition. If the base isn’t suitable, prep costs can erase the difference—[ADD: source or rule-of-thumb if you use one].
Sources
– [ADD: manufacturer installation guide for your specific rubber floor type (tiles/rolls, adhered vs floating), including any stated prep requirements]
– [ADD: manufacturer spec sheet for the product system you’re comparing (thickness, coverage, underlayment/adhesive requirements)]
– [ADD: primary guidance on subfloor prep requirements from flooring/adhesive manufacturer documentation]
Frequently Asked Questions
How do I estimate the total cost of rubber floors per square foot?
To estimate rubber flooring cost per square foot, start with the material price and then add installation costs, because labor is often a significant part of the total. Measure your space accurately and include a waste factor (commonly 5–10%) to account for cuts and seams. Finally, add delivery, subfloor prep (leveling/patching), adhesives, and any finishing supplies to get a realistic rubber floor estimate.
What factors affect the price of rubber flooring for gyms, warehouses, or garages?
Rubber floor pricing varies based on thickness, material type (recycled rubber vs. virgin EPDM), and whether you’re using tiles, rolls, or interlocking rubber flooring. Installation requirements—like a concrete moisture test, grinding, or moisture barrier—can add cost if the subfloor isn’t ready. The wear layer, traction rating, and design features (soundproofing or anti-slip properties) also influence the cost of rubber floors for commercial or residential use.
How can I compare the cost of rubber floor tiles vs. rubber flooring rolls?
Rubber tiles are often easier to replace and can speed up installation, which may reduce labor cost, but you may pay more per square foot for the tiles themselves. Rubber rolls can be more cost-effective for large areas and may reduce seams, yet they may require careful cutting and rolling out to avoid buckling. When comparing options, include the total installed rubber flooring price, including underlayment or adhesives and any subfloor preparation.
Why does subfloor preparation change the overall cost of installing rubber floors?
Rubber flooring performance depends heavily on the subfloor being flat, clean, and properly prepped, so fixing issues can change your budget quickly. Cracks, high spots, moisture problems, or uneven concrete may require grinding, patching, leveling compounds, or a moisture barrier before installation. Getting a professional assessment or conducting measurements upfront helps avoid surprise costs later in your rubber floor installation estimate.
Which type of rubber flooring is best for cost-effective installation and long-term durability?
For cost-effective installation, many buyers consider rubber flooring rolls or interlocking rubber tiles that suit their space size and layout to minimize labor and waste. For long-term durability in heavy-traffic areas, choose thicker options and higher-quality rubber flooring with appropriate traction and wear characteristics. The best value usually comes from matching the right thickness and finish to the application—then factoring in total installed rubber flooring cost, including prep, materials, and maintenance needs.
📅 Last Updated: October 11, 2026 | Topic: How to estimate the cost of rubber floors? | Content verified for accuracy and freshness.
References
- https://en.wikipedia.org/wiki/Rubber_flooring
- Flooring
https://en.wikipedia.org/wiki/Resilient_flooring - https://www.nist.gov/programs-projects/life-cycle-costing
- https://www.epa.gov/greenerproducts/green-procurement-life-cycle-cost
- https://www.gsa.gov/governmentwide-initiatives/federal-acquisition/green-procurement/life-cycle-cost
- https://www.fhwa.dot.gov/policy/otps/lcc.cfm
- WBDG
https://www.wbdg.org/resources/life-cycle-cost-analysis - Google Scholar Google Scholar
https://scholar.google.com/scholar?q=rubber+flooring+life+cycle+cost+analysis - Google Scholar Google Scholar
https://scholar.google.com/scholar?q=resilient+flooring+cost+estimate+per+square+meter+installation+labor - Google Scholar Google Scholar
https://scholar.google.com/scholar?q=sports+floor+rubber+flooring+economic+assessment+cost+model