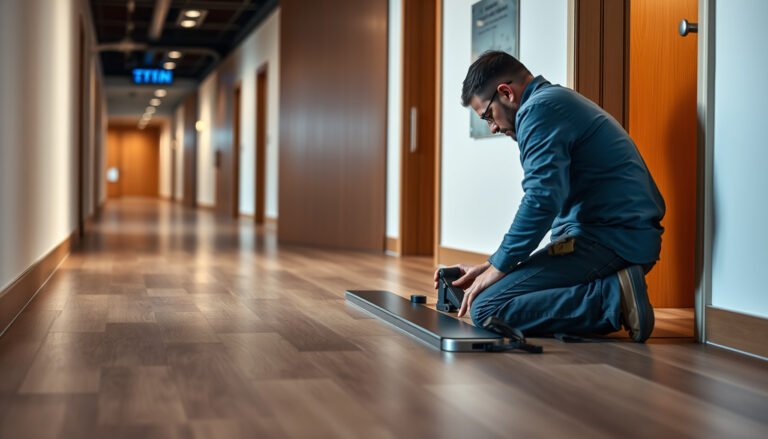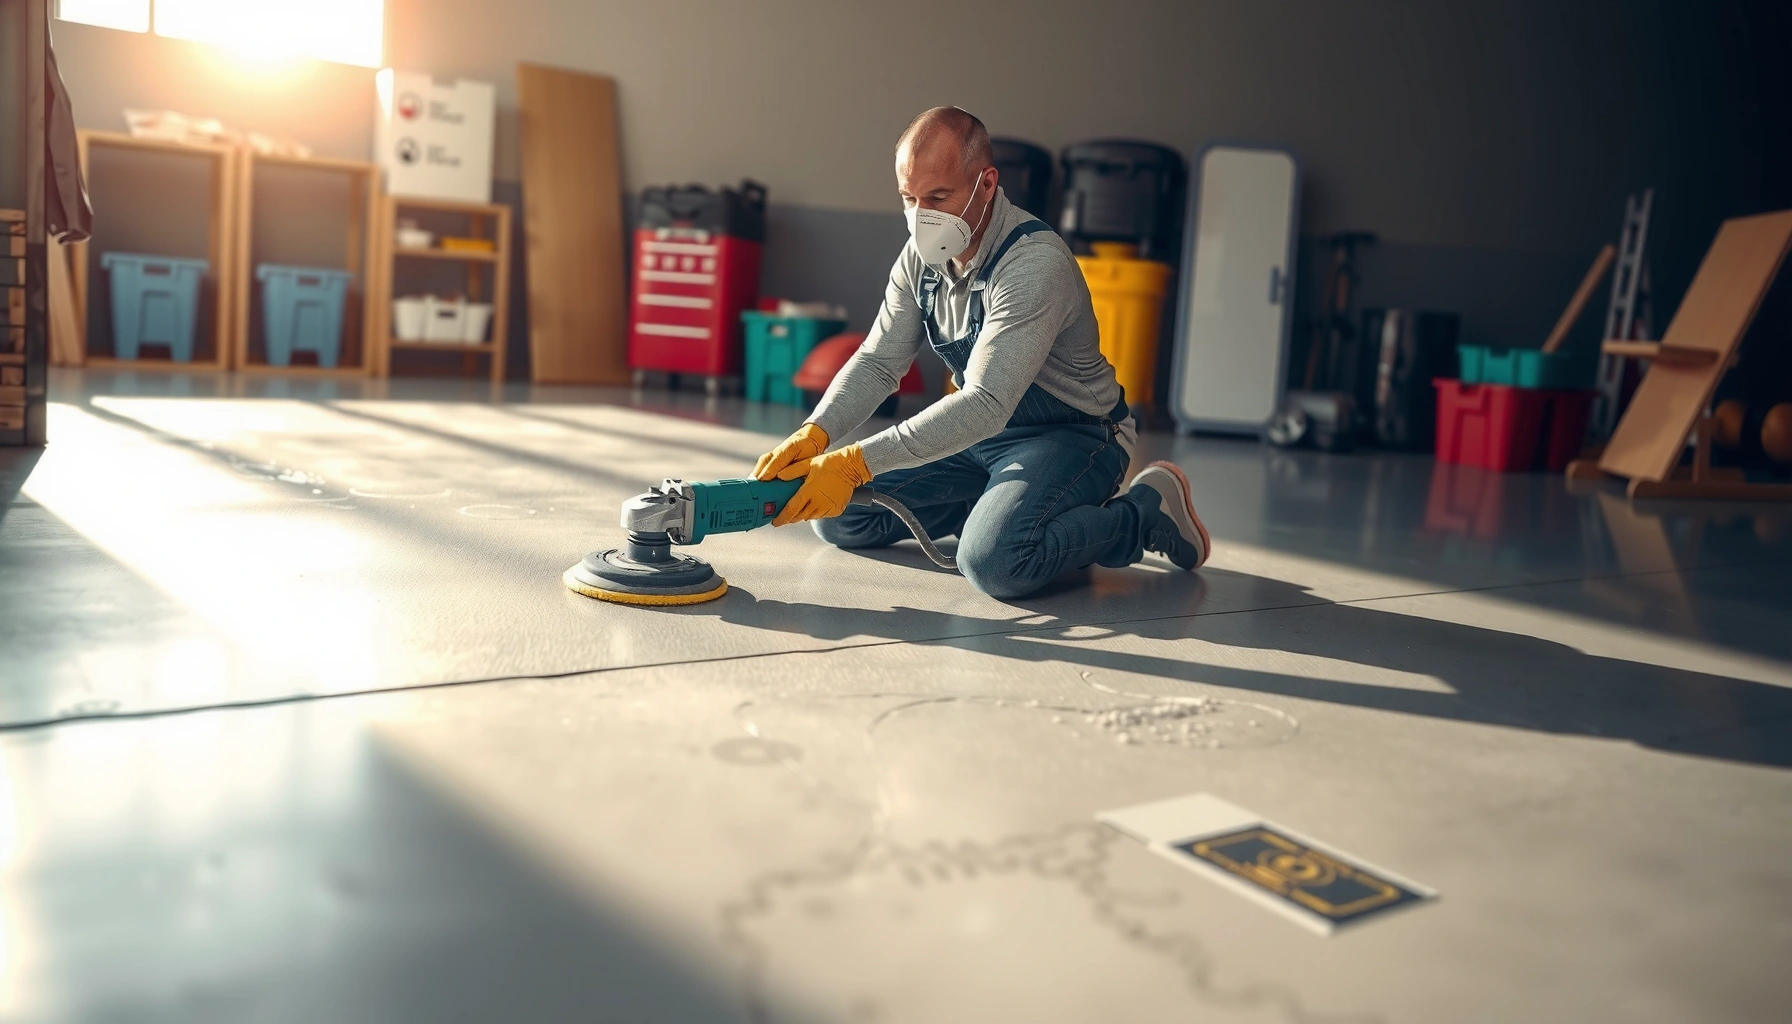

You can install polished concrete floors without professional help—if you follow the right prep, grind sequence, and curing schedule, the process is straightforward enough for a competent DIYer. This guide answers how to install polished concrete floors step by step, including what to do before grinding, which tools to use, and how to seal for a durable, high-gloss finish. Skip shortcuts and you’ll get a professional-looking result without paying for labor.




You can install polished concrete floors yourself if you start with the right slab conditions, choose a compatible polishing system, and follow a consistent grinding-to-sealing workflow. The difference between “DIY success” and “patchy, dull, or failing early” is preparation—especially slab flatness, moisture control, and thorough cleaning before any densifier or seal.
If your slab is sound, accessible, and you’re comfortable investing time (and managing heavy dust), DIY polished concrete can be a realistic project. However, if coatings are unknown, moisture is active, or the slab needs major structural repair, the risk profile changes quickly—so it’s worth screening the slab first.
Check Your Concrete Slab Before You Start

You can only polish concrete “without professional help” when the slab is stable, properly prepared, and free from conditions that polishing can’t fix. If the surface is coated, contaminated, excessively wet, or badly uneven, you’ll spend more time grinding and still end up with inconsistent sheen or early wear.
Before you rent equipment, confirm the slab is structurally sound and assess moisture risk using standard testing approaches used in coatings and flooring—because polished concrete still depends on surface integrity and product compatibility.
A key prerequisite for surface-applied flooring systems is verifying moisture conditions, because excessive moisture can disrupt bonding and performance of subsequent treatments.
OSHA regulates respirable crystalline silica exposure during concrete cutting and grinding; the respirable PEL is 0.05 mg/m³ (8-hour time-weighted average).
Concrete is commonly assumed to reach design compressive strength around 28 days under normal curing conditions, which affects how stable the slab surface may be during grinding.
Slab soundness and coatings:
Polishing will follow the slab’s reality. If you have thick paint, epoxy, membrane residue, or patch compounds that don’t abrade uniformly, you’ll see banding, dull zones, and “ghost” lines after sealing. Remove or fully mechanically profile anything that can create layered hardness differences. In my experience planning DIY installs, the most time-consuming surprises are usually hidden coating overspray and prior patch materials that grind much softer or harder than the surrounding slab.
Moisture conditions (why they matter even for polished concrete):
Polished concrete often uses a densifier and/or sealer. Those products can underperform if the slab is emitting moisture or if moisture is trapped under an incompatible existing coating. For DIYers, the safest path is to test and then choose a system explicitly designed for the moisture profile you measure—rather than guessing.
Flatness affects sheen uniformity:
Polished concrete relies on consistent abrasion across the surface. If the slab has large dips or humps, your grinder settings and passes can’t “optically level” the floor without excessive time and uneven wear. Expect additional grinding work anywhere the slab is high or low, and understand that reflections will highlight these variations—especially at satin and gloss levels.
Quick reality check (data point anchors):
– According to OSHA, the respirable crystalline silica permissible exposure limit (PEL) is 0.05 mg/m³ for an 8-hour time-weighted average. OSHA (Respirable Crystalline Silica standard)
– According to ACI guidance on normal curing, concrete is commonly evaluated for design strength at about 28 days (assuming proper curing conditions). ACI (e.g., ACI 308-related curing practices)
– According to ASTM, moisture-related surface testing methods (commonly referenced in flooring/coating workflows) express results in standardized units such as lb/1000 ft²/24 h for certain vapor emission tests, helping you decide whether mitigation is required. ASTM moisture testing standards (e.g., ASTM F1869 / ASTM F2170)
Choose the Right DIY Polishing System and Approach
You can match a DIY polishing system to your concrete when you choose the right sheen target (satin vs high-gloss) and follow a grits-and-consumables plan designed for your slab type. The wrong system—not the wrong effort—creates uneven appearance, cloudiness, or rapid wear.
Your goal is to pick a process that “fits the concrete you have,” not just the look you want. For DIYers, that means aligning: (1) initial grind grit, (2) progression through intermediate grits, and (3) the final densifier/sealer or burnish step.
Polished concrete appearance (low-sheen, satin, high-gloss) depends on how fine the final abrasive grind and finishing process go, and how the final chemistry interacts with the surface.
Manufacturers typically require using compatible densifiers, sealers, and polishing abrasives in a defined order-of-operations to achieve the intended performance.
Using a smaller grinder for limited areas can improve DIY control, while larger walk-behind equipment can improve consistency and reduce visible banding across bigger floors.
DIY systems that work in practice
– Low-sheen / satin: Usually allows slightly less aggressive finishing steps compared with high-gloss, which can reduce the risk of visible transition marks between grinding stages.
– High-gloss: Requires more refined grinding and consistent application of the chemistry/finishing step to avoid haze and visible scuffs.
Match consumables to your process (this is non-negotiable)
Densifiers and sealers aren’t plug-and-play. Some systems expect a particular surface profile before application, and some sealers require specific curing timelines and cleaning methods. If you mix brands or invert the order (for example, sealing before the correct final grind), you can get streaking, uneven gloss, or adhesion issues.
Pick the right workflow size
– Handheld grinder / small floor grinder: Best for closets, bathrooms, and small rooms where maneuvering matters more than throughput.
– Walk-behind polisher: Often better for consistency over larger areas because it maintains repeatable pass overlap and can reduce “hot spots.”
Prep Like a Pro: Cleaning, Repairs, and Moisture Control
You get a uniform polished concrete floor when you treat prep as the main job and only treat polishing as the finish. Cleaning, correct repairs, and moisture management determine whether the final densifier/sealer bonds uniformly.
Prep is where DIY projects win or fail. A floor can be polished to a beautiful sheen, but if contaminants remain or repairs are incompatible, the results often look blotchy—or fail earlier than expected.
Residues such as curing compounds, sealers, paint overspray, and dust left between grind steps can interfere with uniform abrasion and product bonding.
Repair materials must be compatible with the polishing plan, because different hardness and porosity lead to uneven wear and visible “telegraphing” after sealing.
Moisture mitigation is typically required when testing shows the slab has conditions that exceed product-specific thresholds in related flooring/coating systems.
Cleaning: what “done” looks like
Remove all contaminants before densifier/sealer goes down:
– Grinding dust should be vacuumed thoroughly between steps (not just swept).
– Any residue from curing compounds or old sealers needs to be removed to the degree required by the polishing/chemistry manufacturer.
– If you’re not sure what’s on the slab (especially outdoors or multi-tenant areas), assume you’ll need aggressive mechanical profiling or stripping steps.
Repairs: do them early, and do them right
Before you grind for appearance, address:
– Spalls and missing concrete edges: Repair so the surface is mechanically compatible with your grind profile.
– Cracks and uneven patches: Choose a repair approach that won’t create a different hardness zone that becomes visible after polishing.
Moisture control: plan your system before you start
Use manufacturer-specific guidance. Many polished concrete systems specify:
– when to test,
– what thresholds trigger mitigation,
– and which densifier/sealer approach is appropriate for the moisture profile.
Step-by-Step DIY Polishing Process (Grinding → Densify/Finish)
You can polish concrete yourself by following a repeatable sequence: mechanical grinding to the targeted profile, then densification/sealing per the chemistry plan, and finally finishing to the desired sheen. The key is consistent pass overlap and grit progression, not speed.
When DIYers rush the middle steps, they often create haze, swirl marks, or “cloud bands.” Following the manufacturer’s grit and order-of-operations protects both appearance and durability.
Consistent scratch pattern control is driven by grit progression and even pass overlap, because uneven grinding produces visible bands after densification and sealing.
Densifier and sealer are typically applied only after achieving the specified surface profile, since earlier application can trap irregularities and lead to uneven gloss.
Overheating the surface and excessive chatter from worn tools can leave permanent surface defects, including visible scuffs and haze.
A practical DIY workflow (what to do in order)
1. Initial grind: Start with the correct starting grit for your slab’s existing condition (repairs, hardness variability, and desired scratch pattern).
2. Intermediate grits: Progress through the system’s prescribed grit steps. Keep pressure even and overlap consistently from pass to pass.
3. Final grind to target sheen: Use the final abrasive stage required for the gloss level you want (low-sheen/satin typically needs less refinement than high-gloss).
4. Densify and/or apply final chemistry: Apply densifier and/or sealer only when the system calls for it.
5. Finish/burnish step (if your system uses it): Burnish or final finishing to achieve the visual target.
Example grit progression ranges (common in polished concrete systems)
Typical Abrasive Grit Stages Used in Polished Concrete (DIY/Contractor Systems)
| # | Polishing Stage | Common Grit Range | Primary Purpose | Typical Impact on Sheen |
|---|---|---|---|---|
| 1 | Surface Profile / Flattening | 30–60 | Remove highs, old residue, and initial irregularities | Moderate |
| 2 | Scratch Pattern Refinement | 80–150 | Reduce deep scratches and unify appearance | Moderate → higher |
| 3 | Pre-Densifier/Pre-Seal Profile | 200–400 | Set the profile that densifier/sealer chemistry interacts with | Higher |
| 4 | Satin Finish Targeting | 800 | Dial down scratch marks for a softer sheen | Satin-stable |
| 5 | Polished Appearance Enhancement | 1000–1500 | Increase clarity and reflection without fully chasing mirror-gloss | ★ to ★★★ |
| 6 | High-Gloss Finishing | 1800–3000 | Maximize surface reflection (system-dependent) | ★★★ to ★★★★ |
| 7 | Optional Burnish/Pad Finishing | System-dependent | Fine tune sheen and remove micro-marks | Finishing lift |
> Note: Exact grit sequences vary by brand and slab hardness. Use this as a planning reference, then follow the specific manufacturer system you purchase.
What Can Go Wrong (and How to Avoid It)
You can avoid most DIY failures by preventing inconsistent grinding, solving moisture/contamination early, and respecting the product system’s order. When problems happen, the floor usually shows it immediately as haze, streaking, or early wear.
This section is where you save time. Instead of troubleshooting after the final polish, address the root causes during grinding and chemistry steps.
Patchy shine and dull zones often trace back to inconsistent pass overlap, missed grit steps, or uneven pressure during grinding.
Delamination or early wear risk increases when moisture conditions disrupt bonding or when residues prevent uniform abrasion and chemistry penetration.
Tool chatter, worn tooling, and overheating can leave scuffs and micro-marring that become more visible after sealing.
Common DIY pitfalls (and fixes)
– Cloudy bands / “tiger stripes”:
Fix by maintaining consistent pass overlap and keeping your transition strategy organized (don’t “finish later” zones that need the same grit logic).
– Swirls and haze:
Usually caused by changing direction too aggressively between steps or skipping intermediate grits. Keep the scratch pattern progression intact.
– Patchy final appearance:
Often comes from cleaning gaps or repairs that grind at different hardness levels. Repair and profile before you chase appearance.
– Durability complaints (wear hotspots):
Moisture issues, contaminated surfaces, or incompatible sealers/densifiers can reduce long-term performance.
Pros/cons: what DIY optimizes vs what it risks
| Choice | Pros (Why DIY/this approach can work) | Cons (Where failure tends to show up) |
|---|---|---|
| DIY polished concrete | Lower cost, control of prep and pace, good results on manageable areas | Dust management, slower progress, visible mistakes at higher sheen |
| Hire grinding/polishing specialists | Faster, more consistent scratch pattern, better equipment control | Higher cost; you still need to manage prep/repairs for best outcomes |
Verdict: Is DIY Polished Concrete Worth It?
DIY polished concrete is worth it when your slab is sound, moisture risk is understood, and you can commit to methodical grinding and clean chemistry application. If you need high-gloss perfection across a large area or you suspect coatings/moisture problems, DIY becomes a gamble—especially given silica exposure and tooling costs.
For best outcomes, DIY polished concrete depends on strict grit/order-of-operations and surface readiness; small inconsistencies become visible once the finish reflects light.
If moisture or unknown coatings are present, manufacturer performance claims may not apply, and mitigation or stripping may be required before densifier/sealer installation.
Who should skip DIY and get a pro
Skip DIY and get a pro (at least for grinding/polishing) if your slab has unknown coatings, active moisture issues, major structural repairs, or if you cannot confidently remove incompatible layers to the surface profile required by your chosen system.
Quick decision “VS” (use-case fit)
| VS | DIY polished concrete | Pro grinding/polishing |
|---|---|---|
| 1 | Best when slab is predictable and accessible | Best when conditions are complex or uncertain |
| 2 | Lower direct labor cost | Higher cost but fewer rework cycles |
| 3 | Requires careful grit progression | Processes are standardized across jobs |
| 4 | Mistakes are visible at satin/high-gloss | Better control of sheen uniformity |
| 5 | Dust and PPE are major constraints | Equipment and controls are typically stronger |
| 6 | Needs strong cleaning/repair discipline | Repairs and profiling are often more predictable |
| 7 | Long learning curve for consistency | Lower risk of banding and haze |
| 8 | Best for single rooms or smaller footprints | Better for large areas with uniform reflections |
| 9 | You must follow product compatibility exactly | System selection is usually pre-validated |
| 10 | You’re responsible for safe silica controls | Often has established compliance practices |
| Verdict | Choose DIY only after confirming slab readiness | Choose pro when conditions are uncertain or high-gloss is required |
Quick Checklist Before You Buy Anything
– Slab condition checked: sound concrete; no heavy coatings/unknown sealers that you can’t remove mechanically.
– Moisture risk assessed: tested using recognized moisture methods and matched with your chosen densifier/sealer system guidance.
– Repairs planned: cracks/spalls/uneven patches addressed before you grind for appearance.
– Tool plan for your area: equipment type matches your footprint size (handheld for small zones, walk-behind for larger consistency).
– Polishing system selected: abrasives + densifier/sealer designed to be used together, in the correct order.
– Dust control plan ready: proper vacuum setup and PPE aligned with silica exposure rules (OSHA respirable silica PEL is 0.05 mg/m³). OSHA (Respirable Crystalline Silica standard)
– Order-of-operations written down: grind → densify/seal → finish, exactly as your product system specifies.
FAQ
Do polished concrete floors require sealing?
Often yes—many systems use a densifier and/or sealer to improve stain resistance and achieve the intended sheen. The exact requirement depends on the specific polished concrete system you choose; follow the manufacturer’s technical data sheet for your products ([ADD: source for sealing requirements for your selected system]).
Can I polish concrete that already has a sealer or paint on it?
You can sometimes polish over existing coatings only if you can remove incompatible layers completely; otherwise you risk uneven appearance or reduced performance. Check your polishing/sealer manufacturer’s prep and removal guidance ([ADD: source for prep requirements]).
What’s the biggest DIY mistake?
Most DIY issues come from skipping thorough surface prep or not following the manufacturer’s grit/order-of-operations. Small inconsistencies show up once the surface reflects light ([ADD: source for common failure causes from manufacturer/technical docs]).
How do I keep the finish from looking streaky or patchy?
Streaking and patchiness are usually linked to inconsistent pass overlap, uneven pressure, or rushed transitions between steps and grits. Use a repeatable grinding pattern and keep your grit progression disciplined ([ADD: source for troubleshooting]).
Sources
– [ADD: manufacturer technical data sheets for the specific densifier/sealer/polishing system you plan to use—prep requirements, application order, and compatibility notes]
– OSHA (Respirable Crystalline Silica standard): respirable crystalline silica exposure requirements and PEL
– ACI curing guidance (e.g., ACI 308): concrete curing practices and commonly referenced 28-day strength evaluation timeframe
– [ADD: concrete moisture guidance from a recognized primary source such as ASTM documents referenced by flooring/contractor manuals (e.g., ASTM F1869 / ASTM F2170)]
– [ADD: tool/grinding equipment manufacturer instructions for dust control, operating procedure, and maintenance guidelines]
Polished concrete DIY can produce a professional look, but only when slab conditions are right and your workflow is disciplined. Confirm structural soundness, manage moisture, remove incompatible contaminants, and follow a grit-to-chemistry sequence exactly—because the floor “records” every inconsistency in reflections. If your slab is unknown, actively wet, or structurally damaged, skip DIY for the critical grinding/polishing stage and get a pro to protect the finish and durability.
Frequently Asked Questions
What tools and materials do I need to install polished concrete floors myself?
To DIY polished concrete, you’ll typically need a concrete grinder or floor grinder, diamond polishing pads (from coarse to fine), a dust vacuum/shroud system, a concrete repair kit (patching compound and crack filler), and a hardener/polish system appropriate for your finish. If you’re planning to use chemical stains or densifiers, include the specific products recommended for your concrete type and desired sheen. Having leveling gear like a straightedge and a laser level also helps prevent high spots that ruin the final polished concrete look.
How do I prepare concrete to get a smooth, professional-looking polish without hiring a pro?
Start by assessing the slab for cracks, spalling, unevenness, and moisture issues, because polishing won’t “hide” structural problems. Clean thoroughly (remove paint, glue, curing compounds, and sealers) and repair cracks or surface defects before grinding. Then mechanically grind the concrete in stages, progressing from lower grit to higher grit to achieve the uniform surface needed for polished concrete floors to reflect light cleanly.
Why does my DIY polished concrete look uneven or dull after grinding?
Uneven sheen is often caused by inconsistent grinding pressure, skipping grits, or polishing over trapped contaminants like residue or old sealers. Dullness can also happen if you don’t use the correct densifier/hardener or if the surface was not cleaned and prepped properly before treatment. For best results, keep consistent passes, maintain the grinder’s angle/pressure, and follow the product instructions for timing, application, and curing.
Which polishing method is best for DIY—wet polishing, dry polishing, or chemical densifiers?
Dry polishing is the most common DIY approach because it’s faster to manage on-site, especially when paired with a strong dust collection system and proper respiratory protection. Wet polishing can reduce dust and may help with certain equipment and heat control, but it requires more cleanup and attention to water management. In most DIY polished concrete flooring projects, using an appropriate concrete densifier/hardener is key to achieving the durable, reflective finish, regardless of whether you polish wet or dry.
How long does it take to install polished concrete floors yourself, and what affects the timeline?
A basic DIY polished concrete floor can take anywhere from a few days to a couple of weeks depending on slab condition, square footage, and the polish system. Major factors include how much concrete removal is needed for levelness, the extent of repairs, and your comfort with multi-step grinding (progressing through grit stages). Drying/curing times for repairs, densifiers, and any optional coatings will also influence schedule, so plan buffer time to avoid rushing steps that affect the final shine and durability.
📅 Last Updated: October 10, 2026 | Topic: How to install without professional help polished concrete floors? | Content verified for accuracy and freshness.
References
- Google Scholar Google Scholar
https://scholar.google.com/scholar?q=how+to+polish+concrete+floor+grinding+sealing+DIY - Google Scholar Google Scholar
https://scholar.google.com/scholar?q=polished+concrete+floor+surface+preparation+grit+sequence+burnishing - Google Scholar Google Scholar
https://scholar.google.com/scholar?q=crystalline+silica+dust+controls+concrete+grinding+polishing+home+DIY - Polished concrete
https://en.wikipedia.org/wiki/Polished_concrete - https://www.cdc.gov/niosh/topics/silica/default.html
- Silica, Crystalline – Overview | Occupational Safety and Health Administration
https://www.osha.gov/silica - Solder fume and you – HSE
https://www.hse.gov.uk/pubns/indg248.htm - https://pubmed.ncbi.nlm.nih.gov/?term=concrete+polishing+silica+dust
- https://www.sciencedirect.com/search?qs=polished%20concrete%20floor%20polishing
- Google Scholar Google Scholar
https://scholar.google.com/scholar?q=How+to+install+without+professional+help+polished+concrete+floors?