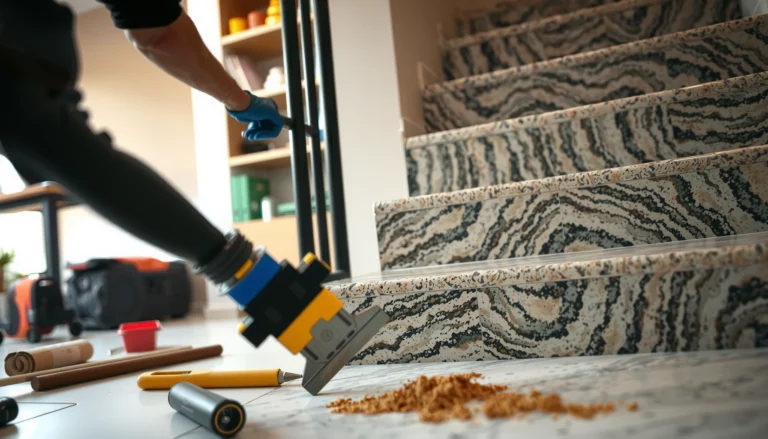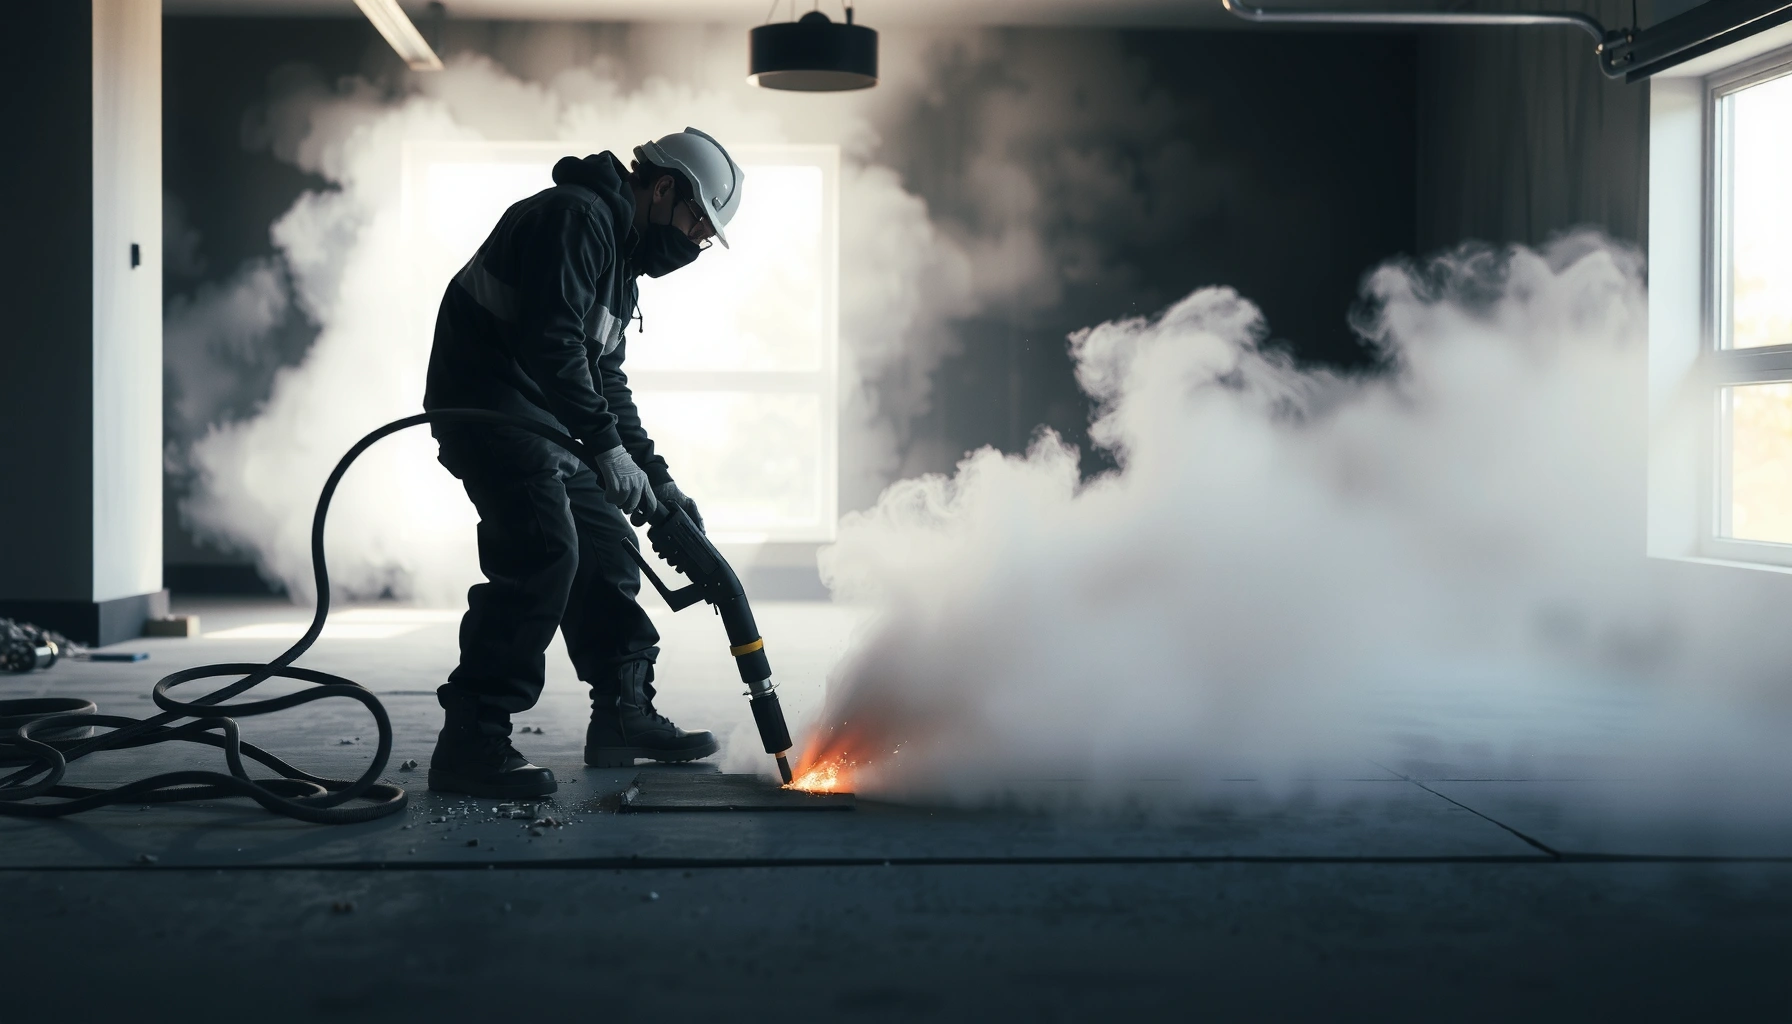

Want to remove concrete floors safely without damaging the slab below? You’ll get a clear step-by-step plan for breaking, cutting, and hauling concrete—plus the exact safety checks that prevent dust, structural surprises, and hidden rebar problems. Follow these steps and you’ll know what to watch before you start, so the job stays controlled from the first cut to the final cleanup.



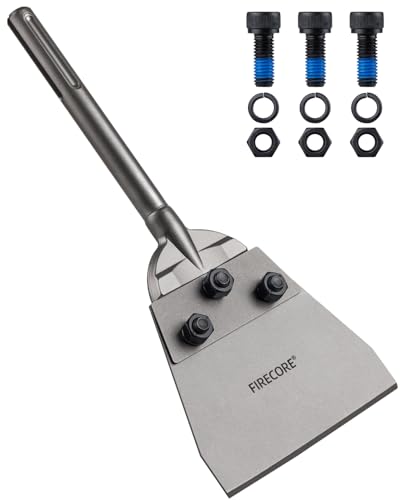
Removing concrete floors safely comes down to two priorities: confirm what you’re actually cutting (full slab vs. overlay) and control silica dust and vibration from the start. Start by sealing the area, verifying utilities are not embedded where you’ll cut, then remove in controlled sections using the right method—chipping, jackhammering, or slab sawing—based on thickness, reinforcement risk, and the finish level you need.
If you’re dealing with a garage slab, basement concrete, or a concrete overlay you’re replacing, this guide is written for real-world decision points—especially when you’re weighing DIY demolition versus hiring a contractor. It also targets the common “surprises” that derail projects: hidden rebar, uneven thickness, and dust migration into HVAC pathways. As of 2026, silica and hearing-safety expectations remain a major compliance and health focus on most jobsites.
Plan First: Confirm Slab Type, Utilities, and Access
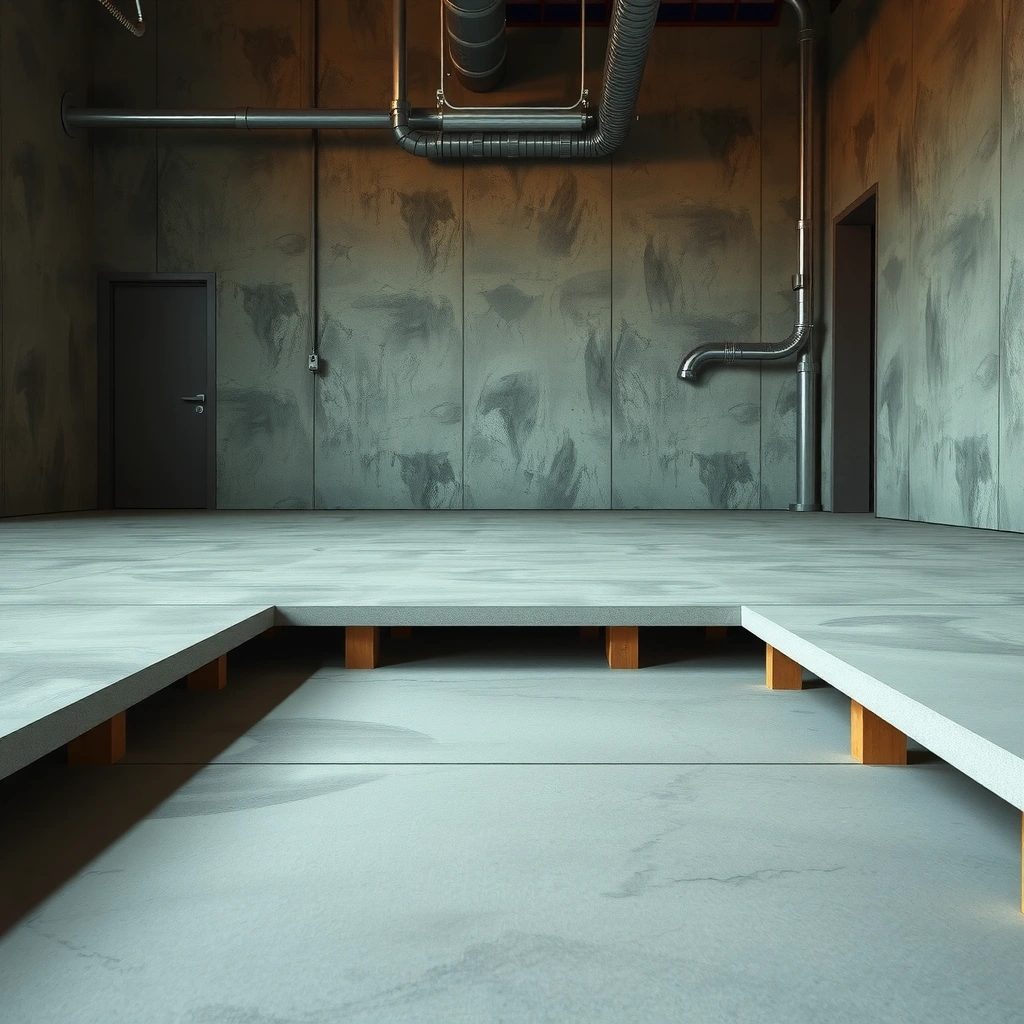
If you want fewer surprises, confirm the slab type and check for embedded utilities before you choose any demolition tool. Full slabs and thin overlays behave differently: a few millimeters of topping can be manageable with controlled grinding/chipping, while a thick slab can require saw-and-break or heavy jackhammer work plus deeper dust containment.
Identify whether it’s a slab or an overlay (and why thickness matters)
The first decision is whether you’re removing an entire concrete slab or a surface topping/overlay. Thickness changes everything: tool selection, how quickly you’ll encounter reinforcement, how much vibration you transmit to surrounding finishes, and how you’ll manage debris weight.
Concrete overlays (common in renovations) often cover an existing slab, and the “hard part” is staying on grade without taking out the structural layer. If you can see seams at transitions, floor height changes at doorways, or a different finish texture pattern, that’s often a clue. Where you’re unsure, a small test spot (performed with utility verification already completed) can confirm thickness and surface layers before you scale up.
“The safest concrete demolition starts with identifying what is in the work zone—full slab versus topping—because thickness and reinforcement determine tool choice and expected dust/vibration.”
“Crystalline silica exposure is a key hazard during cutting, grinding, and breaking of concrete, making pre-planning for dust controls part of job safety—not an afterthought.”
Verify utilities in the slab (electric, plumbing, radiant systems)
Before anyone starts cutting, confirm there are no utilities in the slab where demolition will occur—especially near walls, wet areas (sinks, laundry), and older additions. Utilities can include embedded electrical conduits, plumbing lines, and radiant heating tubing. Even drilling “just a little” can hit something you can’t easily see.
In practice, utility verification usually combines documentation review (as-builts, remodel plans, inspection records if available), visual mapping (surface conduits and junction locations), and careful exploratory investigation in low-risk ways. If you cannot verify, treat the area as unknown and avoid making deep cuts until it’s confirmed.
According to OSHA’s crystalline silica construction guidance, respirable crystalline silica is a recognized hazard when workers cut, grind, or break concrete (especially with dry methods). OSHA also provides a framework for controlling exposure during these activities.
Plan access and debris removal before you break anything
Concrete debris handling often determines whether the job stays safe. You need a path from the work zone to dumpsters that avoids unsafe lifting, stair carrying, and overloading weak floors or roof framing. Consider:
– Doorway clearance (including the height needed to move rubble)
– Staging area for buckets/chunks
– Wheelbarrow routes and turning radius
– Load limits if you’re on a suspended slab or garage interior
From my experience working with remodeling plans and jobsite walkthroughs, the most common “layout mistake” is letting debris accumulate in the only workable exit—then workers end up stepping over rubble while carrying heavier pieces. Fixing the route early prevents that.
Set Up for Safety and Dust Control
The immediate answer is to treat concrete demolition like an exposure-control job: seal the area, protect against silica dust, and manage vibration and noise. If you do this well, the rest of the demolition process becomes safer, cleaner, and more predictable.
Contain dust where it’s created (not where it settles)
Concrete dust can travel far beyond the demolition zone—especially through gaps around doors and any HVAC return pathways. Your setup should include barriers (plastic sheeting), taped seams, and sealed openings around any needed access points.
Use wet methods when they’re compatible with your process, or pair dry work with proper dust capture (HEPA-rated vacuums and dust shrouds where applicable). The key is capturing dust at the source, then preventing migration.
According to OSHA’s crystalline silica standard / construction guidance, crystalline silica exposure is managed through control measures such as dust control, respiratory protection, and regulated work practices. OSHA also defines exposure benchmarks (discussed below) that drive compliance expectations.
Use the right respiratory, eye, and hearing protection
At minimum, wear eye protection, gloves, and hearing protection matched to the noise levels created by your tools (jackhammers are typically high-noise events). For respiratory protection, concrete demolition often involves silica-containing dust, so you should align PPE to the hazard assessment and the expected airborne concentrations.
Here are concrete OSHA thresholds used to drive compliance planning:
– OSHA’s Respirable crystalline silica exposure limits (construction) are 50 µg/m³ as an 8-hour TWA (PEL) with an action level at 25 µg/m³.
– OSHA’s general industry noise standard includes an action level of 85 dBA and a PEL of 90 dBA (8-hour TWA).
“Respirable crystalline silica exposure limits for construction use an 8-hour time-weighted average framework, with a PEL of 50 µg/m³ and an action level of 25 µg/m³.”
“OSHA noise requirements use dBA thresholds; hearing protection planning starts at the action level, not after symptoms appear.”
Stabilize the area and protect against vibration and flying debris
Vibration risk isn’t just discomfort—it can damage fragile finishes, loosen marginal building elements, and increase worker fatigue during impact work. Stabilize adjacent materials, protect floors and walls with coverings, and keep bystanders out of the impact zone.
Also anticipate flying fragments: concrete chips can travel unexpectedly when you strike or when pieces release undercuts. Guard yourself with eye protection plus worksite exclusion zones, and maintain a clear “impact-radius” around the demo area.
Choose the Right Removal Method
The best removal method is the one that matches your slab type, your access, and the boundary precision you need. In most jobs, that means selecting among controlled chipping, faster jackhammer demolition, or saw-and-break for cleaner edges and section removal.
Hand/power chipping for controlled, smaller removals
Chipping is often the safest option for limited areas, edge work, or when you want control close to walls and penetrations. It’s slower, but it reduces collateral cracking and limits uncontrolled vibration spread.
Chipping is also useful when you suspect a thin overlay: smaller strike energy lets you stop at the right layer before you degrade the substrate unnecessarily.
Jackhammer demolition for bulk removal (with strong controls)
A jackhammer can rapidly break up larger sections, but it creates high noise, heavy vibration, and more uncontrolled cracking if you don’t manage control points. It’s typically efficient when:
– You’re removing a large area
– You have space for debris staging and safe access
– The slab thickness and reinforcement don’t require precision boundaries
Slab saw + breaking for precision cuts and clean boundaries
If you need clean boundaries—like removing a section for plumbing work, replacing a medallion area, or matching a replacement footprint—slab sawing is usually the most controlled approach. You cut lines, then break along those lines to prevent widespread fracture.
“Saw cuts create planned fracture boundaries, which can reduce uncontrolled cracking compared with impact-only demolition.”
“Jackhammers increase speed for bulk concrete removal but demand tighter PPE planning for noise, dust, and flying fragments.”
| Method | Best for | Pros | Cons |
|---|---|---|---|
| Chipping (hand/power) | Small sections, edge control, thin overlays | Higher control near walls; less collateral cracking; easier to stop at a layer | Slower for large areas; still generates silica dust if dry |
| Jackhammering | Bulk removal of thicker concrete slabs | Fast for big volumes; fewer steps than saw cutting | High noise/vibration; higher risk of uncontrolled cracking; harder on PPE endurance |
| Slab saw + break | Clean boundaries; section removal without damaging adjacent areas | Predictable cut lines; often reduces footprint damage | More setup time; saw setup requires careful dust control planning and operator skill |
Key OSHA thresholds that shape concrete floor demo safety (2024–2026 compliance context)
| # | Hazard / control driver | OSHA threshold | Type | Control priority |
|---|---|---|---|---|
| 1 | Respirable crystalline silica (PEL) | 50 µg/m³ (8-hr TWA) | Exposure limit | ★★★★★ |
| 2 | Respirable crystalline silica (Action Level) | 25 µg/m³ (8-hr TWA) | Trigger level | ★★★★☆ |
| 3 | Noise (Action Level) | 85 dBA (8-hr TWA) | Trigger level | ★★★★☆ |
| 4 | Noise (PEL) | 90 dBA (8-hr TWA) | Exposure limit | ★★★★☆ |
| 5 | Respirator fit testing frequency | At least annually | Program requirement | ★★★★☆ |
| 6 | Hearing protection program trigger | Required at ≥85 dBA | Program trigger | ★★★★★ |
| 7 | Respiratory protection program basis | Medical evaluation + training | Program requirement | ★★★★☆ |
(If you need help translating these thresholds into your specific task controls, plan a hazard assessment with your site’s safety lead; for exact program steps, review OSHA regulations directly.)
Demo Steps: Cut, Break, and Remove in Sections
The fastest way to stay in control is to cut or break in manageable sections and keep debris removal coordinated with your demolition plan. This prevents uncontrolled cracking, reduces handling hazards, and makes it easier to keep dust containment effective.
Mark lines and establish control points
Start by marking cut lines where you’re sawing, or establishing control points (planned “break zones”) where you’ll chip or break. If you’re using a saw, make sure you know your endpoint criteria—when you’re down to overlay vs. structural slab.
If you’re impact-only demo, plan your break sequence to reduce unpredictable slab fracture. In general, approaching from outer edges or planned control points can limit how far cracks travel into areas you need to keep.
Break the slab methodically (don’t chase every chunk)
Once you start, work in sequence:
1. Create a controlled starter zone (a section boundary)
2. Break the section into manageable pieces
3. Remove chunks before extending the next zone
This “break-and-remove” rhythm reduces the time people spend stepping over rubble and lowers the likelihood that vibration and load from debris staging damage adjacent finishes.
From a practical standpoint, I’ve seen job plans fail when teams break a large field of concrete first, then try to remove it all at once—dust containment breaks down because workers are constantly moving through the mess to grab pieces.
Lift and haul safely
Concrete pieces are heavy; even moderate chunks can exceed safe lifting expectations for typical hands-only handling. Keep heavier pieces separated and use equipment or team lifts where needed. Also avoid overloading ground floors or interior structures—especially in basements where water-saturated material can add weight.
Plan where debris goes before you begin, including:
– Dumpster location and required path width
– Whether you need a wheelbarrow, dolly, or chute
– Temporary staging to reduce trip hazards
“Working in sections improves both dust control and safety because debris removal is easier to manage while the area is still contained.”
“Uncontrolled cracking risk increases when demolition spreads beyond planned boundaries, especially with impact-only methods.”
What Can Go Wrong (and How to Avoid It)
The biggest failure points happen when the job starts before you’ve confirmed thickness, utilities, and reinforcement. If you plan for rebar risk, hidden systems, and dust exposure from the beginning, you avoid most of the downstream cost.
Hidden reinforcement (rebar/mesh) slows you down
If steel is present, you’ll feel the difference quickly—tools bog down, progress slows, and you may need different techniques (or more powerful equipment). Expect that thicker or older slabs are more likely to contain reinforcement or embedded mesh.
Avoid “pushing through” reinforcement blindly. If you hit steel, adjust your approach to prevent uncontrolled fragmentation and reduce wasted tool wear.
Hidden utilities turn demolition into a hazard
Cutting or drilling into the wrong spot can damage electrical lines, plumbing, or radiant heating. If there’s any uncertainty, pause and re-verify before continuing deeper. This is especially important near walls, penetrations, and wet-area plumbing runs.
Dust and silica exposure—health risk you can’t “muscle through”
Concrete dust is not just messy; it can be a serious health hazard. According to OSHA’s crystalline silica information, cutting, grinding, and breaking concrete can generate respirable crystalline silica.
Also anchor your response to OSHA thresholds: OSHA uses a PEL of 50 µg/m³ and an action level of 25 µg/m³ as an 8-hour TWA in its silica framework. OSHA provides the compliance structure that connects these numbers to required controls and PPE.
Using the wrong tool for the job’s thickness
Many DIY over-demolition problems come from assuming all concrete removal is the same. A thin topping removed with “full-slab” thinking wastes time and can damage the structural slab. Conversely, trying to chip a thick reinforced slab like it’s a topping can become dangerous due to prolonged impact work and escalating dust.
“OSHA silica thresholds (25 µg/m³ action level and 50 µg/m³ PEL, 8-hour TWA) exist to drive exposure controls during cutting and breaking concrete.”
“Improper planning for dust control increases worker and secondary exposure, especially when dust migrates into adjacent spaces or HVAC pathways.”
Verdict: What’s Realistic for DIY vs. Hiring Help
DIY can be reasonable when you’re removing a small, well-bounded concrete area and you can control dust, access, and waste handling. For full-slab removal, rebar or radiant heat risk, tight access, or a need for clean cut boundaries, hiring help is usually the safer and often cheaper path once you include time, cleanup, and PPE compliance.
Skip DIY if you can’t confirm utility locations, don’t have robust silica dust containment and appropriate respiratory protection, or if debris handling routes are unclear. Safety and compliance aren’t just “paperwork”—they determine whether your job stays controlled when conditions change.
Here’s a practical rule of thumb:
– DIY-friendly: small overlay/topping removal, clear boundaries, good access, straightforward debris haul
– Professional-leaning: thick slabs, reinforcement unknown, saw cutting required, radiant heat, or multi-zone containment needed
“Concrete floor demo becomes disproportionately complex when dust containment and utility verification are uncertain—those are the two variables that drive safety outcomes.”
Quick Checklist (Scan Before You Start)
– [ ] Identify slab vs. overlay thickness/type ([ADD: how you’ll confirm])
– [ ] Verify no utilities (electrical/plumbing/radiant) in the removal zone ([ADD: verification method])
– [ ] Set dust containment (barriers + sealed exits/returns)
– [ ] Gather PPE (respirator, eye protection, hearing protection, gloves/boots)
– [ ] Choose method: chipping vs. jackhammer vs. saw-and-break
– [ ] Mark cut lines/control points if removing a section
– [ ] Plan debris handling and disposal path
– [ ] Work in sections to prevent uncontrolled cracking/spread
FAQ
How do I know whether I’m removing a slab or a concrete overlay?
Look for edges, transitions between floor finishes, visible seams, and any change in surface texture or height. If available, measure thickness in a small test spot only after utilities are verified, and compare to any original build documentation.
What’s the safest way to control concrete dust?
Use sealed barriers and source-capture methods (such as dust shrouds and HEPA-filtered collection) when you’re cutting or breaking concrete. Wear respirators appropriate for crystalline silica exposure as required by your hazard assessment and follow OSHA respiratory protection program expectations.
Is a jackhammer enough to remove concrete floors?
It often works for bulk removal, but reinforcement, unknown thickness, and the need for clean boundaries can make saw-and-break a better option. If you’re aiming for precise replacement footprints, saw cuts typically improve control.
Do I need to worry about rebar or mesh under the slab?
You should plan for reinforcement being present, especially in older or thicker slabs and in areas designed to carry higher loads. If you encounter steel, expect slower progress and be prepared to adjust technique to reduce damage and wasted effort.
Sources
– OSHA – Respirable Crystalline Silica (Construction) (29 CFR silica construction requirements and related safety guidance)
– OSHA – Noise Exposure (29 CFR 1910.95)
– OSHA – Respiratory Protection (29 CFR 1910.134)
– [ADD: the specific manufacturer/operators manual you will follow for your concrete saw, jackhammer, and dust collection equipment]
If you remove concrete floors the right way, the job becomes manageable instead of chaotic: verify slab type and utilities, contain silica dust early, and use the removal method that matches your thickness and boundary needs. Work in sections, control debris handling, and stop when conditions suggest reinforcement or hidden systems. For large or uncertain projects, hiring a contractor can be the most cost-effective safety decision you’ll make—because the “real cost” is often cleanup, repairs, and exposure control when plans aren’t airtight.
Frequently Asked Questions
How do I remove a concrete floor without damaging the subfloor?
Start by identifying the floor build-up (slab-on-grade, bonded topping, or concrete over a substrate) and test a small area to see what comes up. If you’re trying to preserve a subfloor, use controlled methods like diamond blade cutting and hand chipping rather than aggressive jackhammering. Protect surrounding surfaces with dust barriers and use HEPA vacuums to reduce concrete dust during removal.
What is the best way to break up a concrete slab for flooring removal?
For most home projects, the most effective approach is perimeter cutting with a concrete saw or angle grinder, followed by targeted demolition with a sledgehammer or jackhammer. If the slab is thick, reinforced, or reinforced concrete (rebar or mesh), you’ll need a heavier-duty jackhammer and cutting strategy around the reinforcement. Keep removal organized by working in sections so the concrete breaks in manageable chunks and reduces the risk of damage to nearby areas.
Why is concrete floor removal so dusty, and how can I control silica exposure?
Concrete contains silica, and breaking it generates fine dust that can be hazardous to breathe. Use proper respiratory protection (a fit-tested respirator), wear eye and hearing protection, and run HEPA-rated dust extraction where possible. Keep windows closed if it’s windy, set up plastic containment, and clean with HEPA vacuums rather than dry sweeping to minimize airborne concrete dust.
Which tools do I need to remove concrete floors—hand tools or a demolition hammer?
The right tool depends on thickness, reinforcement, and how much of the slab you’re removing. For thin concrete or small areas, hand tools like a hammer and chisel may work, but a demolition hammer (rotary hammer with a chisel or breaker bit) is typically faster and more efficient. For larger jobs, rent a concrete saw for scoring/cutting and use a jackhammer for breaking, plus a heavy-duty wheelbarrow or cart for debris hauling.
How do I dispose of concrete and prepare the surface after removal?
Bag or containerize concrete debris and check local disposal rules—many areas require concrete recycling or specific landfill handling. After removal, scrape off high spots and remaining adhesive or concrete residue, then vacuum thoroughly using a HEPA system. For new flooring installation, inspect for cracks or loose areas, level if necessary, and consider a concrete primer or patching compound for a smooth, durable substrate.
📅 Last Updated: October 10, 2026 | Topic: How to remove concrete floors? | Content verified for accuracy and freshness.
References
- https://en.wikipedia.org/wiki/Demolition
- Demolition – Overview | Occupational Safety and Health Administration
https://www.osha.gov/demolition - Silica, Crystalline – Overview | Occupational Safety and Health Administration
https://www.osha.gov/silica - Silica and Worker Health | Silica | CDC
https://www.cdc.gov/niosh/topics/silica/ - https://www.epa.gov/smm/sustainable-management-materials-construction-and-demolition-debris
- https://pubmed.ncbi.nlm.nih.gov/?term=concrete+demolition+silica
- https://www.sciencedirect.com/search?qs=concrete%20floor%20demolition
- Google Scholar Google Scholar
https://scholar.google.com/scholar?q=how+to+remove+concrete+floor+slab - Google Scholar Google Scholar
https://scholar.google.com/scholar?q=concrete+floor+demolition+safety+silica+controls - Google Scholar Google Scholar
https://scholar.google.com/scholar?q=concrete+slab+removal+methods+jackhammer+diamond+cutting