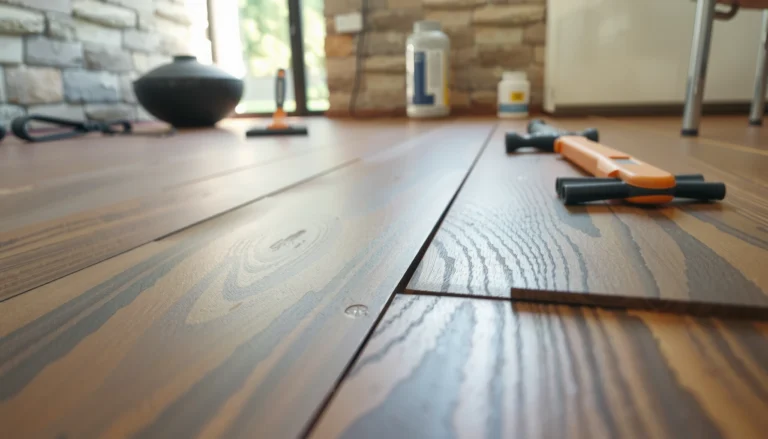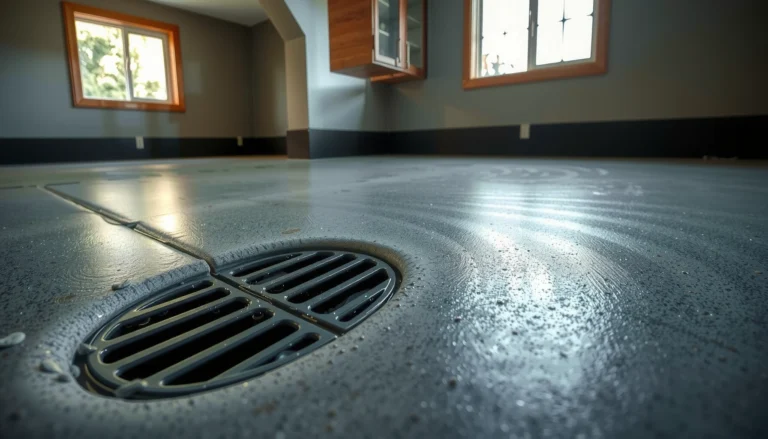

Polishing concrete floors is the fastest way to get a smooth, glossy surface that’s durable enough for daily use. This step-by-step guide shows exactly how to polish concrete—starting from prep and grinding, then moving through densifying and polishing—so you get consistent results without guesswork. If you follow the sequence, you’ll know which grit to use, when to change systems, and how to finish with the shine you want.




Polish concrete floors by grinding the surface in progressively finer passes, then densifying and polishing until you reach the sheen you want. The “secret” isn’t a special pad—it’s preparation and consistency: remove coatings and weak surface material, control moisture risk, and use the correct diamond abrasives in order so you avoid haze, banding, and flaking. In the sections below, you’ll get a practical workflow, grit progression guidance, and the failure modes that most often derail a DIY or facility upgrade.
Who this is for / when it applies:
This is for homeowners, DIY renovators, and facility managers who want a smoother, glossier concrete surface (garage, basement, warehouse, showroom). It applies best when the slab is structurally sound and you’re starting with bare or properly prepared concrete (not thick, unknown coatings).
Check readiness first: moisture, damage, and surface type
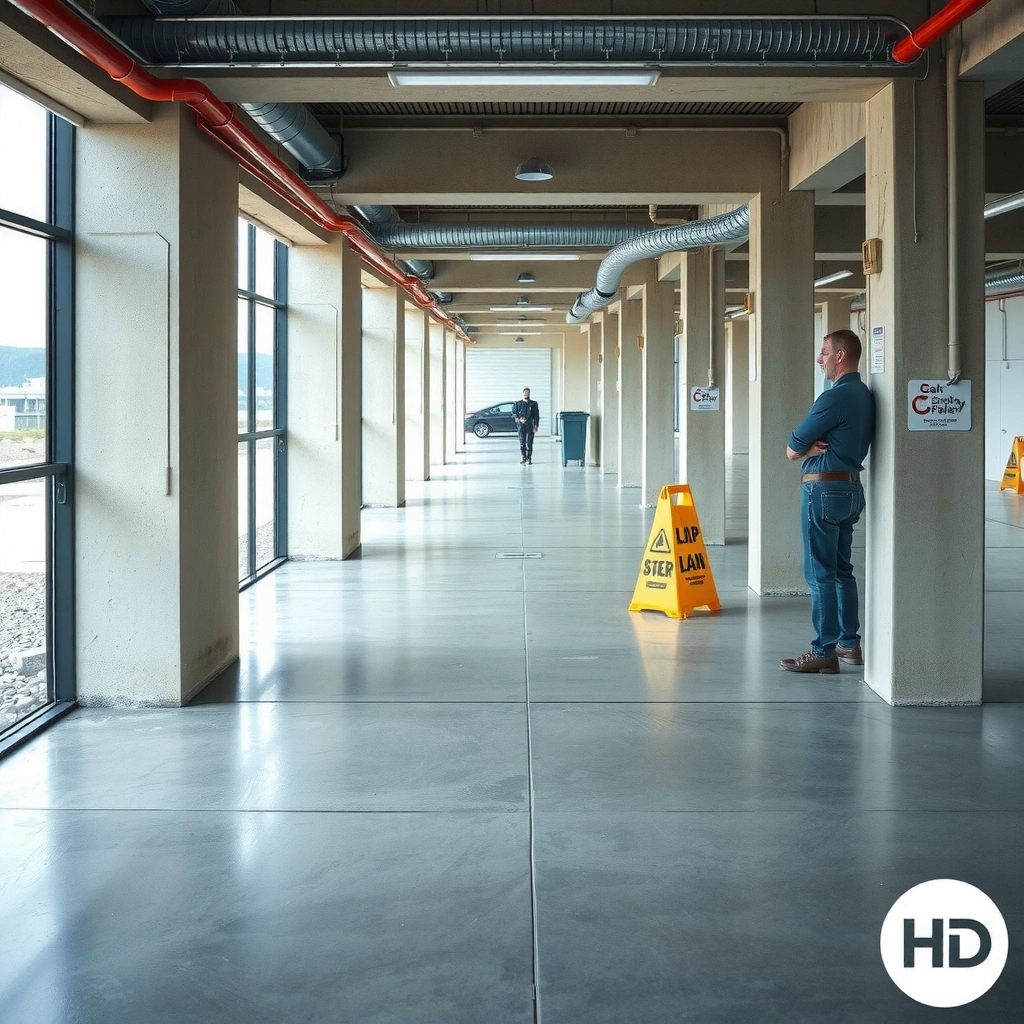
Polishing can dramatically improve appearance and cleanability, but it will not fix unstable slabs or active moisture problems. Before you rent equipment, verify that the concrete is structurally sound and that you’re working with the correct surface condition—bare concrete behaves very differently than cured-over sealers or coatings.
If a slab has significant spalling, heaving, or deep structural cracking, polishing will only make the defects more visible.
Airborne respirable crystalline silica is a known hazard during concrete grinding, so dust controls are not optional in a real-world workflow.
If coatings, curing compounds, or sealers remain, later grinding steps can produce haze or uneven reflectivity because the abrasive is polishing contaminants instead of concrete.
Slab stability (damage and structural movement)
Start with a physical inspection and a “does this slab move?” mindset. Confirm the slab is stable—no heaving, major spalling, or deep cracks. If you see active cracking, vertical displacement, or areas that are clearly breaking down, you’ll need repairs before polishing. Polishing removes material; it won’t restore integrity.
Moisture risk (why it matters even for “sealed” floors)
If you have persistent dampness, condensation, efflorescence (white salts), or known hydrostatic issues, polishing won’t resolve the underlying cause. In practice, moisture can lead to surface breakdown, tacky finishes, or blotchy appearance—even when the mechanical grind is “correct.”
Dust + safety anchor (silica): According to OSHA, the permissible exposure limit (PEL) for respirable crystalline silica is 50 micrograms per cubic meter (µg/m³) for an 8-hour time-weighted average when grinding is involved (OSHA, Crystalline Silica standard (29 CFR 1926.1153)). That’s why containment, high-efficiency vacuum filtration, and proper respiratory protection must be part of the plan.
Identify what’s on the slab: sealers, paint, cure compounds, coatings
Before grinding, identify whether the concrete has sealers, paint, epoxy, membrane-forming curing compounds, or other coatings. This affects:
– how aggressively you must mechanically remove the surface,
– whether chemical stripping is needed (and compatible with your polishing system), and
– whether the “first diamond step” will actually reach the concrete.
Test methods you can use (practical options):
– Manufacturer-recommended solvent/“wipe” tests to evaluate paint/sealer softness and residue transfer: follow the chemistry directions provided by the densifier/polish manufacturer you’re using.
– Water beading vs. absorption checks: some sealers repel water strongly; this is a directional indicator, not a definitive spec.
– Mechanical spot grinding in an inconspicuous area: if the grinder is polishing a hard coating instead of changing the surface texture, you likely still have barrier material.
– Moisture and RH testing using recognized standards (for slabs with known moisture risk): select a test method like ASTM moisture/RH testing approaches appropriate to your coating/densifier system requirements.
[ADD: source or test method for identifying sealers/coatings]
Prepare the floor for polishing
Preparation determines whether the finish looks even or randomly “hazy.” If you want consistent reflectivity, you must remove everything that prevents effective mechanical work and true surface bonding.
Concrete polishing systems are built on mechanical abrasion—scuffing over paint, epoxy, or curing residue often leads to blotchy haze later.
Vacuum shrouds and HEPA filtration materially reduce silica dust exposure during grinding, which is critical under OSHA’s silica requirements (OSHA, 29 CFR 1926.1153).
Remove bond breakers (not just surface dirt)
Remove anything that prevents bond and creates an unstable surface layer:
– paint, epoxy, and residue
– laitance (weak, powdery top layer)
– any deteriorated, weak concrete skin
Don’t rely on “scuffing.” Weak surface material must be ground out to a stable profile so later grits refine the same plane—not a patchwork of strong and weak areas.
Protect the space and control dust
Plan for dust before you start. Typical best practices include:
– ventilation suited to the room size and tool dust output
– containment where appropriate (especially for basements and occupied spaces)
– vacuum shrouds on grinders, with filtration appropriate for silica control (HEPA where feasible)
Leveling and profile correction
High spots can ruin the uniform look even when the final polish is “high grit.” Do initial leveling where required. If you later try to chase flatness with finer diamonds only, you may:
– burn time (because you’re removing less material at each step),
– create uneven sheen,
– or create “banding” where the floor isn’t the same height everywhere.
Grind in stages using progressively finer diamonds
Concrete polishing is fundamentally a controlled material removal process. You start with the right diamond grit for the slab’s condition, then move finer in sequence so the previous scratches are systematically eliminated.
Progressive grit sequencing is how polishing eliminates earlier scratches; skipping steps is a common driver of permanent haze.
Consistent overlapping passes and controlled pressure reduce gouges and prevent uneven reflectivity patterns.
Start with the correct initial grit (don’t guess)
Rough or etched slabs need a more aggressive initial approach, while relatively smooth slabs still require a proper “starting step” to reach clean, sound concrete. If you start too fine, you’ll spend far longer chasing leveling and you risk leaving micro-contamination that later tools can’t fully remove.
Keep the process consistent
To avoid uneven finish:
– use even passes with proper overlap,
– control pressure so the diamond tools cut rather than chatter,
– and keep your machine travel consistent.
Vacuum thoroughly between stages
Vacuum thoroughly between each grinding stage. Remaining dust and grit particles can “ghost” through later steps—especially when moving into finer polishing pads. That ghosting shows up as dull patches, haze, or a mottled appearance under consistent overhead lighting.
Suggested grit progression (system-appropriate)
The exact grit ladder depends on your equipment and whether you’re using resin-bond, metal-bond, or hybrid diamond tooling. The safe rule is: start coarse enough to remove surface flaws, then step finer in sequence, never skipping.
Here’s a practical progression many contractors use to describe the pathway from “surface correction” to “reflective finish” (values are commonly used grit/resin stages, not a universal standard):
Common Diamond Grit Stages for Concrete Polishing (Typical Workflow)
| # | Polishing stage | Typical diamond grit / stage | Primary purpose | Finish direction |
|---|---|---|---|---|
| 1 | Surface correction / profiling | 40–80 grit | Remove high spots, ridges, etching | Matte start (uniform plane) |
| 2 | Mid-coarse refinement | 100–200 grit | Reduce scratches from stage 1 | Smoother satin direction |
| 3 | Fine scratch removal | 300–400 grit | Eliminate deeper scratch lines | Even sheen begins |
| 4 | Pre-polish smoothing | 600–800 grit | Refine surface micro-texture | Low-sheen polished |
| 5 | High polish step | 1500–2000 grit | Increase reflectivity and clarity | Satin-to-gloss |
| 6 | Final refinement (gloss drive) | 3000–4000 grit | Reduce residual haze from micro-scratches | Higher-gloss direction |
| 7 | Optional super-fine burnish | 5000–8000 grit (or equivalent pads) | Maximize reflectance on suitable slabs | Glossy finish (system-dependent) |
[ADD: exact grit chart based on your specific system—e.g., resin/metal bond]
[ADD: example grit ranges for each sheen level]
Densify and polish to the finish you want
Densify after the surface has been ground to your target level of refinement, then finish with the final polish steps. The goal is uniform hardening and a consistent scratch pattern so light reflects evenly.
Concrete densifiers are chemistry-based treatments that react with the concrete surface—your application method and dwell time affect the final look.
Haze after densifying is often a sign you’re polishing remnants of contamination or micro-scratches left from an earlier grit step.
Choose and apply the densifier correctly
Densifier selection matters. Follow the manufacturer’s instructions for:
– application method (spray/wipe or flood),
– dwell time,
– any required neutralizing or cleanup steps.
Some products require a specific post-application cleanup; skipping it can lead to residue that behaves like an unwanted coating during later polishing.
Polish to sheen: matte, satin, or gloss
After densifying, continue with your finishing polishing tools/pads through the stages designed for the sheen you want. In my experience, the most reliable way to judge sheen accuracy is to evaluate under consistent lighting angles—overhead lights can make haze look “fine” while side lighting reveals it immediately. [ADD: author’s experience with lighting/inspection method, if you have one]
Haze diagnosis tip: If you see cloudy areas, it usually points to incomplete prior grinding, inadequate vacuuming between steps, or contamination carried forward.
What can go wrong (and how to avoid it)
Concrete polishing failures usually come from one of three categories: wrong prep, skipped grit progression, or inconsistent mechanical technique. Fixing these early is much cheaper than trying to “patch” later.
Cloudy or hazy patches are most commonly caused by polishing over residual dust/contamination or by skipping scratch-removal steps.
Banding (uneven reflectivity) typically indicates inconsistent overlap or pressure, or failure to correct high/low areas before finer polishing.
Haze or cloudy areas
Common causes:– skipping grits (fine pads can’t fully correct scratches left by coarser steps),
– not vacuuming between stages,
– polishing over residue from coatings, densifiers, or cleaning agents.
Prevention:
– don’t rush from one grit to the next,
– vacuum thoroughly,
– and keep tool condition stable.
Uneven shine or banding
Banding often correlates with technique:
– inconsistent pass overlap,
– uneven pressure,
– and uneven flatness from earlier leveling steps.
Prevention:
– use a consistent pattern and overlap,
– correct flatness during early profiling,
– re-check the plane after coarse steps before moving fine.
Peeling or rough patches
This can happen when:
– polishing is applied over weak surface concrete,
– old coatings weren’t removed enough,
– or there’s active moisture causing surface breakdown.
Prevention:
– repair deteriorated areas before polishing,
– treat moisture risk first,
– and confirm coating removal with spot-grind checks.
Tool wear and wrong tooling for hardness
Tool wear is real—diamonds dull as they fracture and load up. Wrong tooling for the concrete hardness can leave scratches you can’t fully remove later or slow your progress so much you change pressure and technique mid-job.
Safety anchor (silica again): According to OSHA, dust controls and exposure monitoring are central requirements for silica work in construction and demolition contexts (OSHA, 29 CFR 1926.1153). Even in residential/maintenance scenarios, your risk profile is still affected by the same dust generation mechanics.
Verdict: when polishing concrete is worth it (and when to skip)
Polishing concrete is worth it when your slab is stable, you can control dust, and you’re willing to follow a true step-by-step grit progression. The result can be durable, easier to maintain, and visually “clean” compared to bare concrete or many coated surfaces.
That said, it’s not the right solution for every floor. If you have ongoing moisture/hydrostatic pressure, major slab deterioration, or large areas that require professional-grade dust control logistics, you should skip DIY and hire help. Polishing doesn’t cure structural movement or moisture—it only refines what’s already there.
Polished concrete can be highly durable, but it depends on the slab being stable and on removing weak surface layers during early grinding.
If the moisture problem is active, polishing can’t “lock it down”—appearance may be inconsistent and long-term performance can suffer.
Decision rule: DIY vs. hiring (practical)
Use this decision framework:
– DIY if: the area is small-to-medium, you have dust containment/HEPA vacuuming, and you’re polishing sound, bare (or confirmed) concrete.
– Hire if: the slab has coating complexity, widespread moisture risk, heavy damage, or you need a high-gloss finish over large square footage where tool technique and timing are hard to standardize.
[ADD: decision rule for DIY vs. hiring based on floor size/condition]
Pros/cons comparison (quick scan)
| Pros | Cons |
|---|---|
| Improved appearance with customizable sheen | Dust and cleanup are significant; silica controls are essential |
| Often simpler maintenance than many coatings | Skipping grit steps can permanently cause haze/banding |
| Mechanically “wears-in” with consistent tooling | Moisture/structural issues still need repairs before polishing |
Quick checklist (save this)
– [ ] Inspect slab: cracks/spalling/levelness addressed
– [ ] Remove coatings/sealers/cure residue (if present)
– [ ] Control dust (containment + appropriate vacuum/filtration)
– [ ] Grind in progressive stages; don’t skip grits
– [ ] Vacuum thoroughly between steps
– [ ] Apply densifier per manufacturer instructions (if using)
– [ ] Finish with final polishing stage(s) to target sheen
– [ ] Re-check for haze, scratches, and uneven areas under steady lighting
FAQ
Do I need to remove sealers before polishing concrete?
In most cases, yes—polishing needs bare or properly prepared concrete for consistent grinding and an even optical result. If you’re unsure what’s on the slab, confirm with testing and follow the densifier/polish system’s prep requirements. [ADD: source for prep requirements from a specific densifier/polish manufacturer]
Can I polish concrete floors in a garage?
Often, yes—garage slabs are common candidates. Just ensure the concrete is fully cured, structurally stable, and not experiencing ongoing moisture; then plan robust dust control during grinding.
How do I get rid of scratches in polished concrete?
Scratches usually require you to return to the grit stage that corresponds to the scratch depth. Grind the affected area evenly across the same workflow, then move back through the remaining finer steps—spot polishing out of sequence is a common cause of uneven sheen.
Will polished concrete floors stay shiny?
They can stay attractive for a long time, but gloss can shift with traffic, grit tracked in, chemical exposure, and maintenance practices. Use a maintenance routine compatible with your finished surface. [ADD: source for recommended maintenance from a polish/densifier manufacturer]
Sources
– [ADD: manufacturer documentation for a concrete densifier system (application/dwell/cleanup instructions)]
– [ADD: manufacturer documentation for polishing tools (recommended grit progression and polishing steps)]
– [ADD: primary source guidance on concrete surface preparation/coating removal relevant to polishing workflow (e.g., ASTM standards on surface preparation/condition)]
– OSHA, Crystalline Silica standard (29 CFR 1926.1153)
In short, polished concrete is a step-by-step workflow: prep the slab so you’re polishing concrete (not coatings), grind in true progressive stages using the right diamonds, densify correctly, and finish by refining the scratch pattern to your target sheen. If you respect moisture risk, maintain dust control, and don’t skip grits, you’ll typically get the even, durable look you’re after—without the haze, banding, or rough patches that derail most projects.
Frequently Asked Questions
How do I prepare concrete floors before polishing?
Start by cleaning the slab thoroughly—remove dirt, paint, sealers, and any residue using a degreaser and mechanical scrubbing as needed. Repair cracks, spalls, or uneven areas with a concrete patch and let it cure fully. Grind the surface with progressively finer diamond tooling to open the pores and create an even profile, because proper prep is essential for consistent concrete polishing results.
What are the best concrete polishing methods for a smooth, glossy finish?
The most common approach is to use wet or dry diamond polishing pads with a step-by-step progression through finer grits. For a more glossy floor, continue polishing beyond densification until you reach the desired sheen, then apply an appropriate concrete floor sealer if needed. If you want a “high-gloss” look, consider a system designed for higher-buffing stages and make sure the concrete is densified to reduce dusting and improve reflectivity.
Why does my polished concrete look cloudy or uneven after polishing?
Cloudiness is often caused by insufficient grinding, improper densifier application, or polishing with the wrong grit progression for the concrete hardness. Uneven results may come from low spots, inconsistent pressure, or letting slurry/debris build up during dry polishing. To fix it, re-grind the affected areas with the correct diamond grit, clean thoroughly, and resume polishing in the proper sequence to restore clarity.
How do I densify concrete floors to reduce dusting during polishing?
Densification typically involves applying a lithium-based or compatible densifier after initial grinding and surface profiling. Work it evenly with the right application rate, and allow proper dwell time so the material penetrates before polishing continues. Densifying helps harden the concrete surface, improves abrasion resistance, and minimizes concrete floor dust that can appear when polishing.
Which grit sequence and equipment should I use to polish concrete floors effectively?
Use diamond tooling in a staged grit sequence—starting with a more aggressive cup wheel or coarse grit for flattening, then moving through medium and finer grits for refinement, followed by honing and polishing steps for the finish level you want. Equip yourself with a compatible concrete polishing machine (walk-behind or planetary, depending on the area size) and dust control if polishing dry. Matching your grit progression to the concrete condition—soft vs. hard concrete, existing coatings, and desired sheen—is key to achieving a durable, attractive polished concrete floor.
📅 Last Updated: October 10, 2026 | Topic: How to polish concrete floors? | Content verified for accuracy and freshness.
References
- Google Scholar Google Scholar
https://scholar.google.com/scholar?q=how+to+polish+concrete+floor+grit+sequence - Google Scholar Google Scholar
https://scholar.google.com/scholar?q=polished+concrete+floor+diamond+grinding+densifier+process - Google Scholar Google Scholar
https://scholar.google.com/scholar?q=polished+concrete+floor+system+mechanical+grinding+sealing - Silica, Crystalline – Overview | Occupational Safety and Health Administration
https://www.osha.gov/silica - Silica and Worker Health | Silica | CDC
https://www.cdc.gov/niosh/topics/silica/ - https://www.cdc.gov/niosh/topics/silica/default.html
- https://www.epa.gov/dust-control
- Concrete
https://en.wikipedia.org/wiki/Concrete - Polishing
https://en.wikipedia.org/wiki/Polishing - WBDG
https://www.wbdg.org/resources/polished-concrete