
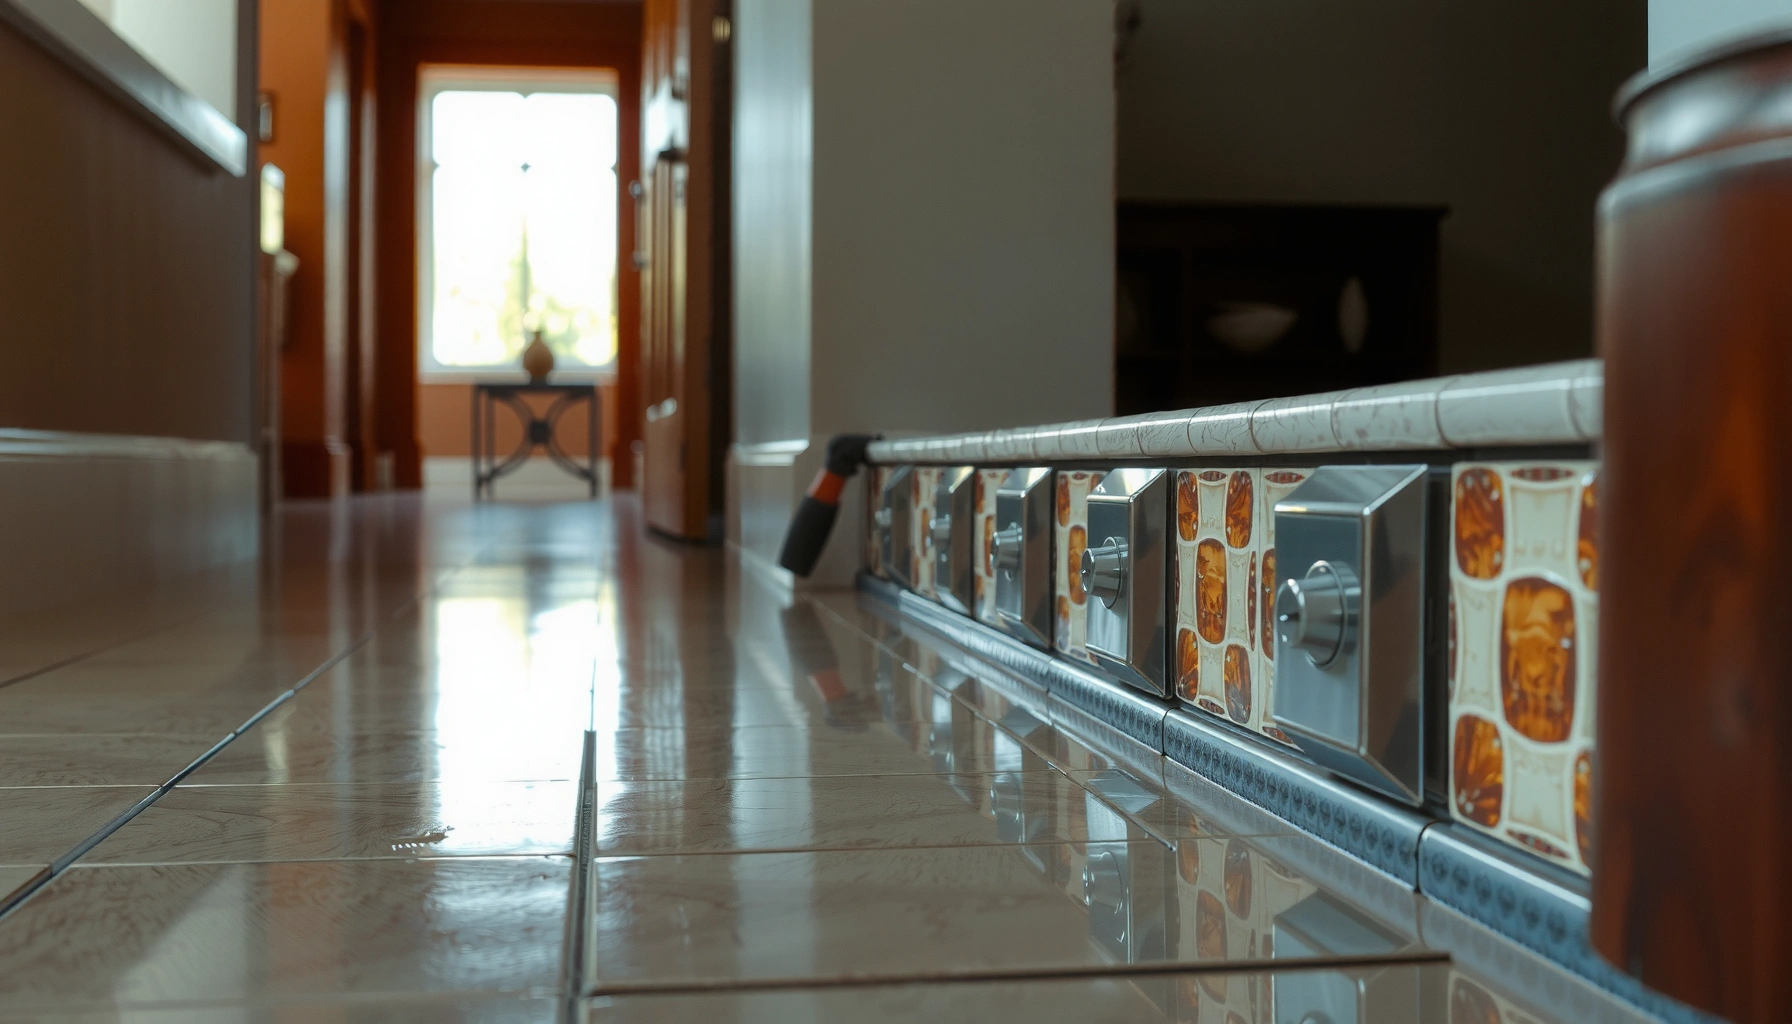

Installing thresholds for mosaic tile floors is a straightforward job when you follow the right order of work—setting, leveling, and sealing—so the edge stays straight and the tile doesn’t crack. This step-by-step guide tells you exactly how to measure and fit the threshold, prep the substrate, and secure the transition for a clean, durable finish. If you want the fastest path to a professional-looking threshold that holds up under foot traffic, this is the method to use.


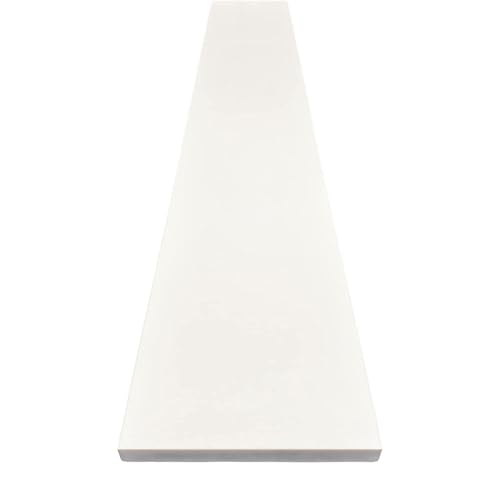

If your mosaic tile floor transitions to another surface, the threshold is what ties everything together cleanly—so install it only after the tile is set and the height is dialed in. The safest approach is to dry-fit the threshold, confirm the tile-to-subfloor height, then fasten it using the manufacturer’s recommended method so edges won’t chip or lift.
This is for homeowners or tile installers working on entryways, bathrooms, kitchens, or any doorway transition where mosaic tile meets wood, vinyl, laminate, carpet, or another tile surface. If your threshold is carrying foot traffic daily, getting the height and edge support right matters more than just “making it fit.”
Measure the transition and pick the right threshold
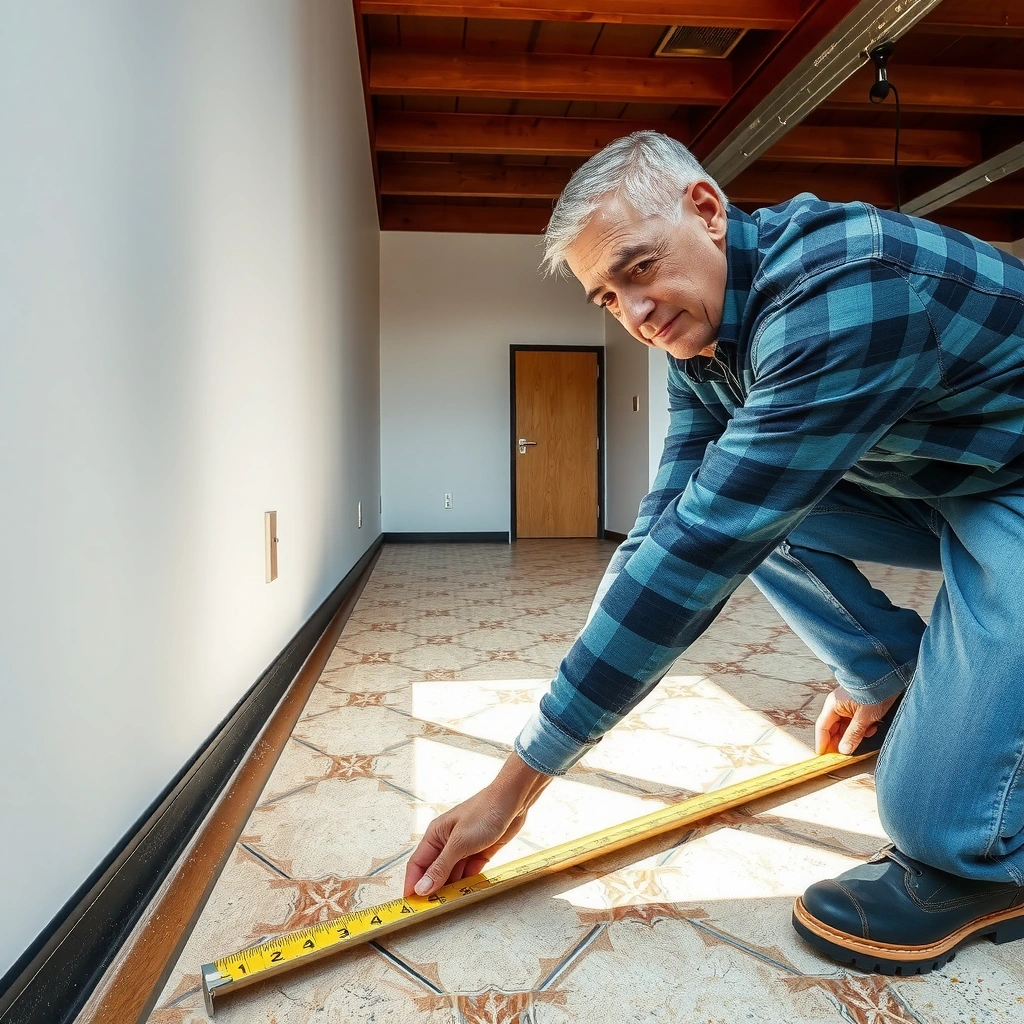
You get the best results when you match the threshold design to the exact transition height and tile edge style—before you ever fasten anything. This prevents the two most common problems: height mismatch (lip or dip) and damaged mosaic edges (because the tile isn’t supported how the system expects).
According to the Tile Council of North America (TCNA), the substrate and finished-tile system must be designed so transitions don’t create unsupported tile edges or unintended rigid constraints (TCNA Handbook; movement-joint and transition guidance).
Per ASTM C1193, sealant joint design depends on correct joint geometry (the width/depth relationship), which matters at transitions where movement is expected (ASTM C1193).
Start by deciding what “transition” actually means in your doorway. Is the mosaic tile meeting a wood floor that’s slightly lower? Or are you bridging from tile up to carpet padding? Each scenario affects (1) threshold height and (2) whether you need a threshold that covers the tile edge or one that sits alongside it.
Confirm the landing point and height relationship
Use a straightedge and measure at the threshold location—not just the surrounding room. You’re looking for:
– Where the mosaic tile edge will land relative to the adjoining floor surface (flush, slightly proud, or slightly recessed).
– Whether your threshold is intended for flush transitions or raised profiles. Some thresholds are designed to “capture” the tile edge; others simply sit at a consistent height over a flat base.
Match threshold type to the mosaic edge condition
Mosaic tile edges can be straight, eased (factory-profiled), or cut jaggedly depending on how the tiles were installed and trimmed. Choose the threshold accordingly:
– Tile-covering thresholds (often with a top cap or flange) typically protect and visually complete the edge.
– Adjacent-sitting thresholds require the tile edge to be clean and consistent so the threshold won’t rock.
Reality check before you buy or cut
As of 2026, the most reliable workflow is: you install the mosaic first (or at least set the edge), then you choose the threshold height based on the finished buildup. If you buy too early, you may end up compensating with excessive thinset/patching, which can create a new height problem.
Prepare the subfloor and tile edge before fitting
A threshold can only correct a transition if the base under it is flat, solid, and properly prepared. If the subfloor dips or the tile edge is out of plane, the threshold will “lock in” the defect and can lead to chipped mosaic edges or cracked grout.
TCNA guidance emphasizes achieving a flat, stable substrate because tile and grout performance depends on uniform support and minimized lippage across the setting bed (TCNA Handbook; substrate flatness guidance).
When tile deflection exceeds the recommended limit, grout cracking and tile failure become more likely; TCNA deflection criteria are commonly stated as L/360 for ceramic tile and L/720 for natural stone (TCNA Handbook; deflection criteria commonly cited).
Verify flatness where the threshold base mounts
Threshold bases create a mechanical “line” across your doorway. That means any substrate issue under that line shows up immediately as:
– Rocking (threshold doesn’t sit evenly)
– Gapping at one end of the doorway
– Edge leverage that can chip brittle mosaic cuts
If your subfloor is wooden, confirm it’s securely fastened and not flexing. If it’s cement board or an underlayment system, confirm seams are properly treated and that the surface is continuous without ridges.
Make the tile edge clean and consistent
Before fitting the threshold, inspect the mosaic cut edge:
– It should be square enough to seat without pressure points.
– It should not have loose tiles, hairline cracks, or voids near the edge.
– If thinset squeeze-out is raised at the edge, remove it so the threshold top track doesn’t ride on bumps.
In my experience with real-world doorways, the “smallest” edge irregularities—like a thinset ridge or one slightly proud mosaic tile—create the biggest visual and mechanical problems after installation.
Dry-fit, set height, and plan the gap
You should dry-fit the threshold and dial in the final height after the mosaic is set so the transition reads clean and supports the tile edge. Then you plan the joint gap so materials can tolerate normal expansion and contraction without pushing on brittle tile.
TCNA movement-joint concepts exist specifically to accommodate dimensional change and prevent stress transfer into tile grout and edges (TCNA Handbook; movement-joint guidance).
For typical tile-and-sealant interfaces, ASTM C1193 discusses required sealant joint geometry so the sealant can perform under movement (ASTM C1193).
Dry-fit across the full doorway run
Don’t test only one side of the threshold. Dry-fit the threshold:
– In place (with any required base pieces)
– At your expected fastener locations
– Against the installed mosaic edge and the adjoining floor surface
Look for:
– Even contact (no rocking)
– Consistent top height (no toe-catch lip)
– Correct clearance for any top caps or leveling features
Include thinset build-up in the measurement
Thinset build-up at the doorway edge can change the height more than people expect, especially with mosaic sheets where individual tile thickness variation aggregates.
Tip: Use your spacer/straightedge to measure the finished tile surface elevation relative to the adjoining floor in multiple spots. If you discover a mismatch, correct it before fastening—after fastening, you’ll either chip tile edges or create a permanent slope.
Plan the movement gap (don’t “force it tight”)
Expansion and contraction require a gap at transitions where movement is expected. The exact spacing depends on your threshold system, but the principle stays the same:
– Follow the manufacturer’s gap/spacer guidance for the threshold base-to-substrate and top-cap alignment.
– If the threshold design uses a sealant transition, plan the sealant joint geometry (width-to-depth ratio) per ASTM guidance (ASTM C1193).
Quick reference: structural deflection limits that influence transition stability
Because thresholds can’t overcome excessive movement in the framing, use deflection criteria to understand risk at doorways.
Deflection criteria commonly used for tile (L/ ratio)
| # | Tile/Finish type | Typical deflection limit | Why it matters at thresholds | Risk signal |
|---|---|---|---|---|
| 1 | Ceramic tile (interior) | L/360 | Limits grout and edge stress | Lower |
| 2 | Porcelain tile (interior) | L/360 | Helps prevent transition cracking | Lower |
| 3 | Glass mosaic tile (interior) | Often treated like ceramic: L/360 | Supports small-format edge cuts | Lower |
| 4 | Natural stone (interior) | L/720 | Stone is more sensitive to movement | Higher |
| 5 | Large-format tile (interior) | L/360 commonly used; follow system spec | More span = more edge leverage | Elevated |
| 6 | Tile on wood over voids | Meet L/360 (or tighter by spec) | Door thresholds can be the weak point | Higher |
| 7 | Unknown/variable substrate | Verify with deflection check | Prevents “works today” failures | Uncertain |
Install the threshold to secure the mosaic tile edges
When you install the threshold, the goal is to lock the transition in a way that supports tile edges without creating rigid stress points. Fasten using the manufacturer’s specified method, use the right setting materials at the transition, and finish only after the tile and threshold are aligned.
Most threshold systems specify two attachment zones: a base attachment (often screws into substrate) and a top component alignment that sets the final height (Manufacturer installation instructions for the specific threshold system).
ANSI/TCNA tile-system principles require proper support under tile edges; incorrect transitions can transfer movement into grout and cause cracking (TCNA Handbook; tile system requirements).
Fasten the base exactly as the system specifies
Read your threshold’s instructions and follow them for:
– Base attachment (commonly screws or anchors, depending on substrate type)
– Adhesive/setting materials (where specified for support at the transition line)
– Screw spacing and placement (critical for keeping the base from bowing)
If the instructions call for adhesive at specific contact points, treat that as part of the engineering—don’t replace it with “more screws” unless the manufacturer authorizes it.
Support the transition where the tile needs it
Some threshold designs require thinset/adhesive at the transition so the tile edge isn’t floating over a void. If you skip that step, the tile may be visually supported but mechanically unsupported.
Then align the top cap/track at the intended height:
– Re-check for even contact along the doorway.
– Confirm there’s no pinch point against the adjoining floor.
Finish the joint materials based on expected movement
A common mistake is treating every seam the same. Use a transition strategy that matches the movement risk.
| Interface condition | Typical joint behavior | Better choice | Why |
|---|---|---|---|
| Tile-to-tile (stable) | Minimal movement | Grout | Grout is designed to bond rigidly in stable areas |
| Tile-to-threshold (movement expected) | Some movement/thermal change | Caulk/sealant (system-approved) | Sealants accommodate movement without cracking |
| Tile-to-soft flooring/carpet | Movement likely | Sealant as directed + correct clearance | Prevents stress transfer |
Always defer to the threshold manufacturer’s grout vs. sealant guidance.
Finish with grouting, caulking, and protection
Finishing is where the transition becomes durable—or where it fails early. You finish the tile-to-threshold joint using the approved material, keep the joint clean during cure, and protect the edge while everything reaches full strength.
TCNA and grout/sealant manufacturers emphasize that cleanliness and correct joint tooling affect final joint performance at tile edges and transitions (TCNA Handbook; grout/sealant application guidance).
ASTM C1193 recognizes that sealants perform according to joint geometry and proper tool/cure; joints that are contaminated or overworked can underperform (ASTM C1193).
Grout where the tile field needs rigid bonding
– Grout only after the threshold is fully aligned and secured.
– Avoid smearing grout into any joint that should be sealed instead.
– Tool grout cleanly at tile edges so you don’t leave thin, weak spots.
Caulk/seal where movement is expected
– Use the sealant type the system specifies (often a quality silicone or hybrid sealant designed for tile transitions).
– Tool the joint so it bonds to the intended faces without excessive squeeze-out.
Protect during cure and traffic
Doorways see real daily wear. Protect the transition during cure by:
– Keeping traffic off the area for the cure time recommended by your grout/sealant manufacturer.
– Masking edges if needed so mosaic tiles don’t get nicked or stained.
In 2026, this step is still the difference I see between “installed correctly” and “installed to last,” especially on busy entryways where people naturally test the threshold early.
What can go wrong (and how to avoid it)
Thresholds fail for predictable reasons: height mismatch, unsupported edges, wrong joint material, or improper attachment. If you diagnose early, you usually fix the problem before it becomes permanent.
TCNA deflection criteria (commonly L/360 for ceramic tile and L/720 for stone) exist because excess movement translates into cracking and failure, often most noticeable at transitions (TCNA Handbook; deflection criteria commonly cited).
TCNA movement-joint principles address stress from dimensional change; rigidly grouting a seam that needs movement increases the chance of grout cracks near door thresholds (TCNA Handbook; movement-joint guidance).
– Threshold sits too high/low: Usually height mismatch from thinset buildup, inconsistent tile thickness, or a base not sitting flat.
Avoid it: dry-fit early and correct substrate/setting-bed buildup before fastening.
– Chipped mosaic edges: Caused by forcing the threshold into place or the tile edge being unsupported.
Avoid it: ensure subfloor flatness under the base and confirm even contact across the full doorway.
– Cracked grout at the transition: Often from using grout where a movement joint/continuous sealant is expected.
Avoid it: choose grout vs. sealant based on the threshold system and movement expectations.
– Loose threshold after install: Usually missing fasteners, incorrect substrate anchoring, or using the wrong adhesive/attachment method.
Avoid it: follow fastening instructions exactly and verify the substrate accepts the specified fasteners.
– Uneven feel underfoot (toe catch): A common “looks fine” issue that shows up when people walk over it.
Avoid it: confirm top height with a straightedge and test by feel (carefully) during dry-fit.
Verdict / tip: what to do first—and when to stop
Start with measurement and dry-fitting: if you can’t get the threshold to sit at the correct height over your exact mosaic tile build-up, don’t rush to fasten it. This approach is best for most standard door transitions, but skip DIY (or at least double-check with a pro) if your subfloor is badly uneven, your mosaic is highly irregular at the edge, or you’re working with a specialized threshold system where the instructions are unusually strict.
The downside of this process is time: you may need to set the tile first, then adjust or reorder. The upside is fewer failures—especially at high-traffic doorways where a brittle mosaic edge can’t tolerate mistakes.
Quick checklist before you fasten
– [ ] Tile-to-threshold height confirmed with a dry-fit
– [ ] Subfloor flat, clean, and solid where the threshold base mounts
– [ ] Proper edge support for mosaic tile (no rocking/voids)
– [ ] Correct attachment method used (screws/adhesive) per instructions
– [ ] Joint finish matches the expected movement (grout vs. sealant)
– [ ] Area protected during cure; cleanup done before materials set
FAQ
Do I install the threshold before or after setting mosaic tile?
In most installs, you set the mosaic first (or at least set the tile edge) so you can dial in the threshold height precisely, then fasten the threshold to secure the transition.
What joint should I use where the tile meets the threshold—grout or caulk?
Use grout for stable, non-moving tile-to-tile joints, and use sealant/caulk where the transition needs to allow movement. Follow the threshold manufacturer’s recommendations for that specific junction.
Why does my threshold feel uneven even though the tile looks level?
That usually points to subfloor flatness issues, thinset build-up differences at the doorway, or a threshold base that isn’t supported continuously. Dry-fitting across the entire run helps catch this early.
Can I cut a threshold to fit a mosaic doorway?
Often yes, but only if the material and design allow it (and you use the correct cutting method to avoid damaging finish or alignment features). Check the manufacturer’s instructions for cut guidance.
Sources
– [ADD: manufacturer installation instructions for the specific threshold system you’re using—attachment method, spacing/movement joint guidance, and grout vs. sealant recommendations]
– [ADD: thinset/adhesive and grout/sealant manufacturer documentation for compatibility and substrate requirements]
– [ADD: backer board/subfloor flatness and installation standards relevant to your floor system (e.g., cement board or underlayment manufacturer specs)]
– TCNA Handbook (Tile Council of North America); substrate flatness, deflection criteria, and movement-joint guidance
– ASTM C1193 (Standard Guide for Use of Joint Sealants)
Frequently Asked Questions
What is the best way to plan threshold placement for a mosaic tile floor?
Start by measuring the doorway opening and confirming the tile layout so you don’t end up with thin cut pieces at the transition. Plan your threshold relative to the tile edge—ideally centering the threshold over the grout line or aligning it with a natural layout break. Dry-lay a few mosaic sheets and test-fit the profile to confirm the height and how the transition will look once the floor is grouted and sealed.
How do I install a metal threshold on a mosaic tile floor without cracking tiles?
Use a setting method designed for tile-to-metal transitions: thinset mortar under the threshold base (if the model is compatible) and solid anchoring to the subfloor. Leave the recommended expansion gap at the perimeter, then set the threshold so it’s flush or slightly coordinated with the mosaic tile height. For the mosaic specifically, set tiles first or carefully install the threshold after tile placement—either way, keep the threshold fasteners from landing directly on weak points in small tile pieces.
How do I install a Schluter-style profile threshold for mosaic tile transitions?
Choose the correct profile height and type (for tile thickness and desired edge finish), then position the profile so the top lip matches the mosaic tile surface. If the profile is installed first, use thinset or adhesive according to the manufacturer instructions, then butt your mosaic tile sheets to the profile edge. If installing after tile, grind or clean the tile edge precisely, apply adhesive under the profile, and secure it so the profile supports the tile edges and prevents chipping.
Why is grout gap and expansion space important when installing thresholds with mosaic tiles?
Mosaic tile floors experience movement from subfloor shifts and thermal changes, so ignoring expansion gaps can cause lippage, cracking, or grout failure near the threshold. Maintain the manufacturer-recommended spacing around the threshold and avoid packing rigid grout or thinset into movement joints. Use a flexible sealant where the profile requires it, especially at doorways exposed to vibration, to keep the transition looking clean and durable.
Which threshold type is best for mosaic tile floors: flat, beveled, or flush-mount?
Flat thresholds work well for straightforward transitions and for minimizing height differences, especially if your mosaic tile is level with adjacent flooring. Beveled or angled options are great when you need a smoother visual and a more comfortable “ramp” for shoes and wheel traffic. Flush-mount thresholds can look seamless, but they require precise height matching and careful subfloor prep—if you’re not confident in leveling, a slightly adjustable metal transition can be easier to install correctly.
📅 Last Updated: October 10, 2026 | Topic: How to install thresholds for mosaic tile floors? | Content verified for accuracy and freshness.
References
- https://en.wikipedia.org/wiki/Threshold_(architecture
- Tile
https://en.wikipedia.org/wiki/Ceramic_tile - https://en.wikipedia.org/wiki/Grout
- Thinset
https://en.wikipedia.org/wiki/Thinset - https://en.wikipedia.org/wiki/Expansion_joint_(building
- https://en.wikipedia.org/wiki/Underlayment
- https://www.britannica.com/technology/tile
- Google Scholar Google Scholar
https://scholar.google.com/scholar?q=mosaic+tile+floor+installation+threshold - Google Scholar Google Scholar
https://scholar.google.com/scholar?q=ceramic+tile+threshold+transition+expansion+joint - Google Scholar Google Scholar
https://scholar.google.com/scholar?q=door+threshold+ceramic+tile+installation+waterproofing


