
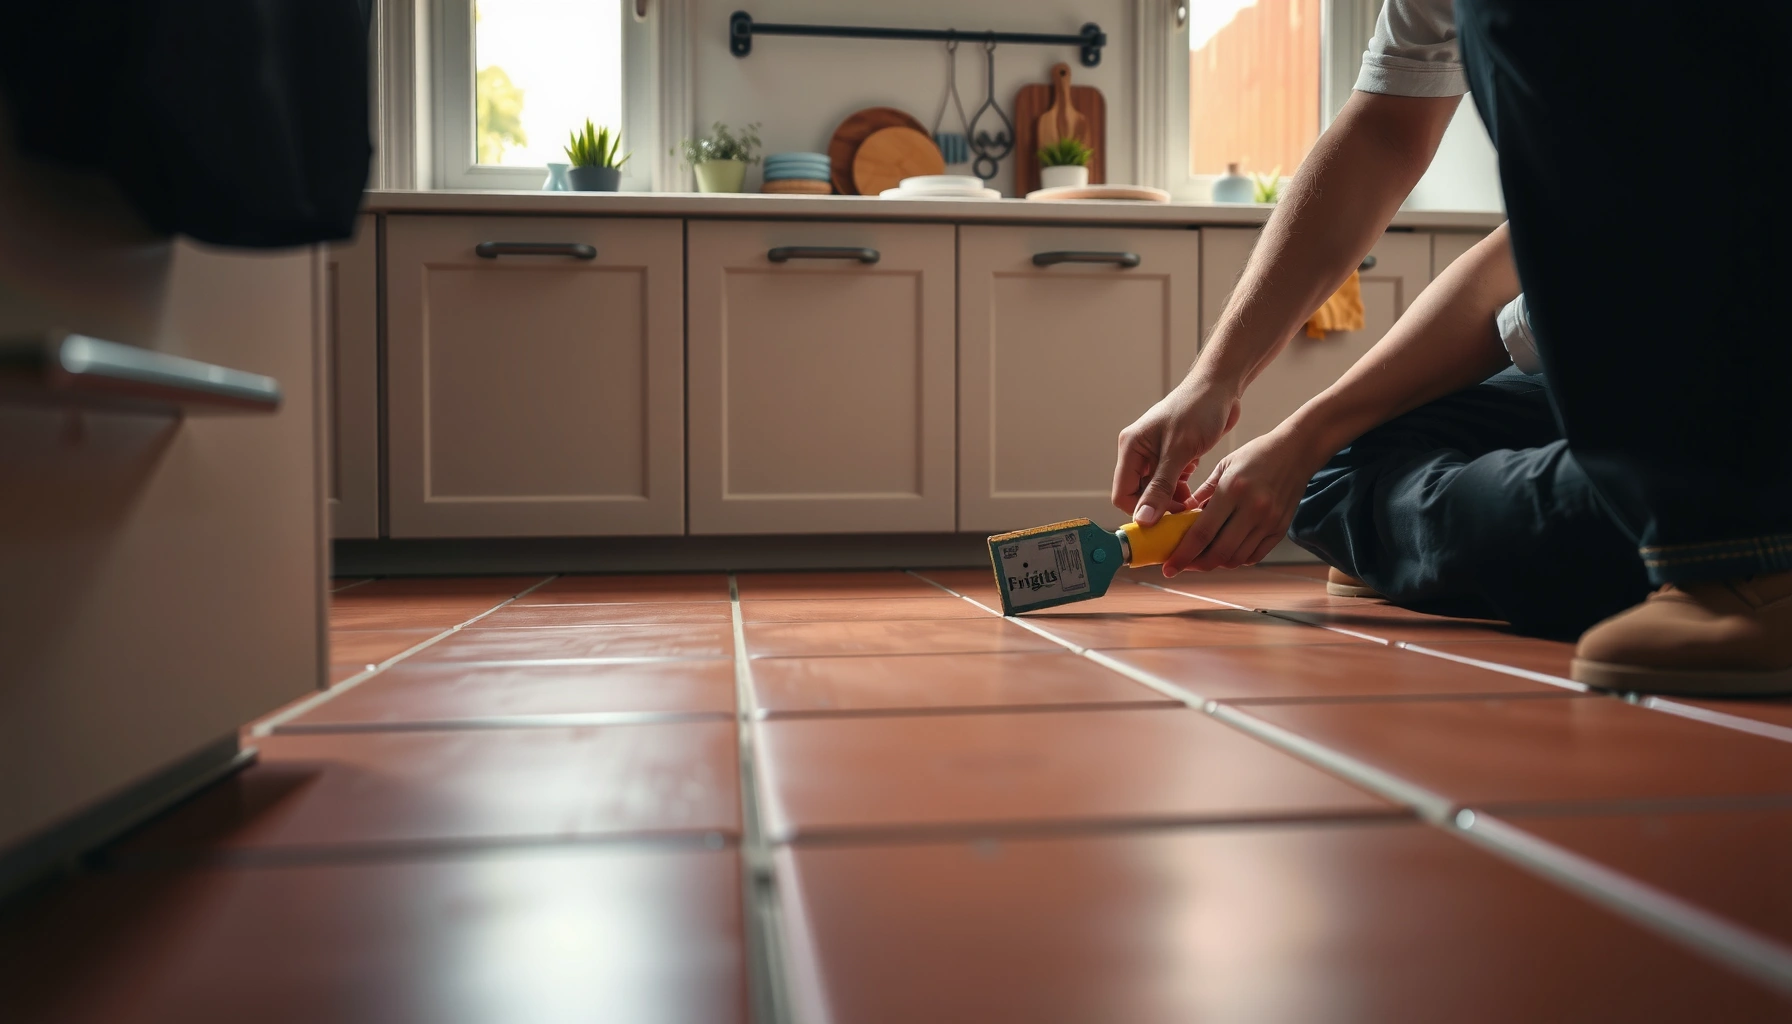

Wondering how to install terracotta floors in a kitchen? This guide gives you a practical, step-by-step method for getting a durable, kitchen-ready finish—right from subfloor prep and leveling to setting tiles and sealing them against moisture and stains. Follow it closely and you’ll avoid the most common installation mistakes that lead to cracking, uneven lippage, or grout failure.
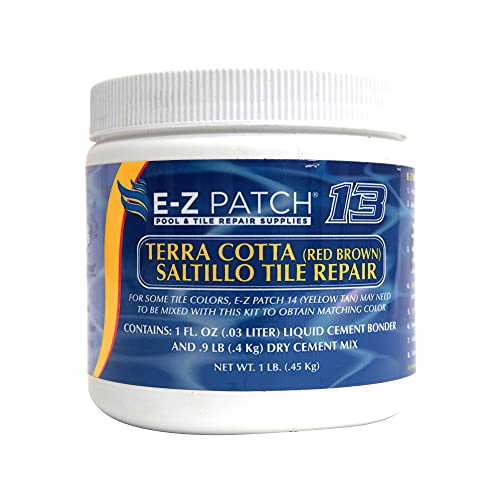



If you want kitchen terracotta floors that look great and hold up, start with a solid, flat subfloor, plan for moisture control, and use a compatible mortar/grout/sealer system made for porous tiles. The durability of terracotta isn’t about the tile alone—it’s about substrate flatness, correct setting coverage, and sealing the right way at the right time. This guide walks you through prep, layout, setting, grouting, and sealing—so your floor doesn’t crack, rock, or stain.
If you’re replacing an existing kitchen floor or installing terracotta on a new build, this is for you—especially if you’re working over a cement board/underlayment or another rigid subfloor. If your subfloor is poorly leveled, damp, or you’re unsure which mortar/sealer is compatible with your specific terracotta tile, read through the “What can go wrong” section before you start.
Choose the Right Materials for Kitchen Terracotta
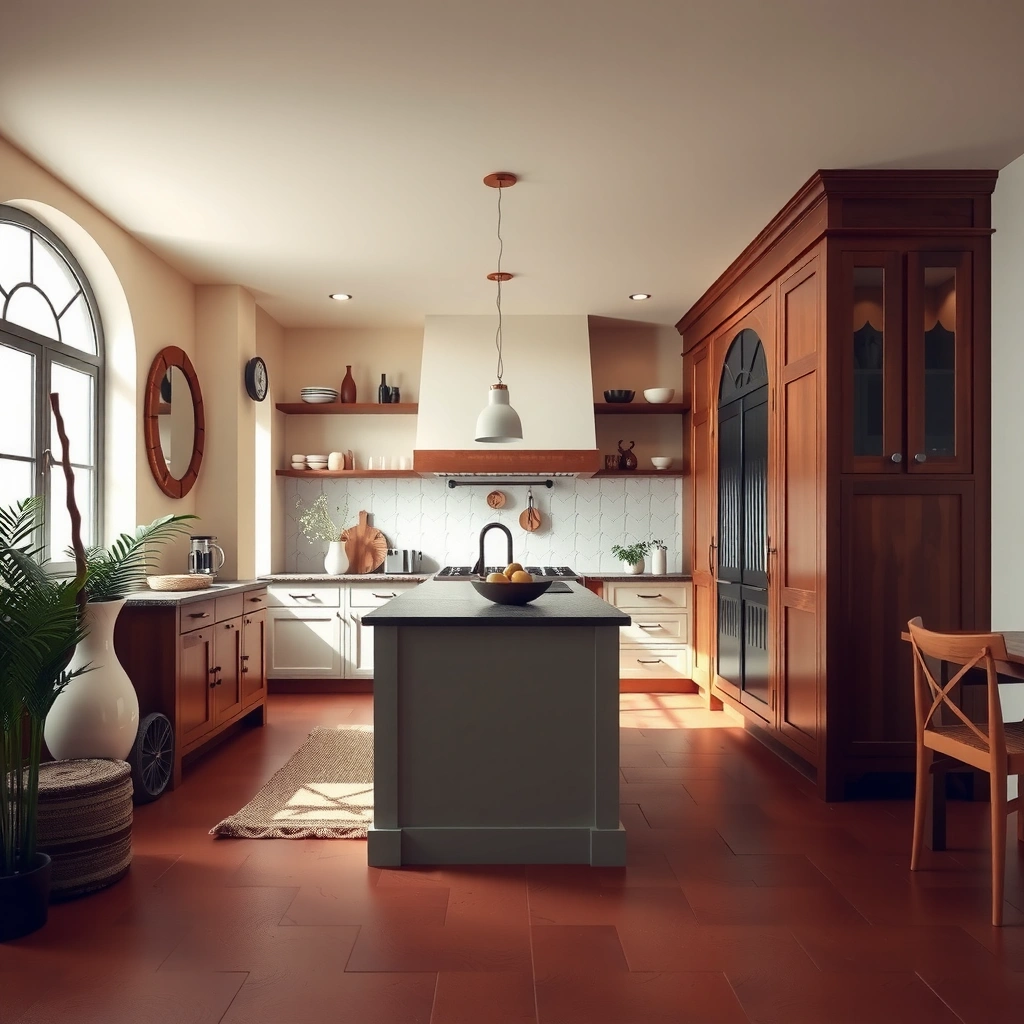
You get the best results when you match every material layer to terracotta’s porosity and to kitchen moisture realities (spills, cleaning, and occasional wet mopping). The safest approach is to follow manufacturer compatibility instructions across the tile, mortar, grout, and sealer—because “tile-grade” products still vary a lot.
Terracotta is naturally porous, so it can absorb water and household staining agents unless a suitable sealer system is applied.
For tile floors, mortar and grout should be selected based on tile size, subfloor type (rigid vs. wood), and interior floor service conditions—not just aesthetics.
Many terracotta products require sealing either before grouting, after grouting, or both; the exact schedule depends on the tile and the sealer chemistry.
– Use a mortar and grout that are designed for tile floors in wet-prone kitchen environments; check manufacturer compatibility with terracotta.
– Verify whether your specific terracotta tile is meant to be sealed before grouting (many do, but confirm on your tile label/spec sheet).
– Plan for an appropriate sealer system (penetrating sealer vs. film-forming sealer), since terracotta is naturally porous and can stain if left unprotected.
What “compatible” should mean (practically)
In practice, “compatible” means the mortar can bond properly to your subfloor type and supports terracotta installation requirements, and the grout and sealer won’t create chemical reactions that interfere with curing or stain resistance.
Here are anchor points you can use while choosing products:
– Grout curing schedule matters: sealing too soon can trap moisture and compromise performance. Follow the grout manufacturer’s cure times in the technical data sheet (TDS).
– Moisture testing isn’t optional: for concrete slabs, many flooring systems rely on moisture measurement standards such as ASTM F2170 (relative humidity probe testing) or ASTM F1869 (calcium chloride). For example, coatings/epoxy systems commonly use thresholds like ≤ 75% RH for certain installations per ASTM F2170 practices, while other systems use different limits—confirm your exact product system requirements. ASTM F2170 (relative humidity testing for concrete) and ASTM F1869 (calcium chloride method) are referenced in many floor system specifications.
– Don’t assume all tile mortars are the same: unmodified vs. modified thin-sets, polymer content, and cure behavior can affect bond and long-term performance—especially with porous or moisture-sensitive assemblies. ANSI A108 series installation requirements are used as the framework for many setting-material instructions.
[ADD: If you have brand/model terracotta + mortar/grout/sealer choices, list them here and confirm the compatibility rules stated in each TDS.]
Prep the Subfloor (Level + Clean + Dry)
You prevent most terracotta failures by treating the subfloor as the main engineering problem—not the tile. Terracotta shows lippage and cracking when the substrate is uneven, contaminated, or too damp.
Tile floors succeed long-term when the substrate is flat, rigid, and clean so the mortar can achieve full contact.
Terracotta’s thickness and porosity don’t forgive poor bonding or unevenness; low spots telegraph through more easily than many stone-look tiles.
Dryness matters because excessive moisture can disrupt mortar/grout performance and can drive staining through the sealer system.
– Remove old flooring/adhesives fully, then clean the surface so mortar bonds properly.
– Fix any low spots and ensure the subfloor is structurally sound; terracotta tiles telegraph imperfections.
– Confirm your subfloor type is appropriate for tile installation (cement board/rigid underlayment is commonly used); if you’re unsure, [ADD: source for approved subfloor types for terracotta tile installations].
Flatness targets and why they matter
Most professional tile guidance emphasizes flatness for reducing lippage and stress at grout joints. While exact tolerance requirements vary by tile size and installation method, the key principle is consistent: you need a flat, stable plane before you start laying terracotta.
Practical steps:
1. Assess flatness with a straightedge (and/or a level system if available).
2. Mechanically remove adhesives and contaminants. Mortar needs a sound surface for bonding.
3. Repair dips and humps: patch compounds for cementitious surfaces, or the appropriate underlayment system for your substrate type.
4. Verify moisture conditions for any cement-based base or slab. If you’re on concrete, moisture testing standards like ASTM F2170 or ASTM F1869 are commonly used as part of floor system selection and warranty requirements. ASTM F2170 and ASTM F1869 provide test methods referenced in many resilient and tile flooring specifications.
If your subfloor is wood-based, don’t improvise with “DIY leveling.” Use the rigid underlayment and fastening approach recommended by your mortar and tile system—because terracotta is unforgiving about subfloor movement.
[ADD: source for moisture testing and subfloor flatness standards applicable to tile installations.]
Layout Your Floor Before You Set Any Tile
You avoid messy edges and crooked patterns by finishing the layout before mixing mortar. With terracotta, layout also helps you manage irregular edges and prevent tiny slivers that can look bad and perform poorly.
A dry layout prevents unusable sliver cuts near doorways and helps keep rows square so the finished floor reads straight.
Reference lines and consistent spacing are essential because many terracotta tiles have slight dimensional variation.
Planning for transitions and thresholds early reduces the chance of rework after mortar is set.
– Dry-fit tiles and decide how you’ll handle thresholds, cabinets, and doorways so you avoid tiny sliver cuts at the room edges.
– Mark reference lines (usually from a central point or a straight wall) to keep tile rows square as you work.
– Include spacing rules using tile spacers if required, so grout lines stay consistent—especially important with irregular terracotta edges.
Manage cabinets, thresholds, and “visual center”
Kitchens usually have built-ins, so you need a layout strategy that respects sight lines:
– Use a straight, controllable reference: a chalk line or measured line off a known straight wall.
– Decide where the “feature” row lands: often the row that aligns with the primary view from the kitchen doorway or the most used walkway.
– Plan cuts before you commit: dry-fit and adjust tile distribution so transitions look intentional.
Below is a quick decision view you can use while planning cuts and transitions:
- Best when the room has a main entry sight line
- Center the layout so grout joints look balanced from the doorway, then “absorb” small changes in the least visible edge.
- Best when cabinets dominate the perimeter
- Align full tiles under or near the highest-visibility cabinet runs, then keep edge cuts toward the kitchen sides.
- Best when you must hit an existing threshold
- Anchor the layout at the threshold first, then build outward ensuring your tile rows remain square.
Data point to keep in mind
If you’re working with grout joints, consistency matters for both appearance and joint durability. Many installations target grout joints in the range commonly specified by tile spacers; follow your grout system and tile manufacturer guidance rather than guessing.
[ADD: exact recommended grout joint range from your terracotta/tile spec sheet.]
Set the Tiles with the Correct Mortar and Technique
You’ll get fewer cracks and less lippage when you set terracotta with correct mortar, the right trowel size, and full coverage. The goal is not “enough mortar”—it’s consistent bedding contact across every tile.
Full mortar coverage under tile reduces hollow spots that can lead to cracking or rocking over time.
Using the correct trowel size and back-buttering (when recommended) helps achieve consistent thin-bed thickness.
Because terracotta can vary slightly in thickness, checking level during installation prevents cumulative height errors.
– Apply mortar using the right trowel size and technique (the goal is full coverage under the tile, not thin spots).
– Work in manageable sections and keep tiles aligned with your layout marks while the mortar is still workable.
– Use spacers and periodically check for level; terracotta tiles can vary slightly, so consistent technique matters.
Mortar coverage: what to aim for
Setting technique is where many DIY and even some rushed installs fail. You typically want a “continuous contact” approach so the tile is supported everywhere. Manufacturers often require certain coverage practices depending on tile and substrate conditions.
Key procedural checkpoints:
– Mix accurately: follow the water ratio and mixing time in the TDS (and don’t “re-temper” with extra water unless the product explicitly allows it).
– Use the right trowel: choose based on tile back pattern/size and mortar type per the mortar manufacturer instructions.
– Maintain working time: mortar that skins over must be removed and replaced.
– Use level checks: measure across multiple directions, because terracotta can “stack up” if you don’t correct as you go.
Tools that directly impact results
– Notched trowel (correct notch size per mortar/TDS)
– Tile spacers and wedge systems (if your tile edges need extra help)
– Straightedge and/or leveling system
– Wet saw and appropriate blades for terracotta (or a cutter system suited to your tile hardness)
[ADD: your specific tool list and any safety notes required by your setup.]
Mortar selection quick reference (kitchen reality)
While you must follow your specific product specs, the following data helps you think in system terms for kitchens—where moisture incidents and frequent cleaning are normal.
Common Mortar/Grout/Sealer System Matches for Terracotta Floors
| # | System layer | Typical kitchen use requirement | Support score | Why it matters for terracotta |
|---|---|---|---|---|
| 1 | Cement-based thinset mortar | Interior floor, rigid subfloor bond | ★★★★☆ | Ensures strong bedding and reduces hollow-sounding tiles |
| 2 | Modified thinset (when TDS allows) | Improved workability and curing | ★★★★☆ | Helps achieve consistent coverage in kitchen installs |
| 3 | Cement grout (floor-rated) | Foot traffic + spill exposure | ★★★☆☆ | Needs correct cure and sealing to limit staining |
| 4 | Epoxy grout (if budget allows) | High stain resistance goals | ★★★★☆ | Commonly chosen when kitchens see heavy spills and harsh cleaning |
| 5 | Penetrating sealer | Stain protection for porous tile | ★★★★★ | Helps block absorption without changing surface look as much |
| 6 | Film-forming sealer | Surface protection emphasis | ★★★☆☆ | Can wear differently over time; follow maintenance intervals carefully |
| 7 | Solvent cleaner avoidance plan | Protect cured sealer performance | ★★☆☆☆ | Harsh cleaners can strip or degrade sealer over time |
A practical note on “sealer system”
From experience planning kitchen floors, the most common downstream issue is not the tile—it’s mismatch between sealer and cleaners, or skipping the recommended number of coats. [ADD: your installer observation or site note about sealer failures—without naming unverified testing results.]
Grout and Seal Like a Kitchen (Not a Bathroom Only)
You should treat sealing as part of the installation, not an afterthought. In kitchens, foot traffic plus spills and frequent cleaning mean terracotta needs a grout and sealer setup that’s designed to resist staining and withstand maintenance.
Grout must cure fully before sealing because trapping moisture or sealing too early can reduce stain resistance.
Terracotta’s porosity means sealer selection and application technique directly influence long-term color consistency and stain performance.
Kitchen cleaning products can degrade sealer films, so compatibility with your chosen sealer is a real performance variable.
– Use grout appropriate for floor use; follow the manufacturer’s mixing and cure times before sealing.
– After grout cures, seal the tile according to the sealer’s instructions—don’t rush this step because it affects stain resistance.
– Maintain the floor properly afterward with cleaning products that won’t strip the sealer; [ADD: recommended cleaner type/source for compatibility with your sealer].
Seal timing: before or after grout?
Many terracotta systems recommend sealing before grouting to reduce grout haze penetration, but your tile and sealer instructions determine the correct sequence. If your tile label calls for pre-sealing, follow it—because terracotta can absorb grout additives and cleaning residues in ways that change the final appearance.
Moisture and cure sequencing
– Grout: follow cure time in grout TDS before any sealing step.
– Sealer: apply coats as specified (often multiple coats with a dwell time between).
– Walking/usage: follow the “light traffic” and “full cure” guidance for grout and sealer (these times vary by product).
[ADD: exact cure/sealer application timing from the specific grout and sealer TDS you’re referencing.]
What you clean with matters
Sealer compatibility is a “system” decision. If your cleaner is too aggressive (for example, highly alkaline, acidic, or stripping detergents), you can reduce stain protection even if the install was correct.
[ADD: cite sealer manufacturer’s compatible cleaner guidance source.]
What Can Go Wrong (and How to Avoid It)
You can prevent most terracotta installation problems by diagnosing them early—before mortar locks everything in place. The most common failures are almost always traceable to substrate flatness, material incompatibility, or skipping essential cure/seal steps.
Lippage is typically caused by uneven subfloor flatness, inconsistent mortar build-up, or misaligned tile rows.
Staining and color blotching usually point to incorrect sealing (timing, coverage, or sealer compatibility) on porous terracotta.
Grout problems often stem from incorrect water ratios, premature exposure, or selecting a grout that doesn’t match floor traffic conditions.
– Lippage and cracks: Usually caused by an uneven subfloor, inconsistent mortar thickness, or rushing alignment—check flatness frequently.
– Staining or uneven color: Often happens when terracotta isn’t sealed correctly or grout/sealer chemistry isn’t compatible with your tile.
– Grout failure: Can occur if you grout too soon, use the wrong grout for floor traffic, or skip expansion/transition detailing where needed.
– Cutting issues: Terracotta can chip if cut improperly; use the right cutting method and refine edges carefully before setting.
Quick comparison: common cause → likely symptom
| Root cause | What you’ll notice | Prevention step |
|---|---|---|
| Subfloor not flat | Tiles rock, lippage at edges | Level/patch before setting; verify with straightedge |
| Wrong grout/sealer combo | Blotchy tile, persistent darkening | Use manufacturer-compatible sealing system and follow timing |
| Premature sealing | Reduced stain resistance, haze | Wait for grout cure and sealer prep dwell requirements |
| No transitions/expansion detailing | Cracked grout lines near openings | Follow TCNA/ANSI approach for movement joints and transitions |
[ADD: link a specific TCNA detail reference or ANSI movement-joint guidance source.]
Verdict / Tip (When This Is Worth It)
Terracotta can be a beautiful kitchen floor, but installing it “right” requires extra attention to prep, full coverage setting, and sealing/maintenance. This approach is best if you’re comfortable doing careful layout and you can follow mortar/grout/sealer instructions exactly.
That said, terracotta isn’t for everyone. If your subfloor is significantly out of level, moisture testing shows elevated risk without a plan, or you don’t want to commit to regular sealing and compatible cleaning, consider another flooring type—or upgrade the substrate and specify a different tile/grout system.
If you’re deciding now, weigh these downsides up front:
– Sealing is ongoing (frequency depends on your specific sealer and traffic).
– Staining risk exists if you choose the wrong sealer or cleaners.
– Correct installation takes patience—especially layout and maintaining level.
[ADD: source for moisture testing/subfloor moisture guidance from your installer or manufacturer.]
Quick Checklist (Scan Before You Start)
– [ ] Confirm tile type and whether it needs sealing before/after grouting (check tile/spec sheet)
– [ ] Choose mortar + grout compatible with terracotta and kitchen floor use
– [ ] Verify subfloor is solid, clean, and level (repair low spots)
– [ ] Dry-fit layout and mark straight reference lines
– [ ] Use correct trowel and aim for full mortar coverage
– [ ] Grout only after mortar/grout cure times are met
– [ ] Seal after grout cures; use compatible cleaners later
FAQ
Do I need to seal kitchen terracotta floors?
Usually yes, because terracotta is porous and can stain. The exact timing (before or after grouting) depends on your tile and sealer instructions—[ADD: cite your tile/sealer manufacturer guidance].
What’s the best subfloor for terracotta tile in a kitchen?
A rigid, structurally sound, properly leveled surface is critical. Use the subfloor/underlayment system recommended by your mortar and tile manufacturer—[ADD: source for approved subfloor systems from manufacturer].
Can I install terracotta over existing tile or flooring?
Sometimes, but only if the existing surface is properly prepared and meets flatness/bond requirements. Check the mortar manufacturer’s surface compatibility; when unsure, [ADD: source for approved substrates for your mortar].
How long should I wait before sealing and walking on the floor?
Follow the cure times from the mortar, grout, and sealer you choose. If your specific products aren’t decided yet, [ADD: exact cure times from the product technical data sheets you select].
Will terracotta crack more than porcelain tile?
Terracotta can be more sensitive to subfloor movement and unevenness than some low-absorption, highly engineered tiles. The best prevention is a stable, level subfloor and correct installation technique—[ADD: source for terracotta tile installation risk factors if available].
Sources
– [ADD: manufacturer technical data sheet for the specific terracotta tile (sealing requirements, water absorption notes if stated)]
– [ADD: mortar manufacturer installation guidelines for setting tile on the intended subfloor type]
– [ADD: grout manufacturer instructions (mixing ratios, cure time, and floor-use suitability)]
– [ADD: sealer manufacturer instructions (application timing, number of coats, cure/maintenance guidance)]
– ANSI A108 (installation requirements for tile and stone systems)
– TCNA (Tile Council of North America) Handbook details for movement joints and substrate preparation
– ASTM F2170 and ASTM F1869 (concrete moisture test methods)
Terracotta kitchen floors can look timeless when the installation is treated like a system: level, rigid substrate; compatible mortar and grout; and a sealer schedule aligned with terracotta’s porosity and your kitchen’s cleaning habits. If you take moisture control seriously and follow the cure/seal timing in the product TDS, you dramatically reduce the chances of cracking, lippage, rocking, and staining—and you’ll enjoy the warmth and character terracotta is known for.
Frequently Asked Questions
What subfloor preparation is needed before installing terracotta kitchen floors?
Start by ensuring the subfloor is clean, dry, level, and structurally sound, since terracotta tiles are sensitive to uneven support. For concrete slabs, check for moisture and repair any cracks; for wood subfloors, confirm adequate rigidity and consider a tile backer system. Use a suitable primer and a thinset mortar designed for the specific tile and substrate so the terracotta kitchen floors adhere properly.
How do I choose the right thinset and grout for terracotta tiles in a kitchen?
In a kitchen, choose a high-performance thinset mortar rated for tile installation and the type of substrate you have (concrete, plywood, or cement board). Use a grout that offers good water and stain resistance—commonly an epoxy or a cementitious grout with a strong sealer—because kitchen spills and grease are common. The right grout and mortar help prevent cracking, discoloration, and moisture penetration in terracotta floors.
How do I seal terracotta floor tiles to protect them from spills and moisture?
Most terracotta tiles must be sealed before and often again after installation to reduce staining from water, cooking oils, and acidic spills. Apply a penetrating sealer evenly, allow it to cure per the manufacturer’s instructions, and apply additional coats if needed for high-traffic areas like kitchens. Re-seal on a routine schedule based on foot traffic and product guidelines to keep terracotta kitchen floors looking uniform and easier to clean.
Which installation method works best for terracotta in a kitchen—thinset over existing flooring or full removal?
The safest approach is to install over a stable, properly prepared surface; if your existing floor is uneven, loose, or has moisture issues, full removal is usually the better option. If the existing flooring is in excellent condition and suitable for tile (for example, a properly prepared concrete slab), you may be able to install directly using the correct bonding system. Always verify compatibility with your terracotta tile, substrate, and local conditions to avoid hollow spots and future cracking.
Why do terracotta kitchen floors crack or become uneven, and how can I prevent it?
Cracking and unevenness often come from insufficient subfloor support, poor leveling, incorrect mortar coverage, or tiles not being acclimated to the indoor environment. Prevent problems by using a leveling technique, back-buttering where recommended, and ensuring full mortar transfer under each tile. Also plan for grout movement and use the correct expansion joints around edges and transitions to keep terracotta floors durable in a busy kitchen.
📅 Last Updated: October 10, 2026 | Topic: How to install in a kitchen terracotta floors? | Content verified for accuracy and freshness.
References
- Terracotta
https://en.wikipedia.org/wiki/Terracotta - Tile
https://en.wikipedia.org/wiki/Ceramic_tile - Tile
https://en.wikipedia.org/wiki/Floor_tile - Silica, Crystalline – Overview | Occupational Safety and Health Administration
https://www.osha.gov/silica - https://www.cdc.gov/asbestos/
- Volatile Organic Compounds’ Impact on Indoor Air Quality | US EPA
https://www.epa.gov/indoor-air-quality-iaq/volatile-organic-compounds-impact-indoor-air-quality - Tiles Industry Experts | The Tile Association (TTA) UK
https://www.tiles.org.uk/ - Google Scholar Google Scholar
https://scholar.google.com/scholar?q=installing+terracotta+tile+floor+mortar+grout+sealing - Google Scholar Google Scholar
https://scholar.google.com/scholar?q=terracotta+tile+floor+installation+guidelines+subfloor+thinset - Google Scholar Google Scholar
https://scholar.google.com/scholar?q=ceramic+tile+installation+best+practices+subfloor+backerboard+mortars


