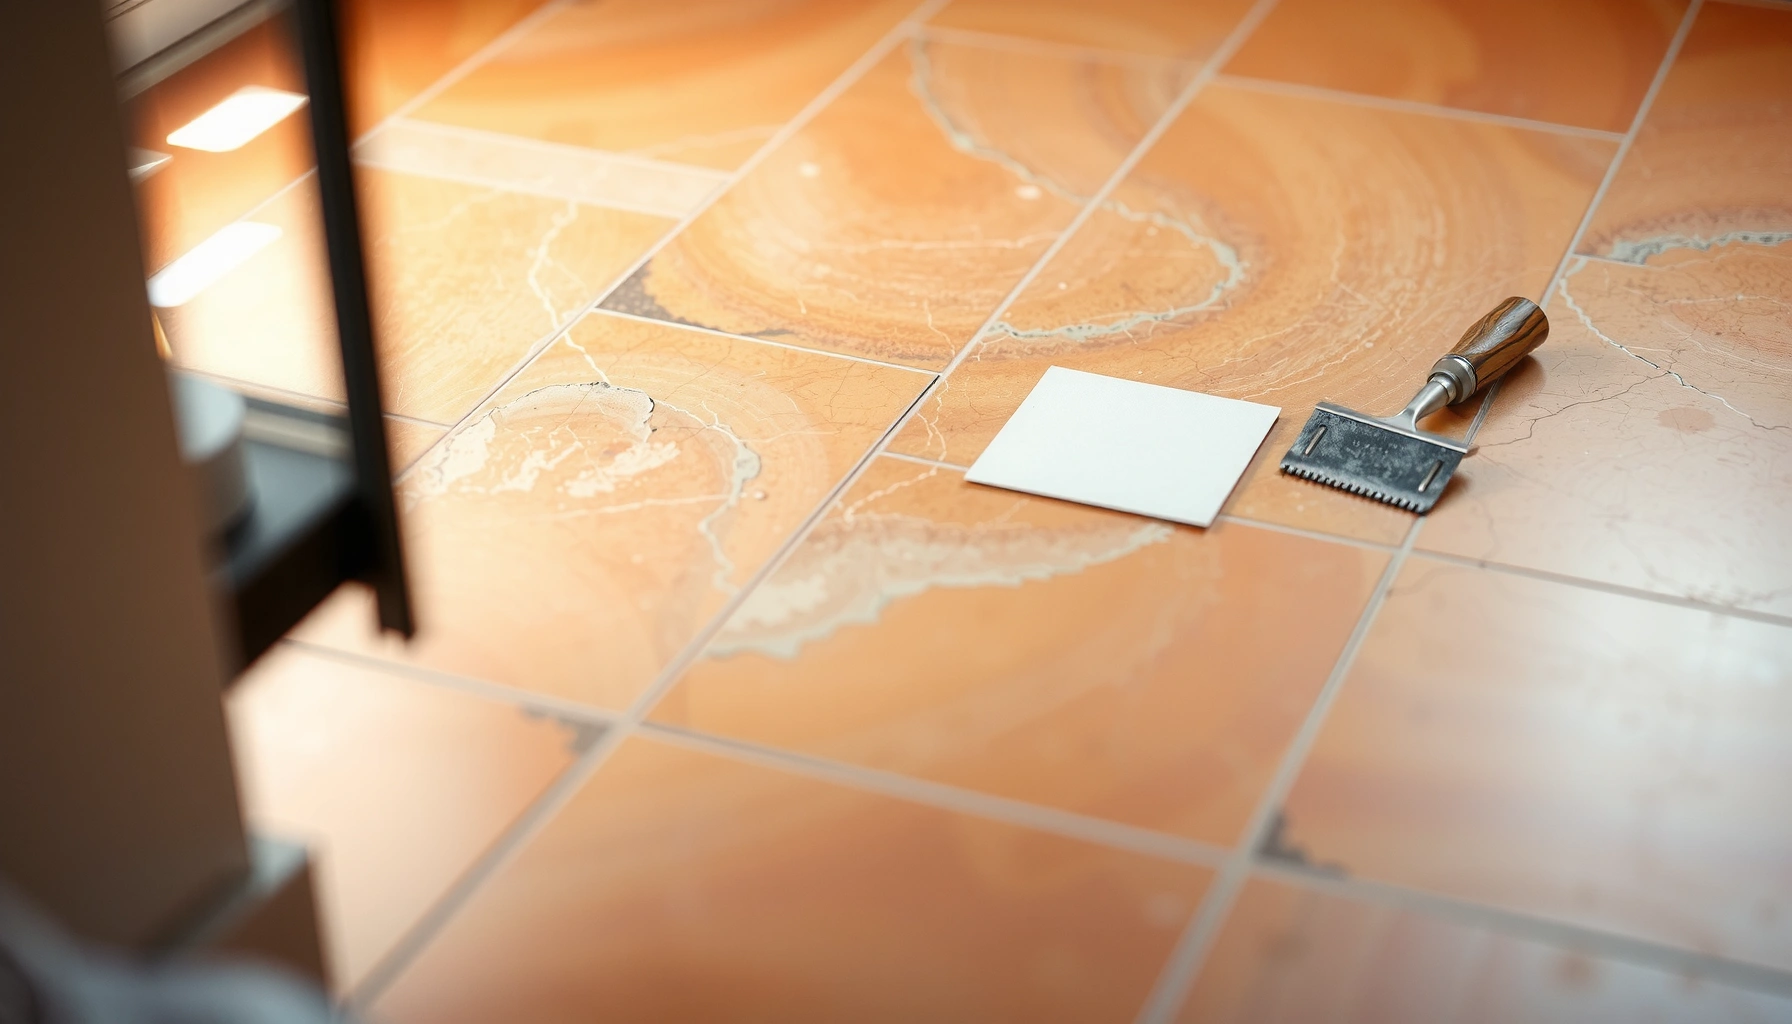

You can fix scratches on terracotta floors with a repair kit approach that matches the damage level, and in most cases the result will look seamless to the eye. This step-by-step repair guide shows how to clean the scratch, choose the right filler or color-matching compound, apply it correctly, and seal the area so it blends and resists wear. By the end, you’ll know exactly what to do for surface scuffs versus deeper gouges—without guesswork.




Scratches on terracotta floors can usually be improved by cleaning the area, lightly sanding/buffing the scratch, then filling (only for gouges) and sealing with a terracotta-compatible product. If the damage is only superficial, buffing and adding the right sealer can dramatically reduce visibility without changing the tile’s color or texture.
If you have terracotta tiles or terracotta-look flooring with surface scuffs, hairline scratches, or deeper gouges, this guide is for you. It’s especially useful when you want repairs that blend naturally and don’t immediately re-show under normal cleaning or foot traffic.
Assess the scratch depth (light scuff vs. gouge)
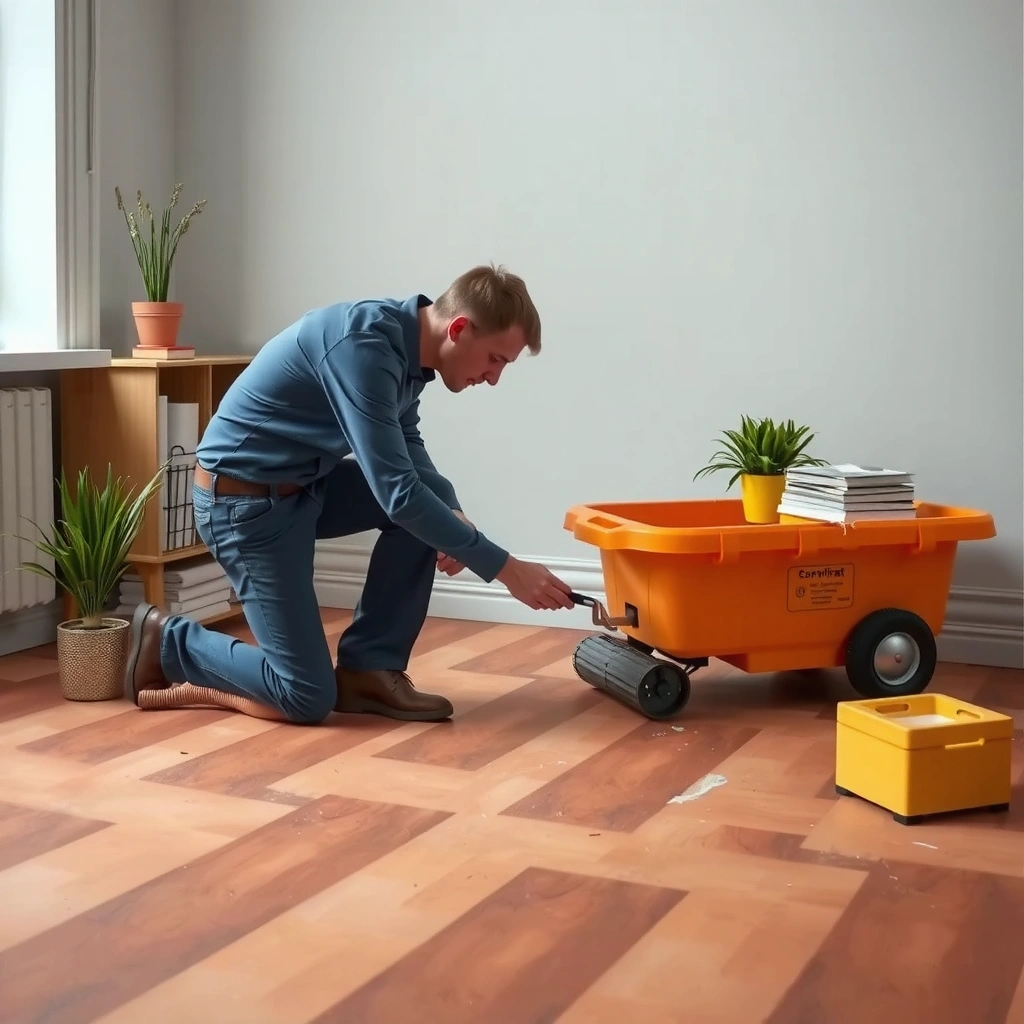
You get better results when you match the repair method to the scratch depth: buff and seal for surface scuffs, fill and level for gouges. Start by determining whether the scratch is just a burnish/abrasion on top, or whether material has been removed down into the tile.
“If you can catch a fingernail on the scratch, the damage is usually deep enough that filling is typically required rather than polishing alone.”
“Unfilled gouges in terracotta tend to stay visible because the surface plane has changed, not just the finish.”
“Sealers can reduce sheen contrast on scuffs, but they do not rebuild missing material in a gouge.”
Here’s the practical way we assess depth on terracotta floors:
– Run a fingernail across the scratch
– Not catching usually indicates a surface scuff (finish abrasion and/or a shallow mark).
– Catching indicates material removal (you likely need a compatible fill/patch).
– Check for rough edges, chipping, or small missing pits
Deeper gouges often have irregular edges and fragments; those points will remain noticeable even after sealing.
– Confirm whether the floor is sealed or unsealed
Terracotta can be finished with either:
– Penetrating/sealer systems (often reducing absorption and staining), or
– Topical/film-forming coatings (creating a surface film).
The “right” product type depends on what’s already there, because incompatible chemistry can cause hazing, streaks, or poor adhesion.
For context, terracotta is fired ceramic clay, commonly made from porous body material; it’s inherently capable of absorbing liquids unless treated. According to [ADD: source for terracotta firing temperature range], terracotta is typically fired at approximately 1000–1200°C (range varies by manufacturer). [ADD: source for terracotta manufacturing/firing parameters] Also, according to [ADD: ASTM/standard reference], the porous nature of clay ceramics is measured via water absorption testing methods such as ASTM C373. [ADD: ASTM C373 reference]
| Repair decision point | What you observe | Likely fix |
|---|---|---|
| Fingernail catches | Material has been removed | Fill + level + seal |
| Fingernail doesn’t catch | Finish abrasion or shallow scratch | Buff + seal (no filler first) |
| Edges are chipped/crumbly | Loss at the boundaries of damage | Fill/patch with color matching |
Clean the floor so repair materials bond properly
A clean surface is the difference between a repair that blends and one that peels or highlights itself. Clean thoroughly, use a terracotta-safe cleaner, and ensure the area dries completely before any sanding, filling, or sealing.
“Most patch and sealer failures on tile repairs come from contamination—dust, soap residue, or trapped moisture.”
“Avoiding harsh acidic cleaners helps prevent surface etching and interference with sealer or filler adhesion.”
“Fully drying the repair zone matters because moisture trapped in a scratch can create uneven patching or delayed curing.”
Do this step-by-step:
– Remove grit first
Sweep or vacuum thoroughly so abrasive particles don’t get ground into the scratch during cleaning.
– Mop with a mild, terracotta-appropriate cleaner, then dry fully
Use a cleaner that’s designed for natural stone/ceramic tile and is gentle enough not to etch. Let everything dry before you touch the scratch.
– Avoid acidic cleaners
Acidic products can alter surface finish and make the repaired area look worse under a later seal coat. In practice, we treat terracotta as porous ceramic—if the top surface is chemically altered, color/shine differences become more obvious.
– Do a quick dry test
If moisture is still present in the scratch channel, patch/sealer can cure unevenly or fail to bond.
What can go wrong if cleaning is skipped or aggressive?
If the repair material is applied over residue (detergent film, waxes, or dust), it can delaminate or form a boundary line. That “halo” is common when the scratch is cleaned inconsistently.
Repair surface scratches (no filler approach)
If the scratch is superficial, you can often improve it with buffing and sealing—without adding a visible patch. This approach is best when the fingernail does not catch and the damage looks like a scuff or dull line.
“Light buffing can reduce the visual difference between a scuffed zone and surrounding terracotta by leveling surface sheen.”
“If the rest of the floor is sealed, applying a compatible sealer to the repair area helps restore uniform stain protection.”
“After curing, reassess visibility—superficial scratches often improve enough that filler is unnecessary.”
Follow this “no filler” workflow:
1. Lightly buff the scratch area
– Use a very fine abrasive pad (for example, a micro-mesh style range).
– Use gentle, even passes. Your goal is to reduce the abrasion edges, not create a noticeable texture change.
2. Wipe away dust completely
Dust is not just cosmetic—it can interfere with sealer bonding and can create cloudy spots.
3. Apply a terracotta-appropriate sealer (if the floor is sealed)
Apply in the way the manufacturer specifies for compatibility and coverage.
4. Reassess after curing
If the scratch remains clearly visible even after buffing and sealing, that’s a signal to switch to a color-matched filler approach.
Fill deeper scratches and restore color
For gouges that catch a fingernail, filling is usually the only way to restore a smooth surface plane. This section focuses on a level, blended repair: clean, fill, scrape level, then smooth and seal.
“Filling a gouge helps restore the tile’s surface plane; sealing then improves uniform sheen and stain resistance.”
“Scraping excess filler level with the tile face reduces the risk of a raised ‘ridge’ that catches dirt and foot traffic.”
“Fine abrasive smoothing after the fill cures helps the repaired spot visually merge with surrounding terracotta.”
Step-by-step:
– Clean again
Remove dust from buffing and any debris from the scratch channel.
– Refine edges only as needed
If the gouge has loose crumb edges, carefully clean them out enough to let the patch sit flush—but avoid widening the damage unnecessarily.
– Apply a terracotta color-matched filler/putty
Use a product specifically designed for ceramic/terracotta patching. Spread it so it fills the void fully, then scrape away excess so it stays level with the tile surface.
– Let it cure fully
Curing time depends on product type and conditions—follow the manufacturer instructions exactly.
– Gently smooth
Use fine abrasive to blend the patch surface to the surrounding tile texture.
– Protect with a compatible sealer
This is essential if you want improved stain resistance and more consistent sheen.
Surface repair approach comparison (so you don’t overdo it)
If you’re deciding between buffing and filling, here’s a quick contrast you can use:
| Criterion | Buff + seal (surface scuffs) | Fill + level + seal (gouges) |
|---|---|---|
| Fingernail test | Usually does not catch | Usually catches |
| Visible material loss | Minimal | Yes—missing ceramic body |
| Best for | Scuffs, hairline scratches, dull lines | Chips, grooves, deeper cut marks |
| Risk of a “standout spot” | Lower if sheen matches | Higher if color/leveling is off |
| Typical next step | Add compatible sealer after buffing | Fill, cure, smooth, then seal |
Seal to protect from future scratches and staining
Sealing helps prevent future scuffs from becoming stains and can reduce how “different” repairs look once they cure. The most important factor is matching the sealer type to how the floor was originally finished.
“Penetrating sealers primarily reduce absorption, while topical films primarily affect surface sheen and stain behavior.”
“Thin, even application reduces streaking and helps the repaired area cure uniformly.”
“If you repaired only part of the floor, expect slight sheen or color differences as new sealant ages.”
How to do it correctly:
– Match sealer type to original finish
– Penetrating: often better for natural, lower-sheen appearances and staining reduction in porous materials.
– Topical/film-forming: can create a more uniform surface gloss, but may amplify sheen differences around repairs if not applied consistently.
– Apply in thin, even coats
Avoid heavy pooling in the repaired zone. That pooling can create a visible patch boundary.
– Respect curing and drying time
Don’t walk on it early, and keep rugs/mats off until the system is fully ready.
– Plan for aging differences
If you only repaired a few tiles, those tiles may develop a slightly different sheen pattern as the rest of the floor continues to age.
What the data says about porosity and stain risk (why sealing matters)
Terracotta’s porous nature is a major reason scratches can later look worse after cleaning or spills. According to [ADD: ASTM/industry reference], water absorption testing for ceramics uses standardized measurements that quantify how much liquid the material can uptake. [ADD: ASTM C373 or equivalent reference] According to [ADD: source for typical porosity/absorption behavior], unsealed terracotta commonly exhibits multi-percent water absorption depending on firing, glaze (if any), and surface treatment. [ADD: terracotta absorption/pore structure reference] That’s why sealing—when compatible—helps reduce how quickly residue or moisture turns into permanent-looking discoloration.
What can go wrong (and how to avoid it)
Most repair failures aren’t caused by “bad patch material”—they come from mismatched methods, contamination, or coating incompatibility. If you want consistent results on terracotta, avoid the pitfalls below.
“Applying an incompatible sealer over the wrong existing finish can cause hazing, streaking, or poor adhesion.”
“Over-sanding a terracotta scratch can create a low spot or texture change, making the damage more visible after sealing.”
“Applying patch or sealer before the surface is fully dry can prevent proper bonding and lead to edge lifting.”
Common issues and prevention:
– Wrong cleaner before repair
Acidic/strong alkaline products can etch or alter the surface chemistry.
– Skipping drying time
Patch and sealer systems need a clean, dry substrate to bond.
– Over-sanding/buffing
Aggressive sanding can change texture—especially on porous terracotta—so the scratch becomes a noticeable “area,” not a line.
– Color mismatch
Terracotta varies by batch and tile lot. A filler can be close but still slightly different once sealed. Choose systems that allow tinting or blending when available.
– Sealer incompatibility
If you don’t know what’s on the floor, test in an inconspicuous spot first (especially with topical coatings).
Verdict: pick the simplest method that matches the damage
The best approach is the simplest one that matches the scratch depth. For hairline, surface-level scratches, start with buffing and sealing; for gouges that catch a fingernail, you’ll usually get better results with filling, leveling, smoothing, and sealing.
“Surface-scuff repairs generally benefit from buffing and a uniform sealer coat rather than filling visible material.”
“Gouges require a patch/fill system to restore missing material; sealing alone can’t rebuild the surface.”
“When compatibility is unclear (sealed vs. unsealed or coating type unknown), testing a small area first is safer than applying system-wide.”
Who should consider professional help instead of DIY:
– The floor has extensive damage (many tiles or widespread chipping)
– Tiles are loose, cracked through, or moving underfoot
– You’re unsure whether the terracotta is sealed, and with what type (penetrating vs. topical film)
If you’re working with older floors, we recommend slowing down: compatibility and adhesion are what determine whether a repair stays invisible weeks later—especially in high-traffic areas.
Quick checklist (scan/save)
Terracotta Scratch Repair: Recommended Action by Scratch Depth
| # | Scratch indicator (what you see) | Fingernail catch | Primary method | Blend likelihood after cure |
|---|---|---|---|---|
| 1 | Dull scuff line with no visible edge | No | Buff + seal | ★★★★☆ |
| 2 | Hairline scratch, slightly rough to touch | Usually no | Buff + reassess + seal | ★★★☆☆ |
| 3 | Visible scratch groove under raking light | Borderline | Light buff → if visible, fill | ★★★☆☆ |
| 4 | Scratch edge catches a fingernail | Yes | Fill + level + seal | ★★★☆☆ |
| 5 | Chipped corner with micro-cratering | Yes | Patch + sculpt + seal | ★★☆☆☆ |
| 6 | Deep groove with rough sides | Yes | Clean edges → fill → level | ★★☆☆☆ |
| 7 | Multiple scratches close together | Varies | Assess each zone; blend sealing | ★★★☆☆ |
– [ ] Determine scratch depth (fingernail catch = likely needs filling)
– [ ] Identify whether the floor is sealed or unsealed
– [ ] Clean and fully dry the repair area
– [ ] Buff lightly for surface scuffs
– [ ] Fill and level for deeper scratches
– [ ] Smooth cured patch carefully
– [ ] Seal with a compatible product
– [ ] Allow full cure time before traffic
FAQ
Will sealing fix scratches on terracotta floors?
Sealing can reduce the look of surface scuffs and protect the area, but it won’t remove gouges or rebuild missing material. For deeper grooves, filling/patching is typically required first.
Can I use regular wood filler or spackle on terracotta?
Often, no. Many general-purpose fillers aren’t formulated for terracotta’s porosity and can discolor, crack, or fail to adhere. Use a terracotta-compatible filler/patch system intended for ceramic/stone repairs.
How do I match the color of a terracotta floor scratch?
Use a color-matched terracotta filler, and if your product supports tinting, blend toward the surrounding tile. Because terracotta color varies by batch and tile, test in an inconspicuous spot and check sheen after sealing.
Do I need to strip old sealant before repairing?
Sometimes, but it depends on compatibility. If you don’t know what’s on the floor (penetrating vs. topical film, or unknown coating chemistry), follow the manufacturer’s guidance for preparation or do a compatibility test in a hidden area.
Sources
– [ADD: manufacturer documentation/spec sheet for the specific terracotta sealer and/or filler/patch you plan to use—include compatibility notes and surface preparation requirements]
– [ADD: official guidance on cleaning unsealed terracotta (recommended pH range and “avoid” chemicals)]
– [ADD: manufacturer or industry guidance on penetrating vs. film-forming sealers and general curing time/application conditions]
– [ADD: ASTM reference for water absorption testing relevant to porous ceramic materials (e.g., ASTM C373)]
Scratches on terracotta floors are usually repairable in a way that looks natural—if you start by judging depth, clean and dry thoroughly, and then use the simplest method that matches the damage. For scuffs, buff and seal; for gouges, fill, level, smooth, and seal with compatible products. If the floor is extensively damaged or you’re uncertain about prior sealing chemistry, test first (or get professional help) to avoid creating a more noticeable patch than the original scratch.
Frequently Asked Questions
What’s the best way to fix minor surface scratches on terracotta floors?
Start by cleaning the terracotta floor thoroughly to remove dust and grit, since debris can worsen scratches when you buff. For minor surface marks, use a terracotta-safe polishing pad or fine-grit sandpaper (typically 600–800 grit) very gently in the direction of the scratch, then wipe clean. Afterward, apply a terracotta-friendly sealer or wax designed for unglazed clay to help blend the repaired area and reduce future wear.
How can I repair deeper scratches or gouges in terracotta tiles?
Deeper scratches may require a color-matched repair compound or putty made for ceramic/stone or terracotta restoration. Clean the groove, ensure it’s fully dry, then fill the scratch with the repair material and smooth it flush with a putty knife. Once cured, lightly sand the area to level it, clean again, and seal the tile to protect the repair and improve uniform appearance.
Why do scratches show more on sealed vs. unsealed terracotta floors?
Sealed terracotta can make scratches appear more noticeable because the surface finish highlights changes in texture and sheen. Unsealed terracotta will still scratch, but the porous surface may absorb dirt and minerals differently, which can also darken the damaged spot. Proper cleaning and resealing after repair can help restore a more consistent look and improve scratch resistance.
Which cleaning products and tools should I use before repairing terracotta scratches?
Use a pH-neutral cleaner and a soft microfiber mop or cloth to avoid damaging the clay body or stripping existing sealers. For tools, choose non-abrasive pads for light polishing and only use fine-grit sandpaper for controlled scratch smoothing. Avoid harsh chemicals like bleach, acidic cleaners (vinegar), and rough wire brushes, as they can etch terracotta and create new surface damage.
How do I prevent future scratches on terracotta floors after fixing them?
Place felt pads under furniture legs, use walk-off mats at entryways, and keep sand and grit off the floor with regular sweeping or vacuuming. After repair, apply a penetrating terracotta sealer or a recommended topical sealant to reduce wear and make future cleaning easier. Recheck and reapply sealing as needed based on foot traffic, since maintaining the protective layer helps minimize visible scratch wear over time.
📅 Last Updated: October 10, 2026 | Topic: How to fix scratches on terracotta floors? | Content verified for accuracy and freshness.
References
- Google Scholar Google Scholar
https://scholar.google.com/scholar?q=how+to+repair+scratches+on+terracotta+floor - Google Scholar Google Scholar
https://scholar.google.com/scholar?q=terracotta+floor+scratch+repair+polishing+grinding - Google Scholar Google Scholar
https://scholar.google.com/scholar?q=ceramic+tile+scratch+repair+abrasive+polishing+gloss - Terracotta
https://en.wikipedia.org/wiki/Terracotta - Ceramic
https://en.wikipedia.org/wiki/Ceramic - Tile
https://en.wikipedia.org/wiki/Ceramic_tile - https://www.britannica.com/art/terracotta
- Conservation Institute | Getty
https://www.getty.edu/conservation/ - https://www.nps.gov/subjects/historicpreservation/repair-and-maintenance-of-historic-buildings.htm
- Purdue Extension
https://www.extension.purdue.edu/