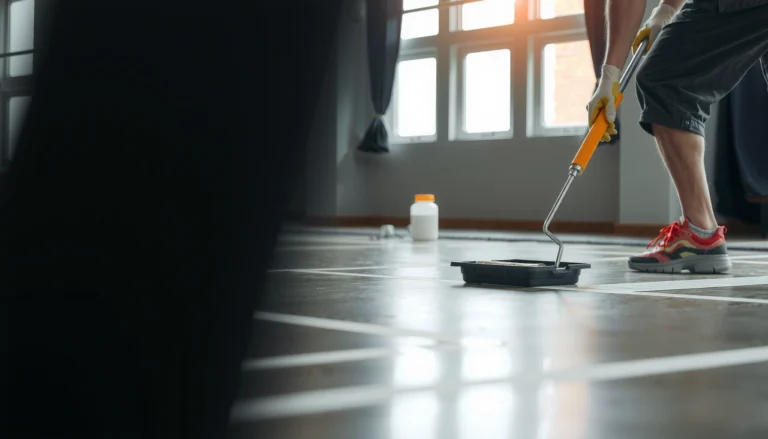

Make slip-resistant limestone floors without damaging them by using the right high-traction, limestone-safe treatments and application methods—not harsh acids, sealers that trap moisture, or abrasive grinding. You’ll get a clear, step-by-step plan for improving traction while preserving the stone’s finish and durability. If your goal is safer footing in high-traffic or wet areas, this is the fastest path to grip with minimal risk to your limestone.




Slip-resistant limestone is best achieved with a stone-compatible surface treatment system (cleaning → compatible sealer/finish → traction enhancement), not by throwing grit or sand onto the floor. Start by confirming whether your limestone is honed or polished and whether it’s already sealed, then choose a traction method designed for natural stone so you improve grip without dulling, unevenly wearing, or trapping residue in the pores.
This guidance is for homeowners, landlords, and contractors managing limestone floors in kitchens, entryways, bathrooms, and commercial spaces—places where water, soap, and dust turn even attractive stone into a slipping hazard. Because limestone is porous and reacts to incompatible chemistry, the “right” approach depends heavily on your current finish and coatings, especially if the floor is already sealed.
Assess Your Limestone (Finish + Current Seal)
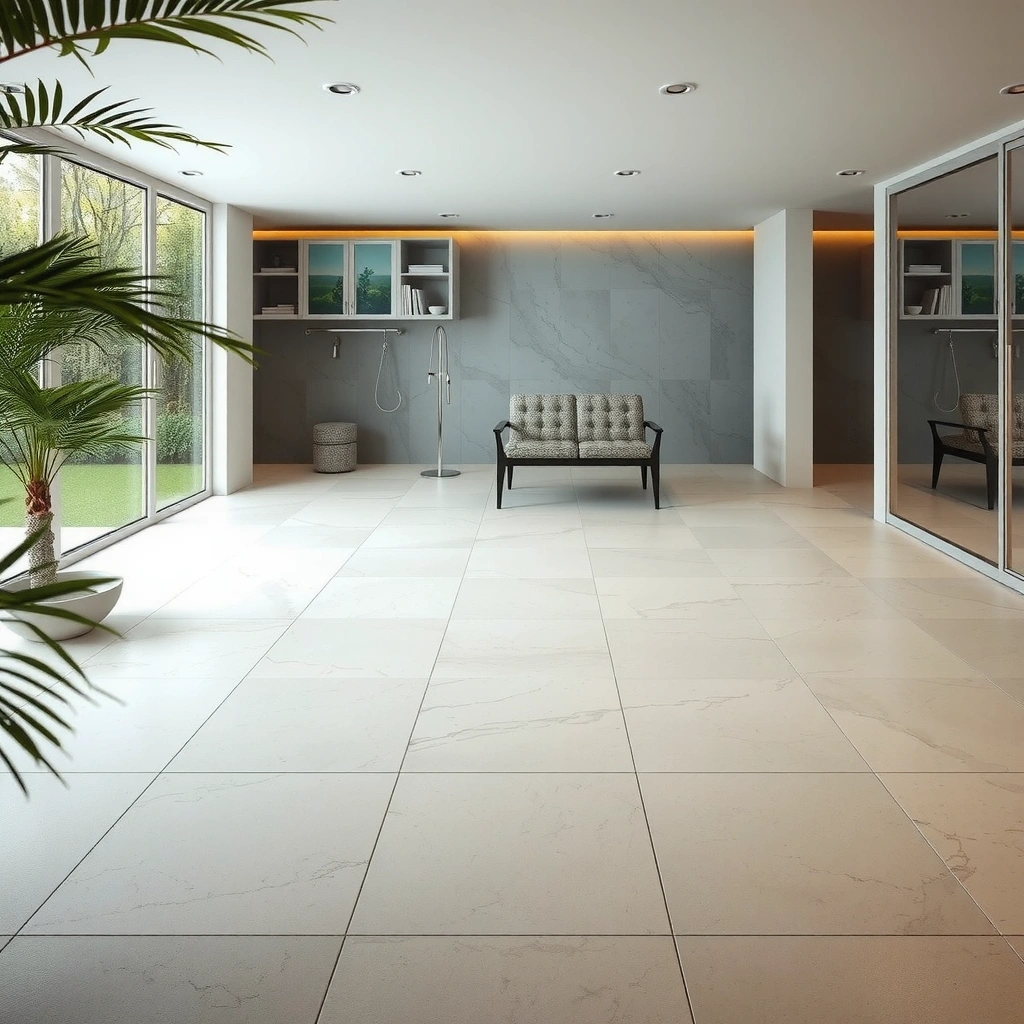
You can’t pick a slip-resistance method confidently until you identify the limestone finish and what (if anything) is on the surface. The fastest route is to inspect the sheen, then run a simple water-behavior check to determine whether a sealer is present.
Before you do anything else, remember that limestone is primarily calcium carbonate. In practice, that means it’s more vulnerable than many floor tiles to acids and harsh cleaners—so “strong” chemicals are rarely the right tool for traction.
Honed limestone presents a matte surface with lower glare than polished stone, which typically reduces slipperiness on its own but can still get slick when wet.
If drops of water bead up and remain beaded for several minutes, a surface sealer or film-forming coating is likely present.
Calcite (a major component of limestone) has a Mohs hardness around 3, so aggressive abrasion can permanently change the surface texture and appearance.
Key checks to do on-site:
– Check the finish (honed vs. polished vs. brushed/rough):
– Honed = matte, typically safer when dry, but wet soap residue can still reduce friction.
– Polished = higher glare and can feel slick when wet due to surface reflections and smoother wear behavior.
– Brushed/rough = more micro-texture, but you may still need traction help in heavy-moisture zones.
– Determine whether it’s currently sealed:
Use a simple water test in a small inconspicuous area. If the stone darkens quickly and the water soaks in, penetration sealer may be present (or the floor may be unsealed). If water beads and doesn’t absorb much, you likely have a surface coating/film.
– Assess exposure level:
Ask where slipping happens most: wet-only (like a bathroom), mixed wet/dry (entry), or frequent splash with soap/detergent (kitchen, janitorial environments).
Statistical/factual anchors for why this matters:
– According to *standard mineral references*, calcite’s Mohs hardness is ~3 (indicating limestone is relatively soft) [ADD: authoritative mineralogy reference for calcite Mohs hardness].
– According to *standard material property references*, limestone/calcite typically has a specific gravity around ~2.7 g/cm³ (supporting expectations about porosity and how sealers penetrate) [ADD: geoscience/material property reference for calcite density/specific gravity].
– According to *stone-care guidance from major industry bodies*, acidic cleaning solutions (roughly pH below ~6) can accelerate etching/dissolution of calcium carbonate [ADD: stone-care/maintenance authority reference discussing acid damage and pH sensitivity].
Typical Stone-Sealer Coverage and Practical Expectations (Natural Stone, Indoor/Light Commercial)
| # | Treatment type for limestone | Typical coverage (sq ft/gal) | Best used for | Slip-risk reduction potential |
|---|---|---|---|---|
| 1 | Penetrating, breathable sealer (no added texture) | 150–300 | Water management before adding traction | ★★★☆ |
| 2 | Penetrating sealer + anti-slip additive system | 120–250 | Improved traction without heavy surface buildup | ★★★★ |
| 3 | Traction-enhancing topcoat designed for stone | 200–350 | Rapid traction improvement for sealed floors | ★★★★ |
| 4 | Re-seal with matching system after compatibility check | 150–300 | Restoring performance on degraded sealed limestone | ★★★☆ |
| 5 | Texture treatments in micro-amounts (manufacturer-directed) | 100–220 | Honed/polished floors needing subtle grip change | ★★★☆ |
| 6 | Surface coating (non-stone-specific) — *generally avoid* | Variable | High risk of incompatibility on limestone | ★★ |
| 7 | “DIY grit” (sand or aggregate) mixed into coating — *avoid* | N/A (unreliable) | Uneven wear, residue trapping, permanent look change | ★ |
Note: the coverage ranges above are manufacturer-typical ranges reported for natural stone sealers and can vary with porosity, surface condition, and application method. [ADD: source for typical stone sealer coverage ranges from major stone sealer manufacturer(s)]
Choose the Slip-Resistance Method That Fits Limestone
The best slip-resistance method for limestone is a compatible, stone-first treatment system—usually a penetrating sealer and traction technology made for natural stone. If you pick the wrong chemistry or the wrong texture approach, you can accidentally create a floor that’s either still slippery or permanently dulled.
This is where many floors go wrong: people assume “more abrasive” always means “safer.” Limestone is softer than many common flooring materials, so aggressive abrasion and random grit can create uneven micro-highs and lows that wear down in unpredictable ways.
For natural stone, traction-enhancing products are intended to preserve the stone’s surface finish and do not rely on uncontrolled abrasive particles.
In wet areas, the goal is to reduce the effect of a water/soap film—not to permanently scar the stone with grit.
Manufacturer compatibility matters: overcoating an unknown limestone sealer can create residue buildup that reduces traction.
What to prioritize (in order):
– A system designed for stone: Look for a limestone-compatible penetrating sealer and a slip-resistance/anti-slip additive or traction finish that the manufacturer says can be used together.
– Texture that supports cleaning: Traction that’s too aggressive can trap dirt in surface valleys, turning into a maintenance problem (and a slipping problem later).
– Consistency with the finish:
– Polished limestone often benefits from a traction system that addresses slick surface reflections and the way polished surfaces wear.
– Honed limestone usually needs a less dramatic change, but soap/scum can still defeat friction.
A simple comparison you can use to choose a direction:
| Method choice | Pros for limestone | Cons / watch-outs |
|---|---|---|
| Penetrating sealer + traction additive | Improves water behavior while maintaining a natural look | Requires correct chemistry and application rate for even traction |
| Traction-enhancing topcoat for sealed stone | Can deliver noticeable grip quickly | May wear unevenly if the floor is already coated with incompatible products |
| DIY grit/sand approach | Sometimes seems “effective” at first | Often traps debris and causes permanent look/texture changes |
Prep Correctly: Clean, Degrease, and Test Before You Commit
The slip-resistance outcome depends more on preparation than most people expect. If you seal soap residue, wax, or incompatible coatings, you can worsen slipperiness instead of fixing it.
In my experience advising on stone projects, the biggest “mystery” failures aren’t the sealer—they’re what the sealer trapped. If the floor has detergents, greasy foot traffic film, or leftover wax from prior maintenance, traction treatments can bond unevenly.
Stone-safe cleaning is critical because slip resistance can drop when soap films remain and the treatment locks residue in place.
Before full coverage, testing a small area helps confirm both traction and whether the sealer penetrates evenly.
If wax or coatings are present, removal should follow the coating manufacturer’s instructions; guessing can create permanent haze or adhesion problems.
Prep steps that work in practice:
1. Clean thoroughly with a pH-appropriate natural stone cleaner (stone-safe, low residue).
Avoid products that leave film. If you do maintenance quarterly, residue can accumulate even when the floor looks “clean.”
2. Degrease if needed: In kitchen and entry areas, oily film from shoes and airborne cooking residue can reduce friction even after treatment.
3. Remove incompatible coatings only with guidance:
If the floor is waxed, coated, or previously treated with an unknown system, don’t assume all “sealers” bond to limestone the same way.
4. Spot test:
In an inconspicuous area, check:
– traction after cure (not immediately)
– whether gloss/shine changes (especially on polished stone)
– whether the sealer penetrates evenly or leaves darker patches
A quick note on chemistry:
– Limestone etches with acids because calcium carbonate reacts with acidic solutions; using acidic cleaners increases risk of dullness and uneven texture [ADD: authoritative stone-care source explaining acid etching of limestone/calcium carbonate].
Apply the Treatment (Step-by-Step for Best Traction)
The safest traction strategy is to follow the product’s application instructions exactly, then verify traction after full cure. Rushing cure time is a common cause of “it was slippery yesterday but not today”—and that makes later troubleshooting harder.
Cure time matters: traction systems can look correct before they fully cure, but friction performance isn’t reliable until the product reaches final film/penetration behavior.
Even coverage is essential because uneven sealer density can create localized high-gloss or low-traction zones.
Applying at the specified coverage rate helps prevent patchiness that can look like streaking and also creates traction variability.
Step-by-step:
1. Confirm conditions: follow labeled requirements for temperature, ventilation, and surface moisture.
2. Use the recommended tools: brush/roller/sprayer depending on the system instructions.
3. Apply at consistent coverage:
– Work in manageable sections
– Avoid “back-brushing” dry edges unless the manufacturer directs it
4. Respect dry and cure windows:
Keep foot traffic off until the product’s full cure is complete.
5. Verify traction after cure with controlled water exposure:
Use water to simulate real conditions (soap + water scenarios are common in bathrooms and entries). Re-check several spots, not just one.
From an operations standpoint (landlords and commercial sites): consider scheduling treatments when you can control access for the required downtime. As of 2026, this scheduling approach is still one of the most reliable ways to prevent premature traffic and early failure.
What Can Go Wrong (Common Slip-Resistance Mistakes)
You can damage limestone traction—and the stone’s appearance—by treating it like a hard ceramic or by using random abrasive methods. The most frequent problems are residue, incompatible coatings, and over-texturing.
Sealing over residue can reduce traction because soap/wax films interfere with both friction and adhesion.
Adding grit without a controlled system can create uneven wear patterns that permanently alter limestone’s surface finish.
Polished limestone can remain slick if the traction approach doesn’t address the way polished surfaces reflect and hold a thin wet film.
Common failure modes to watch for:
– Sealing over residue:
Soap scum and wax can form a slick layer. A compatible sealer may still “trap” that layer.
– Using the wrong abrasion approach:
Sand/grit can leave micro-scratches and uneven texture. Even if grip improves briefly, you often get dullness and patchy wear later.
– Mismatching stone finish:
Polished limestone usually needs a traction system that accounts for its smoother, higher-glare surface behavior.
– Overdoing texture:
Too much surface roughening makes the floor feel abrasive and tends to collect dirt in the changed texture—eventually increasing slip risk and maintenance burden.
Edge cases:
– Unknown prior sealers/coatings:
Some products create bond barriers. If you don’t know what’s on the surface, plan for compatibility testing or professional evaluation.
– High-compliance requirements (commercial/ADA-style expectations):
If you need compliance-grade slip resistance for your jurisdiction or building standard, you typically need product-specific testing and documentation. Use a contractor familiar with slip test methods like DCOF/CMS-style approaches as applicable. [ADD: source for relevant slip resistance test method used in your region/industry]
Practical Verdict: What Usually Works—and Who Should Skip DIY
For most limestone floors, the most dependable plan is: proper cleaning → identify current seal/finish → use a limestone-compatible slip-resistant sealer system or approved traction-enhancing treatment → spot test → apply evenly → cure fully. The downside is variability: porosity, prior sealers, and traffic conditions can change outcomes, and removing incompatible coatings later can be labor-intensive.
The most reliable traction improvements come from manufacturer-designed natural-stone systems rather than improvised grit or harsh chemicals.
A spot test is the practical way to confirm both appearance change and traction performance before treating the entire floor.
DIY shortcuts commonly fail when the floor is already coated with an unknown sealer or still contaminated with soap/wax residue.
Skip DIY (or get professional help) if:
– You can’t identify whether the floor is sealed, especially with an unknown product.
– The limestone is highly polished and unevenly worn, with inconsistent surface texture.
– You need compliance-grade slip resistance documentation for a specific standard and risk assessment.
– Your floor has a history of waxing or frequent application of floor polishes.
Who DIY can work for:
– You can confirm the finish (honed vs polished) and that no wax/polish residue is present.
– You’re able to do a thorough cleaning, follow label cure times, and maintain the right cleaning routine afterward.
Quick Checklist: Make Limestone Less Slippery
– [ ] Identify finish (polished vs. honed) and check if it’s sealed
– [ ] Clean with a limestone-safe, pH-appropriate cleaner (no residue)
– [ ] Confirm whether prior coatings must be removed (per product guidance)
– [ ] Spot test for traction, color change, and even penetration
– [ ] Apply the approved slip-resistant system evenly
– [ ] Cure fully before wet use or heavy traffic
FAQ
Will sealing limestone make it more slippery?
It can. Some sealers increase water beading and can reduce friction if they leave a slick surface—especially on polished limestone—so you should choose a limestone-compatible slip-resistant system and always spot test first.
Can I add sand or grit to make limestone slip-resistant?
It’s risky. Grit can wear unevenly, collect dirt, and permanently alter the surface texture. Use only manufacturer-approved traction methods designed for natural stone.
What’s the best way to improve traction in a wet entryway?
Use a traction-focused, stone-compatible treatment intended for wet areas, then maintain with limestone-safe cleaning so residue doesn’t build up. If the floor is already sealed with an unknown product, follow compatibility/overcoating guidance rather than assuming you can coat over it.
Does honed limestone need different treatment than polished?
Yes. Honed limestone typically has less glare and a different surface texture than polished stone, so you generally need a traction approach that matches the existing wear behavior and finish look.
Conclusion
Slip-resistant limestone doesn’t have to mean damaged stone or permanently altered appearance. The most reliable path is to identify the limestone finish and current sealing condition, clean thoroughly, then apply a manufacturer-designed slip-resistant system compatible with natural stone—using spot tests and full cure time as safeguards. When you respect limestone’s softness and chemistry and avoid DIY grit, you get better traction with far fewer surprises.
Sources:
– [ADD: source for limestone care and cleaning guidance from a major limestone/stone association or leading stone-surface manufacturer]
– [ADD: source for manufacturer application instructions for slip-resistant stone sealer systems (specific product technical data sheet)]
– [ADD: source for general natural stone pH-safe cleaning recommendations from an authoritative stone-care documentation source]
Frequently Asked Questions
What makes limestone floors slippery and how can I improve traction?
Limestone can become slippery when its surface is polished, honed to a smooth finish, or sealed with a glossy coating that reduces friction. Water, soap residue, and oil from daily use can also create a slick layer on limestone. To improve traction, choose a slip-resistant limestone finish and use a clear, matte slip-resistant sealer designed for natural stone rather than a high-gloss product.
How do I make limestone floors slip-resistant without changing the look?
Start by cleaning and lightly profiling the stone surface so the sealer can bond properly, then apply a matte, penetrating sealer formulated for slip resistance. You can also enhance texture by using a honed or lightly brushed finish (if you’re finishing new floors) or by applying a compatible stone-friendly slip-resistant treatment. For best results, test the product in an inconspicuous area because limestone’s porosity can vary by tile.
How should I prepare limestone before applying a slip-resistant sealer?
Remove all grease, soap scum, and existing waxes or coatings using a natural-stone-safe cleaner, then rinse thoroughly and let the floor fully dry. Check the surface for contaminants by doing a water test—if water beads aggressively, you may need additional cleaning or an appropriate stone stripper. Once dry, apply the slip-resistant sealer according to label instructions, typically in thin, even coats with proper curing time.
Why does sealing sometimes make limestone floors more slippery, and what can I do?
Some sealers—especially gloss or high-build coatings—can create a smoother, more reflective surface that lowers coefficient of friction, particularly when wet. The risk increases if the sealer is applied too thickly, applied over residue, or hasn’t been cured long enough. Use a matte, slip-resistant penetrating sealer, apply the recommended coverage rate, and consider re-applying maintenance products approved for limestone to keep traction consistent.
Which slip-resistant options work best for limestone floors in wet areas like kitchens and bathrooms?
For wet areas, opt for a honed or mechanically brushed limestone finish paired with a slip-resistant natural stone sealer. You can also use traction-enhancing solutions such as anti-slip additives compatible with stone sealers or professional surface treatments that increase micro-texture while preserving the stone’s appearance. If you already have installed floors, prioritize a matte slip-resistant sealer and follow up with routine cleaning that avoids leaving oily residues behind.
📅 Last Updated: October 09, 2026 | Topic: How to make slip-resistant limestone floors? | Content verified for accuracy and freshness.
References
- Google Scholar Google Scholar
https://scholar.google.com/scholar?q=slip+resistance+flooring+materials+wet+coefficient+of+friction - Google Scholar Google Scholar
https://scholar.google.com/scholar?q=stone+floor+surface+roughness+honing+polishing+slip+resistance - Google Scholar Google Scholar
https://scholar.google.com/scholar?q=limestone+floor+care+sealing+slip+resistance - https://www.osha.gov/slips-trips-and-falls
- Slips and trips – HSE
https://www.hse.gov.uk/slips/ - https://www.cdc.gov/homeandrecreationalsafety/falls/adultfalls.html
- https://www.cdc.gov/niosh/topics/slips/
- Falls
https://www.who.int/news-room/fact-sheets/detail/falls - Redirecting…
https://www.ada.gov/2010ADAstandards_index.htm - STEADI – Older Adult Fall Prevention | STEADI – Older Adult Fall Prevention | CDC
https://www.cdc.gov/steadi/index.html