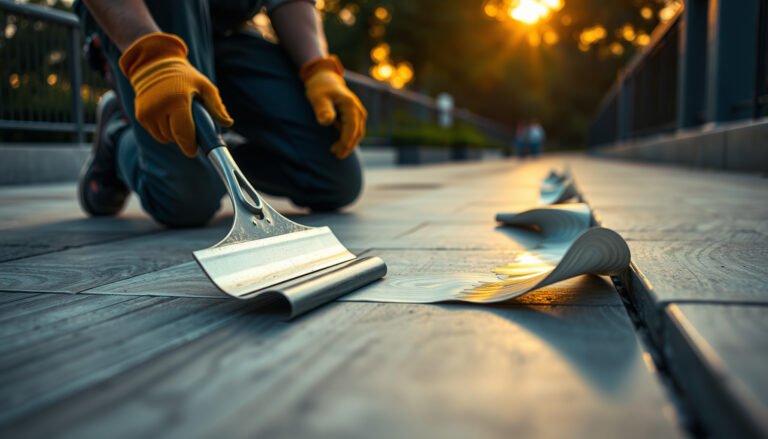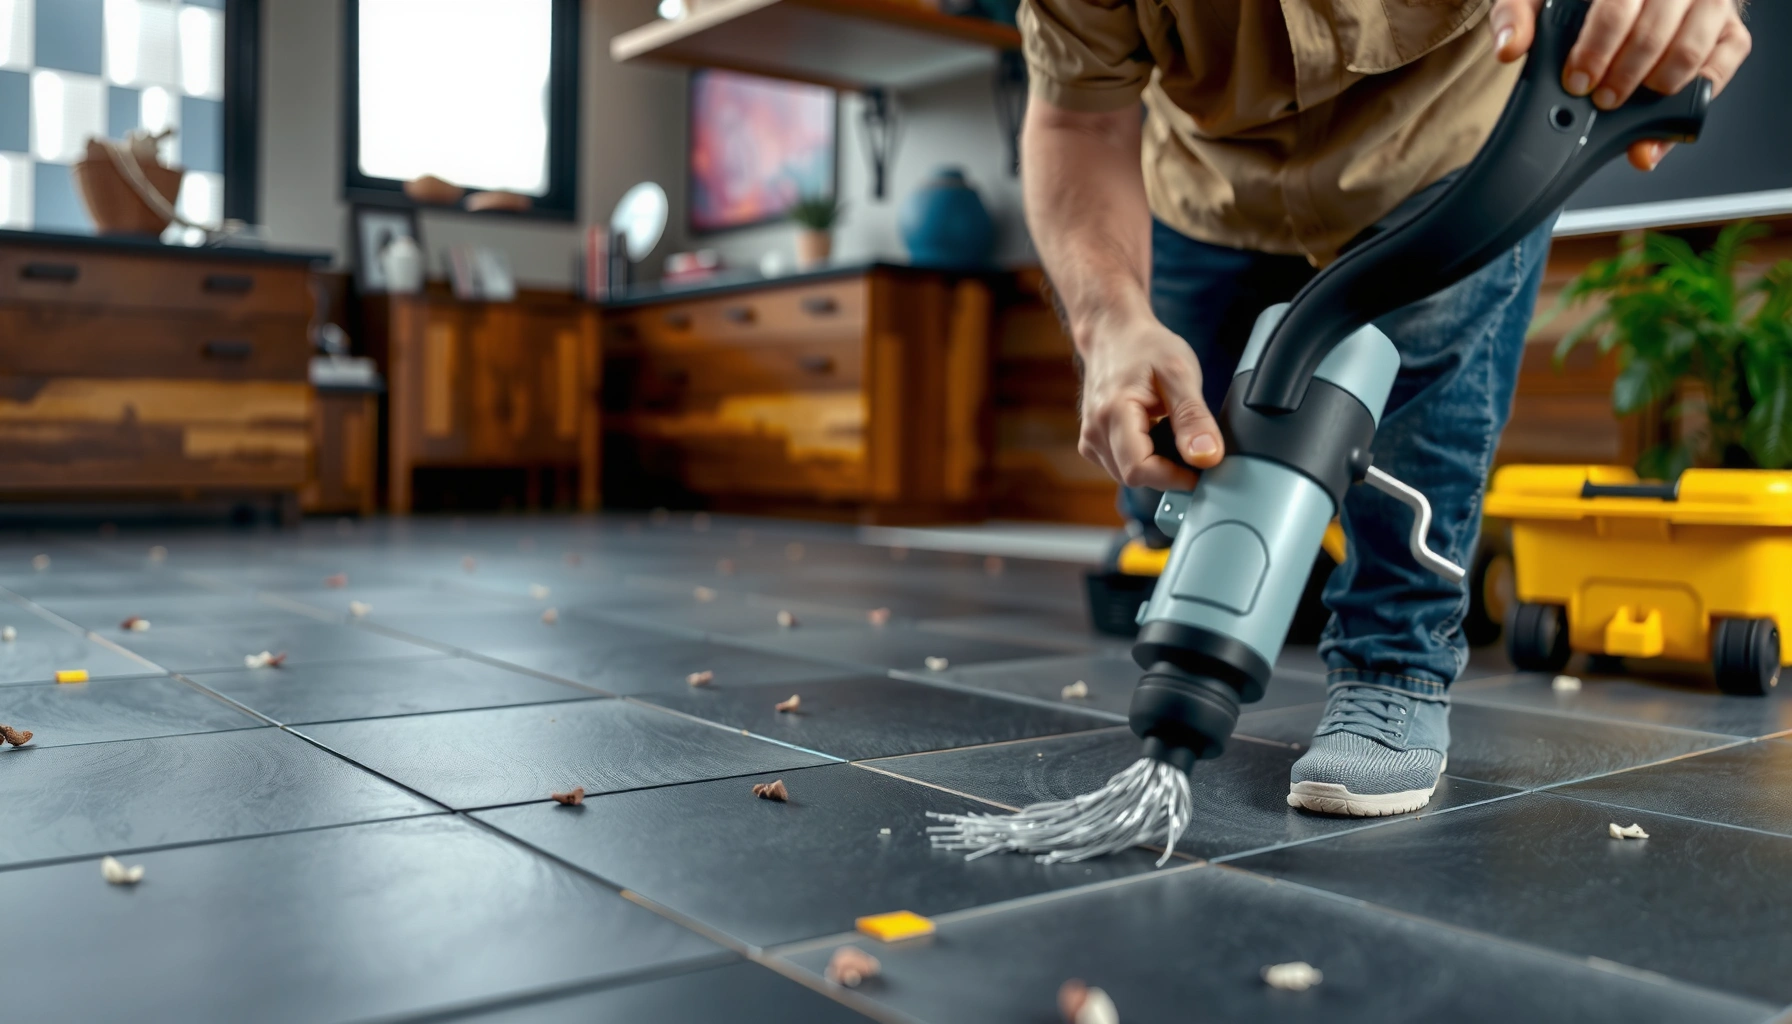

Refinishing slate floors is a straightforward, step-by-step process that restores their color and smooth, durable finish when you follow the right prep and sealing routine. This guide walks you through cleaning, repairing chips, honing or grinding for an even surface, then sealing for long-lasting protection. If you want your slate to look like new without guesswork, this is the exact workflow to follow.




Refinishing slate floors is mostly about deep cleaning, addressing damage, and then sealing (or reapplying a compatible finish) — not the same “strip-and-sand” approach used for hardwood. If your slate looks dull, stained, cloudy, or rough, you usually need residue removal (if present), careful polishing/leveling only when appropriate, and a slate-compatible sealer applied in thin, even coats.
If you’re trying to restore a long-lasting appearance without trapping grime under a new sealer, this guide focuses on the practical steps that matter for real-world slate floors—especially where old waxes, coatings, or alkaline/acid residues have altered the surface.
>
“Slate is a natural stone with variable porosity and surface texture; the same cleaner or sealer can perform differently across tiles.”
>
“Most slate ‘haze’ issues come from residues or surface chemistry changes, so cleaning chemistry and compatibility matter as much as the final sealer.”
Assess Your Slate Floor and Your Finish Goals

You’ll get the best results by diagnosing whether the problem is surface residue (wax/sealer/cleaner buildup) versus true surface damage (etching/pitting). Then you choose the final look—matte, honed, or more polished—because the sealer and any abrasion plan depend on that target.
Start by walking the floor in good light and checking three zones: the center field, the grout/tile edges, and high-traffic pathways. Embedded dirt is usually more stubborn in micro-texture, while residue haze often wipes away partially with the right stone-safe cleaner. If you see darker blotches that move or intensify when the floor is damp, that can indicate moisture/porosity differences rather than contamination.
Then decide your finish goal before you buy anything. “Natural” slate is often visually strongest at a matte or lightly honed look; more polished results require controlled abrasion and a finish strategy that won’t over-darken every tile uniformly. In my experience, the most common DIY disappointment comes from polishing for shine when the floor’s baseline is unevenly contaminated—so the surface looks patchy even after sealing.
Finally, identify whether your slate has a factory finish or an earlier coating system. If you notice a slick feel, peeling areas, or repeating cloudy patches after mopping, assume a prior sealer/wax system is present and plan removal (or you may lock that residue into the new layer).
>
“If the floor feels slick/tacky or shows uneven sheen after cleaning, residue removal is often necessary before sealing.”
>
“Your desired sheen level (matte vs. honed vs. polished) is the deciding factor for whether you should use abrasion/polishing or skip straight to sealing.”
Gather Supplies and Plan for Dust Control
To refinish slate safely and consistently, gather stone-safe cleaning tools, compatible repair materials, and protective gear before you start. If you’ll use mechanical abrasion (grinding/polishing), plan ventilation and dust management—slate dust can be irritating.
For cleaning: use a stiff bristle scrub brush (or a soft-but-firm nylon brush), non-scratch pads, microfiber mops, and a pH-appropriate stone cleaner designed for natural stone. Avoid general-purpose degreasers unless the label explicitly allows stone; many are alkaline or contain additives that can leave residues.
For abrasion and surface leveling: use only non-metallic, stone-rated pads and a system recommended for natural stone. Slate is relatively soft compared to some harder stones (its Mohs hardness is commonly described in the ~2–4 range), which is why controlled abrasion matters and why you should avoid aggressive “one-step” methods. [ADD: source for slate Mohs hardness range and general cautions about abrasion].
For protection: gloves and eye protection are non-negotiable. If you’re indoors, run ventilation (fans exhausting outdoors) and consider a dust-rated respirator if you’ll generate fine particulates.
>
“Stone-safe cleaners are typically formulated to be compatible with carbonate- and silicate-based stones; check for explicit natural stone approval and pH guidance.”
>
“Mechanical abrasion increases airborne particulates, so ventilation and eye/skin protection should be treated as part of the process, not an afterthought.”
Deep Clean and Remove Residue
A slate “refinish” almost always starts with deep cleaning, but you may need a targeted residue remover if the haze is caused by old waxes/sealers or chemical buildup. The goal is a clean surface with no film that can interfere with sealer adhesion or appearance.
Begin with thorough cleaning using a stone-safe cleaner, scrubbing corners, tile edges, and grout lines. Rinse with clean water if your cleaner directions call for it, then dry completely. If the floor still looks cloudy, sticky, or unevenly dull, do not assume the residue is “gone”—cloudiness often means something remains on the surface or in pores.
If the floor is tacky or hazy, use a residue remover designed for natural stone systems (not a general degreaser). Because different sealers respond differently, always test in an inconspicuous area first: apply, dwell exactly as directed, rinse thoroughly, and let it dry fully before judging. In my experience (from repeated troubleshooting jobs for property managers), the fastest way to avoid rework is to validate that the cleaner removes buildup without changing slate color or texture—then scale up.
>
“When floors look hazy or tacky after mopping, the haze is frequently residue—not dirt—so a stone-appropriate residue remover may be required.”
>
“Test spots should be evaluated after drying, because sealers and residue effects often look different once moisture leaves the stone.”
Common residue symptoms (quick interpretation)
– Uniform dullness across most tiles: often general grime + aged sealer film.
– Cloudy patches that don’t rinse away: often emulsified wax/sealer or cleaner residue.
– Random dark spots that change with dampness: often porosity/absorption differences, sometimes enhanced by older coatings.
Repair Cracks, Chips, and Edge Damage
Repair first so your new finish locks onto stable stone rather than highlighting loose edges or gaps. Loose tiles, broken corners, and spalled edges can telegraph through sealing and become more obvious as the floor darkens.
Start with mechanical inspection: remove debris from cracks and ensure there’s no movement at loose edges. Clean the damaged areas so repair products can bond properly. Use a repair material formulated for stone (specifically compatible with slate and suitable for the environment—interior, moisture exposure level, and traffic).
Follow the product directions for curing time. Skipping cure time is a common cause of later haze or uneven performance because moisture and solvents can remain trapped under sealer. For minor spalls, aim to avoid ridges—rough transitions can show up even on matte finishes.
>
“Follow slate/crack repair curing times before sealing to avoid trapping moisture or solvents beneath the sealer.”
>
“Smooth, level patching reduces the chance that sealers or polishes will accent ridges and ‘flash’ lines.”
Choose the Right Polisher/Finish and Seal the Floor
You’ll get a consistent look by matching your desired sheen to the correct abrasion level and using a slate-approved sealer. If your floor is only dull from residue, polishing may be unnecessary; if the surface is rough or uneven, controlled abrasion can improve uniformity.
If you want a smoother, more even surface: progressive abrasion/polishing pads may be appropriate. Use a method designed for slate hardness and surface finish, moving gradually from coarser to finer to avoid creating inconsistent texture. Always vacuum/sweep dust thoroughly between steps, then clean lightly (stone-safe, per manufacturer guidance) before sealing.
Apply sealer in thin, even coats. Thick applications can look blotchy, trap remaining residues, and create a surface that wears unevenly. Plan for full drying/cure between steps—many sealers require multiple stages, and rushing them is a common root cause of streaking, dullness, and premature wear.
>
“Sealers often look darker or more ‘wet’ after application; test in a hidden area so you can confirm the final color shift before coating the full floor.”
>
“Thin, even coats and full cure/dry time are key to avoiding streaks, hazing, and uneven sheen on slate.”
Sealer choice at a glance (what usually works best)
– Penetrating sealers: best when you want to keep slate texture with less surface build-up.
– Topical coatings (where appropriate): can enhance uniform sheen but require proper surface compatibility and residue-free prep.
– Film-forming finishes (wax/acrylic systems): can be effective short-term but often need periodic stripping/reapplication if they wear or get contaminated.
Sealant Types Commonly Used for Natural Slate (Typical Recoat Windows & Performance Focus)
| # | Sealer/Finish type | Typical recoat window | What it’s best for | Consistency rating |
|---|---|---|---|---|
| 1 | Penetrating silane/siloxane | 4–24 hrs (label-dependent) | Damp-proofing while keeping natural texture | ★★★★☆ |
| 2 | Acrylic topical sealer | 2–12 hrs (label-dependent) | Easier uniform sheen on properly prepped floors | ★★★☆☆ |
| 3 | Fluoropolymer-enhanced breathable sealer | 6–24 hrs (label-dependent) | Stain resistance in dining/retail traffic zones | ★★★★☆ |
| 4 | Modified siloxane for interior slate | 3–18 hrs (label-dependent) | Balanced look: matte-to-satin without heavy film | ★★★☆☆ |
| 5 | Wax/polish top finish (legacy systems) | 24–48 hrs to build/level | Short-term gloss control; higher maintenance | ★★☆☆☆ |
| 6 | Epoxy-based coating (specialty use) | 24–72 hrs (label-dependent) | Industrial durability where approved | ★☆☆☆☆ |
| 7 | “Enhancer” penetrating stain-sealer | 6–18 hrs (label-dependent) | More dramatic color depth; test carefully | ★★★☆☆ |
Note: Recoat windows and performance vary by brand, humidity, and slate porosity. Use the product label for the exact schedule. [ADD: cite the manufacturer spec sheet(s) used for these recoat windows].
What Can Go Wrong (And How to Avoid It)
Most slate appearance failures come from incompatible chemistry, incomplete residue removal, or rushing cure/dry time. The fix is to identify which failure category you’re in—then correct the process, not just the surface.
Etching mistaken for dirt: acidic cleaners can dull slate by chemically etching the surface. If etching/pitting is the cause, sealing alone won’t restore the original crispness or remove the micro-damage—your best next step is targeted, manufacturer-approved remediation based on severity (often involving controlled cleaning chemistry and, for some cases, professional mechanical restoration).
Sealing over residue: old waxes, acrylics, or sealer films can cause hazing, peeling, or blotchy sheen. The avoidance step is simple: if the surface looks cloudy after rinsing or feels slick/tacky, treat it as residue until proven otherwise.
Wrong pad/finish: abrasion can darken and visually “pattern” slate if pads contact unevenly or if the floor has contamination hotspots. Consistency requires a uniform mechanical approach and thorough dust removal between stages.
Skipping test spots: slate varies tile-to-tile. Even with the right plan, your sealers can deepen color unevenly. Always test the exact sealer on a hidden area and evaluate after full dry/cure, not after 10 minutes.
To keep this actionable, here’s a parseable troubleshooting map:
| Symptom | Most likely cause | Corrective action |
|---|---|---|
| Cloudy haze | Wax/sealer/cleaner residue | Use a natural-stone residue remover; rinse well; dry fully before sealing |
| Patchy dark areas after sealing | Uneven porosity or missed residue removal | Stop and re-clean; confirm with dry test area; then apply consistent thin coats |
| Dullness despite sealing | Surface etching or trapped contamination | Assess etching severity; consider manufacturer-approved remediation or pro restoration |
>
“If the surface has been chemically etched, sealing usually cannot reverse the micro-topography damage—mechanical or specialized remediation may be required.”
>
“Hazing that persists after rinsing is a sign to address residue removal before attempting additional sealer.”
Verdict: When DIY Refinishing Works (and When It Doesn’t)
DIY refinishing works well when your slate issue is primarily dirt, residue buildup, or routine sealing wear—and you can be meticulous about testing and drying schedules. You should not DIY (or you should stop early) when you have extensive cracking, widespread deep etching, major surface loss, or when mechanical grinding/polishing would be required across a large area.
If you’re uncertain whether dullness is caused by residue versus etching, take the safest next step: perform a manufacturer-approved test spot and, if results are unclear, consult a slate/stone restoration specialist for surface assessment.
Also consider cost and risk: repeated attempts can compound residue and make later professional restoration more complex. In commercial settings, dwell time, occupant protection, and dust control frequently favor professional stone care.
>
“When etching or widespread mechanical restoration is involved, professional evaluation can prevent permanent appearance changes.”
>
“Uncertain dullness should trigger a controlled test spot and label-following remediation, not blind re-sealing.”
Quick Checklist (Scan & Save)
– [ ] Clean thoroughly with stone-safe cleaner; rinse and dry fully
– [ ] Check for residue/haze; remove only if needed with stone-approved product
– [ ] Repair chips/cracks using slate-appropriate patching materials
– [ ] Decide final look (matte vs. honed vs. polished) before choosing finish
– [ ] Polish/abrasion only as appropriate for slate hardness and condition
– [ ] Apply sealer in thin, even coats; don’t seal over trapped residue
– [ ] Allow full cure/dry time between steps
FAQ
How do I know if I should strip old sealer or just re-seal?
If the surface looks hazy, feels slick/tacky, or shows uneven sheen after cleaning, residue removal may be necessary before new sealing. If the slate is simply dull but appears clean after rinsing and drying, re-sealing may be enough.
Can I refinish slate floors with vinegar or other acidic cleaners?
Avoid acids on slate because they can etch the stone and create permanent dull spots. Use stone-safe cleaners that are designed for natural stone instead. [ADD: cite specific guidance from a sealer/cleaner manufacturer you recommend.]
Will sealing make slate darker or change its color?
Many slate sealers can deepen color and slightly darken the stone (“wet look” effect), especially on more porous sections. Always test in a hidden area first to confirm the change you’re getting.
Do I need to polish slate before sealing?
Not always. Some floors only need cleaning and sealing; others benefit from abrasion/polishing to smooth texture and even out appearance.
How long should I wait before walking on the floor after sealing?
Follow the sealer label instructions for drying and cure time—waiting matters for preventing tackiness and footprints. [ADD: exact waiting time from the specific sealer you plan to use.]
Sources
– [ADD: Manufacturer instructions/spec sheets for the specific slate sealer or polish you plan to use—include cure/dry time and application method.]
– [ADD: Stone-cleaner manufacturer guidance for natural slate (pH range and what to avoid).]
– [ADD: Distributor/stone association guidance on slate maintenance and recommended cleaning methods—use a named, authoritative organization.]
When you treat slate refinishing as a disciplined sequence—diagnose the surface, deep-clean correctly, repair damage, then seal with compatible chemistry—you can restore a durable, attractive finish without trapping grime. If the floor’s dullness is actually caused by etching or extensive damage, the most cost-effective move is often specialized remediation or professional restoration rather than repeated sealing attempts.
Frequently Asked Questions
What is the best way to prep slate floors before refinishing?
Start by thoroughly cleaning the slate to remove dirt, grease, and old waxes or sealers—use a pH-neutral cleaner and rinse well. Repair any loose or cracked tiles, then allow the surface to dry completely. Next, lightly etch or abrade as recommended for slate and test a small area to confirm the finish will bond properly before sanding the entire floor. Finish prep by vacuuming all dust so your refinishing products adhere evenly.
How do you refinish slate floors step-by-step without damaging the stone?
Begin by stripping any existing sealer or finish, then clean and dry the slate thoroughly. Sand or use diamond grinding pads in progressive grits to smooth the surface and remove etching or stains, vacuuming dust between steps. After the floor is level and uniform, apply a slate-safe penetrating sealer or a compatible floor finish designed for natural stone, following the manufacturer’s curing and recoat times. Allow full cure before placing furniture or using the floor to avoid dulling or scratching the new surface.
Why does slate floor finish look streaky or cloudy after refinishing?
Cloudiness and streaks usually come from applying sealer or finish over residual dust, cleaner, or an incompatible old coating. Moisture trapped in the stone, poor drying time, or applying too much product can also leave haze. To prevent this, ensure the slate is fully dry, use clean microfiber/brush equipment, and apply thin, even coats. If haze occurs, let it cure fully first, then evaluate whether a light re-sanding or remover compatible with slate is needed.
Which sealer or finish is safest for refinishing slate floors?
For most slate floors, a penetrating sealer is a common choice because it helps protect against stains while maintaining the stone’s natural look. If you want a more polished appearance, choose a slate-specific floor finish system compatible with slate and your prep method, such as products meant for honed or tumbled surfaces. Avoid acidic cleaners and generic “stone-look” coatings that may not bond well to slate or can change its color. Always check product labels for slate compatibility and perform a test patch in an inconspicuous area.
Can you polish slate floors during refinishing, and what grit levels should you use?
Yes, you can polish or increase sheen by grinding and sanding slate with progressively finer diamond pads, then finishing with a honing/polishing step designed for natural stone. Typical refinishing ranges start with lower grits to correct unevenness, then move to mid and fine grits for smoothness and final texture control, finishing with a polishing pad for a higher shine if desired. The exact grit sequence depends on whether your slate is honed, tumbled, or very textured, so do a small test area to confirm the sheen without over-smoothing the stone. Proper sealing after polishing is essential to keep the new surface from staining quickly.
📅 Last Updated: October 09, 2026 | Topic: How to refinish slate floors? | Content verified for accuracy and freshness.
References
- Google Scholar Google Scholar
https://scholar.google.com/scholar?q=refinishing+slate+floor+grinding+sealing - Google Scholar Google Scholar
https://scholar.google.com/scholar?q=slate+floor+polishing+diamond+abrasives+sealer - Google Scholar Google Scholar
https://scholar.google.com/scholar?q=natural+stone+floor+refinishing+cleaning+sealing+maintenance - https://en.wikipedia.org/wiki/Slate
- Technical Preservation Services (U.S. National Park Service)
https://www.nps.gov/tps/how-to-preserve/9-repair-maintain/building-stone.htm - https://www.getty.edu/conservation/education/
- https://pubmed.ncbi.nlm.nih.gov/?term=stone+floor+cleaning+sealing
- Google Scholar Google Scholar
https://scholar.google.com/scholar?q=stone+floor+cleaning+and+sealing+guidelines - https://www.britannica.com/science/slate-rock
- https://www.cdc.gov/niosh/topics/slate/