
Estimating the cost of travertine floors comes down to one thing: what you’ll pay per square foot after tile, installation, and project-specific factors are included. This guide breaks down the exact inputs that drive your total—travertine grade and finish, thickness, pattern complexity, subfloor prep, and labor in your area—so you can price confidently before you buy. By the end, you’ll know which budget range fits your scope and what line items to double-check to avoid surprises.
If you want to estimate the cost of travertine floors, start by calculating square footage and then itemizing materials and labor (stone, underlayment, prep, sealing, and installation). The most accurate estimates come from getting a per-square-foot price range for your specific travertine plus separate line items for surface prep and finishing like sealing. This guide walks you through a practical worksheet-style approach so you can budget realistically before you call contractors.
If you’re comparing bids, planning a renovation, or trying to decide between different travertine finishes (honed vs. tumbled, filled vs. unfilled), this is for you. It’s also useful if you’re installing over existing flooring and need to plan for subfloor prep and height/transition issues.
Step 1: Measure square footage (and add for waste)
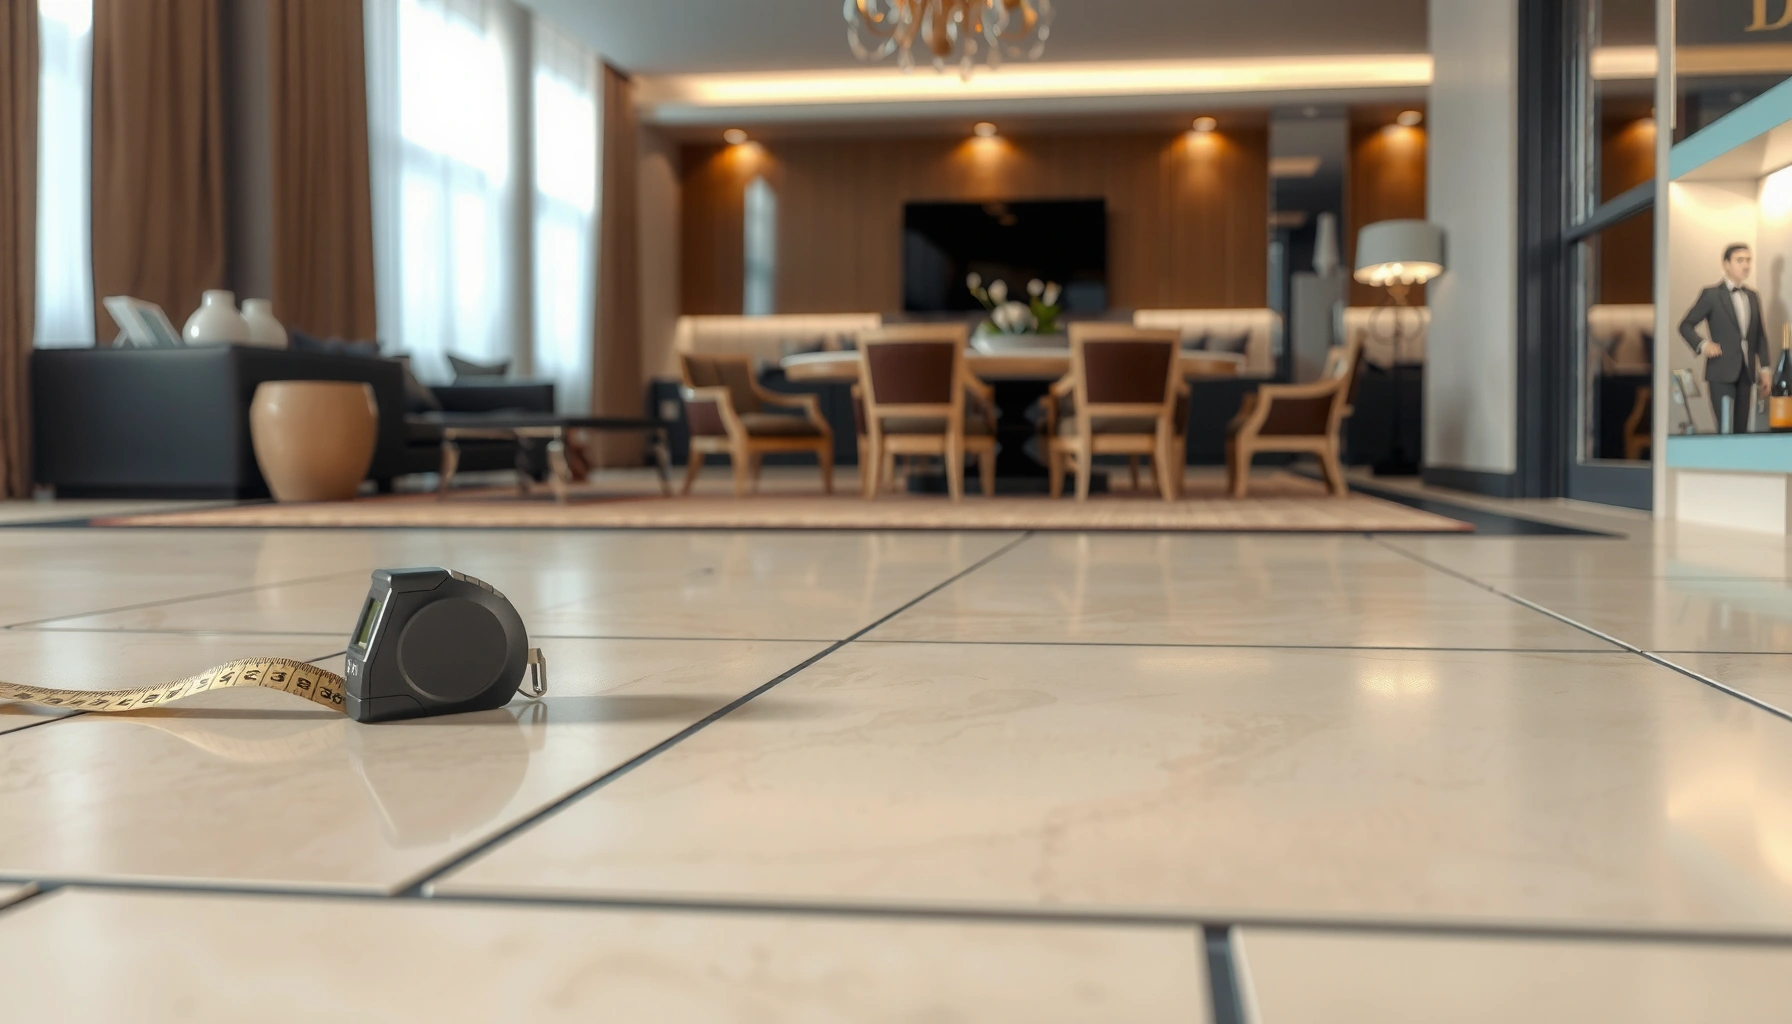
The fastest way to tighten your travertine floor budget is to get an accurate square-foot baseline first, then add waste. That baseline becomes your “constant” across stone, grout, sealing, and labor line items.
Square footage is the anchor for both material quantities (tiles, thinset, grout) and labor allowances (layout, cutting, setting time).
Adding waste early prevents under-ordering stone and avoids expensive “rework” labor when replacement batches don’t match.
Borders, stair nosings, and inlays should be estimated as separate areas because installers often price them differently than field tile.
How to calculate area accurately (without guessing)
– Measure room length and width, then multiply to get square footage; confirm you’re using interior dimensions.
– Use the measured-to-measured approach: subtract built-ins or openings (closets, columns) you’re not tiling, and re-check corners that are not perfectly square.
– Convert any fractional measurements (e.g., 12 ft 3 in = 12.25 ft) before multiplying so your square footage doesn’t drift.
Add waste for travertine-specific realities
Travertine typically requires a lot of cutting—especially on irregular layouts, around vents, and along walls that aren’t perfectly straight. Waste also covers breakage, slight thickness/size variation between tiles, and re-cuts during dry layout.
– Add a waste factor for cuts and breaks (especially with irregular layouts): use 10–15% based on the installer’s guidance or your layout complexity.
– Account for stair nosings, borders, and inlays separately if your design includes them. Installers often treat these as custom labor/material rather than “just more square footage.”
Quick “budget math” example
If your room is 14 ft × 12 ft = 168 sq ft, and you apply a 12% waste factor, your stone coverage target becomes:
– 168 × 1.12 = 188.2 sq ft (you’d round up based on the tile format you’re buying).
Scan-compatible checklist (so you don’t lose the thread)
– Record measured length/width sources (tape measure points)
– Confirm waste % before ordering
– Separate stair/inlay/border counts from the main field
Step 2: Estimate the stone and finishing costs
The biggest driver after square footage is usually the specific travertine (tile vs. slab, grade, and finish), plus finishing system needs (sealing, sometimes enhancement). A tight estimate treats stone cost and sealing/enhancement as separate line items so you can compare bids fairly.
Travertine finish choices (honed vs. tumbled; filled vs. unfilled) directly affect not only the stone price but also whether a stronger sealing workflow is required.
Unfilled travertine behaves more like a porous stone, so your material budget should include a sealer/enhancer and the labor to apply it correctly.
Grout type and whether you need epoxy for wet areas changes both material price and installation time.
Identify which “travertine” you’re actually pricing
Get pricing for travertine tile/slab by size and grade, plus whether it’s honed/polished and filled/unfilled.
– Honed vs. tumbled: impacts surface processing and often the price tier.
– Filled vs. unfilled: affects cost and long-term maintenance requirements.
– Tile vs. slab: slab installs typically add handling, cutting, and finishing time.
Include sealing and enhancement (don’t hide it in “stone”)
– Include sealing and/or enhancement products in your budget if the travertine is unfilled or needs maintenance for stain resistance—use [ADD: exact sealer type and coverage from product specs you choose].
– Budgets also change based on whether you’re using a penetrating sealer (often for natural stone stain resistance) or a topical film-former (more specific to certain finishes and maintenance goals).
Budget grout and joint materials as separate, measurable quantities
– Add costs for grout and color-matched joint materials; these can vary depending on whether you use sanded/unsanded grout.
– If you’re doing wet areas (showers, steam rooms, some entry vestibules), epoxy grout may be specified by the system design. If epoxy is included, ask about:
– Cleanup requirements (labor time)
– Applicator experience
– Any additional substrate preparation that epoxy demands
Where costs commonly misalign between bids
In my experience advising homeowners on stone scopes, the most frequent bid mismatch comes from one contractor including sealing and joint materials and another treating them as “allowances” only. To prevent that, ask each bidder to list them explicitly as separate line items with unit quantities.
Key budgeting formula:
Stone + grout/joint materials + sealer/enhancement + finishing labor
Step 3: Budget underlayment, prep, and installation materials
The most predictable way to avoid budget surprises is to treat substrate preparation as its own category, not an “extra.” Many travertine installations succeed or fail based on subfloor condition, flatness, moisture control, and whether an uncoupling/protection system is warranted.
Thinset/mortar costs are rarely the largest line item, but thinset selection and substrate prep can determine whether tile performs for years or fails early.
Subfloor prep (patching, smoothing, and moisture mitigation) is where bids diverge most, especially on older homes.
For larger-format stone or demanding layouts, installers often need additional labor for grinding, edge work, and careful layout to keep lippage controlled.
Material stack you should anticipate
– Thinset/mortar
– Spacers and any leveling aids
– Leveling compounds (if needed)
– Waterproofing/uncoupling membranes where appropriate
Subfloor prep: where quotes often rise
Include subfloor prep: patching, smoothing, moisture mitigation, and possible removal of existing flooring—many quotes rise here.
Ask contractors to specify:
– Whether the existing surface will be leveled, skim-coated, or partially removed
– Moisture testing approach (if referenced in the scope)
– Whether a membrane or uncoupling system is included—and which one
Large-format and “hard cuts” can add labor (not just materials)
If you’re doing larger format stone or difficult layouts, ask if the installer includes:
– Additional labor for setting and edge work
– Grinding/polishing needs (some finishing is done after installation depending on stone and finish)
Practical bid comparison (pros/cons you can use)
| Prep approach | Pros | Cons / risk |
|---|---|---|
| Skim-coat/leveling only | Lower demo cost; preserves existing build-up when flatness is near acceptable. | If moisture or low spots are severe, the leveling system may not solve the root problem. |
| Moisture mitigation + uncoupling | Improves performance reliability on variable substrates; supports long-term stability. | Adds material and labor scope; can increase floor height and transitions. |
| Partial/full removal | Best for chronically uneven or failing bases; reduces hidden failure risk. | Higher cost and schedule risk; requires careful handling of adjacent floor systems. |
Step 4: Separate labor by tasks (so you can compare bids)
The cleanest way to compare contractor pricing is to break labor into tasks so exclusions don’t get buried under a generic “$X per sq ft” number. When bids are structured by prep, setting, grouting, and finishing, you can see what each company actually includes.
Labor scopes become comparable only when contractors list inclusions and exclusions (prep scope, edge/grind work, transitions, sealing responsibilities).
“Per-square-foot” estimates can hide major variables like out-of-level substrates, transition work, and post-install finishing.
Ask for labor line items by phase so you can negotiate specific gaps instead of arguing over a whole total.
Recommended labor breakdown
Break labor into phases:
– Demo/removal (if needed)
– Subfloor prep
– Setting tile
– Cutting/grinding
– Grouting
– Final cleanup
Confirm what “standard conditions” really mean
Ask whether labor pricing assumes standard conditions (flat subfloor, straightforward rooms) or includes allowances for:
– Out-of-level floors
– Door thresholds and floor-to-wall details
– Transitions to adjacent flooring
Use task-based unit checks
Before comparing bids, translate each contractor’s scope into a consistent understanding:
– How much of the total labor is assigned to prep?
– Is sealing included (material + application), or is it excluded?
– Who handles transitions and threshold modifications?
What can go wrong (common estimating mistakes)
Even good square-foot estimates can fail when the project’s real complexity is underestimated. The most common pitfalls are incomplete prep scopes, missed finishing requirements, and transition details that are treated as “extras” after you sign.
Subfloor flatness and moisture conditions are frequent cost swing factors because they determine how much leveling and remediation are required.
Sealing is not optional for many unfilled travertine installations if stain resistance is a goal—and it should be budgeted with both materials and labor.
Transitions (thresholds, stair steps, borders, and inlays) can add both materials and specialized labor that per-square-foot bids sometimes omit.
Common estimating mistakes to watch for
– Underestimating prep: uneven floors, moisture issues, and required leveling often become the biggest cost swing.
– Forgetting finishing: sealing and post-install maintenance are frequently missed when people focus only on tile price.
– Assuming one price fits all: travertine cost and install complexity change with thickness, format (tile vs. slab), and how much cutting is needed for your layout.
– Not accounting for transitions: door thresholds, stair steps, and floor-to-wall details can add separate material and labor.
Three concrete technical anchors (so your questions are specific)
According to [ADD: TCNA/ANSI flatness guidance source], acceptable substrate flatness for tile installations is commonly specified as 1/4 in in 10 ft (6 mm in 3 m).
According to [ADD: TCNA/ANSI grout joint guidance source], grout joint design typically supports field layout with joints often in the 1/16 in to 1/8 in range depending on tile size and system.
According to [ADD: ANSI A108 or manufacturer thinset setting guidance source], mortar install requirements include controlling mortar coverage and following open-time/transfer-time rules to maintain bond strength (exact timeframe depends on the mortar and conditions).
(If you want, paste the product/mortar/system you’re considering and I’ll help you extract the exact spec language to request from bidders.)
Verdict / tip
A good rule is to estimate travertine floor cost as (stone + grout/sealer) + (prep/underlayment) + (labor), using square footage to keep it consistent across quotes. This approach is especially helpful when comparing contractors, because you’ll notice which bids include subfloor prep and which ones don’t.
Skip this method if your project has unusual engineering needs (significant structural changes, extensive waterproofing requirements, or complex custom stonework) and you don’t have access to reliable contractor input—at that point, you’ll want professional measurements and spec review first. Also, avoid choosing stone finish and grout type “later,” because finishing requirements and joint systems can change the total cost after you’ve already locked in labor assumptions.
Quick cost checklist (scan before you request bids)
– Room square footage: [ADD: ____ sq ft]
– Waste allowance: [ADD: ____%]
– Travertine type/finish (honed/tumbled/polished; filled/unfilled): [ADD: ____]
– Tile/slab thickness & format: [ADD: ____]
– Mortar/thinset + grout type: [ADD: ____]
– Sealer/enhancer: [ADD: ____] (coverage-based)
– Underlayment/waterproofing (if needed): [ADD: ____]
– Subfloor prep/leveling allowance: [ADD: ____]
– Labor line items (prep, setting, grouting, cleanup): [ADD: ____]
– Transitions/stairs/borders (if any): [ADD: ____]
Travertine Property Snapshot (What Drives Finish & Budget)
| # | Travertine factor | Typical range | Why it matters for cost | Install-friendly rating |
|---|---|---|---|---|
| 1 | Hardness (Mohs) | 3–4 | Requires careful handling; edge wear can increase maintenance/finish time | ★★★☆☆ |
| 2 | Porosity (porous structure) | Variable (commonly moderate) | Unfilled surfaces increase sealing/maintenance labor | ★★☆☆☆ |
| 3 | Filled vs. unfilled | Filled reduces open pores | Filled often simplifies sealing workflow | ★★★★☆ |
| 4 | Finish type (honed) | Low-sheen, matte | Generally forgiving on lippage; consistent look | ★★★★☆ |
| 5 | Finish type (tumbled) | Varying micro-texture | May increase layout time to match tones/texture | ★★★☆☆ |
| 6 | Tile vs. slab handling | Slab increases cutting/handling steps | Often increases labor for alignment and edge work | ★★☆☆☆ |
| 7 | Joint design dependence | Grout system affects stain risk | Wrong grout can increase maintenance and rework | ★★★★☆ |
FAQ
How do I estimate travertine tile vs. slab costs?
Start with the posted material price for your format (tile or slab) and then add the install differences—slab work often increases labor for handling, cutting, and polishing. Use [ADD: whether your project uses tile or slab, and the format-specific pricing source/specs you’re using].
Do I need to seal travertine floors?
Many travertine types benefit from sealing, especially if they’re unfilled or prone to absorbing stains. Check the specific travertine and sealer manufacturer documentation: [ADD: source for your stone/sealer’s stated sealing requirements].
Why do quotes for travertine flooring vary so much?
Labor and prep scope drive differences: subfloor condition, leveling needs, waterproofing/uncoupling requirements, and how much cutting/edge work the design requires. Ask each contractor to list inclusions and exclusions in writing.
What’s the biggest cost risk when estimating?
Usually it’s subfloor prep and leveling, plus any additional waterproofing or membrane systems needed for wet areas. Build in an allowance for prep until you’ve seen the subfloor condition.
Sources
– [ADD: manufacturer installation guide/spec sheet for travertine (or your selected stone product) covering sealing, substrate requirements, and suitable mortars/grouts]
– [ADD: manufacturer technical data sheet for the sealer/product you plan to use, including coverage rates and application guidance]
– [ADD: manufacturer documentation for the thinset/mortar and grout system (e.g., recommended substrate and installation conditions)]
– [ADD: tile industry installation standards reference used by installers in your region, if applicable (e.g., TCNA/ANSI guidance)]
A realistic travertine floor budget comes down to a repeatable process: calculate your square footage, add waste, itemize stone plus grout and finishing, then separate prep/underlayment and labor by task. When you compare bids using that same structure, you’ll quickly spot what’s truly included—especially the costs that usually decide whether the project stays on track.
Frequently Asked Questions
What factors affect the cost of travertine floor installation?
Travertine floor cost is driven by the stone’s grade (e.g., builder vs. premium), thickness, finish (honed, tumbled, brushed), and whether it’s filled or unfilled. Labor pricing also varies based on subfloor condition, tile layout complexity (diagonal patterns and custom cuts cost more), and the need for additional steps like leveling, sealing, or membrane/waterproofing. Finish and sealing requirements matter too—natural stone sealers and maintenance products can add to the total budget.
How do I estimate travertine flooring cost per square foot?
Start by calculating the square footage of the area and then multiply by a realistic per–square foot range that includes both material and installation. In many projects, tile pricing is only part of the number—budget separately for underlayment/adhesive, grout, any crack-isolation or waterproofing membrane, leveling compounds, and edge trims. Don’t forget waste and breakage: plan for about 10–15% extra tile for standard layouts, and 15–20% for intricate designs or lots of cuts.
How can I budget labor costs for travertine floor fitting?
Labor cost estimates depend on the condition of the existing subfloor and how flat it is, because uneven floors may require grinding and leveling. Tiled travertine also often requires careful layout and precision cutting around edges, doorways, and fixtures, which increases installation time. Ask contractors to itemize labor for prep, setting tile, grouting, sealing, and cleanup so you can compare bids and avoid surprises.
Which travertine finishes and tile formats are typically more expensive?
More premium travertine grades and thicker tiles usually cost more, especially when you’re choosing consistent, low-variation stone. In terms of finish, honed and tumbled travertine can differ in price depending on supply and how much finishing work is involved, while filled travertine may cost extra because the pores are already treated. Larger-format travertine slabs or oversized tiles can raise costs due to weight, handling, and more demanding installation, even though they may reduce grout lines.
Why should I include sealing and maintenance in my travertine floor cost estimate?
Travertine is a porous natural stone, so sealing is often necessary to reduce staining and moisture absorption, especially in kitchens, hallways, and bathrooms. The cost isn’t just the sealer purchase—good projects may include preparing the surface, applying the correct sealer, and sometimes multiple coats depending on the product. Factoring in periodic re-sealing and routine cleaning helps you estimate true long-term travertine flooring costs rather than only the initial tile installation price.
📅 Last Updated: October 09, 2026 | Topic: How to estimate the cost of travertine floors? | Content verified for accuracy and freshness.
References
- Google Scholar Google Scholar
https://scholar.google.com/scholar?q=how+to+estimate+cost+of+travertine+flooring - Google Scholar Google Scholar
https://scholar.google.com/scholar?q=travertine+tile+installation+cost+estimation+labor+materials - Google Scholar Google Scholar
https://scholar.google.com/scholar?q=tile+floor+material+estimation+coverage+waste+factor - Travertine
https://en.wikipedia.org/wiki/Travertine - https://en.wikipedia.org/wiki/Floor_tile
- https://en.wikipedia.org/wiki/Thinset_mortar
- https://www.britannica.com/science/travertine
- WBDG
https://www.wbdg.org/guides/cost-estimating - https://www.energy.gov/eere/buildings/whole-building-lifecycle-costing
- https://www.nist.gov/publications/construction-cost-estimating-theory-and-practice