
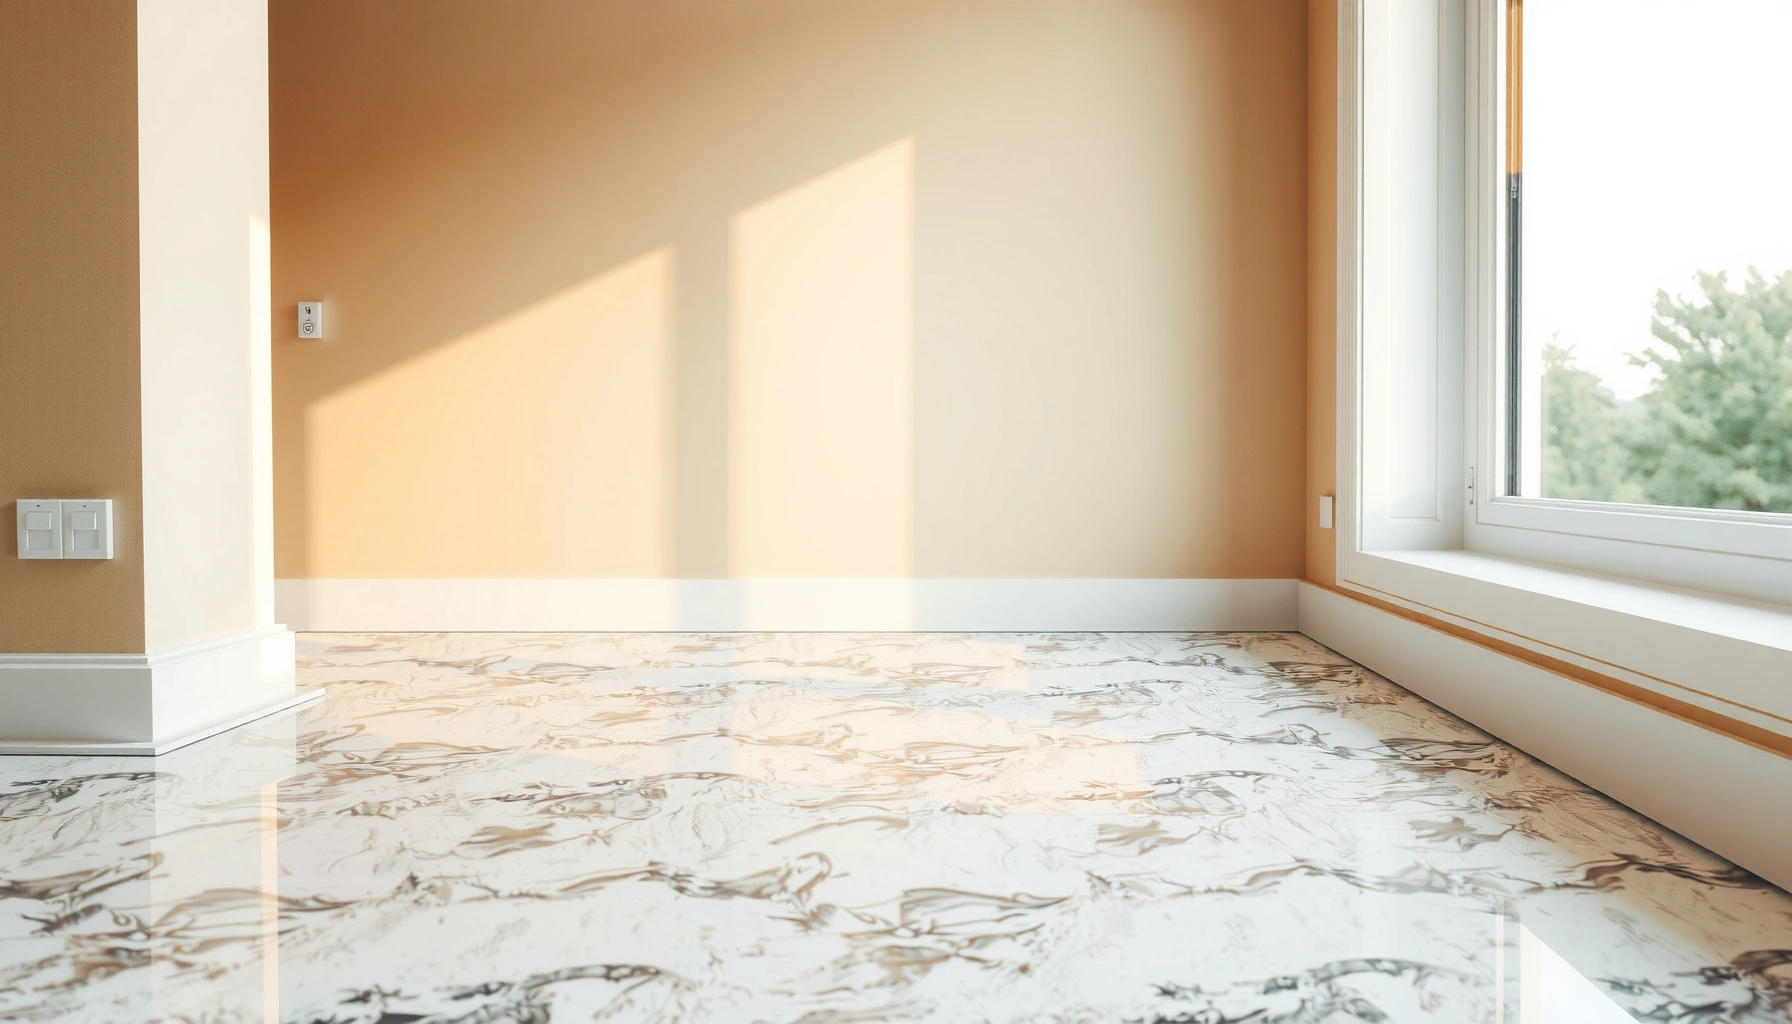

If you want baseboards to sit cleanly on granite floors, plan for the floor’s hard, polished edge and use a fastening method that won’t crack stone. Dry-fit the baseboard profile, leave the correct expansion gap at the granite edge, then set it with the right construction adhesive and mechanical fasteners where needed.



This is for homeowners, installers, and DIYers working around granite flooring transitions (including tiled granite) who need the baseboard line to look tight without chipping the stone.
Measure and plan the granite-to-baseboard fit
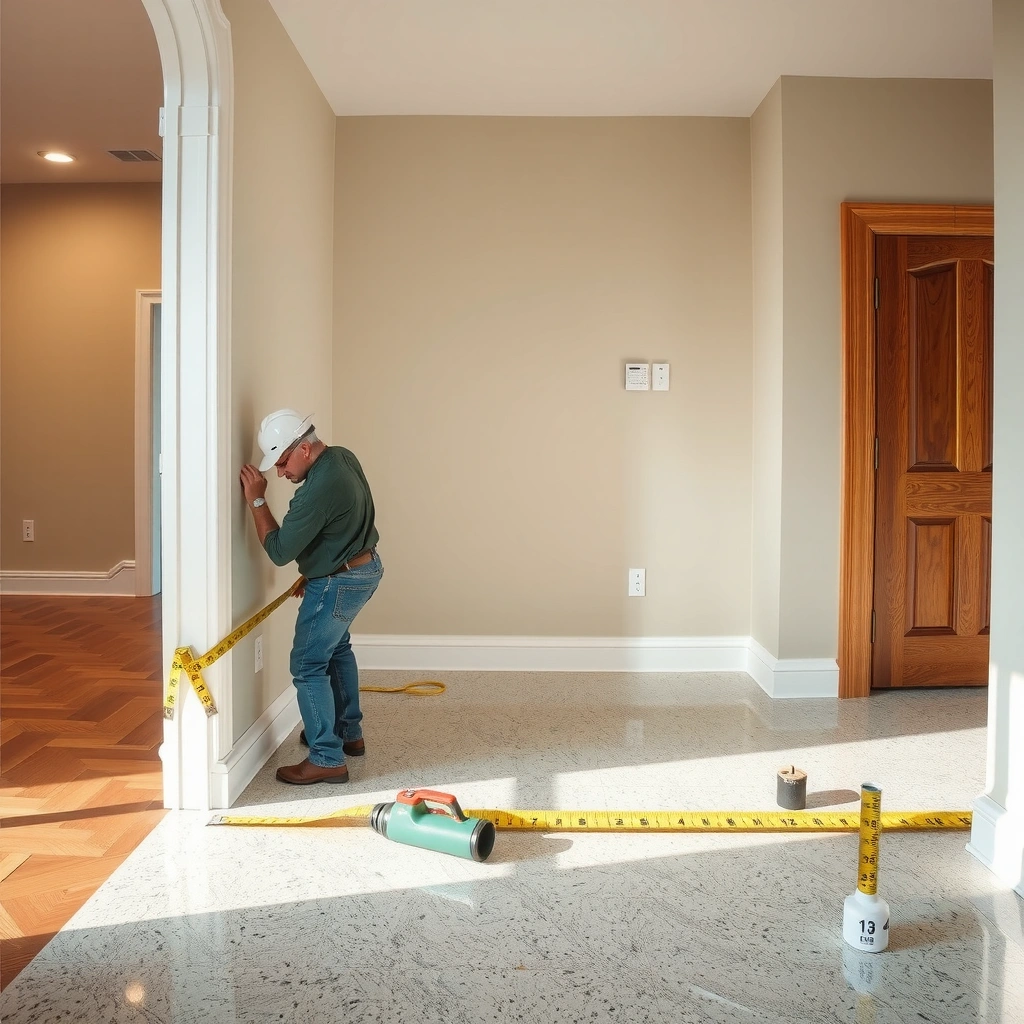
You’ll get the tightest-looking baseboard line by measuring the granite edge against the wall in multiple locations—not just along one “straight” run. Granite floors are rigid and polished, so any irregularity at the edge will show up as a visible gap or stress point if you assume the wall and stone line up perfectly.
Dry-fitting reveals whether the granite edge meets the wall at the same height along the entire run, which is critical because granite can’t be “sanded into place” like softer flooring edges.
A granite/tile transition is typically defined by either the cut-stone edge or the grout line—those two conditions require different planning for joint appearance and support.
Most installation failures around stone-to-trim lines come from misalignment (gaps) and incompatible rigid sealing, not from the baseboard itself.
Confirm the granite edge type (cut edge vs. tiled grout line)
First, determine where the “granite boundary” actually is:
– Cut stone edge: the polished stone edge ends against the wall (or ends at a threshold/transition). The edge will feel hard and “final,” and any impact during trimming or fastening can chip it.
– Tiled granite edge with grout line: the stone tiles meet at grout joints (and the grout line may be slightly lower/higher than the tile faces).
This matters because your baseboard bottom line needs a consistent support strategy. If the grout line sits below the tile face, you may need a different sealant/backer approach than you would on a solid cut edge.
Measure in more than one spot along the wall
Walls and granite edges rarely stay perfectly level in real homes. Measure in multiple spots (for example, near each end and mid-run, plus any area with a visible height change). Mark:
– High spots along the granite edge
– Low spots along the granite edge
– Where the wall changes plane (near studs, corners, or prior patching)
In practice, I’ve found that the “last 1/8 in” that looks cosmetic from across a room is often the difference between a baseboard that sits flat and one that rocks or bows during adhesive cure. If you plan around that early, you avoid adhesive becoming a substitute for wall flatness.
Choose the right materials for granite floors
You should treat granite as a hard, low-surface-tolerance substrate that can chip from point pressure, then select adhesives and fasteners that won’t force pressure toward the stone. The best-looking installs come from compatible products working together: stone-rated adhesive + wall-secured mechanical fastening + a bottom-line detail that allows movement.
Use a construction adhesive that is explicitly compatible with natural stone and the baseboard material, because many “general” adhesives are not designed for stone surface chemistry.
Fasteners belong in the wall substrate (studs/anchors), not in a way that applies compressive force directly toward the granite edge.
If you rigidly lock a trim line to stone, seasonal movement can concentrate stress at joints and increase the chance of separation or cracking.
Baseboard material and finish: match the room conditions
Select the baseboard material and finish based on what the space demands:
– Moisture/humidity exposure (bathrooms, laundry, coastal climates)
– Cleaning chemistry (strong degreasers, frequent disinfecting, abrasive cleaners)
– Impact risk (kid traffic, pets, frequent furniture movement)
Common options include primed MDF, engineered wood, PVC/vinyl trim, or hardwood—each behaves differently at joints and with sealants.
Adhesive + fasteners: prevent brittle stone stress
For adhesive, look for a product designed for natural stone or masonry compatibility and follow the manufacturer’s substrate requirements. For mechanical fastening:
– Use stud fastening where possible (or proper anchors where studs aren’t available).
– Keep pressure and clamping forces away from the granite edge.
– If using a nailer system, select an approach that secures the baseboard to the wall without “pinching” the stone boundary.
Also check how the baseboard manufacturer wants joints and corners handled. Some profiles require specific backing to keep miters tight and prevent movement.
Quick comparison: which bonding approach fits which risk profile?
Here’s how to think about the main bonding strategies—this helps you decide what’s “safe enough” for your granite edge.
| Bonding Strategy | Best For | Primary Risk |
|---|---|---|
| Adhesive + wall-only mechanical fasteners | Most tight granite-to-baseboard lines | Using the wrong adhesive or fastening pattern |
| Adhesive-only | Near-perfect wall flatness + flexible seal detail | Separation over time if wall isn’t flat |
| Mechanical fasteners with minimal adhesive | Walls with studs in ideal positions | Over-clamping near stone can chip/grind the granite edge |
Prepare the wall and edge without damaging granite
You should prepare the granite edge and wall so the baseboard can sit without forcing contact that chips the stone. This means cleaning, removing old residue that interferes with adhesion, and correcting wall flatness before you rely on adhesive.
Stone installations fail when dust or residue remains on the granite edge, because adhesive bond strength depends on clean, compatible substrates.
If the wall is out of plumb, correcting it (or planning shims) prevents stress that otherwise transfers into the baseboard joints.
Grinding granite to fix wall issues is usually a last resort because it permanently alters the stone edge and can create appearance and bonding problems.
Clean the granite edge properly
Start by removing:
– Dust/grit from cutting or prior work
– Old adhesive residue (fully)
– Any debris at the granite boundary
Use methods appropriate for stone surfaces (avoid aggressive abrasives if the finish can be harmed). The goal is a stable, clean edge for the seal/backer approach and for any adhesive area the system calls for.
Correct wall out-of-plumb/flat before final mounting
If your wall isn’t straight:
– Plan for shimming behind the baseboard in the wall plane
– Re-check corner geometry before you commit to adhesive
Trying to “solve” wall curvature by pushing the baseboard into the granite edge can create visible gaps elsewhere and can transmit force that chips polished stone.
Test-fit before adhesive or fasteners
Before adhesive goes down:
– Dry-fit miter corners and end joints
– Mark high/low wall points based on how the baseboard lays against the granite line
– Check for rocking and for any spot where the profile “bridges” over a low area
The target is a baseboard that aligns cleanly without requiring clamping pressure at the granite edge.
Install: adhesive + fastening method that protects the stone
You’ll protect granite by using adhesive for seating and using mechanical fastening only in the wall, never by pushing fasteners or clamping force toward the stone. When adhesive cures, it should complement the wall support—not replace it.
Apply adhesive exactly as the manufacturer instructs (placement and bead size), because adhesive performance depends on contact area and application method.
Mechanical fastening should land in studs or properly rated anchors in the wall substrate to reduce point loading on the granite edge.
Keep squeeze-out under control and clean it promptly, since hardened adhesive can interfere with sealant continuity at the bottom line.
Adhesive placement and seating
Apply adhesive to the baseboard back (and/or in dabs along its length) per the adhesive manufacturer’s instructions. Then:
– Position the baseboard
– Press it into contact along the wall plane (not by driving it toward granite)
– Maintain alignment at corners before the adhesive begins to set
Mechanical fastening: fasten the wall, not the stone
When fastening:
– Predrill if required by the baseboard material
– Locate studs or use appropriate anchors
– Avoid clamping methods that push the profile into the granite edge
If you’re using a nailer:
– Confirm the nailing pattern does not require excessive force
– Keep the working approach consistent so you don’t accidentally “lever” the baseboard against the stone
Manage expansion and the bottom gap
You should leave a movement-capable gap between the baseboard and the granite surface, then seal only in a way that accommodates motion. Granite and building framing can shift slightly over time, and rigidly “glassing” the bottom line can transfer stress to miters and edges.
ASTM C920 defines sealant “movement” capability classes (e.g., 25%, 50%, 100%), which is why the correct sealant matters for bottom-line interfaces that must tolerate movement.
A flexible sealant strategy helps prevent joint stress from concentrating at corners where miters meet and where small differential movement is most noticeable.
The bottom gap detail is system-specific—your baseboard profile, adhesive, and sealant manufacturer guidance should determine whether you use backer material, trim channels, or caulk-only.
Choose the right bottom-gap strategy
Depending on your baseboard system and profile, the bottom line is commonly handled with:
– Trim detail / backer designed for baseboard interfaces
– Backer rod (where appropriate) + sealant over it
– Caulk/sealant only if the system and substrate conditions allow it
Avoid brittle, non-movement materials that can trap differential motion. Follow the specific guidance from your baseboard manufacturer and the adhesive/sealant documentation.
Seal joints with compatible, movement-tolerant materials
For caulking:
– Use a sealant rated for the substrates involved (baseboard material + stone)
– Use a sealant that the manufacturer specifies for the expected movement
– Tool the seal so it adheres continuously (no voids), but don’t smear hardened adhesive into the joint
What can go wrong (and how to avoid it)
Most granite baseboard problems come from three categories: damaging the stone edge, ignoring movement, or forcing the baseboard into misalignment. If you treat those as predictable failure modes, you can design your install to prevent them.
Chipped granite usually traces back to point pressure from clamps, nails, or aggressive “push-into-place” adjustments near the stone boundary.
Separated baseboards typically reflect poor wall flatness and overreliance on adhesive to “bridge” a gap that mechanical fastening cannot support.
Cracked miter joints often result from rigid sealing that doesn’t accommodate movement or from unstable backing at the miter area.
Common failure modes and practical fixes (pros/cons)
- Failure: Chipped granite from clamping/fasteners
- Fix: fasten only to the wall substrate; avoid clamping near the granite edge; dry-fit to eliminate “forced” contact.
- Failure: Baseboard bows or separates over uneven edges
- Fix: correct wall flatness first (shims where needed) and apply adhesive per coverage guidance; don’t rely on adhesive to span large voids.
- Failure: Cracked joints at miters/ends
- Fix: cut miters accurately, provide stable backing behind joints, and use a sealant strategy designed for movement.
- Failure: Water/cleaning damage near the bottom line
- Fix: use a compatible sealant system and understand that adhesive and paint/finish may be less tolerant than granite; keep the seal continuous and intact.
Verdict / tip: what’s “worth it” for DIY—and who should skip
If your wall is reasonably straight and you’re comfortable with careful measurement, dry-fitting, and wall-only fastening, this can be a solid DIY job. The tradeoff is real: one misstep—wrong adhesive, no expansion allowance, or clamping/fastening too close to granite—can leave permanent chips or uneven gaps.
Skip DIY (or bring in a pro) if:
– your granite edges are badly uneven or recently installed and still settling,
– the walls are significantly out of plumb/flat and you can’t correct them cleanly,
– you’re unsure about expansion/sealant requirements for your specific baseboard + adhesive system.
[ADD: If you have a specific baseboard profile/adhesive system, insert manufacturer guidance or link to the exact spec sheet here.]
A granite-safe baseboard install is less about “tighter is better” and more about compatibility: clean substrates, flexible sealing, and fastening that never pushes force toward the stone edge.
When in doubt, follow the adhesive and sealant manufacturers’ substrate compatibility tables, because those are written for performance—not appearance.
Quick checklist: granite-safe baseboard install
– Measure wall runs and corner angles in multiple spots
– Dry-fit baseboards; mark high/low wall areas
– Choose adhesive compatible with stone + your baseboard material
– Fasten to the wall (studs/anchors), not into/against granite
– Maintain the required bottom gap/expansion space
– Seal only with a compatible caulk/sealant system
– Clean squeeze-out before curing; re-check alignment after initial set
Stone-to-Trim Interface: Risk Drivers for Granite Baseboards
| # | Interface Issue | Typical Manifestation | Primary Cause | Impact on Appearance |
|---|---|---|---|---|
| 1 | Inconsistent granite edge height | Visible gap or rocking at low/high points | Assuming a straight run instead of measuring multiple locations | ★ ★ ★ ★ ☆ |
| 2 | Wrong adhesive compatibility | Weak bond, separation, or poor hold | Adhesive not rated for stone and/or non-advised substrate prep | ★ ★ ★ ☆ ☆ |
| 3 | Fasteners applied near stone edge | Chips, micro-cracks, or edge spalling | Forcing pressure toward granite from clamping or fastening | ★ ★ ★ ★ ★ |
| 4 | Rigid sealing at bottom line | Joint cracking or seal separation after movement | Sealant that doesn’t match movement capability requirements | ★ ★ ★ ★ ☆ |
| 5 | Dirty/uncured residue on granite | Adhesive failure or uneven seating | Dust/grit or old adhesive interfering with bond | ★ ★ ★ ☆ ☆ |
| 6 | Corner mismatch at miters | Gaps at miters or visible line breaks | Inaccurate miter cuts or lack of stable joint backing | ★ ★ ★ ☆ ☆ |
| 7 | Bottom gap not maintained | Seal fails early or baseboard sticks to stone | No expansion allowance / wrong sealant configuration | ★ ★ ★ ★ ☆ |
FAQ
Do I need to leave an expansion gap between the granite and baseboards?
Usually, yes—because stone and building materials can experience minor movement. Use the guidance from your baseboard/adhesive/sealant system for the specific gap and sealing method. [ADD: source for recommended gap from your chosen adhesive/sealant manufacturer.]
Can I nail the baseboard through the bottom edge onto the floor?
No—avoid driving fasteners toward the granite edge. Baseboards should be secured to the wall structure, not the stone floor, to reduce chipping and prevent brittle cracking.
What’s the best way to handle uneven granite edges?
Correct unevenness at the wall/baseboard alignment using shims (and trimming where appropriate). Don’t rely on forcing the baseboard down into the granite edge, which can create gaps or damage stone.
What caulk should I use at the bottom line?
Use a caulk or sealant compatible with both your baseboard material and the granite edge, and one designed to accommodate movement. [ADD: name the exact caulk type/spec from your sealant manufacturer.]
Sources
– ASTM International, ASTM C920—Standard Specification for Elastomeric Joint Sealants (for movement classes and general sealant requirements). [ADD: confirm the exact ASTM edition used for your project/subscription]
– [ADD: adhesive manufacturer’s installation instructions/spec sheet—compatibility with stone and recommended application method]
– [ADD: baseboard manufacturer’s installation guide—expansion gap/sealing recommendations]
– [ADD: sealant manufacturer’s application guide—substrate compatibility and movement accommodation]
A granite floor baseboard line that looks “factory tight” is achievable, but it depends on respecting how granite behaves: rigid edge, risk of chipping from point pressure, and the need for a movement-friendly bottom detail. If you measure across the run, dry-fit first, use stone-compatible adhesive, and fasten the wall (not the stone), you can get a clean visual result while protecting your granite from the most common installation mistakes.
Frequently Asked Questions
What’s the best way to install baseboards on granite floors without damaging the stone?
Use a template or measuring technique to keep the baseboard line straight and avoid unnecessary drilling or grinding in the granite. For most granite floor installs, install the baseboards by fastening to studs/backsplashes or a wall nail track—not into the stone—with construction adhesive used as a sealant and minor gap filler only. Apply painter’s tape and choose a low-odor, stone-safe adhesive to reduce mess and prevent staining at the granite base.
How do I create a tight fit between baseboards and uneven granite tile edges?
Granite floors can have slight height differences at tile joints, so measure the gap at multiple points along the wall and mark the baseboard profile before cutting. Use a coping saw, flexible shim method, or an oscillating tool to fine-tune the bottom edge so the baseboard follows the floor contour. Finish with a thin, paintable caulk line at the granite-to-baseboard joint—avoid thick caulk that can look messy or separate over time.
How should I cut and miter baseboards when the wall meets granite flooring?
Start by squaring and leveling the room, then dry-fit the baseboards against the granite floor to confirm angles—especially for corners where tile lines may interfere. Cut miter corners slightly oversized, then trim in small increments until the joints close cleanly without forcing pressure that could lift or crack the baseboard. If the bottom edge needs adjustment for floor irregularities, notch or cope the ends rather than relying on perfect 45-degree miters.
Why is the caulk choice important when installing baseboards with granite floors?
The granite-to-baseboard seam needs a flexible, durable seal that can handle minor movement and changes in humidity without cracking. Use a paintable, low-shrink silicone or an appropriate acrylic latex caulk designed for trim and masonry/stone contact; avoid cheap caulks that may discolor or pull away from the granite. A thin continuous bead helps prevent dust buildup and moisture intrusion at the base while keeping the installation looking clean.
Which installation method works best for baseboards against granite floors: nails, screws, or adhesive?
For a long-lasting baseboard install on granite floors, fasten the baseboard to the wall framing with finish nails or screws and use adhesive for additional bonding and gap control. Avoid direct fastening into the granite because drilling or pinning risks cracking or chipping the stone. If the wall is uneven, combine mechanical fastening with shims behind the baseboard, then use caulk only at the granite contact line for a neat finish.
📅 Last Updated: October 09, 2026 | Topic: How to install baseboards with granite floors? | Content verified for accuracy and freshness.
References
- Google Scholar Google Scholar
https://scholar.google.com/scholar?q=install+baseboards+against+stone+tile+granite+caulk+expansion+gap - Google Scholar Google Scholar
https://scholar.google.com/scholar?q=granite+floor+perimeter+trim+baseboard+installation+movement+joint - Google Scholar Google Scholar
https://scholar.google.com/scholar?q=baseboard+installation+over+tile+stone+floor+how+to+gap+caulk - Baseboard
https://en.wikipedia.org/wiki/Baseboard - Baseboard
https://en.wikipedia.org/wiki/Skirting_board - https://en.wikipedia.org/wiki/Expansion_joint
- Caulk
https://en.wikipedia.org/wiki/Caulk - Natural Stone Institute – 404 Not Found
https://www.naturalstoneinstitute.org/education/how-to-install-natural-stone/ - https://www.miaonline.org/education/installation-guides/
- https://www.tcnatile.com/setting-materials/latex-modified-thinset/


