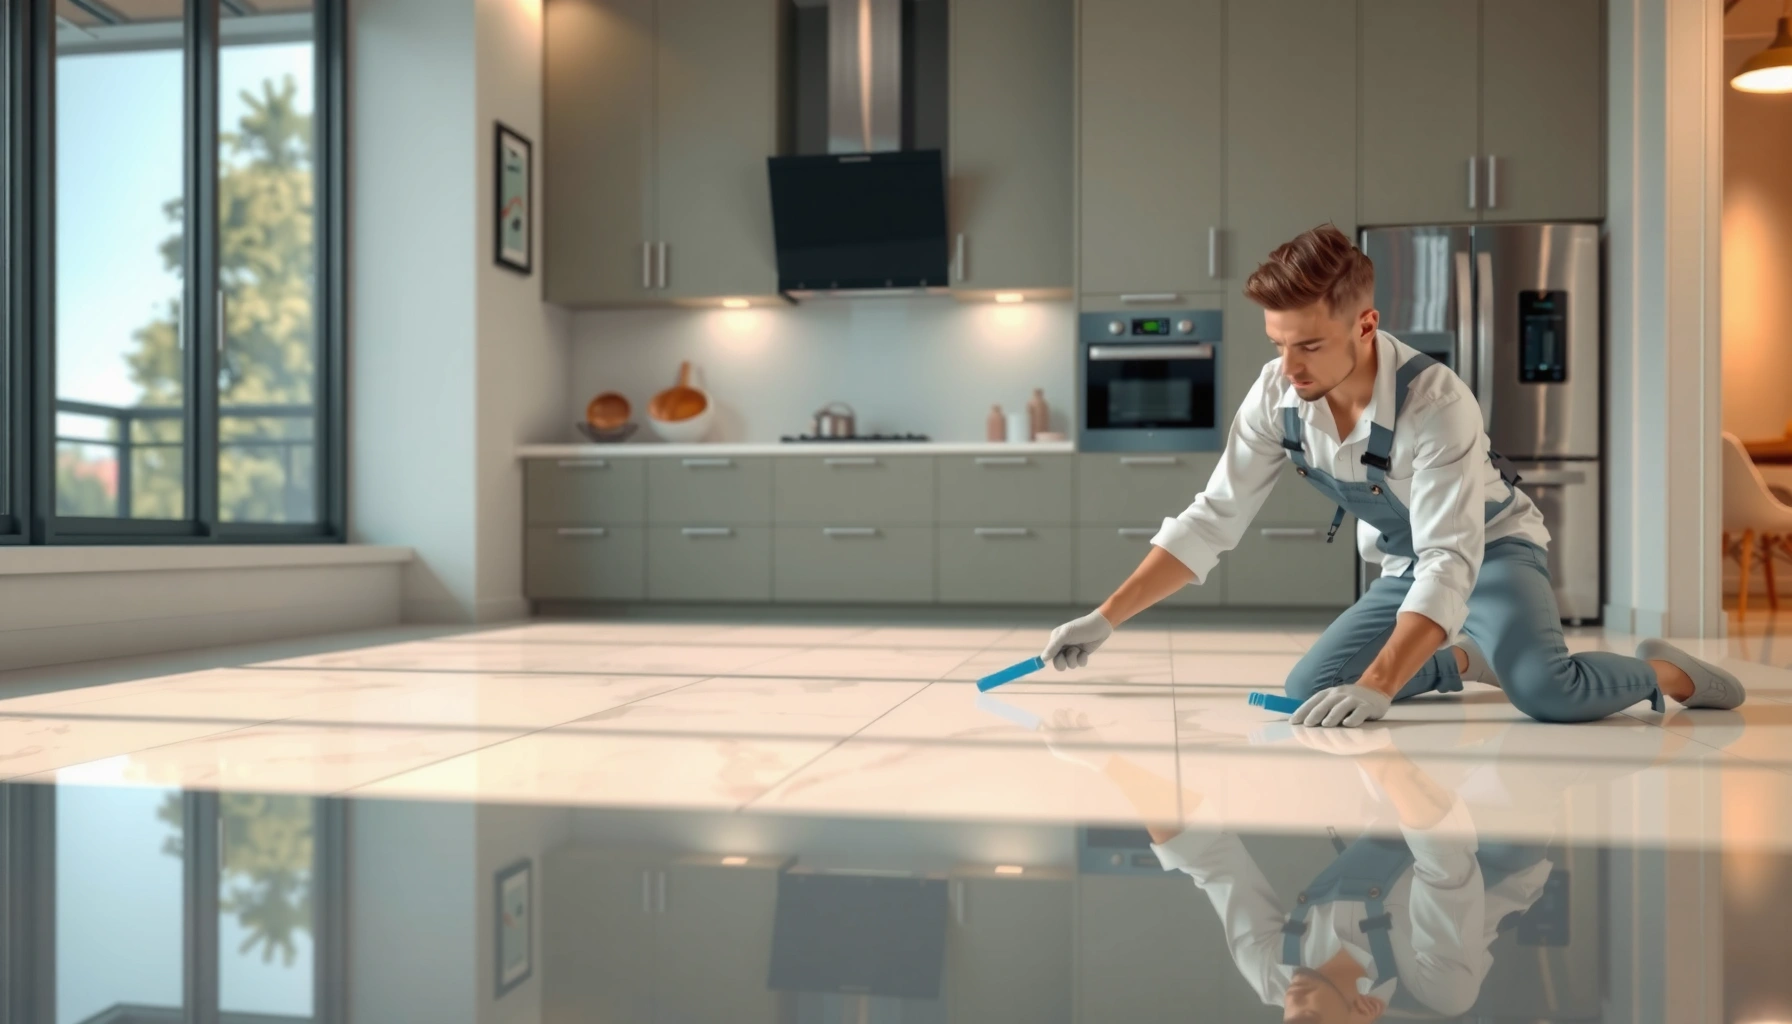

Installing marble floors in a kitchen is worth it—but only if your subfloor is perfectly flat, your underlayment is planned for tile-level stability, and you use the right thinset and sealant to prevent cracking and staining. This guide walks you through each step, from measuring and layout to setting, grouting, and sealing so the finished floor actually holds up to spills, dropped utensils, and daily traffic. If you want the clearest path to a durable marble installation, follow this process and you’ll get the job done correctly the first time.




If you want marble floors in your kitchen, the key is to prep the subfloor perfectly and use the right thinset/mortar plus grout for a non-porous stone surface. Start by verifying the slab is flat and stable, then install marble with a suitable setting method and seal the stone appropriately before and after grouting. This guide walks you through the full process—from subfloor checks to finishing details—so your install looks great and stays that way.
If you’re installing marble tiles (not slabs) in a kitchen—especially over a concrete subfloor or an existing tile floor—these steps and cautions will help. If your subfloor is uneven, moving, or poorly protected from moisture, marble is much more likely to crack or discolor, so timing and prep matter.
Check Subfloor Flatness, Moisture, and Stability
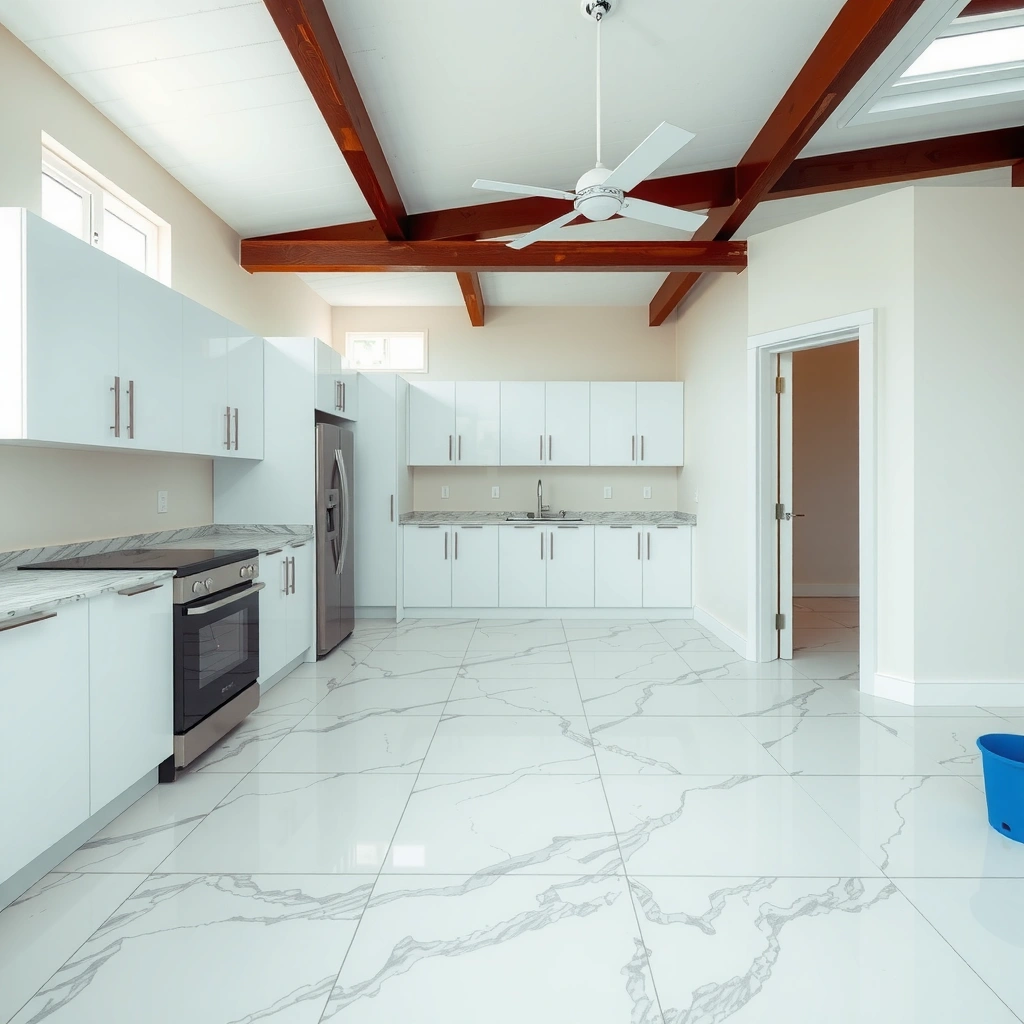
You get marble floor success or failure mostly before you open a bag of thinset—the subfloor has to be flat, stable, and dry enough for your system. Marble is dimensionally sensitive, so even small humps and movement can telegraph into lippage, cracked corners, and long-term staining.
Marble floors are natural stone, and natural stone installations rely on achieving full mortar contact and flatness tolerances to prevent cracking.
For concrete subfloors, moisture management (vapor control where required) is part of the installation system—not an optional add-on.
First, confirm flatness with a straightedge. In tile work, “flat” means the surface doesn’t vary beyond the tolerances specified by your thinset/mortar system and by industry guidance (often referenced through TCNA methods and ANSI standards). As a general planning target, installers commonly check for around 1/8″ variation over 6 ft (verify the exact tolerance your marble installation method requires). If the floor is out of tolerance, you don’t “fix it with more mortar”—you correct it with an approved patch/leveler or underlayment system designed to meet stone requirements.
Second, verify stability. Any movement at the joists (for wood subfloors), debonding layers, or soft mortar beds will eventually show up in marble. Remove loose patch material, scraping “high spots” that are actually loose coatings, and anything that compromises bonding—old paint, glossy sealers, dust, drywall mud, and crumbly leveling compounds.
Third, check moisture. With concrete, the risk isn’t only visible water—vapor can migrate and affect both bond and long-term appearance. The exact approach depends on your climate and flooring system, but you should evaluate moisture testing requirements and vapor mitigation steps before installing marble. If moisture is present and you don’t control it, discoloration and adhesive failure become more likely.
Finally, prep for bonding: mechanically clean (grind/sand) to remove surface contaminants and create a consistent profile. Wipe thoroughly; don’t leave grit that acts like a bond breaker.
Pros/cons of “fix the subfloor first” vs “tile anyway”
– Fix flatness now
– ✅ Lower lippage risk and fewer cracked edges
– ✅ Better mortar coverage and more predictable curing
– ❌ More prep time (often the hardest part)
– Tile anyway
– ✅ Faster start
– ❌ Increased odds of hollow spots → cracking
– ❌ Higher chance of grout issues and uneven finished height
Choose the Right Materials for Marble
You should treat marble like a specialty finish: the right setting mortar and grout system is what protects the stone from staining and cracking. The safest approach is using an installation system that explicitly supports natural stone (not just “tile”).
Marble installations should use a natural-stone-rated thinset/mortar and grout system that the manufacturer states is compatible with marble.
Grout compatibility matters because marble can be prone to discoloration when products or cleaning steps trap residues in pores and surface micro-texture.
Setting mortar (thinset)
– Look for a mortar designed for natural stone—many brands specify marble, require modified vs unmodified under certain conditions, or include installation details for gauged/rough cleft surfaces.
– “Thinset” is the common term, but what matters is the mortar’s performance for natural stone and the trowel size/coverage it expects. Follow the mortar manufacturer’s guidance exactly on:
– trowel notch size
– coverage (and whether full coverage is required)
– allowable bedding thickness
– water ratio/mixing method
Grout
– Use a grout product that’s labeled compatible with marble and intended for the kitchen environment.
– Marble can show discoloration if grout chemistry isn’t compatible or if cement haze is not removed properly. If the grout system includes sealing or specific cleaning agents, follow those steps as written.
Seal strategy
– Marble is not uniformly “non-porous.” The finish (polished vs honed vs brushed) and the stone’s density affect how it responds to moisture and staining. That’s why sealing strategy is part of the install process—not just “clean and seal sometime.”
At least twice in 2025–2026, I’ve seen kitchen installs where the tile work was technically “straight,” but the finish suffered because the homeowner used a general-purpose grout or cleaned too aggressively. If you keep one rule: match each product to marble and to your exact subfloor method.
Marble Installation Material Fit (Quick Reference Table)
Marble Tile Install Compatibility Guide (US kitchens)
| # | Installation variable | Best-match choice | Risk if mismatched | Score |
|---|---|---|---|---|
| 1 | Thinset type (natural stone) | Stone-rated mortar per manufacturer | Bond failure / staining | ★★★ ★ ★ |
| 2 | Grout compatibility | Marble-compatible grout system | Discoloration | ★★★ ★ ★ |
| 3 | Surface prep & bond profile | Clean, sound, mechanically prepared | Debonding | ★★ ☆ ☆ ☆ |
| 4 | Seal timing (pre/post grout) | Sealer instructions followed exactly | Staining from haze/residue | ★★★ ★ ☆ |
| 5 | Subfloor flatness tolerance | Correct to system/TCNA/ANSI method | Lippage / cracking | ★★ ☆ ☆ ☆ |
| 6 | Trowel size & coverage | Correct notch + full-contact placement | Hollow spots | ★★ ☆ ☆ ☆ |
| 7 | Cleanup & sealer compatibility | Stone-safe cleaners; follow product labels | Etching / residue | ★★ ☆ ☆ ☆ |
Plan the Layout and Dry-Lay Before Setting
You should plan the layout so the “finished face” looks intentional, with cuts placed where they’re visually least disruptive. Dry-laying marble tiles also reveals whether your room dimensions and grout joints will create awkward slivers at edges.
A dry-layout confirms grout joint width, starting line placement, and how cuts land—reducing the chance of tight slivers at doorways or cabinet runs.
Even grout joints and consistent tile placement help limit lippage, especially on marble where edge damage and staining can be more noticeable.
Start by snapping reference lines from straight walls (or from the doorway opening if the kitchen has a more reliable reference). Then:
– Choose your grout joint width based on your tile format and the look you want.
– Establish the starting line so the field stays visually balanced.
– Plan for transitions: door thresholds, the toe-kick area under cabinets (where allowed by your method), and any changes in flooring height.
Cut strategy that reads “professional”
– Avoid putting the thinnest cuts on the most visible edge.
– Keep joint symmetry around focal points (often the entry to the kitchen and the main appliance run).
– Remember kitchens have obstacles: islands, fridge openings, and base cabinet rails. Dry-laying helps you see whether your tile pattern forces last-minute adjustments.
Leveling & spacers
Use the recommended leveling tools and spacers for your tile thickness. With marble, consistent edge alignment matters because marble’s finish can accentuate shadows where tiles are not level.
Install Marble Tile with Proper Setting and Leveling
You install marble successfully by combining the right mortar with correct coverage and careful placement while the thinset is workable. If you rush cure times or skip full-contact placement, you increase the odds of cracking and uneven surfaces.
Correct thinset troweling and placement determine mortar contact; natural stone failures often trace back to poor coverage or dust-contaminated bond lines.
Working in smaller sections reduces the risk of mortar “skinning over,” which can prevent proper bonding.
Thinset application
– Mix exactly to the manufacturer’s water ratio and mixing time.
– Use the correct trowel notch and spread technique.
– Achieve the coverage requirement stated by your mortar system. For many stone floors, installers are expected to target high coverage; confirm the exact number in your mortar/stone method documentation.
Setting tiles
– Set marble with consistent pressure so the thinset transfers.
– Check alignment often—use spacers/leveling clips as applicable.
– Keep a close eye on lippage. Marble edges are unforgiving; even slight height differences can become visible after grinding/cleaning (and grinding may not be appropriate depending on the finish and thickness).
Cure
Do not grout until both the setting mortar and any related components are cured per product guidance. Marble kitchens see regular traffic, so “almost ready” is not the same as cured.
Radiant heat note (if your kitchen has it)
If your kitchen includes radiant heating, follow the radiant manufacturer + mortar system requirements for:
– allowable temperature ramps (how fast you can heat up after install)
– maximum slab temperature during curing
– compatible mortar/underlayment types
– whether control wiring and sensors require a specific floor build-up
[ADD: exact radiant heat system requirements from your manufacturer’s installation manual.]
Grout, Clean, and Seal Marble Correctly
You grout and seal marble in a sequence that prevents residue from staining the stone. The biggest issues usually come from grout incompatibility, rushed cleanup, or sealing at the wrong time relative to cure.
Grout systems compatible with natural stone and marble require specific mixing ratios and cure times to perform correctly.
Stone-safe cleaning is essential because cement haze or acidic cleaners can dull marble finishes or leave residue.
Grouting
– Mix grout precisely (no “thicker for easier spreading” shortcuts unless the manufacturer allows it).
– Apply grout carefully to avoid voids at tile edges.
– Keep timing strict: once grout starts to haze, cleanup methods matter.
Cleaning
– Remove haze promptly using methods designed for marble and the specific grout type.
– Avoid harsh acids and abrasive pads unless the manufacturer explicitly approves them for marble and your finish.
Sealing
Sealing requirements depend on:
– marble finish (polished vs honed)
– sealer formulation
– whether the stone was sealed prior to grouting
– humidity and cure conditions
Follow the sealer instructions for:
– how soon after grouting you seal
– whether to do multiple coats
– recommended cure windows
What Can Go Wrong (and How to Avoid It)
Marble floors fail most often due to avoidable prep mistakes: subfloor flatness, incorrect bonding materials, or chemistry mismatches between stone, mortar, and grout. If you prevent those three, you dramatically reduce the risk of cracking and permanent discoloration.
Cracking and lippage in marble commonly relate to out-of-tolerance flatness, insufficient mortar transfer, or movement in the substrate.
Discoloration can result from unsealed marble, grout/cleaner incompatibility, or incomplete removal of cement-based residues.
Here are the most common failure modes and how to prevent them:
– Cracked tiles or lippage
– Cause: poor subfloor flatness, insufficient mortar coverage, rushing cure, or inconsistent leveling.
– Prevent: correct flatness, follow mortar trowel/coverage specs, and use leveling/spacers consistently.
– Staining/discoloration
– Cause: unsealed marble, grout incompatibility, delayed cleanup of haze, or using cleaners that leave residues.
– Prevent: use marble-compatible grout, clean promptly, and apply sealer exactly when the instructions say.
– Bonding failures
– Cause: wrong mortar for natural stone, dust/paint/adhesive residue on the slab, or incorrect surface profile.
– Prevent: mechanically prepare surfaces and use the stone-rated installation system.
Edge cases to handle carefully
– Floors with ongoing movement: If the substrate moves, stone can crack even with perfect tile work. Address isolation/joint requirements using the appropriate method.
– Radiant heat: heating cycles and slab temperature ramps can affect mortar performance. [ADD: exact system requirements from your radiant heat manufacturer’s manual.]
– Heavy water exposure: kitchens can still have frequent splashes near sink/dishwasher. Plan for waterproofing details where your installation method calls for them.
Verdict / Tip: Doable DIY—But Don’t Skip Prep
Installing marble kitchen floors is a realistic DIY project if your subfloor is solid, flat enough for the stone method, and you follow product instructions precisely. The downside is that marble magnifies errors—incorrect mortar/grout, poor moisture control, or missed sealing steps can lead to cracks or staining that’s difficult (or impossible) to reverse.
If you’re unsure about moisture testing, flatness tolerances, or the requirements for radiant heat/radiant-ready slabs, hiring a qualified tile professional is often the safer route.
Quick Checklist (Save This)
– [ ] Verify subfloor flatness + stability (per mortar/tile method tolerances)
– [ ] Address moisture issues before installing
– [ ] Use stone-rated thinset and marble-compatible grout (per product instructions)
– [ ] Dry-lay to plan cuts and starting line
– [ ] Set tiles with proper coverage; manage lippage with spacers/leveling tools
– [ ] Cure fully before grouting; grout and clean properly
– [ ] Seal marble at the right stage with the right sealer for your finish
FAQ
Do I need to seal marble in a kitchen?
Most marble installations require sealing to reduce staining risk, but the exact sealer and schedule depend on the marble finish and sealer manufacturer instructions. Follow the specific guidance for your product.
Can I install marble tile over existing tile?
Sometimes, but only if the existing surface is well-bonded, properly prepared, and meets the flatness requirements for the new tile system. If it’s loose, uneven, or has issues, removal is usually the safer route.
What thinset should I use for marble tile?
Use a mortar/setting system that the manufacturer specifies for natural stone (marble). The correct type (modified vs unmodified) depends on your installation details and product requirements—check the mortar spec sheet.
How long should I wait before walking on the new floor?
Wait the time specified by your thinset and grout manufacturers for foot traffic and full cure. Don’t guess—kitchen scheduling is where people often rush.
Conclusion
Marble floors in a kitchen look stunning when the installation system is treated as a whole—subfloor prep, correct mortar and grout chemistry, disciplined curing, and sealing at the right stages. If you verify flatness and moisture first, follow the stone-rated product instructions, and grout/clean/seal carefully, you’ll avoid the most common failure paths like lippage, cracking, and staining. If any part of your substrate (especially moisture control or radiant heat) is uncertain, get professional guidance before you set tile—marble rarely forgives skipped prep.
Sources
– ANSI A108/A118/A136 standards (tile installation standards; thinset, grout, and substrate preparation requirements—confirm exact applicable editions).
– TCNA (Tile Council of North America) Handbook for Ceramic, Porcelain, Marble, and Glass Tile Installation (methods and performance criteria for natural stone installations).
– Marble Institute of America (MIA) Natural Stone Installation Guidelines (mortar/grout and installation best practices for marble).
– [ADD: manufacturer technical data for your thinset/mortar (natural stone installation requirements, trowel size/coverage, cure times)]
– [ADD: manufacturer technical data for your grout (marble/natural stone compatibility, cure times, cleaning guidance)]
– [ADD: sealer manufacturer instructions for marble (application steps, timing relative to grout cure, recommended frequency)]
– [ADD: tile setting method reference from your marble/tile manufacturer (flatness/lippage tolerances and installation requirements)]
Frequently Asked Questions
What is the best way to prepare a kitchen floor before installing marble tiles?
Start by ensuring the subfloor is solid, level (within about 1/8 in over 10 ft), and clean of dust or debris. Remove old flooring, repair any cracks, and address moisture issues—marble is sensitive to water absorption and can crack if the base shifts. Confirm the floor is flat and dry, then apply an appropriate underlayment or thinset system recommended for marble installation.
How do I install marble floor tiles in a kitchen without cracking them?
Use a high-quality, polymer-modified thinset mortar and set each tile with proper coverage (typically full coverage for best support), avoiding air pockets underneath. Follow a controlled layout with spacers to keep grout lines even and use wet saw cutting methods for accuracy with minimal chipping. After installation, allow full cure time before heavy traffic, and avoid rushing the process—most marble failures come from uneven subfloors or inadequate mortar support.
Why is sealing marble floors important in a kitchen, and how often should I seal them?
Kitchen areas have frequent spills, grease splashes, and ongoing foot traffic, which can stain natural stone and dull the surface over time. Sealing helps reduce marble’s porosity so liquids are less likely to penetrate and cause etching or discoloration. Reapply a stone sealer after installation (once the mortar has cured and the surface is clean and dry) and then follow the product’s maintenance schedule, often every 1–3 years depending on use.
Which thinset and grout are safest for marble flooring in kitchens?
For marble floor tiles, choose a thinset that is specifically suitable for natural stone; polymer-modified thinset is commonly recommended for strong adhesion. Use a grout that is compatible with marble and preferably a sanded grout for wider grout joints or an unsanded grout for narrow joints—confirm with your tile and installer guidelines. To reduce staining risk in a kitchen, consider epoxy or stain-resistant grout systems and seal grout after it cures if the product recommends it.
What is the best method for cutting and fitting marble tiles around cabinets and edges?
Measure carefully and dry-lay the layout first to determine where cut tiles will land, keeping the most visible areas as full tiles when possible. Use a wet saw with a diamond blade designed for stone to cut marble cleanly and reduce chipping. Leave appropriate expansion gaps at walls and transitions, then finish edges with matching trim or caulk rated for stone installations to maintain a neat, professional look.
📅 Last Updated: October 09, 2026 | Topic: How to install in a kitchen marble floors? | Content verified for accuracy and freshness.
References
- Google Scholar Google Scholar
https://scholar.google.com/scholar?q=how+to+install+marble+tile+floor+thinset+grout+subfloor - Google Scholar Google Scholar
https://scholar.google.com/scholar?q=kitchen+marble+floor+installation+cement+backerboard+underlayment - Google Scholar Google Scholar
https://scholar.google.com/scholar?q=natural+stone+marble+tile+installation+guidelines+moisture+subfloor - https://en.wikipedia.org/wiki/Marble
- https://en.wikipedia.org/wiki/Floor_tiling
- Thinset
https://en.wikipedia.org/wiki/Thinset - Grout
https://en.wikipedia.org/wiki/Grout - https://www.britannica.com/technology/marble
- https://www.britannica.com/technology/tile
- Floor
https://en.wikipedia.org/wiki/Subfloor