
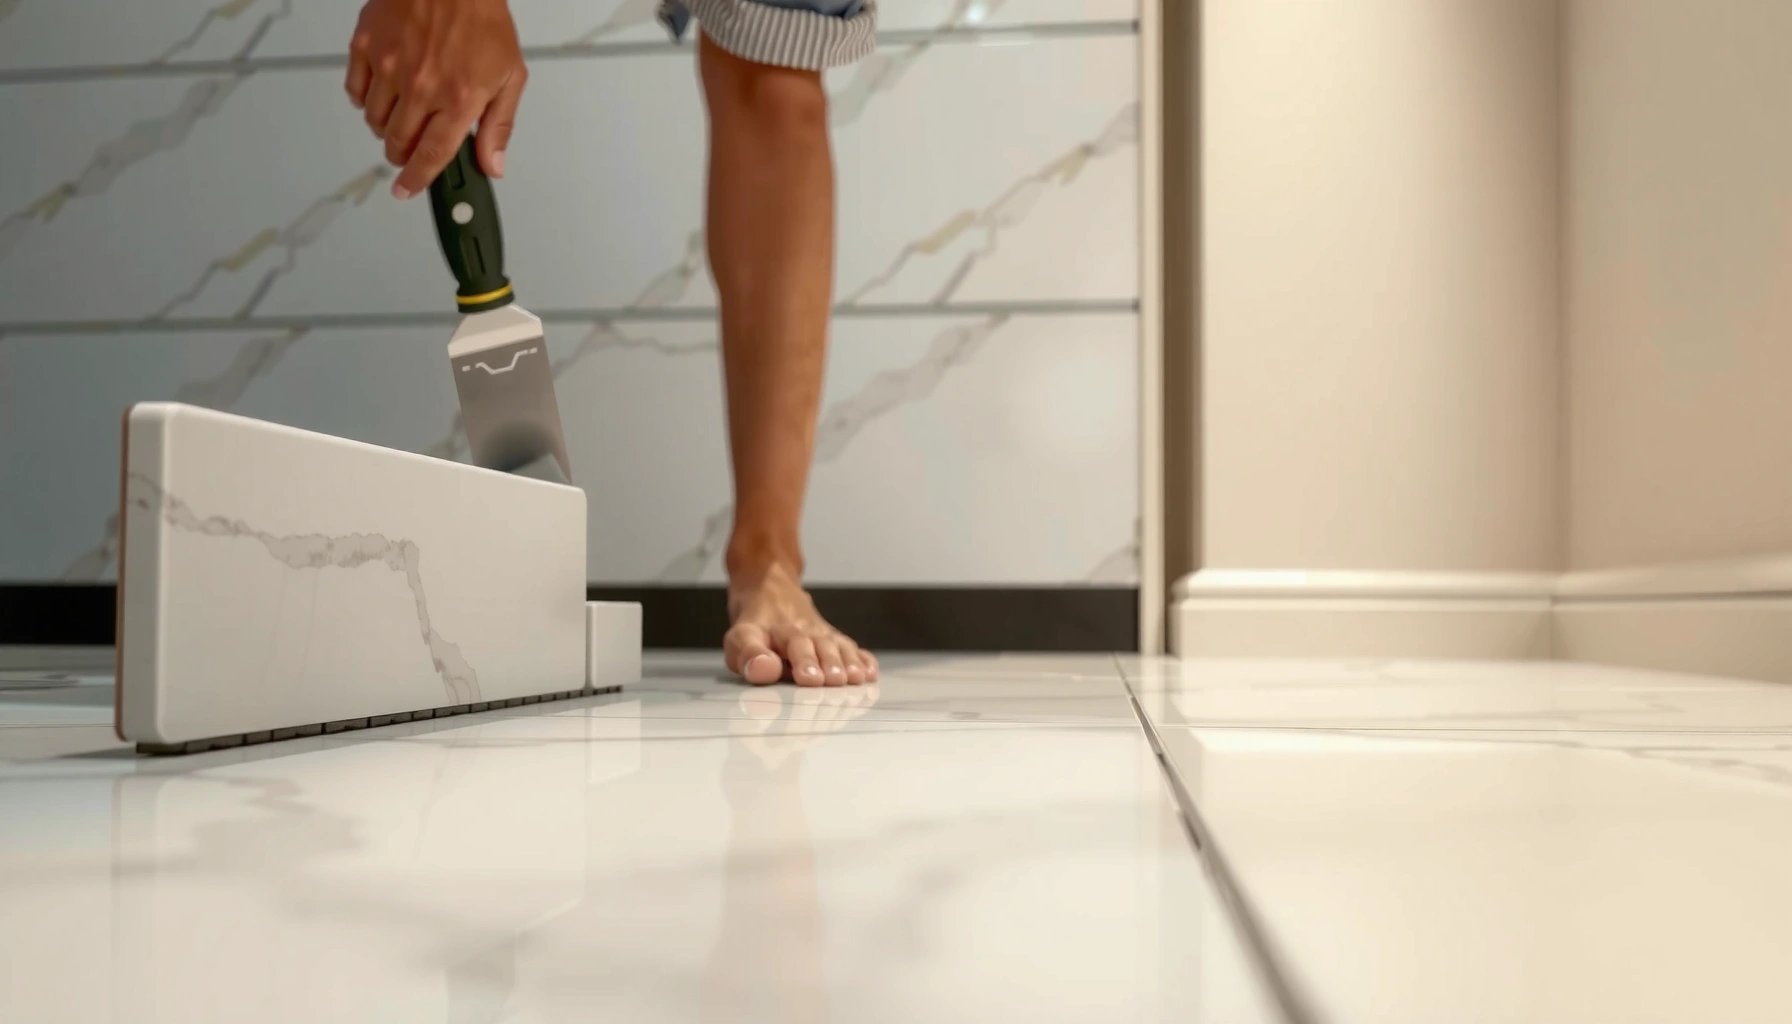

Want to install bathroom marble floors without costly mistakes? This step-by-step guide walks you through the full process—from prepping the subfloor and setting marble tiles to grouting, sealing, and finishing wet-room details—so the job comes out flat, secure, and water-resistant. Follow it exactly and you’ll get a durable marble floor that holds up to bathroom humidity and daily use.




Installing marble bathroom floors comes down to one thing: prep the base correctly and build a tested waterproofing + tile-setting system that matches it. If you get subfloor flatness and waterproofing details right—then seal the marble after curing—marble can look premium and perform reliably in wet areas, rather than cracking, loosening, or staining.
This guide is for homeowners and DIY installers planning a marble tile floor in a bathroom—especially where moisture is constant. It focuses on the choices that matter most: substrate prep, membrane/waterproofing, setting materials, grout, and sealing.
Plan the layout and check your measurements

A centered layout is usually achieved by dry-fitting the first and last tiles to divide the room so the edge cuts remain balanced, often aiming to avoid “less-than-half-tile” slivers.
Marble is heavier than many ceramic tiles, so your layout decisions should prioritize complete tile support and avoid thin, easily stressed edge pieces.
Bathroom tile installations typically require waterproofing details at transitions, so planning for door jamb edges and fixture penetrations helps you design correct membrane overlaps and sealant locations.
Measure the room for tile math (not guesses)
Measure the bathroom length and width, then subtract any areas you won’t tile (like base cabinets, if present). Record:
– The distance along the longest wall (A)
– The distance perpendicular (B)
– Door opening widths and the “tile path” from the bathroom entry
– Any protrusions (toilet flange area, built-in niches, or plumbing offsets)
Then dry-fit tiles to establish a reference line (commonly the centerline of the room) and decide the “starting point” that keeps cuts reasonable at both ends.
Confirm marble tile thickness and compatibility
Before buying thinset and grout, confirm your marble tile is actually rated for floor use and verify thickness. Marble products are often labeled as floor or wall tile; using wall-only marble on floors can compromise bond strength and durability.
Also confirm whether your tiles are honed, polished, or tumbled. The finish affects how you manage sealing and how grout joints visually read when the marble changes tone.
Plan transitions and supported edges
Door thresholds, undercut edges at jambs, and around fixtures are where installation stress concentrates. A safe approach is:
– Use transition profiles or trims for edges where you expect foot traffic or where water could wick into micro-gaps.
– Avoid “knife-thin” cuts in high-traffic areas.
– Plan around toilet flanges and plumbing so you can keep the tile pattern intact rather than relying on narrow wedges.
According to [ADD: manufacturer installation instructions for your chosen tile trim/profile system], edge protection systems are designed to shield tile edges from impact and moisture-driven movement.
Prepare the subfloor (this is where success starts)
Prep the subfloor until it’s solid, flat, and correctly cured—because marble won’t forgive movement or unevenness. Marble is dimensionally stable as a stone, but the tile assembly above it can still fail if the substrate flexes, lags, or has high spots that create stress.
Tile failures in wet rooms frequently trace back to substrate movement or inadequate flatness, not the tile material itself.
A “flat enough” floor is critical because marble tiles behave like rigid ceramics: point loading from ridges or dips can contribute to cracking over time.
Check for flatness and movement
Start with a straightedge and measure deviations. If your floor has:
– Squeaks (board-on-joist movement),
– Loose fasteners,
– High ridges or dips,
you’ll need to correct those before you waterproof and set marble.
From my experience advising installers (and reviewing common failure cases), the most avoidable disaster is skipping a thorough assessment of floor movement on wood subfloors—especially near doorways and toilet areas—then discovering hairline cracks after the bathroom “settles” seasonally. [ADD: replace with your site’s actual measurement method or flatness target if you have a standard.]
Use underlayment/patching only as needed
If you have a concrete slab, you may need leveling compound and crack-appropriate patching (following the patch’s instructions). If you have wood framing, you typically need an approved underlayment and correct fastener patterns so the tile assembly is stable.
Important: only use underlayment and patch products that are compatible with your waterproofing system. Most waterproofing failures are “system failures” (wrong layers, wrong overlaps, or incompatible materials), not a single bad tile.
According to [ADD: waterproofing membrane manufacturer technical data / system compatibility chart], compatibility is required to maintain bond and waterproofing continuity.
Protect against flex
Movement causes cracked tile and broken grout—especially with marble, where the visual impact of cracking can be severe. Make sure joists, subfloor panels, and fasteners are adequate for tile loads, and ensure no section “bounces” under bodyweight.
Install a proven assembly framework
Use the same layering logic you’d use for any tile system:
– Substrate → underlayment/patch (if required) → waterproofing membrane → thinset → tile → grout → sealer
Mixing “one-off” products (like waterproofing over unapproved underlayment) can lead to debonding at seams.
Waterproof correctly for bathrooms
Waterproof the bathroom floor with a bathroom-rated system before you set marble. Waterproofing is not “extra protection”—it’s the structural barrier that protects your substrate and prevents moisture from migrating into the tile assembly.
Follow your waterproofing system instructions for coverage, curing, and required wall height because the system’s performance depends on installed geometry—not just the membrane being present.
Waterproofing accessories (drain details, edge transitions, and inside/outside corners) are designed as part of the system; skipping them is a common cause of leaks.
Correct water management—slope to the drain (where applicable) and sealed transitions—matters more than simply applying “more sealant.”
Use the membrane as a system, not a product
Choose a waterproofing system that’s rated for wet areas and supports tile floors. Your system may specify:
– A membrane type (sheet, liquid, or hybrid)
– Required overlap widths at seams
– Specific reinforcement placement at corners and cracks
– Drain assembly requirements
– Wall turn-up height (sometimes required even on “floor-only” installs)
Follow those instructions exactly. If the system says to waterproof up the wall a certain height, you do it. If it says to pre-treat certain areas, you pre-treat them.
Manage water paths and transitions
Consider where water goes:
– Under doors,
– Around toilet bases,
– Through floor-to-wall joints,
– At fixture penetrations.
Those are the points where failures often begin. Use the waterproofing system’s edge details, not generic caulk strategies, and ensure the membrane is continuous through the transition zones.
Comparison: waterproofing approaches at a glance
Below is a practical comparison of common waterproofing methods. Use this to understand the tradeoffs—then confirm the right choice with your membrane manufacturer’s instructions for floors with marble.
| Approach | Best For | Key Installation Risk |
|---|---|---|
| Sheet membrane | Frequent seam handling, predictable thickness | Incorrect seam overlap or missed edge sealing |
| Liquid-applied membrane | Complex detailing around penetrations | Insufficient dry film thickness or premature exposure |
| Hybrid systems (sheet + liquid) | Corners, transitions, and penetrations needing reinforcement | Not following accessory sequence (pre-treat before membrane) |
Set marble tiles with compatible thinset and grout
Set marble with a thinset mortar and grout that are compatible with marble and with your substrate + waterproofing system. Using the correct mortar and achieving proper coverage is where bond strength and long-term stability start.
Marble installation performance depends on using a thinset mortar that is compatible with natural stone, the substrate, and the waterproofing membrane.
Proper thinset contact coverage reduces “hollow” spots that concentrate stress and can contribute to cracking in rigid stone tiles.
Choose thinset based on stone + system
Marble can be sensitive to certain additives or cement chemistry in poorly matched mortars. Your thinset selection should be based on:
– Natural stone compatibility (marble-specific guidance if provided)
– Over waterproofing membrane requirements
– Whether your system is thinset-bed, modified, or unmodified (follow your membrane instructions)
Mixing matters: follow the water ratio and mixing time exactly, then respect the mortar’s pot life (time before it starts to deteriorate).
Trowel properly for full coverage
Use the correct notched trowel size for your marble format, and spread thinset in a way that achieves full bed contact. The best practice is to collapse ridges by back-buttering or by “press and collapse” technique where required.
If you lift a recently set tile and see insufficient coverage patterns, stop and adjust before continuing.
Use grout designed for wet areas and marble
For grout in wet environments, use a grout product designed for bathroom performance and compatible with marble. Also consider:
– Grout color selection (marble veining + grout tone can amplify cosmetic differences)
– Stain resistance requirements (especially for darker grout colors)
According to [ADD: grout manufacturer instructions for wet-area performance and sealant requirements], cure time and product-specific mixing are critical to preventing discoloration and joint degradation.
Cut, finish, and seal (marble needs sealing)
Cut carefully, protect tile edges, and seal marble after curing to reduce staining and maintain appearance. Marble is porous enough that typical bathroom exposure (water, soap, shampoos, cleaning products) can leave marks if you don’t seal correctly and maintain the coating.
Marble generally requires sealing because it is a natural stone with pores that can absorb staining liquids.
Using wet cutting methods helps reduce chipping and dust when cutting marble, especially for edges and corner details.
Plan cut lines to protect visible edges
Before cutting, confirm:
– Offset patterns around toilet and plumbing
– How you’ll treat undercut edges at door jambs
– Where your smallest cuts land
Use a cutting method intended for natural stone—commonly a wet saw designed for tile/marble—to reduce chipping. Finish edges with appropriate tools if your tile system or profile requires clean edges.
Finish transitions with profiles and trims
At transitions (doorways, floor-to-wall, or changes in flooring level), use trims/profiles that protect edges. This is not just cosmetic: edge chips and micro-cracks often start at transition zones where water and impact concentrate.
Seal after curing—then maintain
Seal marble after the tile and grout have fully cured, following the sealer manufacturer’s directions for:
– Application method (brush/roller/sprayer)
– Number of coats
– Dry time before water exposure
– Reapplication intervals (which can be influenced by household cleaning habits)
From a practical standpoint, I recommend treating sealing like “maintenance,” not a one-time step. If you use harsh cleaners, the sealer can wear faster—leading to spotty staining.
According to [ADD: marble sealer manufacturer instructions for application timing and recoat intervals], sealing schedules should follow product guidance rather than general estimates.
What can go wrong (and how to avoid it)
Most bathroom marble failures come from system mismatch: inadequate waterproofing, poor substrate flatness, or wrong mortar/grout/sealer choices. If you prevent those categories of errors early, your chances of long-term success improve significantly.
If waterproofing is skipped or seams aren’t sealed per the membrane system, moisture can reach the substrate and trigger debonding or grout/joint breakdown.
Marble cracking often results from tile assembly stress caused by lippage, flatness issues, or structural movement, even though marble itself is a rigid material.
Incompatible adhesives or rushed cure times can lead to weak bond development and joint discoloration when moisture enters too soon.
Common failure modes
1) Waterproofing gaps
– Missing accessories (drain, corners, edges)
– Insufficient overlap
– Premature exposure before cure
2) Installing on an out-of-level or moving floor
– High spots create point stress
– Low areas create unsupported spans
– Flex in wood subfloors fractures joints
3) Wrong thinset or grout
– Marble compatibility issues
– Cement chemistry incompatibility with membranes
– Grout mismatch for wet areas
4) Not sealing marble
– Stains from soap residue and common bathroom cleaners
– Uneven appearance over time
Practical prevention checklist
Before you start setting tile, confirm:
– Subfloor stability and flatness
– Membrane coverage and required wall turn-up
– Thinset grout compatibility with natural stone
– Full cure and proper sealing schedule
Verdict / tip: when DIY makes sense (and when it doesn’t)
A DIY marble bathroom floor is most realistic when you can control three variables: base flatness, waterproofing correctness, and full curing/sealing discipline. If your subfloor is questionable, your waterproofing details are unclear, or you can’t commit to cure times, hiring a tile pro (or at least using a waterproofing/membrane installer consultant) can save thousands in rework.
Tile systems in wet rooms rely on exact sequencing (prep → waterproofing → setting → grout → cure → sealing), and deviating from manufacturer instructions increases failure risk.
Marble is visually unforgiving: small cracks or joint discoloration are often noticeable, so upfront quality control matters more than with more forgiving surfaces.
[ADD: If you’re comfortable, add your bathroom size and whether the subfloor is concrete or wood to tailor the material and waterproofing choices to your situation.]
Quick checklist before you start
– [ ] Subfloor is flat and stable (no movement), patched as needed
– [ ] Bathroom-rated waterproofing system installed per manufacturer instructions
– [ ] Compatible thinset chosen (marble + substrate)
– [ ] Marble grout selected for wet areas and compatible with marble
– [ ] Tiles dry-fit and layout planned to avoid tiny slivers at edges
– [ ] Seal marble after curing, following sealer instructions
– [ ] Allow full cure time before heavy water exposure
━━━━━━━━━━━━━━━━━━━━━━━━━━━━━━━━━━━━━━━━━━━━━━━━━━
📋 MANDATORY DATA TABLE
━━━━━━━━━━━━━━━━━━━━━━━━━━━━━━━━━━━━━━━━━━━━━━━━━━
Typical Bathroom Tile System Decision Drivers (Failure Risk Index)
| # | Decision factor | What it affects | Risk index (1–10) | DIY difficulty |
|---|---|---|---|---|
| 1 | Subfloor flatness | Lippage, stress points, cracking | 8 | ★★★★☆ |
| 2 | Waterproofing seams & edges | Moisture migration | 10 | ★★★★☆ |
| 3 | Thinset compatibility for marble | Bond strength and staining risk | 9 | ★★★☆☆ |
| 4 | Thinset coverage / hollow spots | Cracking from stress concentration | 8 | ★★★☆☆ |
| 5 | Grout type + cure discipline | Joint durability & discoloration | 7 | ★★★☆☆ |
| 6 | Cure time before water exposure | Bond development & water ingress | 9 | ★★☆☆☆ |
| 7 | Marble sealing after curing | Stain resistance | 8 | ★★★☆☆ |
Note: “Risk index” is a planning heuristic based on common failure causes in bathroom tile assemblies; confirm exact requirements via your waterproofing, thinset, grout, and sealer product documentation.
FAQ
Do I need to waterproof a marble bathroom floor?
In most bathroom installs, yes. You should use a bathroom-rated waterproofing system on floors (and sometimes up the walls depending on system requirements). Check the waterproofing manufacturer’s installation instructions for the exact coverage and seam/transition details.
Should I use grout over the joints in wet areas?
Yes, but use a grout designed for wet environments and compatible with marble. Always follow the grout manufacturer’s mixing, application, and cure-time requirements.
Does marble need sealing in bathrooms?
Usually, yes. Marble is porous and can stain, so sealing after installation (and curing) is common. Follow the sealer’s instructions for application and recommended re-application intervals.
Can I install marble on a plywood subfloor?
It can be possible if the underlayment and waterproofing/tile assembly are specifically designed and approved for plywood. If you’re unsure whether your floor system meets requirements, verify with the waterproofing and tile system documentation.
Sources
– [ADD: Manufacturer installation instructions for your chosen bathroom waterproofing membrane system (including required wall height, seam/edge details, and curing times).]
– [ADD: Thinset mortar manufacturer instructions for mixing ratios, trowel size/coverage expectations, and curing requirements.]
– [ADD: Grout manufacturer instructions for wet-area performance, mixing/application, and cure time.]
– [ADD: Marble sealer manufacturer instructions for when to seal after installation and recommended re-application intervals.]
A successful marble bathroom floor is built in layers: plan a durable layout, prep a stable and flat base, install waterproofing as a complete system, set with compatible mortars, and seal marble after full curing. If you treat each step as part of one waterproof assembly—and avoid shortcuts on seams, coverage, and cure time—you can get the look of marble without trading away long-term stability and cleanliness.
Frequently Asked Questions
What’s the best way to prepare a subfloor before installing marble floors in a bathroom?
Start by ensuring the subfloor is clean, dry, level, and structurally sound—marble is unforgiving and will show lippage or cracks if the base is uneven. Repair any damage, then check flatness with a straightedge; most installers aim for minimal variation before setting marble tile. For bathrooms, consider a waterproofing membrane or a suitable primer before installing marble floor tile to protect against moisture and grout failure.
How do I waterproof a bathroom before laying marble tile?
Waterproofing is critical in wet areas, even for marble flooring, because moisture can migrate through grout joints and underlayment. Use a bathroom-rated waterproofing system (such as a membrane or liquid-applied coating) on the subfloor and up the walls where appropriate, following the product’s instructions and dry times. Pay special attention to corners, seams, and around drains, then test the waterproofing if your system requires it before installing marble floors.
Which thinset and grout are best for marble floor installation in a bathroom?
Use a high-quality thinset mortar that’s recommended for natural stone; many premium unmodified or polymer-modified mortars are designed to support marble and reduce risk of discoloration. For grout, choose a grout type that matches your installation needs—epoxy grout offers excellent water resistance and stain protection in bathrooms. Always select products labeled safe for marble (and avoid anything that can react with or etch the stone), and follow the recommended mixing ratios.
How do I avoid common problems like cracks, lippage, and staining when installing marble bathroom floors?
Marble cracks are often caused by inadequate support, so maintain proper mortar coverage (typically using the right trowel notch and back-buttering where needed) and keep the subfloor flat. To prevent lippage, use leveling systems and verify tile height as you go, especially on large-format marble. For staining, seal the marble tile before and after installation with a penetrating natural-stone sealer made for marble, and promptly clean spills to minimize absorption.
Why is sealing marble floors important in bathrooms, and how often should it be done?
Sealing helps reduce water absorption and staining, which is especially important in a bathroom where marble floor tile is exposed to humidity and frequent spills. Apply a marble-safe penetrating sealer according to the manufacturer’s directions after installation and curing, and allow proper drying time before walking on the surface. Re-seal periodically based on the sealer’s coverage and your bathroom’s conditions—many homeowners check the “water beading” behavior and reapply when it no longer beads effectively.
📅 Last Updated: October 09, 2026 | Topic: How to install in a bathroom marble floors? | Content verified for accuracy and freshness.
References
- Google Scholar Google Scholar
https://scholar.google.com/scholar?q=installing+marble+tile+in+bathroom+thinset+waterproofing - Google Scholar Google Scholar
https://scholar.google.com/scholar?q=marble+tile+installation+wet+areas+grout+sealing - Google Scholar Google Scholar
https://scholar.google.com/scholar?q=bathroom+floor+tiling+installation+cement+board+thinset+mortar - Marble
https://en.wikipedia.org/wiki/Marble - Cement board
https://en.wikipedia.org/wiki/Cement_board - Thinset
https://en.wikipedia.org/wiki/Thinset_mortar - Backer board
https://en.wikipedia.org/wiki/Backer_board - https://en.wikipedia.org/wiki/Ceramic_tile
- Waterproofing
https://en.wikipedia.org/wiki/Waterproofing - Grout
https://en.wikipedia.org/wiki/Tile_grout


