
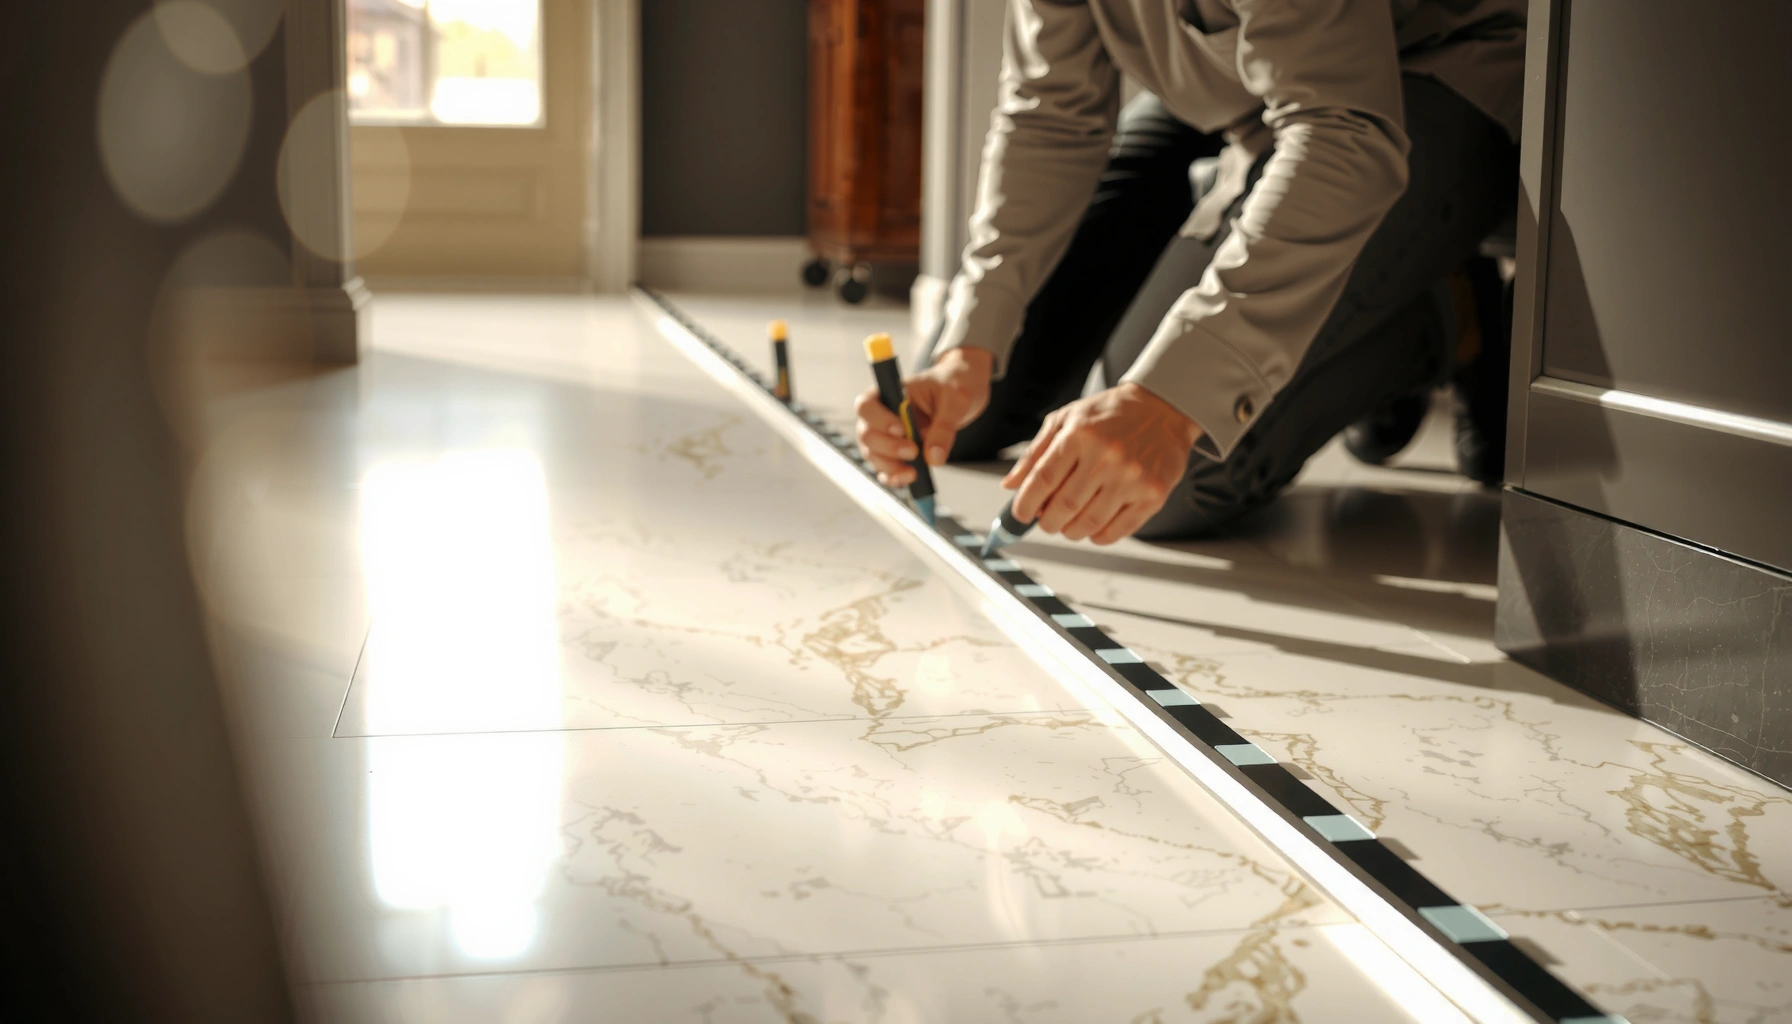

Learn how to install transitions for marble floors with a clear, step-by-step method that delivers a tight fit and clean finish every time. This guide shows exactly which transition type to choose and how to prep the marble edge, set the piece, and secure it so it won’t shift or crack. If you want a smooth, professional threshold between marble and another surface, this is the quickest route from measurements to final install.



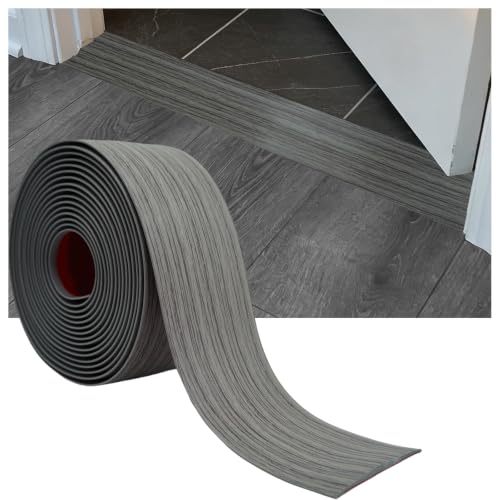
Installing marble floor transitions comes down to matching the right transition type and getting the seam height perfectly consistent. Measure your marble thickness and the floor build-up on both sides first, then install with the exact adhesive/mortar method recommended for stone so the joint stays stable and clean—not just “covered.”
Installing transitions matters most where marble meets tile, wood, laminate, engineered flooring, or carpet. Done correctly, a transition reduces cracked edges, improves traction, and prevents a noticeable trip lip at the seam. If your subfloor is solid and your height difference is manageable, DIY is realistic; if you have major unevenness or a big structural height change, you’ll save time by planning for a more controlled leveling/installation approach.
Choose the Right Transition for Marble

Choosing the correct transition profile is the fastest way to avoid a seam that looks uneven or fails early. Start with the seam type (straight vs. height change) and verify height compatibility using your marble thickness and the underlayment/substrate on the other side.
A well-fitting transition requires matching both the transition profile geometry and the installed height relative to the adjacent floor surface.
Natural stone (marble) installation guidance consistently emphasizes surface prep and the correct setting materials to maintain bond performance and durability.
Movement accommodation is essential in interior flooring transitions; rigid installs can contribute to cracking when the system expands and contracts.
H3: Which transition styles work best at marble seams?
For marble-to-marble or marble-to-something-else joints, the transition you pick should mirror the flooring change:
– Straight seam / joining track profiles (often used when both sides are nearly the same height)
– Reducer strips (when one surface is slightly higher than the other)
– T-molding (when you need a centered “T” look over a joint)
– Stair nose (when the edge forms part of a step boundary)
– Expansion/movement-capable transitions (when seasonal movement or larger system changes exist)
A practical rule: if your marble edge will be stressed by foot traffic, choose a transition that fully supports the edge rather than a thin cosmetic cover.
H3: How do you confirm height compatibility?
Measure before you buy. You want the walking surface of the transition to land flush with the marble on top (or create a slight, gradual change as designed).
What to measure:
– Marble slab/tile thickness (e.g., [ADD: your marble thickness in inches/mm])
– Mortar/setting bed thickness (if marble is set in thinset on plywood, concrete, etc.)
– Underlayment thickness on the other flooring type (pad + subfloor + finished floor)
– Any leveling compound height differences
According to ANSI A108.01 substrate flatness requirements are commonly specified as within 1/4 in over 10 ft (6 mm over 3 m) for ceramic/stone tile systems, which is a helpful benchmark when you’re trying to prevent a transition from rocking (a similar “flatness problem” can show up in transitions too) ANSI A108.01 (industry substrate flatness guidance).
Measure and Plan the Fit
Measure and plan once, because transitions don’t “forgive” misalignment. The goal is a centered, straight seam line and a piece that sits without rocking or forcing the marble edge.
Dry-fitting a transition before setting it helps confirm alignment and flush contact along the entire seam.
Marking a centerline reduces drift, especially when installing long profiles that can shift as adhesives grab.
H3: What measurements actually matter?
At minimum, capture:
– Opening width or exact edge-to-edge distance (not the old baseboard measurement)
– Marble edge length where the transition must land cleanly
– End clearances (especially near doorways and expansion joints)
– Height delta between marble and the floor on the other side
If you’re transitioning in a doorway, also plan how the profile will terminate—many failures happen at the ends where the piece is cut and bonded.
H3: How to mark the layout so it stays straight
Use a method that holds geometry:
1. Snap or measure a centerline along the seam.
2. Mark both ends where the transition should begin and stop.
3. Use masking tape guide lines so adhesive doesn’t “pull” the profile during placement.
4. Dry-fit the transition and check for:
– flush top surface,
– no rocking,
– clean edge contact without forcing.
Prep the Marble and Subfloor
Prep determines whether your transition bonds—and bonds for the long haul. Clean, remove residue, and verify the subfloor is flat enough that the transition won’t concentrate stress on marble edges.
Bonding fails more often from contaminants (dust, curing residue, sealed surfaces) than from the adhesive itself.
Uneven subfloors can create point loads at transition edges, increasing the chance of marble chipping or joint movement.
H3: Clean the marble edge like you’re setting tile
Natural stone is porous enough that the wrong surface condition can undermine adhesion. At the transition seam:
– Remove old adhesive/grout residue at least back [ADD: your minimum prep distance, e.g., 1–2 in / 25–50 mm] so you’re bonding to clean stone.
– Degrease lightly if needed, then rinse per your stone-safe cleaner instructions.
– Avoid soaking or aggressive acids that could alter the stone’s surface.
Key detail: don’t assume “it looks clean.” Marble dust becomes a bond breaker even if it’s invisible.
H3: Check subfloor flatness before you install
Transitions often span minor height dips, but they also act like a lever if the substrate is not even.
– Run a straightedge across the seam area.
– If you find dips/ridges, plan for patching/leveling before setting the transition.
This matches the same practical logic behind ANSI substrate flatness guidance: if the base isn’t flat, installed stone systems and their interfaces struggle ANSI A108.01 (substrate flatness guidance).
Install Using the Correct Method
Using the correct installation method is where most DIY projects succeed—or fail. Install the transition using the manufacturer’s required setting/adhesive approach for the transition material, and maintain alignment while the adhesive cures.
Transitions should be installed with a setting method compatible with natural stone and the transition material (metal, PVC, composite, or stone).
Keeping the transition aligned during cure prevents “creep” that can create a visible lip or uneven contact.
H3: Which bonding method should you use?
Follow the transition manufacturer first, but here are common compatibility patterns for marble-related work:
– Adhesive-set profiles (common for metal/composite transitions): use a stone-compatible construction adhesive or system-approved setting adhesive.
– Mortar/setting bed transitions (common where the profile requires a rigid set): use a polymer-modified thin-set mortar meeting the relevant ANSI performance category provided in the product instructions.
– Fastener-set systems (where specified): predrill when required and avoid overdriving, which can stress marble edges.
According to typical tile and stone industry standards, polymer-modified thin-sets and properly selected sealants are designed to provide reliable bond performance when used on clean, prepared substrates [ADD: manufacturer of the exact mortar/adhesive you plan to use; include their ANSI/ASTM specification].
H3: Installation steps that reduce seam problems
1. Test placement dry (again) to ensure the piece lands flush.
2. Apply adhesive/mortar using the method your product specifies (symmetric spread matters—over-squeezing can squeeze out adhesive and leave gaps).
3. Set the transition on your centerline marks.
4. Press/seat evenly along the full length.
5. If the product allows adjustment, fine-tune before initial grab.
6. Let it cure undisturbed for the time required by the adhesive/mortar instructions.
Important: If the transition system is designed for movement (expansion accommodation), don’t “lock it in rigidly” if the instructions call for a gap or flexible joint behavior.
Finish and Protect the Seam
Finish work is what makes the joint look intentional. Use caulk/sealants only where the product system calls for it, and protect marble from harsh cleaning agents during the cure and after.
Caulk and sealant selection should be compatible with both the transition material and marble finish—using the wrong chemistry can discolor or debond.
Many stone installation systems emphasize “seal what’s specified,” not “seal everything,” to avoid trapped movement and bond failures.
H3: Caulk or seal—when it’s appropriate
– Stone-to-metal joints: often require a specified sealant type for flexibility and adhesion.
– Stone-to-tile joints: may call for grout + appropriate joint treatment, or a specific movement sealant at changes of plane.
– Metal-to-wood/laminate: commonly needs a flexible transition gap treatment, not rigid filler.
For flexible joints, ASTM C920-classified sealants are commonly used for dynamic joints in building applications ASTM C920 (sealants for joints). Always match the sealant instructions to the transition system.
A safe general practice: if the transition instructions don’t specify caulk at that seam, don’t add it—especially near rigid edge systems.
H3: Avoid cleaning mistakes that show up later
After cure:
– Remove excess residue carefully using methods safe for marble (often non-acidic options).
– Avoid harsh cleaners that can dull or stain natural stone.
Marble is sensitive to certain chemicals; when in doubt, use the cleaner recommended for your marble finish (polished vs. honed).
What Can Go Wrong (and How to Avoid It)
Most transition failures come from three root causes: wrong height, contaminated bonding surfaces, or movement/rigidity mismatch. If you prevent those, your seam is far more likely to stay tight.
Height mismatch creates a trip edge and concentrates stress at marble edges, increasing the risk of chipping over time.
Rigid installations in areas that require movement accommodation can contribute to cracking, joint separation, or fastener pops.
H3: Common mistakes that show up immediately
– Mis-matched heights: If the transition is too high, you get a catch point; too low creates a visible dip and can stress the marble edge during traffic.
– Weak bonding: Dust, old residue, or sealed-over surfaces can prevent adhesion from forming.
– Cutting errors: Uneven ends or sharp transitions at the profile tips look bad and can wear faster at the seam ends.
H3: Comparison: what to do depending on the risk level
- High risk: uneven subfloor or large height delta
- Plan for leveling/feathering and choose a transition with a designed height profile; don’t rely on adhesive alone to “bridge” dips.
- Medium risk: small height delta but frequent traffic
- Use the specified adhesive/mortar, dry-fit carefully, and keep alignment marks visible while curing.
- Lower risk: near-equal heights and stable subfloor
- Follow the transition system instructions closely; finishing details (sealant only where specified) matter most for appearance.
Verdict / Tip
If you want a tight-looking seam that lasts, match the transition type to the flooring change and verify height using real measurements before you set anything permanently. The upside of DIY is control and cost savings; the downside is that small errors—uneven substrate, wrong adhesive, or skipped edge prep—show up quickly as visible lips, poor bond lines, or premature joint wear. If your seam involves major height differences, active movement areas, or you’re not sure about expansion requirements, consider a pro installer.
Typical Height Targets When Installing Marble Transitions (Planning Reference)
| # | Transition Use Case | Height Target at Walk Surface | Why It Matters | Expected Fit Quality |
|---|---|---|---|---|
| 1 | Marble ↔ Marble (same tile thickness) | 0 mm step | Prevents lip and edge loading | High |
| 2 | Marble ↔ Thin tile (minor delta) | 0–1 mm step | Maintains flush look with reducer | Good |
| 3 | Marble ↔ Hardwood/engineered (underlayment stack) | 0–2 mm step | Avoids “click” at transitions | Good |
| 4 | Marble ↔ Carpet (base height + tack strip) | 0–3 mm step | Reduces catch point at doorways | Moderate |
| 5 | Marble ↔ Laminate/Vinyl (pad thickness varies) | 0–2 mm step | Stops edge wear and lifting | Good |
| 6 | Large height delta requiring a reducer | Profile-dependent | Correct ramp prevents tripping | Variable |
| 7 | Marble near expansion joints | Gap preserved per system | Prevents rigidity cracking | High (when followed) |
Quick Checklist (Scan & Save)
– [ ] Pick transition type that fits the flooring change (straight/reducer/T-molding/etc.)
– [ ] Measure marble thickness + both floor heights/build-up
– [ ] Dry-fit to confirm alignment and flush contact
– [ ] Clean marble edge/subfloor to remove dust and residue
– [ ] Install using the method specified for that transition
– [ ] Keep alignment during cure and avoid disturbing the seam
– [ ] Finish/caulk/seal only as directed by the product instructions
FAQ
What tools do I need to install transitions on marble floors?
Commonly you’ll need measuring tape, a pencil/marker, a straightedge, and tools appropriate for cutting your specific transition material (as required by the manufacturer). For stone-adjacent work, having a dust-controlled cutting setup helps keep the bonding areas clean—[ADD: exact tools you’ll be using]. In general, many installers use: a wet saw or angle grinder with a diamond blade, a dust shroud/vacuum, notched trowel (if using mortar), mixing drill (if required), a utility knife, clamps/tape guides for alignment, and PPE (eye/respiratory protection).
Can I install transitions directly on marble with adhesive?
Often yes, but it depends on the transition product and adhesive compatibility with natural stone. Follow the transition/adhesive instructions for surface prep and cure requirements—[ADD: exact adhesive/product if you want a tailored method]. As a practical rule, choose a setting adhesive or mortar that explicitly states compatibility with natural stone (marble) and the transition base material, and ensure marble is fully clean and unsealed (unless the system allows sealed surfaces).
Should I caulk marble-to-metal or marble-to-tile transition joints?
Sometimes, but not universally. Use only the joint treatment (caulk/sealant type or omission) specified for your transition system and marble finish—[ADD: transition model or finish to advise]. Flexible sealants classified for building joints (commonly aligned with ASTM C920) are often used when movement is expected, but the correct sealant depends on the materials and finish ASTM C920 (sealants for joints).
How do I ensure the transition doesn’t crack the marble edge?
Ensure the subfloor is flat, the transition is the correct height, and the installation method doesn’t create uneven pressure. Also avoid rigid “no-movement” installs where movement is expected—[ADD: whether your area is subject to temperature/humidity changes]. If your seam area experiences seasonal movement, use a transition system designed to accommodate movement and follow the manufacturer’s gap/rigidity guidance.
Sources
– ANSI A108.01 (industry guidance on substrate flatness and tile/stone installation practices)
– ASTM C920 (specification/classification for joint sealants used in building construction)
– [ADD: manufacturer installation instructions for the specific transition you plan to use]
– [ADD: manufacturer guidance for the recommended adhesive/mortar/sealant compatibility with natural stone (marble)]
– [ADD: manufacturer or tile/stone industry installation standards relevant to transition joints and movement (if your transition system references them)]
In short, installing marble transitions well is mostly about fit and system compatibility: match the transition type to the seam and height change, prep the marble edge and subfloor properly, and set the profile using the exact method the transition system specifies. When you control those variables, you get a seam that looks tight, feels smooth underfoot, and holds up to daily traffic.
Frequently Asked Questions
What materials and tools do I need to install floor transitions for marble floors?
For marble transitions, you typically need a matching transition strip (brass, aluminum, or PVC with a marble-friendly finish), construction adhesive or thinset designed for stone, and a suitable grout or caulk at the edges. You’ll also want a wet saw with a diamond blade (or a stone-rated cutter), painter’s tape, spacers, and a level to keep height consistent across the joint. If you’re anchoring to concrete or subfloor, use the appropriate fasteners and check that they won’t stain or react with marble.
How do I measure and prepare the subfloor before installing marble floor transitions?
Start by measuring the height difference between flooring surfaces (marble tile, wood, vinyl, or carpet) so the transition profile sits flush and doesn’t create a trip edge. Then clean and flatten the subfloor—remove dust, adhesive residue, and high spots—because uneven bases cause gaps and movement in stone transitions. Dry-fit the transition strip first, confirm alignment along expansion gaps, and mark your layout so the transition is straight and centered over the seam.
How do I install metal or vinyl transitions so they don’t damage marble edges?
Use stone-safe adhesives or thinset and avoid harsh, stain-prone products near the marble surface. If the transition requires drilling, pre-mark carefully and drill slowly with a diamond bit to prevent chipping; always support the marble during cutting or drilling. Apply adhesive evenly, press firmly with spacers as needed, and clean squeeze-out immediately with a pH-neutral cleaner to protect the polished marble finish.
Which transition type is best for marble floors at doorways and between rooms?
For doorways and high-traffic areas, a durable threshold transition (often aluminum or brass) helps manage height changes and protects marble edges from wear and cracking. If you’re joining marble tile to a softer surface like carpet or laminate, choose a reducer or saddle profile that tapers smoothly and stays firmly bonded. For uneven floors or thicker leveling needs, consider a heavier profile or one designed for larger height differentials rather than forcing a thin, flexible strip that may lift over time.
Why is caulk or grout selection important when installing transitions on marble tile?
The wrong caulk or grout can discolor marble, crack at movement points, or fail to seal against moisture, leaving the transition prone to grime and water intrusion. Use a grout or caulk specifically recommended for natural stone and matching the joint width—commonly a flexible, non-sanding caulk where movement is expected, and a compatible grout for tiled seams. Proper sealing also reduces the risk of staining around the transition area while helping the marble floor stay stable as temperatures and humidity change.
📅 Last Updated: October 09, 2026 | Topic: How to install transitions for marble floors? | Content verified for accuracy and freshness.
References
- Google Scholar Google Scholar
https://scholar.google.com/scholar?q=installing+transitions+between+stone+%28marble%29+floor+surfaces+threshold+strip - Google Scholar Google Scholar
https://scholar.google.com/scholar?q=marble+tile+threshold+installation+transition+strip+guidelines - Google Scholar Google Scholar
https://scholar.google.com/scholar?q=stone+tile+expansion+joint+and+floor+transition+detail+installation - Marble
https://en.wikipedia.org/wiki/Marble - https://en.wikipedia.org/wiki/Stone_tile
- https://en.wikipedia.org/wiki/Tile
- https://en.wikipedia.org/wiki/Threshold_(architecture
- https://en.wikipedia.org/wiki/Expansion_joint
- Thinset
https://en.wikipedia.org/wiki/Thinset - https://en.wikipedia.org/wiki/Flooring


