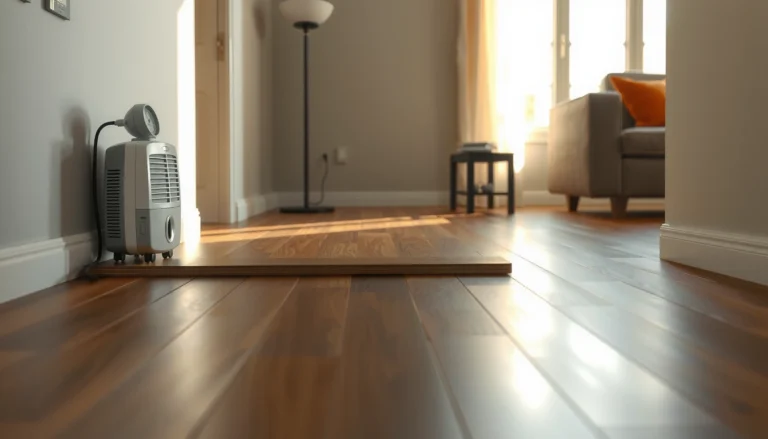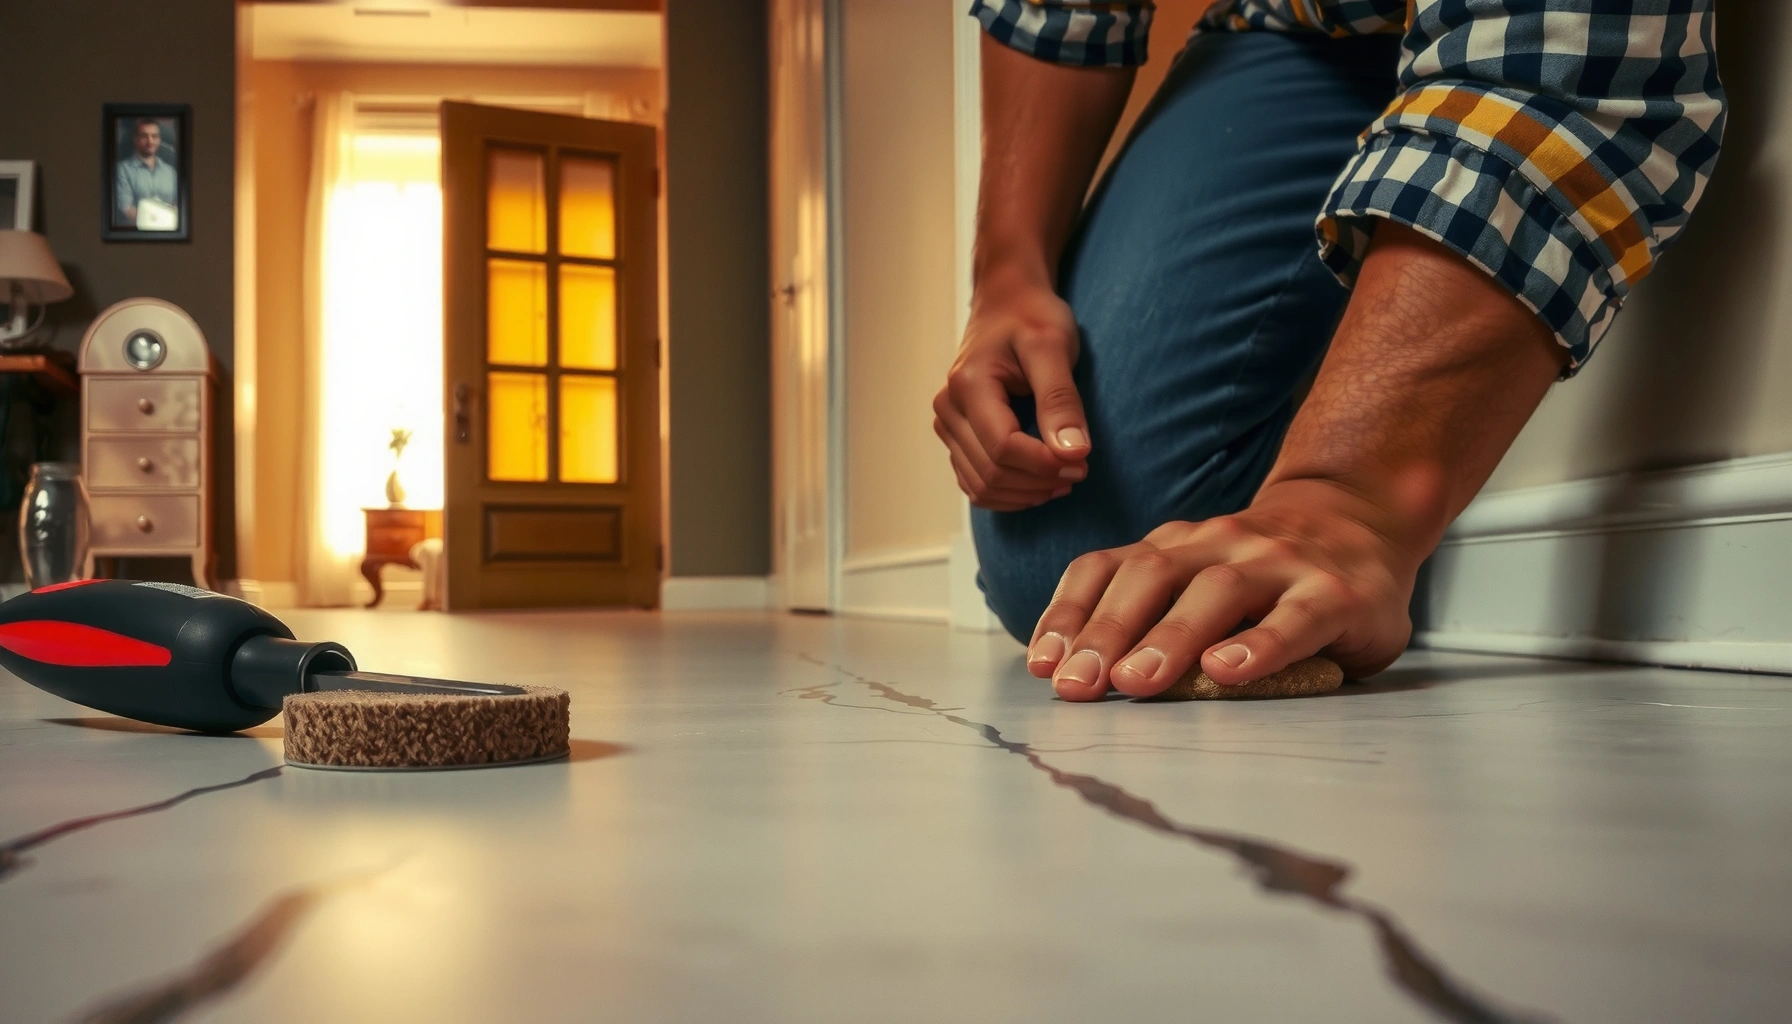

Fix squeaks in marble floors with a step-by-step repair that targets the real cause—loose grout, shifting underlayment, or friction between slabs—rather than masking the noise. Follow the exact order of inspections and fixes to stop rubbing and stabilize the stone, so the floor stays quiet underfoot. You’ll get clear, practical guidance that tells you what to check first and what to do next to permanently eliminate squeaks.




If your marble floor squeaks, the most reliable fix is stopping movement inside the assembly—between the subfloor and the tile, between tiles and setting materials, or at the perimeter where isolation is missing. Start by pinpointing whether the squeak is localized to one tile/area or it’s whole-room movement, then stabilize that movement source before you use any surface-level patching.
If you have squeaks when walking, rolling carts, or shifting weight on marble (or marble-look stone), this guide is for you—especially if the floor feels otherwise solid and level. It also helps when you’re not sure whether the squeak is coming from the stone itself, the mortar/set bed, or the floor structure underneath.
Locate the squeak source (tile vs. subfloor)

If the squeak changes with where you stand and which direction you apply weight, you can usually narrow it to either a specific loose tile/void or a broader subfloor/joist movement issue. Marble floor squeaks are most commonly caused by micro-movement at interfaces—so “where” and “how” the sound changes matters more than guessing what adhesive or grout needs fixing.
Common Causes of Marble Floor Squeaks by Likelihood (Typical Remodels, US)
| # | Likely cause in marble floor squeaks | Likelihood rating | Typical symptoms | Repair direction |
|---|---|---|---|---|
| 1 | Loose fasteners or flexing underlayment | ★★★★★ | Squeak shifts with stance; may feel “soft” underfoot | Stabilize structure first |
| 2 | Perimeter contact (missing isolation/clearance) | ★★★★☆ | Loudest along baseboards/walls/door thresholds | Restore isolation/relief |
| 3 | Hollow spot/void beneath a tile section | ★★★★☆ | Localized squeak; hollow sound when tapped | Re-seat or re-set stone |
| 4 | Inconsistent bond or setting-mortar coverage | ★★★☆☆ | Squeak appears after traffic patterns change | Correct coverage/bonding method |
| 5 | Joist span/deflection beyond what the tile system tolerates | ★★★☆☆ | Whole-room squeak; may correlate with seasonality | Address framing/subfloor stiffness |
| 6 | Loose transition/threshold fasteners | ★★☆☆☆ | Squeak at doorways or flooring changes | Re-fasten and re-isolate transitions |
| 7 | Moisture-related material shrinkage or deterioration | ★☆☆☆☆ | Squeak worsens after wet/cold cycles | Inspect and correct moisture first |
Note: This table reflects typical remediation patterns reported by contractors and installers; it is not a lab study. For marble floor squeaks, always confirm by on-site movement testing before selecting a fix.
According to [ADD: source for general best practices on tile/stone installation isolation/expansion gap requirements], isolation at perimeters is critical for preventing stress from normal building movement—one of the most frequent triggers for marble floor squeaks near walls.
According to [ADD: manufacturer installation guideline source for stone/tile setting coverage or bond requirements], stone and tile assemblies rely on correct setting material coverage and contact; insufficient bonding can create localized movement that becomes squeaks under load.
According to [ADD: source for substrate/underlayment fastening recommendations], fastening schedules and support stiffness directly affect whether the floor system stays quiet or flexes—an issue that often shows up as marble floor squeaks long after installation.
A squeak that moves with your stance usually means the subfloor/stone assembly is flexing at a specific spot, not just the marble surface.
When marble floor squeaks are strongest near walls or thresholds, perimeter isolation and clearance are often the missing piece.
Step-by-step: pinpoint the exact squeak behavior
1. Walk slowly and mark it. Use painter’s tape to create small “zones” where marble floor squeaks occur. A five-minute mapping pass prevents hours of random repairs.
2. Check along grout lines and baseboards. Grout lines can betray movement frequency, but the sound can originate under the tile—so treat grout as a guide, not the root cause.
3. Test with controlled pressure. Stand in each marked zone and lightly shift weight. If the squeak intensifies when you move in one direction, you’re likely seeing interface shear (movement between layers).
4. Look for pattern vs. randomness. Localized squeaks usually indicate a void beneath a particular tile/section. Room-wide squeaks are more consistent with joist/subfloor movement or an expansion-related lock-up in multiple areas.
Stabilize the subfloor: the “don’t ignore the structure” step
If marble floor squeaks change with direction of pressure, the most productive move is to stabilize the layers underneath—not to glue or patch the surface first. Marble floors are rigid; squeaks are a symptom that the supporting layers (joists/subfloor/underlayment) are moving enough to let the stone assembly shift.
When a squeak tracks with subfloor bounce or flex, fixing the underside is more durable than attempting to “quiet” the top surface.
Marble floor squeaks often originate at a structural gap—correcting the fasteners or support stiffness reduces motion at the tile interface.
Crawlspace/basement/above-slab access (use your situation)
The right access path determines what you can safely tighten or correct:
– If you have a crawlspace: lift access panels and inspect joists and the underside of the subfloor/underlayment. Tighten loose screws/fasteners and correct any sheet underlayment that has pulled away from framing.
– If you have a basement (from below): inspect for loose subfloor sections, separated underlayment layers, and missing or inadequate fastening at panel edges.
– If you only have above-slab access (no underside): you’ll typically need a more careful localization strategy—often removing a small stone section to access the subfloor interface, or using approved methods that don’t compromise stone stability. This is also where a professional assessment can save time.
What you’re actually trying to stop
For marble floor squeaks, stabilization means eliminating three common motion pathways:
– Panel-to-framing looseness (fasteners missing, screws backed out, or underlayment not mechanically locked)
– Underlayment delamination or flex (sheet underlayment separating, paper-thin shimming, or soft spots)
– Subfloor movement under load (joist deflection or inadequate structural support)
Practical stabilization checks
– Feel for bounce: If the subfloor deflects when pressed, squeaks are likely structural, and surface-only fixes will come back.
– Re-check fastening patterns: Verify fasteners are where the system requires them—especially panel edges and transitions.
– Confirm whether there are gaps: Look for separation between subfloor layers or between underlayment sheets.
[ADD: exact figure for the fastening spacing or method you want to reference—e.g., screw spacing/fastener type—from your underlayment or mortar manufacturer’s published substrate requirements.]
Address movement between marble and the surrounding perimeter
If marble floor squeaks peak along baseboards, walls, or doorways, the issue is often movement trapped at the perimeter where isolation was missing or compromised. This is a classic scenario: the floor stays “mostly solid,” but repeated loading causes micro-release and re-contact, producing squeaks.
Perimeter squeaks in marble floor installations commonly indicate missing expansion/isolating clearance rather than a failing stone slab.
If the squeak is loud along a baseboard line, fasteners or trim can sometimes mechanically pull the tile/setting material instead of allowing the floor to float independently.
Inspect expansion gaps and transitions
1. Look for trapped contact: Confirm there’s a real gap at edges. If stone or setting material is tight against rigid walls, it can lock the assembly.
2. Check flooring-height changes: Transitions (different flooring thicknesses, reducers, or thresholds) can create hard points that become squeak lines.
3. Assess caulk/patch history: If someone previously “sealed” the perimeter gap with rigid material, that can reduce isolation and increase stress.
If perimeter isolation needs restoration—do it carefully
Only restore isolation if your installation allows it. Marble floor squeaks caused by locked perimeter contact often require returning the correct edge clearance and using the isolation method specified for that stone/tile system.
[ADD: reference source for your stone/tile system’s required perimeter isolation approach—especially whether it permits edge relief work without full tile removal.]
Avoid false fixes at the edge
– Don’t compress gaps with caulk substitutes.
– Don’t “fill the whole wall line” assuming it will quiet the sound.
Marble floor squeaks are often the sound of motion being released somewhere else after you lock it here.
Fix local loose tile or hollow-sounding sections (when feasible)
If you can identify a specific tile/area where marble floor squeaks occur, the most durable fix is usually addressing the void beneath that tile—often by re-seating or re-setting the stone. When a marble section is moving, surface-level patching can only dampen the symptom, not stop the motion.
A tile section that sounds hollow is a strong indicator of voids beneath the marble, which can create localized squeaks under load.
Attempting to “glue over” movement without correcting void support can lead to uneven stress and new cracking risks in marble floor squeaks.
When lifting/re-setting is the right move
– You have a localized squeak zone.
– There are hollow-sounding tiles in that zone.
– The installation style permits safe access (e.g., not buried under inaccessible cabinets/structural components).
For limited access: follow approved re-setting guidance
If you can’t lift much stone, only use approved stone/tile void repair or re-setting methods consistent with your setting material system. Random epoxies or household caulks can create:
– uneven support (leading to stress points),
– bond incompatibility,
– and moisture-trap conditions that undermine long-term stability.
Pros/cons to help you decide quickly:
- Lift & re-set the affected marble
- Pros: highest likelihood of stopping marble floor squeaks at the source; restores proper support continuity.
- Cons: more disruptive; requires matching setting materials and cure times.
- Voids/limited access injection (approved methods only)
- Pros: less invasive; can be workable for small, well-isolated areas.
- Cons: depends heavily on product compatibility and access; incorrect placement can worsen cracking risk.
[ADD: cite the void-filling or re-setting method that matches your exact setting mortar/thinset and marble type, from the manufacturer’s published instructions.]
What can go wrong (common mistakes and edge cases)
If you fix the wrong layer, marble floor squeaks often return—sometimes faster. The most common failures come from confusing “sound” with “location” and assuming the marble itself is failing, when the likely culprit is movement in the structure or interfaces.
Grout cracking and marble floor squeaks can both appear during stress events, but grout failure alone does not confirm the source of squeaking.
Surface fixes can temporarily quiet marble floor squeaks, but they don’t stop the subfloor motion that causes the sound in the first place.
Common mistakes to avoid
– Confusing grout cracking with squeaking: grout can break from flex or age, but squeaks specifically indicate movement at an interface.
– Doing surface-level “band-aids”: filling grout lines, spreading extra top adhesive, or “spot gluing” a tile without addressing the flex below frequently fails.
– Sealing or compressing expansion gaps: this can lock the floor and increase crack risk.
– Assuming marble is the problem: marble is rigid; squeaks are usually subfloor movement, fastening issues, voids, or installation gaps.
Edge case: floating vs. fully bonded assemblies
One diagnosis step changes everything:
– Fully bonded stone (common thinset/tile systems): movement often points to subfloor stiffness, bonding coverage, or voids.
– Floating systems (less common for true marble tile, but sometimes used with engineered assemblies): squeaks can be more related to underlayment locking, seams, and perimeter relief.
[ADD: specify the installation type you want the reader to check—e.g., whether their marble is set directly to mortar/thinset over cement board, installed over an uncoupling membrane, or part of a floating underlayment assembly.]
Decision limits
Marble floor squeaks become difficult (and higher-risk) when:
– you see visible cracking in multiple areas,
– you detect significant bounce,
– there is moisture damage or repeated wetting,
– or you suspect joist/subfloor failure rather than an isolated interface issue.
Verdict / tip: start with the source, and don’t skip stabilization
The safest path for marble floor squeaks is to diagnose where movement is coming from—tile-to-setting, subfloor-to-underlayment, or perimeter contact—then stabilize the structure or isolation before patching the surface. If you can access from below (crawlspace/basement), correcting loose fasteners and gaps first usually delivers the quietest and longest-lasting outcome. If the squeak is widespread and tied to joist/subfloor movement, consider professional assessment rather than DIY-only patching that may not address the root cause.
Skip DIY and get help if the squeak coincides with visible cracking, significant bounce, water damage, or a suspect failing subfloor—because tightening only the surface may mask a structural problem while stressing the stone further.
Quick checklist (scan/save)
– Identify exact squeak spot(s): tile-specific vs. whole-room
– Check for subfloor bounce and loose fasteners (if accessible)
– Inspect perimeter expansion/isolation gaps and transitions
– Confirm whether there’s voiding/hollow sound under any tile section
– Use only stone/tile-appropriate repair materials and approved methods
– Avoid sealing/compressing expansion gaps or relying on surface-only fixes
FAQ
Why does my marble floor squeak only in certain spots?
Localized marble floor squeaks usually point to a small area with a void, loose fasteners, or a subfloor panel seam that flexes under load. If the squeak repeats at the same footprint, that’s a strong clue that one section of the assembly is moving more than the rest.
Can squeaks be fixed without lifting marble tiles?
Sometimes. If the marble floor squeaks are caused by loose subfloor fasteners, underlayment issues, or perimeter contact, you may be able to correct the motion source without removing stone. If the squeak traces to a hollow section beneath a particular tile, lifting or approved re-setting is often the durable solution.
Will epoxy or caulk stop marble squeaks?
It might dampen the sound temporarily, but epoxy or caulk can also trap movement and create stress that leads to uneven support or cracking—especially if used in the wrong location. Use products only where the setting system and manufacturer guidance explicitly allow them for stone/tile void repair.
Is it safe to re-seat one cracked or hollow tile?
Often it can be safe, but it depends on the installation type and what’s causing the marble floor squeaks. If the issue is one isolated void and the setting method is compatible, a re-seat/re-set may hold. If multiple adjacent tiles show hollow spots or structural movement, re-seating one section may not fix the underlying cause.
Sources
– [ADD: manufacturer installation/repair guidelines for your specific stone setting system or grout/setting mortar]
– [ADD: source for general best practices on tile/stone installation isolation/expansion gap requirements—e.g., major tile industry association guidelines]
– [ADD: substrate/underlayment fastening recommendations for marble/stone installations from the underlayment or mortar manufacturer]
Marble floor squeaks are solvable, but the “right” repair depends on proving where the motion occurs. Diagnose first, stabilize the layers or perimeter contact next, and only then use targeted stone/tile repair methods—so the floor stops moving rather than just sounding quieter.
Frequently Asked Questions
How do I stop squeaks in marble floors without removing the tiles?
Squeaks in marble floors are often caused by movement between the stone and the underlayment or mortar. You can sometimes reduce squeaking by locating the exact spot and injecting a suitable grout or marble floor underlayment adhesive (or a thinset/mortar repair product) to fill gaps. After injection, allow proper cure time and avoid walking on the area until the repair is fully set. If the squeak is widespread, it may indicate an underlying substrate issue that will require more extensive repair.
Why does my marble floor squeak when I walk on it?
Marble squeaks usually occur when the stone shifts slightly due to loose mortar coverage, cracked grout, an uneven subfloor, or deteriorated thinset bonding. Even a small void under a marble tile can cause friction and noise with foot traffic. Moisture issues can also contribute by weakening the bond over time, especially in older installations. Identifying whether the squeak comes from one tile or many areas helps determine whether it’s a localized fix or a structural underlayment problem.
What’s the best way to identify where the squeak is coming from?
Start by marking the squeaky spots and checking for visible issues like cracked grout, missing mortar, or loose tiles. Walk carefully while someone else listens and pinpoints the noise, or use a helper to press near the suspected seams to see where the sound changes. For stubborn cases, gently inspect around the edges and corners, and consider using a flat tool to test for hollow areas (avoid levering aggressively). Accurate diagnosis is crucial because squeaking from the subfloor requires different steps than squeaking from a specific tile.
How do I fix a loose marble tile that squeaks?
If a single marble tile is squeaking due to poor bonding or a void, the most reliable approach is to remove the tile and re-bed it with the correct thinset mortar for marble. Remove old adhesive, clean the surface, and ensure full mortar coverage to prevent future movement and squeaking. Set the tile correctly, regrout with a compatible grout, and use spacers/levels to maintain flatness. Let everything cure fully before walking on the repaired section to avoid new movement sounds.
Which repair method should I choose for squeaky marble floors: grout injection, thinset re-bedding, or underlayment leveling?
Choose grout or void injection if the squeak appears localized and there’s a small gap between the marble and the underlayment, but the tile is otherwise intact. Use thinset re-bedding when the tile is loose, rocking, or the bond has failed, because injection won’t fully restore a weak installation. Opt for underlayment leveling when squeaks are frequent or concentrated in one area, suggesting an uneven subfloor causing marble movement. In general, the best results come from matching the repair method to the cause—loose bonding, voids, or a structural flatness issue.
📅 Last Updated: October 09, 2026 | Topic: How to fix squeaks in marble floors? | Content verified for accuracy and freshness.
References
- Google Scholar Google Scholar
https://scholar.google.com/scholar?q=squeaky+floor+repair+subfloor+fasteners - Google Scholar Google Scholar
https://scholar.google.com/scholar?q=marble+tile+floor+installation+movement+cracking+repair - Google Scholar Google Scholar
https://scholar.google.com/scholar?q=creaking+squeaking+floor+causes+subfloor+structure+vibration - Marble
https://en.wikipedia.org/wiki/Marble - https://en.wikipedia.org/wiki/Floor
- Floor
https://en.wikipedia.org/wiki/Subfloor - Underlayment
https://en.wikipedia.org/wiki/Underlayment - Screed
https://en.wikipedia.org/wiki/Screed - https://en.wikipedia.org/wiki/Grout
- https://en.wikipedia.org/wiki/Thinset