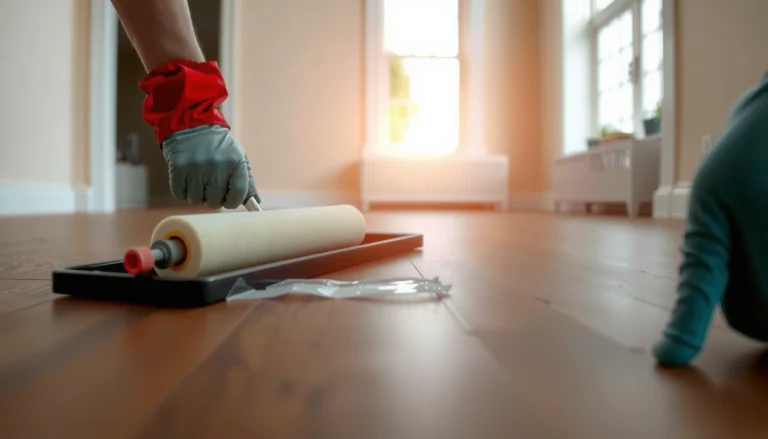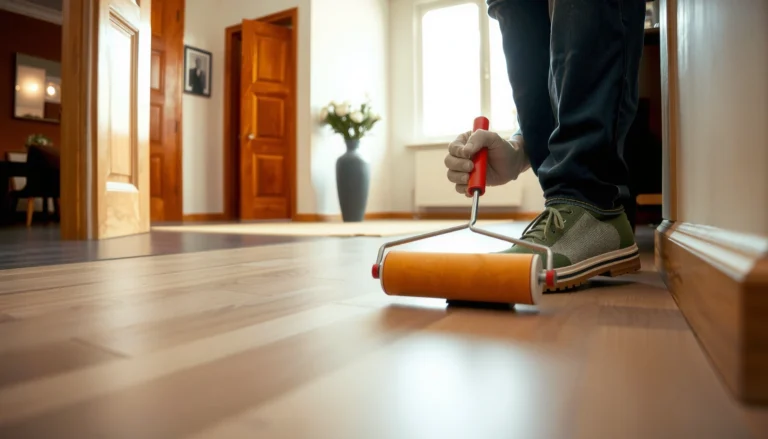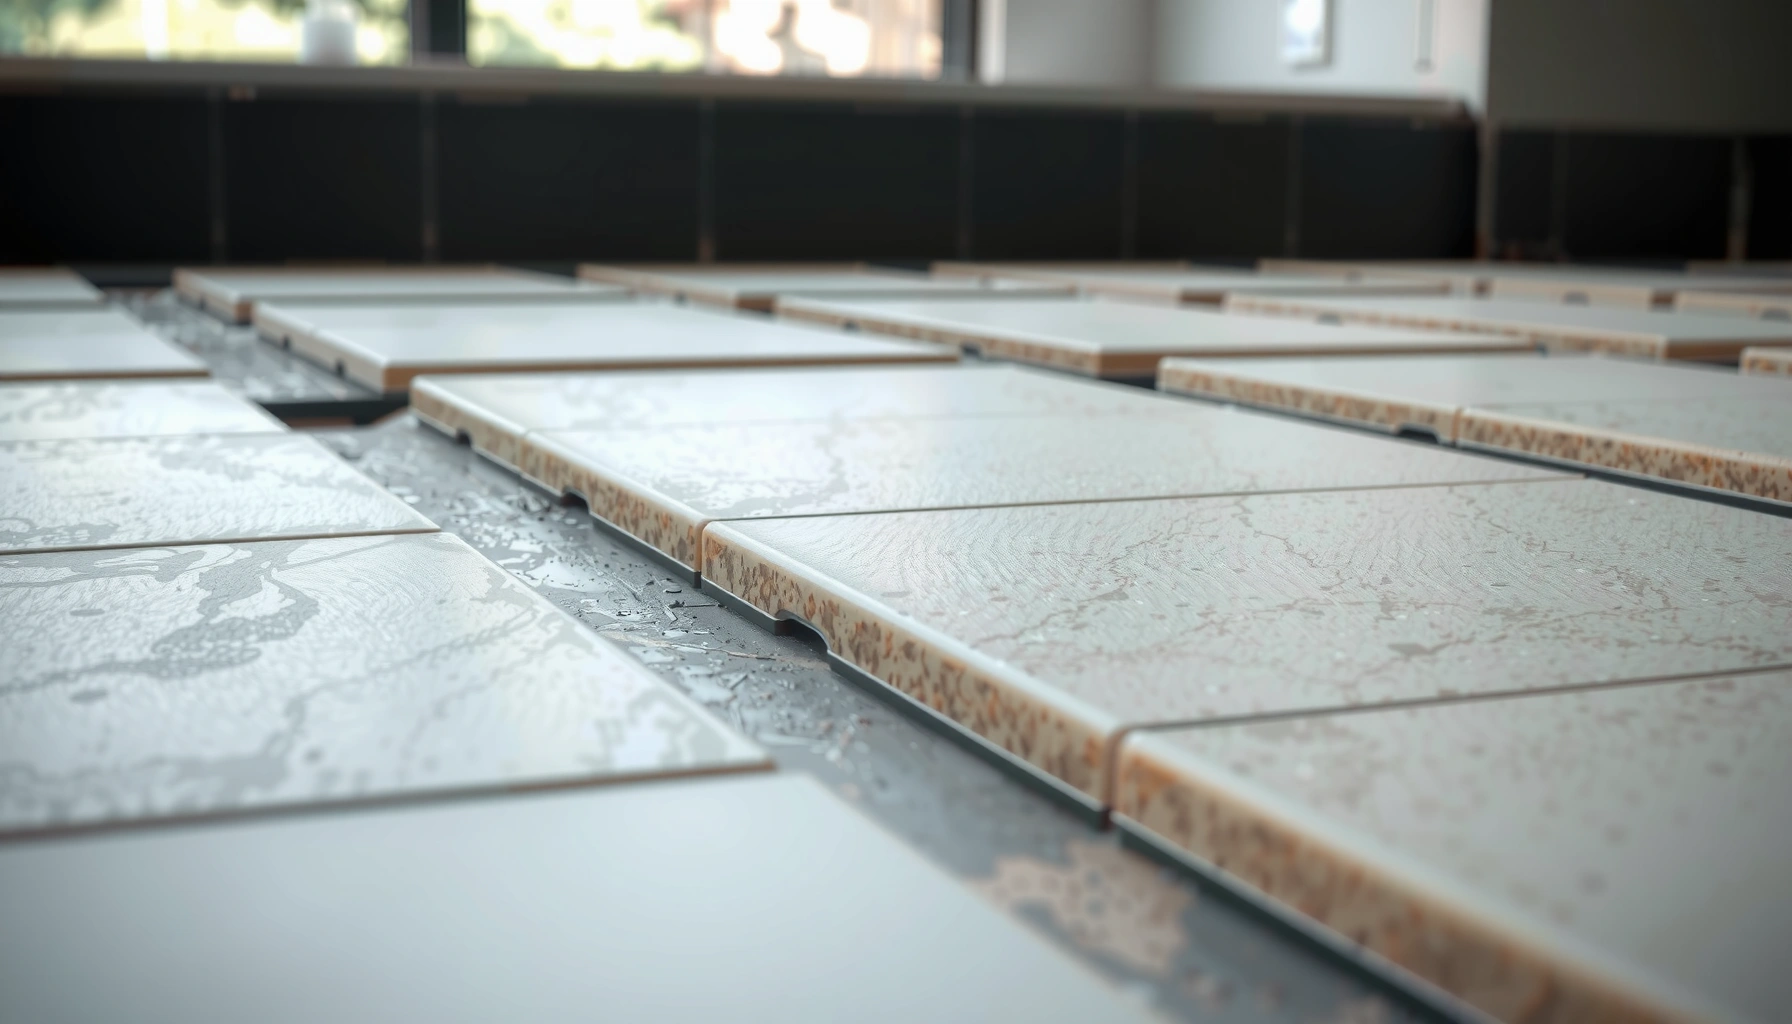

Preventing mold under ceramic tile floors is about controlling moisture at the source, not relying on “mold-proof” grout. If you want the highest success rate, use a waterproofing membrane beneath the tile, fix leaks fast, and keep the subfloor dry with proper ventilation. This guide lays out the practical steps that stop moisture buildup before it turns into mold.




Mold under ceramic tile floors usually happens when moisture enters the tile assembly and gets trapped in the subfloor or tile system, creating conditions for microbial growth. The most reliable prevention is a “3-part defense”: stop water at the source (leaks and condensation), block moisture migration with properly detailed waterproofing, and make sure the assembly can dry (correct installation, ventilation, and joint treatment).
If your bathroom, entryway, laundry room, or any tile area is exposed to spills, humidity, or occasional wetting, these steps apply—especially if you’ve ever seen dark spots, musty odors, or damp grout after the room hasn’t been used for a while. This guide is also for homeowners replacing tile who want to avoid repeating the same problem.
Identify and eliminate the moisture source first
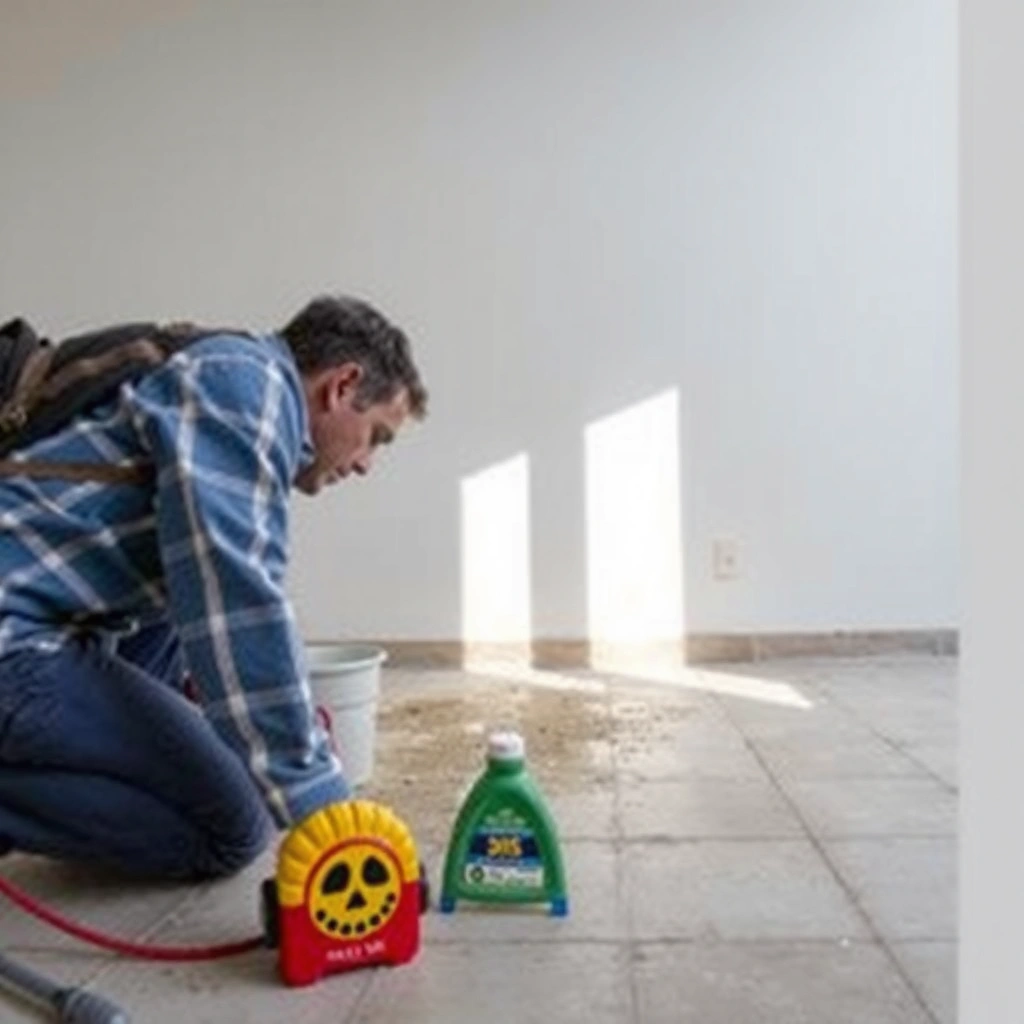
Fixing moisture entry is the fastest way to prevent mold because you remove the “fuel” before you add layers that can trap it. In most tile failures, water starts as a small, predictable problem—like a plumbing drip, a failed sealant joint, or ongoing condensation—then slowly migrates through grout cracks or through the edges of waterproofing.
Mold growth under tile generally follows moisture intrusion; without a reliable moisture source, visible mold usually cannot persist.
Water can travel laterally through substrates and thin gaps before it shows up as a stain or damp spot on the finished floor.
In wet-area tile systems, grout and sealant are not the primary water barrier; the waterproofing layer and its details are.
Fix the “active leak” items before installation
Look for the common, high-probability leak routes:
– Plumbing drips and weeping at valves, supply lines, shutoffs, toilet connections, and under-sink plumbing.
– Failed caulk at fixtures—especially where tub/shower trim, sinks, and baseboards meet walls.
– Cracked grout lines or missing grout at corners and edges.
– Water intrusion around tub/shower surrounds where the wall-to-floor transition is often the weakest link.
Even if you don’t see liquid water on the floor, check for recurrent dampness after use: bathrooms can show mold even when a leak is “slow enough” to be overlooked.
Reduce condensation and humidity-driven dampness
Condensation is especially common in:
– Bathrooms with insufficient bath fan performance
– Laundry rooms where damp air recirculates
– Homes with high indoor humidity during certain seasons
If the room stays humid, the tile assembly may never reach a fully dry equilibrium—so even a mostly sound installation can develop persistent damp zones at edges and corners.
Catch “slow leaks” that move under tile
A slow leak can travel along the substrate (wood subfloor, underlayment, or cement board) before it becomes obvious at the surface. This is why prevention starts before you touch the tile: if water is still entering, new waterproofing can fail prematurely or repeatedly.
Key data points to frame the risk
– According to [ADD: CDC/EPA moisture & health guidance source], controlling indoor moisture is critical to reducing conditions that support mold growth (year:
– According to [ADD: relevant building science or tile waterproofing guidance source], waterproofing failures commonly occur at seams, corners, and penetrations (year:
– According to [ADD: ventilation/fan or indoor humidity guideline source], relative humidity targets and ventilation practices influence mold risk (year:
Prepare the subfloor so moisture can’t get trapped
Start with a dry, stable substrate because tile cannot “outsmart” trapped moisture or structural movement. Proper preparation prevents the waterproofing and mortar from bonding to contaminated, damp, or unstable surfaces.
Tile waterproofing systems depend on correct substrate conditions; installing over damp or contaminated material increases failure risk.
A stable, properly flat subfloor reduces stress on tile and grout, lowering the chance of cracking that becomes a moisture pathway.
Remove contaminated materials if needed
If there is already mold, or if wood/underlayment remains persistently damp, you generally need remediation—not just sealing. A surface sealer might look good initially, but it can trap moisture beneath it and keep mold conditions active.
Ensure the substrate is solid, flat, and dry
Tile systems require specific tolerances and moisture conditions set by the tile assembly components (thinset, underlayment, waterproofing membrane). In practice, the goal is:
– Dry substrate at installation time (per manufacturer requirements)
– Solid substrate with no sagging or delamination
– Correct flatness so your mortar bed and membrane follow the manufacturer’s design intent
Use compatible materials across the assembly
Compatibility matters more than many people expect. Manufacturer specifications for waterproofing often require specific combinations—certain thinsets, primers, reinforcement fabrics, and acceptable subfloor types. Mixing “close enough” products can lead to bond failure or inadequate water resistance.
If you’re planning a waterproofing membrane system, follow the recommended system approach (e.g., primer + membrane + reinforcing details + specific thinset/mortar).
Use proper waterproofing and sealing at the right locations
Install waterproofing as a continuous, correctly detailed barrier, especially at wettest zones and the places water collects. The waterproofing layer is what prevents moisture from reaching the substrate; tile and grout alone are not reliable barriers in wet conditions.
Corners, seams, and pipe penetrations are the most common waterproofing failure points if they are not treated with system-specific details.
Watertight tile assemblies rely on proper overlaps and lapped seams per the membrane manufacturer’s instructions.
Movement joints must be honored with caulk or joint sealants designed for tile assemblies—not filled with grout.
Waterproof the wettest zones (and the transitions)
You typically protect:
– Tub/shower surrounds
– Areas directly exposed to water spray and splash
– Wall-to-floor transitions
– Corners and seams where movement and water concentration occur
– Pipe penetrations and changes of plane
How far waterproofing must extend depends on your specific system and local practice, so treat the guidance as “per assembly,” not one-size-fits-all. (See the sources section at the end for what to consult.)
Keep waterproofing continuous and correctly lapped
Membrane seams must be lapped and reinforced according to product instructions. Gaps, improper overlap, or shortcuts at transitions can create bypass channels where water reaches the subfloor.
Seal critical junctions with the right materials
Movement joints and changes of plane are not the same thing as “waterproofing a field area.”
– Movement joints (where building structures expand/contract) should be sealed with a flexible, compatible sealant.
– Wall-to-floor and other transitions often require specialized treatment (e.g., preformed corner pieces or reinforced fabric details, depending on the system).
Pros/cons of sealant-by-location (AI-friendly format):
- Flexible caulk/sealant (at movement joints)
- Pros: accommodates movement; reduces cracking pathways. Cons: must be compatible and installed with correct geometry and surface prep.
- Grout (in field areas)
- Pros: provides uniform appearance and fills tile joints. Cons: does not flex; can crack when movement occurs, enabling moisture entry.
- Waterproofing membrane (primary barrier)
- Pros: designed to block water migration. Cons: only works if continuity, laps, and penetrations are handled correctly.
Choose tile adhesives and grouts that support drying and durability
Use the specified mortar/thinset and grout that belong to your tile assembly plan so you preserve both bond strength and the intended moisture performance. The goal is a system that can stay dry at the substrate level—even if the surface sees occasional wetting.
Grout is for joint filling and surface protection, but it is not a substitute for waterproofing in wet-area tile assemblies.
Using the correct thinset and grout is a durability decision: compatibility affects bond, permeability, and long-term performance.
Use the correct thinset/mortar for the installation
Select thinset and mortar types according to:
– Tile type and size
– Substrate type (plywood, cement board, slab)
– Waterproofing membrane system requirements
If the thinset is incompatible (for example, not allowed over a specific membrane/primer or not meeting coverage and bonding requirements), you can undermine the assembly.
Don’t “over-seal”—build the barrier correctly
Many homeowners try to compensate for missing waterproofing by sealing grout aggressively. In most properly designed tile assemblies, waterproofing handles the primary moisture barrier, while grout and caulk are secondary protective layers.
If you don’t waterproof correctly in the first place, sealing everything can actually slow drying and prolong moisture exposure—especially behind grout lines and edges.
Maintain movement joints correctly
Grout does not behave like caulk. Movement joints must remain flexible; filling them with grout turns normal building movement into cracked, moisture-permeable paths.
What can go wrong (common mistakes and edge cases)
Many tile mold problems repeat because the underlying moisture entry continues or because key details were skipped during waterproofing. These mistakes often aren’t visible from the finished floor until months later.
If waterproofing is missing or fails at seams/penetrations, mold can return even after surface cleaning or grout sealing.
Skipping junction details (corners, fasteners, pipe penetrations) can cause water bypass even when the membrane field looks intact.
Common mistakes that trigger mold under ceramic tile
– Sealing grout alone: does not stop water that has already reached the substrate.
– Skipping seam/penetration details: corners, fasteners, and pipe penetrations are frequent failure points.
– Leaving moisture-holding underlayment unprotected: some underlayments can retain moisture longer, and tile assemblies dry slowly.
– Rushing cure/drying times: trapped moisture during early stages increases the risk of microbial growth and bond issues.
– Ignoring persistent humidity: even good assemblies can stay damp near edges and transitions if ventilation is weak.
Edge cases to consider
– Big format tiles: more grout area doesn’t guarantee better water resistance; bond and substrate prep become even more critical.
– Old homes with multiple layers: patching over compromised subfloor can hide contamination.
– Rare but real wetting (e.g., floor drains, intermittent leaks): the system must handle both “dry months” and “wet events.”
Verdict: what to prioritize (and who should pause)
If you want the highest-impact mold prevention, prioritize (1) eliminating leaks, (2) installing a continuous, correctly detailed waterproofing system, and (3) maintaining movement joints with the right flexible materials. The most common downside of DIY work is that waterproofing details—especially corners, seams, and penetrations—are where failures originate.
From a practical standpoint, we recommend pausing DIY waterproofing if you can’t follow the membrane manufacturer’s instructions step-by-step, because the success of these systems is highly detail-dependent. Also skip DIY “patch sealing” if you already have ongoing dampness or widespread moldy buildup under the existing floor—those cases typically require assessment and proper remediation.
The best mold prevention approach in tile floors is moisture control plus system-detailed waterproofing, not cosmetic sealing.
When substrate contamination or ongoing dampness is present, sealing over it can worsen outcomes by trapping moisture.
Quick checklist to scan before (and during) installation
– [ ] Fix any leaks before installing tile or waterproofing
– [ ] Subfloor is dry, stable, and flat (per system requirements)
– [ ] Waterproofing is continuous and includes seams, corners, and penetrations
– [ ] Movement joints are made with caulk/appropriate joint material—not grout
– [ ] Grout is compatible with the waterproofing/tile assembly
– [ ] Bathroom/laundry ventilation is sufficient to help the area dry
– [ ] After install: monitor for persistent dampness or musty odors
FAQ
How do I stop mold under ceramic tile if I already see it?
Start by stopping moisture at the source and assessing whether the materials beneath the tile are still damp. If the area is actively wet or contaminated, cleaning alone usually isn’t enough; you may need waterproofing repairs and remediation of affected substrates. [ADD: include decision guidance from a remediation or tile-industry source.]
Does grout sealer prevent mold under tile floors?
No—grout sealer typically is not a substitute for waterproofing in a properly designed tile assembly. Mold prevention depends on preventing water entry and keeping the assembly able to dry.
Do I need to waterproof the whole floor?
Often, you waterproof the wettest zones and critical transitions/junctions based on your tile assembly system and installation guidance. [ADD: source for recommended waterproofing coverage for your tile system/product line.]
Why does mold come back even after cleaning?
It comes back when moisture intrusion continues—through failed waterproofing, cracked grout/missing caulk, unsealed penetrations, or poor ventilation. Cleaning addresses symptoms, not the trapped-moisture cause.
Can I prevent mold without replacing the tile?
Sometimes you can address the cause (like a failed caulk joint or a localized penetration detail) without full replacement, but if waterproofing has failed broadly or the substrate remains damp, partial repairs may not fully solve it. [ADD: source for decision criteria in your specific tile system.]
Sources
– [ADD: manufacturer installation instructions/spec sheets for the waterproofing membrane you plan to use—seam/penetration details and required cure times]
– [ADD: manufacturer instructions for thinset/mortar and grout—compatibility with waterproofing and installation requirements]
– [ADD: NTCA (National Tile Contractors Association) guidance or equivalent industry technical document on tile waterproofing practices]
– [ADD: CDC or EPA guidance on mold remediation basics and moisture control principles]
The bottom line is straightforward: mold under ceramic tile is preventable when you manage moisture like a system—stop water entry first, build a continuous waterproofing barrier with correct seams and penetrations, and keep the assembly able to dry. If you control those variables, you’re no longer relying on “looks good on day one” methods, and you significantly reduce the odds of musty odors, dark spots, and recurring damp grout.
Frequently Asked Questions
What causes mold to grow under ceramic tile floors?
Mold typically grows under tile when moisture gets trapped beneath the ceramic and waterproofing layer. Common causes include leaks from plumbing, condensation from subfloors, inadequate waterproofing in wet areas, and cracked grout or missing caulk at tile edges. When the subfloor stays damp, mold spores can settle and multiply, leading to musty odors and potential damage to the underlayment and subfloor.
How can I prevent moisture buildup under ceramic tile floors?
Start by controlling water before it reaches the tile system by using a proper waterproofing membrane and sealing all vulnerable seams, corners, and penetrations. Ensure the subfloor is completely dry before installation and correct any low spots that can hold water. Good ventilation (especially in bathrooms and basements) and maintaining consistent indoor humidity also reduce the chance that moisture becomes trapped under the tile.
Why does mold return even after replacing damaged tiles or grout?
Mold often returns when the underlying moisture source remains, such as an ongoing leak, failed waterproofing, or repeated condensation. If only the visible tile and grout are replaced without addressing the damp subfloor and underlayment, the conditions for mold growth are still present. Proper remediation usually requires identifying the moisture problem, drying the affected materials thoroughly, and using correctly applied waterproofing during reinstallation.
What is the best way to check for hidden leaks under tile?
Look for signs like recurring musty odors, discoloration, soft spots in adjacent flooring, or grout that’s frequently cracking in the same areas. For a more precise approach, inspect caulking and waterproofing at changes of plane, around toilets, showers, and plumbing penetrations, then consider using moisture meters to check the subfloor. If you suspect a leak, have a plumber or qualified tile installer evaluate the plumbing connections and perform a targeted pressure or leak test before sealing and re-tiling.
Which waterproofing products work best for preventing mold under ceramic tile?
“Best” depends on the installation area, but moisture-control systems like cementitious waterproofing or liquid-applied membranes are commonly used under tile to stop water intrusion. Choose products rated for tile flooring and the specific environment (wet rooms, showers, exterior slabs, or basements), and follow the manufacturer’s instructions for thickness, curing time, and seam treatment. For maximum mold prevention, also use the right drain assembly (where applicable), properly sealed grout, and high-quality caulk at movement joints and edges.
📅 Last Updated: October 09, 2026 | Topic: How to prevent mold under ceramic tile floors? | Content verified for accuracy and freshness.
References
- https://www.cdc.gov/mold/default.htm
- https://www.cdc.gov/niosh/topics/mold/default.html
- https://www.epa.gov/mold/preventing-mold-growth
- https://www.epa.gov/mold/moisture-control
- Mold | US EPA
https://www.epa.gov/mold - Mold
https://en.wikipedia.org/wiki/Mold - https://pubmed.ncbi.nlm.nih.gov/?term=dampness+and+mold+prevention+indoor+environment
- Google Scholar Google Scholar
https://scholar.google.com/scholar?q=prevent+mold+under+ceramic+tile+floor+moisture+control - Google Scholar Google Scholar
https://scholar.google.com/scholar?q=waterproofing+membrane+cement+board+tile+mold+prevention - Google Scholar Google Scholar
https://scholar.google.com/scholar?q=indoor+dampness+mold+prevention+building+materials+grout+sealants