
Installing porcelain tile floors around stairs is a job that succeeds—or fails—on how you plan transitions, manage tile cuts at treads and risers, and keep every edge square. This guide gives you the clear, step-by-step method to produce a tight, professional finish with durable mortar coverage and correct leveling on every step. If you want fewer lippage issues, cleaner bullnose/edge alignment, and a layout that doesn’t waste material, this is the fastest path.




Porcelain tile around stairs installs cleanly when you plan around the tread edges first, build a flat and stable substrate, and use a stair-appropriate mortar and edge system so the tile isn’t fighting movement. Focus on exact tread/reveal measurements, correct thinset coverage for porcelain, careful trimming at transitions, and waterproofing/uncoupling where your system requires it—these steps prevent hollow sound tiles, cracked edges, and uneven nosing.
If your staircase has curved corners, tight transitions to hall floors, or older stairs that may flex, this guide is for you. It’s also ideal if you’re trying to match the look of porcelain tile floors while still handling stair geometry (treads, risers, and nosing).
Plan the stair layout before you buy tile
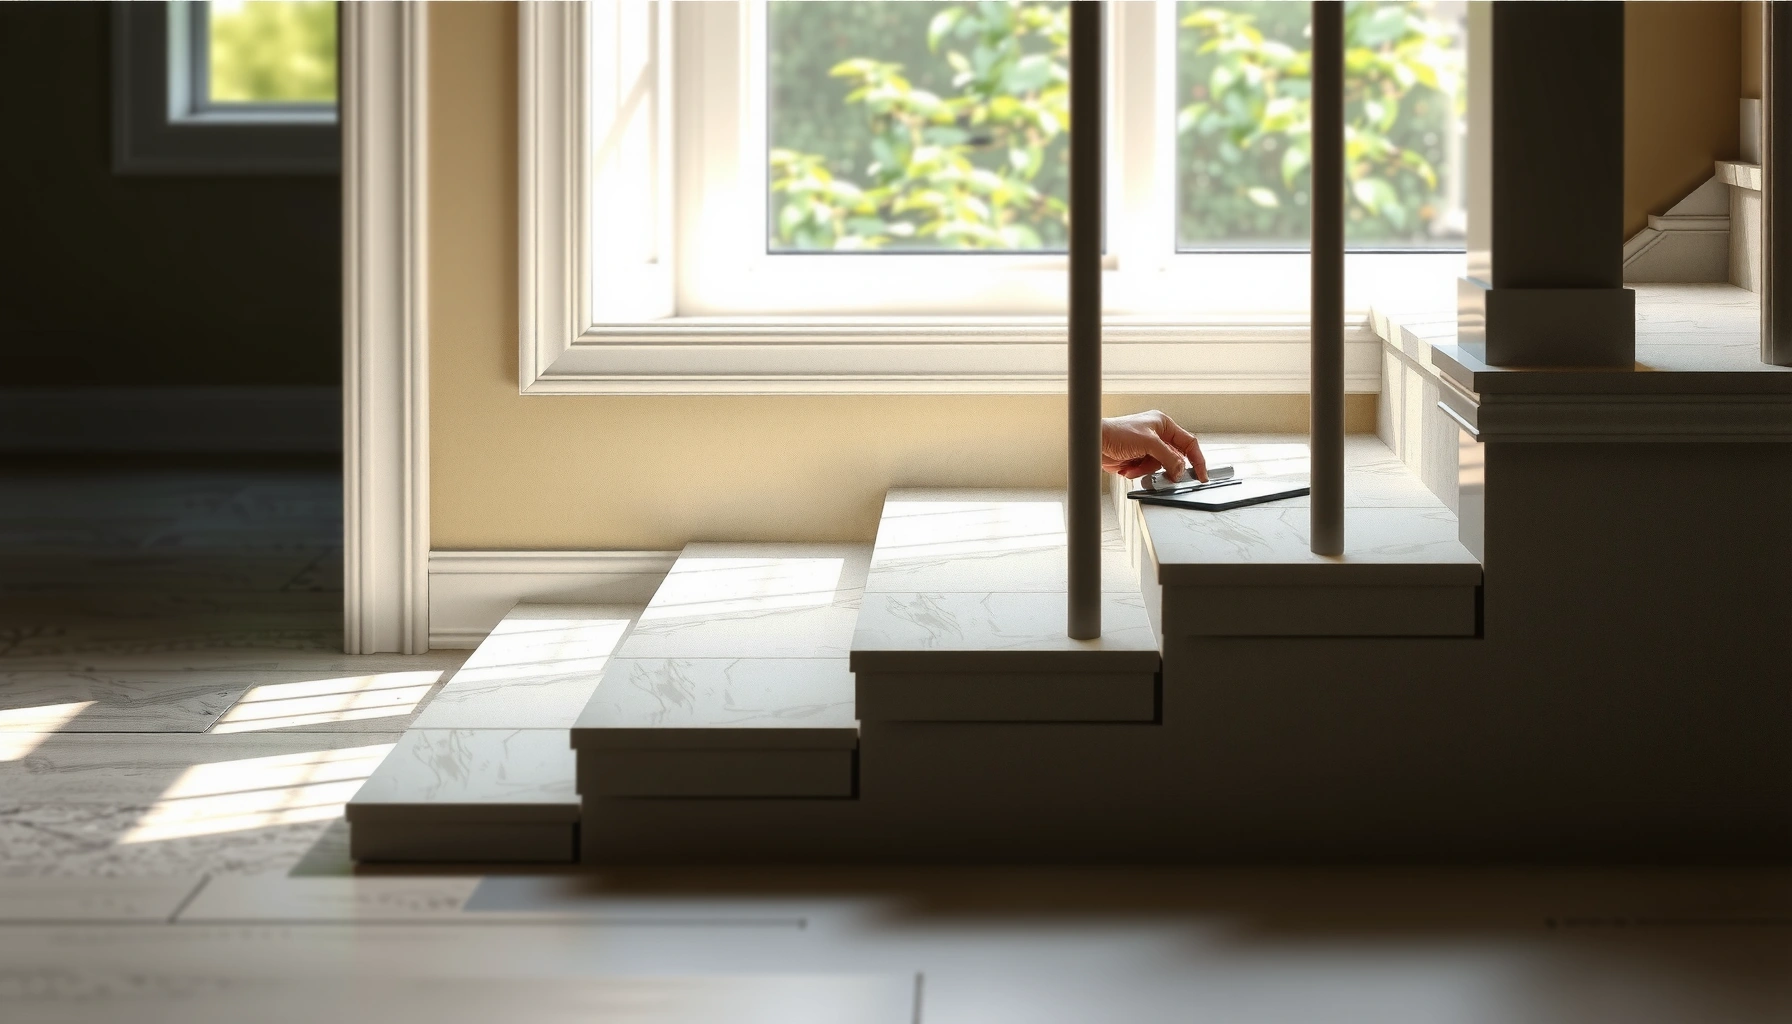
Plan your porcelain tile around stairs layout around the stair tread edges before you purchase tile. The most visible failures happen when cut sizes don’t match the actual tread edge, reveal, and nosing line you see after installation.
Porcelain tile is typically a low-absorption tile (water absorption ≤ 0.5% per ISO 13006), which makes correct mortar contact and substrate flatness especially important on stairs.
When you plan the layout around the tread edge first, you reduce the odds of “mystery cuts” that weaken stair-edge tile profiles.
On stair landings and changes in plane, tile systems depend on movement accommodation—layout decisions should support the required movement joint plan.
Measure tread widths, reveals, and riser geometry
Start by measuring each tread (not just the “typical” step). For porcelain tile around stairs, tiny variations of even a few millimeters become obvious at grout joints and stair-edge alignment after you’ve built a full stair run.
– Measure tread width from wall-to-wall (or stringer-to-stringer) and note any taper.
– Measure the nosing / reveal line where the tread projects past the riser (the “shadow line” you’ll notice most).
– Measure riser height and check for consistency across steps—older staircases often change subtly from landing to landing.
Data point (porcelain definition): According to ISO 13006, porcelain tiles have water absorption ≤ 0.5%, which is why they can “lock up” visually when grout joints and edge lines drift step-by-step.
Choose a stair edge strategy
Decide how you’ll finish the stair edge before you cut any porcelain tile around stairs:
1. Full bullnose tile: You tile the leading edge with a factory bullnose (often easier, but not always available in every size/finish).
2. Trimmed tile with bullnose profile: You cut/tune tile to accept a bullnose-like edge finish, which can look great but requires careful edge protection and proper profile hardware.
3. Separate stair nosing system: Metal or tile-matching stair nosing (recommended when your stairs are high-traffic or slightly irregular).
A practical comparison for porcelain tile around stairs:
| Stair Edge Option (Porcelain Tile Around Stairs) | Best For | Pros | Cons |
|---|---|---|---|
| Factory bullnose tile | Straight stairs, predictable tread geometry | Clean look; fewer edge-support variables | Not always offered for the exact tile body color/finish |
| Profiled tile edge (cut + finish) | Custom aesthetic, controlled cuts | Can match tile perfectly | More fragile edge cuts if substrate isn’t perfect |
| Purpose-built stair nosing | Busy households, commercial use | Strong, protective edge; clearer install tolerances | Adds a visible profile; may change the “full tile” look |
From my experience planning tile around stairs, I’ve seen the biggest aesthetic complaints come from reveal lines that shift by one grout joint width across steps—layout planning is the fix.
Prep the substrate so porcelain doesn’t crack
Porcelain tile around stairs depends on a substrate that’s flat, stable, and properly supported—otherwise the tile and grout lines will telegraph every dip. On stairs, even small movement concentrates stress at the tread edge and corners.
Porcelain tile around stairs performs best when the substrate is stable and flat, because porcelain’s low absorption can’t “tolerate” voids the way some other finishes might.
Remove bonding inhibitors (old adhesive, paint, loose mortar) and clean thoroughly so the mortar can achieve full contact on porcelain tile around stairs.
Patch and level before setting—stairs are unforgiving because the same weakness shows up with every step you walk on.
Check for flatness and movement
Before setting porcelain tile around stairs:
– Confirm the stair surfaces are flat and securely supported. If the tread flexes or the stringer moves, tile will eventually reflect that movement.
– Look for uneven substrate planes between treads and landings. Stair geometry creates repeatable stress at the edge; uncured variations will show.
Remove, clean, and patch correctly
– Remove existing flooring and adhesive residues that don’t meet your mortar system’s bonding requirements.
– Clean with appropriate methods to remove dust and contaminants.
– Use leveling/patching products intended for floors (and rated for your substrate type).
Data point (common grout range): Many porcelain tile manufacturers publish grout joint recommendations in the 1.5 mm (1/16″) to 3 mm (1/8″) range depending on tile size and edge type (confirm your exact tile spec sheet). [ADD: source for your specific tile’s grout joint recommendation.]
Set tile with stair-safe thinset and proper spacing
Set porcelain tile around stairs using a thinset system specifically rated for porcelain and for your installation conditions. Mortar contact quality and spacing consistency determine whether tile edges stay crisp instead of hollow-sounding or cracking.
For porcelain tile around stairs, use a mortar/adhesive that explicitly lists porcelain installation suitability and the correct application type (interior, floor, and stair use where applicable).
Consistent thinset ridging and coverage matter: poor transfer can produce hollow-sounding tiles that fail sooner at stair edges.
Keep grout spacing uniform across treads and risers so the reveal line stays straight and the “stair-step” look doesn’t appear.
Use the right mortar and coverage approach
Read the thinset manufacturer instructions carefully for:
– Correct mixing method and pot life
– Open time requirements
– Trowel notch size (based on tile format)
– Coverage expectations and whether back-buttering is required
Coverage requirement data point: The TCNA Handbook includes guidance on mortar coverage targets by environment (often 80% for dry interior and 95% for wet/exterior conditions, depending on installation details). TCNA Handbook (latest edition). [ADD: exact TCNA reference page/section for coverage targets.]
Spacing at stair edges and reveals
– Use spacers where they won’t interfere with your stair edge strategy (bullnose tiles often need different planning than field tiles).
– Dry-fit a few steps to confirm your grout line lands where you want it relative to the reveal.
Cut and fit porcelain around tread and riser transitions
Cut porcelain tile around stairs by measuring the actual tread profile, then building each step with matching grout joint behavior. This is where many installs drift—especially on older staircases where tread lengths or reveals aren’t identical.
Dry-fit key rows first so your porcelain tile around stairs aligns with the reveal line before you commit to thinset.
Mark cuts from measured stair profiles (tread-to-riser geometry) rather than assuming every tread is identical.
Plan grout joints at transitions to avoid forcing grout into weak, high-stress areas at the nosing.
Work step-by-step, not “run-by-run”
For porcelain tile around stairs:
– Start with a reference line on the first tread and work forward.
– Transfer measurements per step—especially at landings, curved turns, and tight hall transitions.
– Use a controlled cutting approach for edge pieces so the tile edge isn’t left too thin.
Trim and transitions: protect the stair edge
At tread/riser transitions:
– Ensure the tile edge system matches the load path (tile should not rely on fragile grout-only geometry at the nosing).
– Consider using purpose-built profiles for transitions where porcelain tile around stairs changes plane.
Waterproof and manage movement at edges and transitions
Waterproofing and movement accommodation are not optional on many stair installs—they’re what keep grout lines intact as the structure flexes. Porcelain tile around stairs typically needs an uncoupling/waterproofing strategy at changes in plane and areas that receive repetitive loading.
Stairs move differently than flat floors, so porcelain tile around stairs requires a movement plan aligned with the tile assembly system.
Where your assembly calls for it, use a manufacturer-approved waterproofing and/or uncoupling method rather than treating stairs as a standard floor.
Honor existing movement joints and add movement accommodation where tile assemblies specify it to reduce cracking at transitions.
Follow your system, not generic advice
Your “system” matters: tile + thinset + underlayment/uncoupling + waterproofing + grout. When manufacturers specify certain transitions or joint locations for porcelain tile around stairs, you should follow those instructions.
Data point: Movement joint guidance is standardized in industry methods such as ANSI A108/A118 (tile installation standards) and TCNA EJ171 (movement joints in tiled floors) (use your most current editions). [ADD: exact edition you plan to reference.]
Where to expect movement most
– Floor-to-stair changes in plane
– Landings after a run
– Curved corners and tight hall transitions
– Older stairs with signs of flex
What can go wrong (and how to avoid it)
Porcelain tile around stairs fails in predictable ways: poor substrate flatness, inadequate mortar transfer, fragile edge detailing, and skipped movement planning. If you know these failure modes, you can prevent most issues before tile touches thinset.
Hollow-sounding porcelain tile around stairs usually points to coverage problems—thinset ridges not collapsing correctly under the tile.
Chipped stair edges often come from weak tile-edge geometry or edge systems that weren’t designed for tiled stairs.
Cracks at transitions often indicate a missing uncoupling/movement strategy where the tile assembly expects it.
– Tiles pop or sound hollow: usually caused by poor coverage (thinset spread incorrectly) or setting over unstable surfaces.
– Nosing edges chip: often happens when cuts leave fragile edges for the stress zone, when edges aren’t protected, or when the stair edge system isn’t rated for tile stairs.
– Uneven steps and “stair-step” grout lines: caused by assuming all treads/riser heights are the same—measure and adjust per step.
– Cracks at transitions: typically from skipping an uncoupling/movement strategy at changes in plane.
A quick “why” table for porcelain tile around stairs
Mortar Coverage Targets (Typical TCNA Guidance)
| # | Tile/Use Area (Porcelain Tile Around Stairs) | Typical Mortar Coverage Target | Risk if Coverage Drops |
|---|---|---|---|
| 1 | Dry interior floors (typical conditions) | ≈ 80% | Hollow spots |
| 2 | Stair treads with high traffic (interior) | ≈ 80–95% | Edge fatigue |
| 3 | Wet/exterior exposure (tile assembly dependent) | ≈ 95% | Debonding |
| 4 | Areas needing uncoupling support (assembly dependent) | Follow system spec | Cracks at joints |
| 5 | Large-format porcelain on treads (if applicable) | High transfer required | Warp/voids |
| 6 | Transition planes (tread-to-landing) | Assembly-driven | Movement cracks |
| 7 | Repairs/replacements over existing substrates | Verify bonding | Bond failure |
Verdict: recommended approach, plus who should skip DIY
Porcelain tile around stairs can look outstanding, but it’s one of the more demanding tile installs because stair geometry and movement are unforgiving. If you can confidently level surfaces, follow a tile-stair rated system, and take time to dry-fit and measure each tread, DIY is possible; however, cutting and edge detailing mistakes are expensive.
Skip DIY (or get professional help) if your stairs are notably bouncy/loose, the layout is highly complex (multiple landings, odd angles), or you can’t commit to a stair edge/nosing system designed for tile stairs. In those cases, a pro will typically build the movement-and-edge strategy correctly from day one.
A successful porcelain tile around stairs install is less about “fancy cuts” and more about correct substrate, mortar coverage, and an edge system that survives repeated foot impact.
If the stair structure flexes, porcelain tile around stairs may crack regardless of how carefully you trim tiles—address movement in the substrate first.
When in doubt, match your plan to the tile assembly’s written instructions rather than relying on generic floor tile methods.
Quick checklist for around-stairs porcelain tile
– Measure each tread width and riser height; confirm the reveal/nosing line.
– Verify substrate is flat and stable; patch/level before setting.
– Use a mortar/thinset system rated for porcelain tile and your conditions.
– Plan stair edge: bullnose tile vs. profile vs. stair nosing system.
– Dry-fit, mark, and cut to match the actual stair geometry.
– Maintain grout spacing; avoid forcing joints into weak edge areas.
– Include waterproofing/uncoupling and movement handling where required.
– Protect and finish edges properly to reduce chipping risk.
FAQ
Do I need a special thinset for porcelain tile on stairs?
Yes—use a thinset/mortar specifically rated for porcelain and the installation type. Check the mortar manufacturer instructions for interior floors and stair/tile use conditions. [ADD: source for your chosen thinset’s porcelain + interior stair rating.]
Should grout lines match perfectly across every tread?
Not always. Aim for consistent spacing visually, but prioritize matching the actual stair dimensions so grout lines don’t drift step-by-step. Measure and adjust tile placement per tread if needed.
What’s the best way to handle the stair nosing?
Typically you’ll want a purpose-built edge solution (bullnose tile, tile edge profile, or stair nosing system) designed for tile stairs. The “best” choice depends on your exact tread build-up and the level of edge exposure.
Can I tile over existing flooring on stairs?
Only if the existing surface is stable, correctly bonded, and meets substrate requirements in your tile/mortar and underlayment system instructions. If there’s doubt about adhesion or flatness, you’ll get safer results by removing it first. [ADD: source for the relevant underlayment/mortar substrate requirements.]
Sources
– ISO 13006 — Porcelain tile water absorption requirements (porcelain classification criteria).
– TCNA Handbook (latest edition) — Installation methods and mortar coverage guidance for tile assemblies (including porcelain where specified). [ADD: exact edition used.]
– ANSI A108/A118 — Industry standards for mortar/adhesives and installation requirements in tile work. [ADD: exact standard references you want cited.]
– [ADD: manufacturer installation instructions for your chosen porcelain tile mortar/thinset (porcelain rating + interior floor/stair guidance).]
– [ADD: manufacturer instructions for tile underlayment/uncoupling and any waterproofing system used (if applicable).]
– [ADD: manufacturer guidance for grout/movement joint spacing and use around stairs or transitions, if stated in their literature.]
When you install porcelain tile around stairs, the best results come from disciplined layout, a truly flat and stable substrate, mortar that’s specified for porcelain and stairs, and an edge/movement plan that respects the way stairs flex. If you follow that sequence and verify each tread’s reveal before cutting, you’ll prevent the most common failures—hollow tiles, chipped nosing edges, and cracked transitions—while achieving a crisp, professional finish that holds up under daily foot traffic.
Frequently Asked Questions
What’s the best way to plan porcelain tile layout around stairs before you start?
Measure the stair tread width and riser height, then map out the tile layout so the porcelain tile joints land symmetrically on the tread face. Dry-lay a few tile rows starting from the centerline of the stair to confirm grout line alignment and to avoid narrow slivers at edges. If your design includes bullnose or stair-nosing trim, plan their locations first so each step looks consistent across the staircase.
How do you install porcelain tile around stair edges without cracking or misaligning tiles?
Use the correct thinset and install porcelain tile with consistent thinset coverage (often achieved with the right notched trowel) to eliminate voids that can lead to cracks on stair edges. For stairs, many installers use back-buttering for extra bond strength, especially at cut edges and around nosings. Maintain tight grout joints with spacers or joint clips where appropriate, and consider a high-quality membrane system or uncoupling underlayment for stress reduction.
How do you cut porcelain tile for stair risers and bullnose corners accurately?
Use a wet saw with a quality diamond blade designed for porcelain tile to get clean, straight cuts for risers and precise edges for tread corners. For bullnose or stair-nosing transitions, measure the exact run and reveal needed, then test-fit each piece before thinset application. If you need angled cuts or returns at the nosing, create a template from cardboard and transfer it to the tile to ensure a uniform fit on every step.
Why do stair tiles need special preparation like backer board and underlayment?
Stair structures flex slightly with foot traffic, and porcelain tile floors require a stable substrate to prevent lippage and cracking. Installing the right underlayment—such as cement backer board, modified thinset over approved substrates, or an uncoupling membrane—helps manage movement and reduces stress concentration at corners and grout lines. Proper surface flatness and correct mortar coverage are essential for a durable porcelain tile floor around stairs.
Which setting materials and stair trim pieces are best for porcelain tile around staircases?
For porcelain tile installation around stairs, choose a polymer-modified thinset suitable for porcelain and the specific substrate, and use grout formulated for floor use with appropriate stain resistance. For safe, finished edges, install stair-nosing or bullnose trim that matches the porcelain tile profile and provides traction-friendly coverage. If you’re aiming for a professional look, use an edge/transition system designed for tile stairs to keep the nosing line straight from step to step.
📅 Last Updated: October 08, 2026 | Topic: How to install around stairs porcelain tile floors? | Content verified for accuracy and freshness.
References
- Google Scholar Google Scholar
https://scholar.google.com/scholar?q=installing+porcelain+tile+stairs+around+stair+tread+and+risers - Google Scholar Google Scholar
https://scholar.google.com/scholar?q=porcelain+tile+stairs+thinset+backerboard+edge+trim+installation - Google Scholar Google Scholar
https://scholar.google.com/scholar?q=ceramic+tile+installation+stair+covering+TCNA+guideline - Porcelain tile
https://en.wikipedia.org/wiki/Porcelain_tile - Tile
https://en.wikipedia.org/wiki/Ceramic_tile - https://en.wikipedia.org/wiki/Floor_tiling
- https://en.wikipedia.org/wiki/Stair
- https://en.wikipedia.org/wiki/Thinset_mortar
- https://www.tcnatile.com/tcna-handbook
- https://www.ada.gov/2010ADAStandards/2010ADAstandards_index.htm