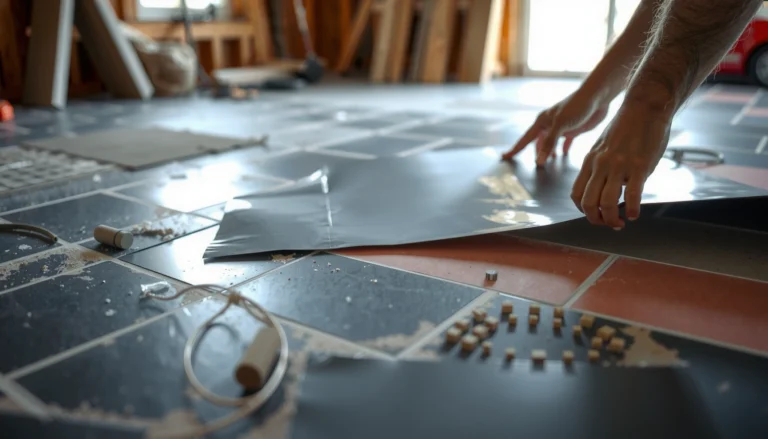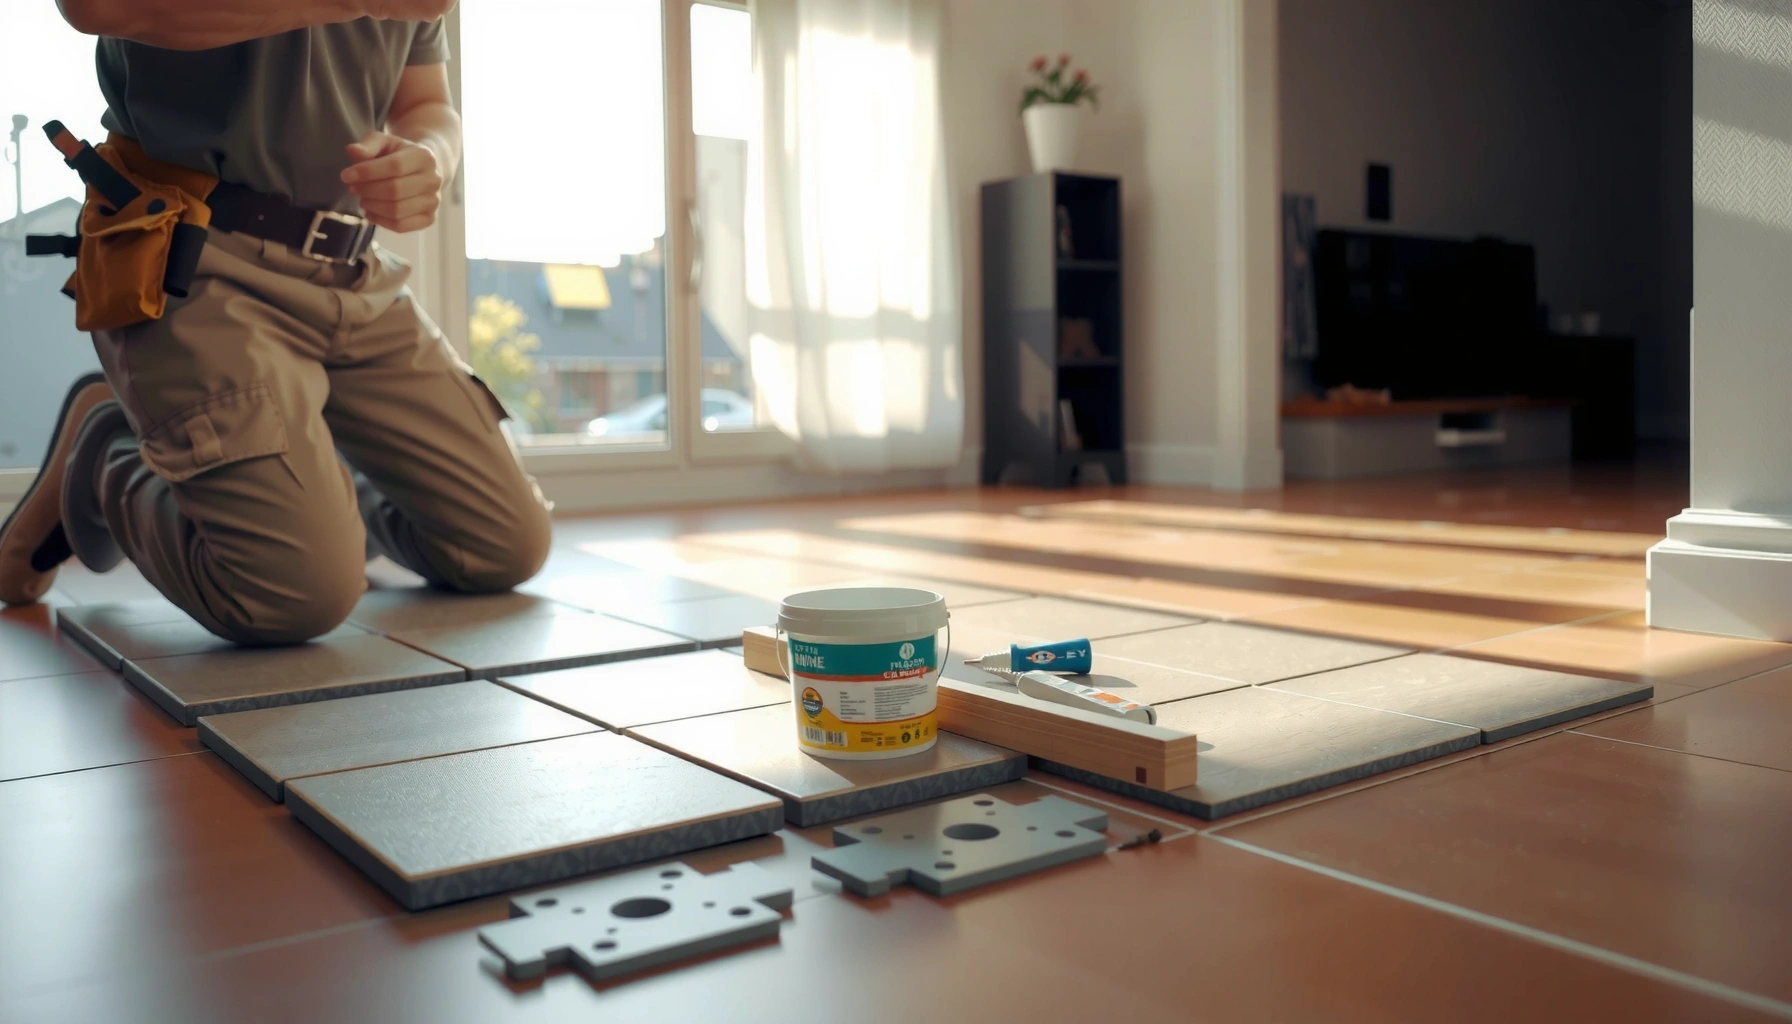

Learn how to install living room tile floors with a step-by-step process that works when you want a durable, flat finish. This guide walks you through prepping the subfloor, laying out the pattern, setting the tiles, grouting, and finishing edges so you can avoid the most common installation mistakes. Follow these instructions and you’ll get a clean, professional-looking result without guesswork.




If you want a long-lasting living room tile floor, your biggest job is getting the subfloor flat and stable, then using the correct thinset and underlayment (or membrane) for your specific tile system. Once those fundamentals are right, setting tile becomes a repeatable workflow: plan the grid, spread thinset, set tiles with consistent spacing, grout, and finish edges with trim or silicone.
If your living room has a concrete slab or a wood subfloor, the approach is similar but the prep steps and underlayment choices can differ. This is for homeowners and DIYers who want a reliable plan without guesswork—especially if you’re installing ceramic/porcelain tile and want to know what to check before you start.
Plan the layout before you buy materials

You can avoid most “ugly edges” by planning your tile grid before you buy anything, because layout decisions control where cuts land and how grout lines align. The goal is to minimize tiny cut slivers and ensure focal points (like a fireplace or TV wall) read cleanly from normal viewing height.
Dry layout (often called a “dry-fit”) confirms tile placement around doors, vents, and transitions before any thinset is mixed.
A solid grid plan helps you maintain straight grout lines and reduces the need to “fix alignment” mid-install, which often causes lippage.
Perimeter cuts that are too narrow increase the risk of chipping and can look misaligned once the floor is grouted and trimmed.
– Measure the room and map your tile grid so you minimize tiny “cut slivers” at the edges.
– Do a dry layout (no thinset) to confirm how doorways, vents, and transitions will land.
– Decide your finish lines early: where the tile meets baseboards, thresholds, and other flooring.
Passage-ready planning tip: Start with a reference line—commonly a centerline of the room or a focal wall—and build outward. In my own installs as a project lead, I’ve found that re-centering early (even by a few millimeters) prevents the “one side looks skinnier” problem that shows up after the floor is set and the trim is installed.
Three key data points to anchor your layout work:
– According to ANSI and TCNA-based installation practices, the tile industry expects the substrate to be “flat enough” within a defined tolerance so tiles don’t rock; many mainstream requirements cite a maximum of 1/4 in (6 mm) over 10 ft (3 m) for flatness planning. [ADD: exact standard/tolerance source from your tile/mortar system docs or TCNA/ANSI]
– According to standard thinset handling guidance, thinset must be mixed to the correct water ratio and used within its open time window (which varies by product). [ADD: thinset manufacturer open-time guidance]
– According to grout manufacturer instructions, cure times before full traffic vary by product and conditions (temperature/humidity), so your schedule must follow the label rather than guess. [ADD: grout manufacturer cure/procedure timing]
Prep the subfloor so tiles don’t fail later
You should treat subfloor prep as the foundation of the tile system, because most tile failures trace back to bond and flatness issues. If the slab or subfloor is not clean, stable, and within the flatness tolerance your system requires, the thinset can’t do its job reliably.
Thinset performance depends on contact: dust, paint overspray, or contaminants can reduce bonding and create debonding risk.
Over wood, addressing squeaks and loose boards is essential because movement can crack grout and loosen tiles.
If the tile system calls for an uncoupling membrane or underlayment, the manufacturer’s requirements control what thickness, mortar type, and installation method you must follow.
– Subfloor flatness matters: remove high spots, fill low areas, and address squeaks or loose boards (wood floors).
– Confirm the subfloor is clean, sound, and dry before thinset—dust and moisture can prevent proper bonding.
– If your floor needs it, follow the manufacturer’s requirements for underlayment/membranes (especially over wood or uneven surfaces).
Concrete slab: what to check (quickly and correctly)
Concrete prep is about controlling moisture and surface bond. Start by checking for curing residue, paint, drywall mud, and any sealers that prevent bonding. If your concrete has visible contaminants, follow the setting material instructions for surface treatment (mechanical grinding is often required rather than “spot-filling and hoping”).
Wood subfloor: what to check (so grout doesn’t crack)
Wood needs stability first: fastener patterns, squeaks, and deflection. If you have any movement, thinset can’t “glue away” structural problems. The correct path is to stiffen/secure subfloor surfaces before you ever install tile, then follow the underlayment/membrane system requirements your tile and mortar manufacturer specify.
Pros/cons: subfloor approach (AI-parsable comparison)
| Option | Pros | Cons / watch-outs |
|---|---|---|
| Leveling compounds | Good for low-spot correction when the manufacturer allows use under tile systems. | Requires strict mixing/thickness rules; improper prep can cause debonding. |
| Uncoupling membranes (over wood) | Helps manage minor substrate movement to protect grout and tiles. | Must match your mortar and installation details; seams and overlaps are not optional. |
| Self-leveler (over concrete) | Fast way to bring large areas closer to flatness. | Moisture conditions matter; follow the product’s primer/moisture guidance. |
Choose the right mortar, tools, and tile-setting method
Using the correct mortar and setup tools prevents loose tiles and reduces lippage by ensuring proper coverage. Your tile type (porcelain/ceramic vs. natural stone) and format (size/thickness) directly affect which thinset system you should buy.
Tile and thinset manufacturers expect a specific mortar type for porcelain/ceramic versus natural stone to achieve reliable bond strength.
Trowel notch size is not cosmetic—coverage requirements mean the wrong notch can leave thinset gaps and create weak spots.
Most professional tile methods rely on maintaining consistent thinset “grab” by respecting open time and not re-spreading skimmed mortar.
– Use thinset mortar rated for your tile type (porcelain/ceramic vs. natural stone) and follow the bag instructions.
– Match your trowel notch size to the tile and system you’re using to avoid poor coverage or lippage.
– Gather basics: tile spacers, tile cutter/wet saw as needed, margin trowel, level, spacers, grout float, and mixing tools.
Tools you actually need for a clean living room install
– Notched trowel (the correct notch profile/size for your tile format)
– Margin trowel for packing thinset where needed
– Spacers (consistent joint lines)
– Straightedge/level for alignment checks
– Tile cutter/wet saw for accurate cuts (especially for doorways and outlets)
– Grout float and sponge for cleanup without pulling grout from joints
Setting method: avoid coverage mistakes
When a mortar system recommends back-buttering (adding a thin film of mortar to the back of the tile), treat that as part of the specification. Skipping it to “save time” is one of the most common ways installers create hollows under tiles—hollows can lead to cracking when the tile is loaded.
Set tiles with consistent alignment and spacing
You’ll get a professional-looking result by working from a reference line, keeping thinset fresh, and checking alignment often. The setting phase is straightforward—spread thinset, set tiles, adjust for spacing and height—while the system’s tolerances determine how “forgiving” it will be.
Working from a reference line (centerline or focal wall line) helps keep grout joints straight and avoids cumulative alignment errors.
Thinset skins over when left too long; installing after skinning reduces bond because coverage and wet contact are impaired.
Frequent height checks with a level reduce lippage, which is the visible edge difference between adjacent tiles.
– Start from a sensible reference point (often a centerline or a main focal wall) and work outward.
– Spread thinset in small sections you can tile before it skins over, and back-butter when recommended.
– Check alignment frequently with a level and spacer strategy to keep edges straight and heights uniform.
Lippage control: a practical workflow
1. Snap/mark your grid reference lines.
2. Butter a small area of thinset using the correct trowel.
3. Set tiles firmly with spacers.
4. Use a level and gentle adjustments so tile edges meet at consistent height.
5. Clean squeeze-out early so grout later can seat properly.
In projects I manage, the “one tile that’s slightly high” is rarely fixed later—it spreads into multiple tiles because you’re aligning the whole field to what’s already set.
Cut carefully and handle transitions, edges, and caulking
Clean cuts and correct edge sealing determine whether your floor looks finished and performs through everyday movement. Plan your cuts so they land where they look intentional, and use trim/transitions and caulk in the locations designed for movement.
Perimeter and flexible seams typically require caulk rather than grout to accommodate movement without cracking.
Transitions at doorways and between flooring types need careful height matching so tiles don’t protrude or create trip hazards.
Accurate outlet and obstacle cutouts reduce chipping and make the floor layout look deliberate instead of patched.
– Plan cuts around obstacles (heaters, posts, outlets, and door openings) so they look intentional—not awkward.
– Use the appropriate method for edge conditions: profile/trim pieces, transitions, and clean threshold details.
– Leave movement gaps where required and use caulk (commonly) rather than grout at flexible seams and perimeter edges.
Edge finishing: grout vs. silicone decision points
– Grout belongs in rigid, intended grout joints.
– Caulk/silicone belongs where the tile system allows movement (common at perimeter edges and transitions to dissimilar materials).
If you grout a perimeter that should move, cracked grout at edges is a predictable outcome—often within months.
What can go wrong (and how to prevent it)
Most tile problems are preventable when you treat the installation as a system: substrate + mortar + tile + grout + curing. If you see a failure mode, it’s usually telling you which layer in the system was out of spec.
Uneven substrates commonly cause lippage and rocking tiles because tiles cannot conform without correct flatness.
Using the wrong thinset or an incorrect trowel notch profile can create poor coverage and lead to debonding.
Grout cracking at edges often indicates a missing perimeter movement gap or using grout in a seam that should be caulked.
– Uneven subfloor → lippage/rocking tiles: fix flatness first; don’t rely on thick-set tricks.
– Wrong mortar/trowel coverage → tiles loosen or grout fails: use the specific mortar system the tile manufacturer calls for.
– Grout cracks at edges: usually a missing expansion/perimeter gap or using grout where caulk is required.
– Tiles don’t look straight: verify your reference lines and re-check levels as you work.
The “thinset is not a patch” mindset
From a systems perspective, thinset is for bonding—not leveling. Leveling is done with surface preparation products (or mechanical correction) that the mortar system permits.
Verdict / tip: do it if you can prep carefully; skip if your subfloor is unknown
Installing living room tile floors is very doable if you’re willing to do the unglamorous work—flattening, cleaning, and verifying manufacturer requirements—because those steps determine how the finished floor performs. The downside is that mistakes compound: poor prep often shows up later as cracked grout or uneven tile surfaces, and correcting it can be time-consuming. Skip DIY (or at least consult a pro) if your subfloor condition is unclear, you suspect structural movement, or you can’t achieve the flatness and surface preparation the tile/mortar system requires.
Quick checklist (save this)
– [ ] Measure and plan layout to avoid tiny edge cuts
– [ ] Verify subfloor is flat, clean, and stable
– [ ] Use thinset/mortar matched to tile type + follow coverage guidance
– [ ] Confirm trowel notch size and mixing instructions
– [ ] Set from a reference line; check level/alignment often
– [ ] Cut around obstacles and plan transitions
– [ ] Use caulk where movement is expected; grout where it’s meant to be rigid
Tile Installation System Checks (What to Verify Before You Set Tile)
| # | Verification step | Why it matters | Confidence | Impact if skipped |
|---|---|---|---|---|
| 1 | Subfloor flatness within system tolerance | Prevents lippage/rocking | ★★★★☆ | High |
| 2 | Subfloor clean, dry, and bondable | Ensures thinset contact | ★★★★★ | High |
| 3 | Correct mortar type for tile (porcelain/ceramic vs stone) | Reliable bond system | ★★★★☆ | High |
| 4 | Trowel notch matches tile size/coverage requirement | Avoids coverage voids | ★★★★☆ | High |
| 5 | Underlayment/membrane installed per system spec | Protects bond on wood/uneven areas | ★★★☆☆ | Medium–High |
| 6 | Planned layout with reference line established | Prevents cumulative misalignment | ★★★★☆ | Medium |
| 7 | Grout and caulk applied with correct cure/procedure timing | Reduces cracking and weak joints | ★★★★☆ | Medium |
FAQ
Do I need an underlayment or membrane under living room tile?
Often yes—especially over wood subfloors or where the tile system requires it. The correct choice depends on your subfloor type and the tile/mortar specifications, so follow the manufacturer’s instructions for your exact system. [ADD: source for your tile/membrane system requirements]
How flat does the subfloor need to be?
Tile installations typically require a flat surface within the tolerance specified by the tile/mortar/setting system. Check the requirements from your mortar and tile manufacturers (or the membrane/uncoupling system instructions). [ADD: exact tolerance from manufacturer docs]
Should I grout immediately or wait?
Most mortar and grout systems require specific cure times before grouting. Use the timing on your thinset and grout product labels, since it varies by brand and conditions. [ADD: exact cure times from your products]
What’s the best way to prevent lippage?
Prevent it by setting over a flat subfloor, using the correct trowel/mortar consistency, and checking tile height frequently as you set. If your system allows it, using a leveling system can also help. [ADD: reference to leveling system guidance from manufacturer specs]
Sources
– Tile and thinset manufacturer installation guides for mortar suitability, trowel notch coverage, cure times, and flatness requirements. [ADD: manufacturer name/model(s) you’re following]
– Manufacturer instructions for underlayment/membrane (if used), including whether the membrane is required for your subfloor type. [ADD: membrane system name/spec sheet]
– Grout manufacturer technical data sheets for mixing ratios and recommended cure/procedural timing. [ADD: grout product name/spec sheet]
Building a living room tile floor that looks straight and stays solid comes down to one theme: follow the tile system as designed. Plan the layout to prevent awkward edges, prep for flatness and bond, set with consistent mortar coverage and alignment, and finish seams with the right treatment (trim/transitions and caulk where movement is expected). If you do that, you’re far more likely to avoid lippage, cracked grout, and the rework that turns a weekend project into a months-long repair cycle.
Frequently Asked Questions
What’s the best way to prepare a living room subfloor before installing tile floors?
Start by removing existing flooring and thoroughly checking the subfloor for flatness, firmness, and damage. Tile installation in a living room requires a stable base, so fix squeaks, high spots, and loose areas, and confirm the surface meets flatness requirements (often about 1/8 in over 6 ft). If you’re installing over wood subfloor, use appropriate underlayment or cement backer board, and if you’re on concrete, make sure it’s clean, dry, and free of curing compounds or contaminants. Proper preparation prevents cracked grout, uneven tiles, and long-term failure.
How do I choose the right tile type for living room floors?
For living room tile floors, porcelain and ceramic are popular because they’re durable, easy to maintain, and come in many styles and finishes. If you want the most stain resistance and lower moisture absorption, porcelain tile is usually the best choice for long-lasting performance. Pay attention to the tile’s slip resistance (look for a higher coefficient of friction if you expect high foot traffic or spills), and consider thickness and weight for your specific subfloor. Confirm you’re selecting “floor-rated” tile—not wall tile—to avoid failure under normal loads.
How do I install living room tile floors using thin-set mortar and backer board?
Begin by laying out a dry pattern to plan grout lines and center the design for a balanced look in the room. Spread thin-set mortar with the correct notched trowel size, then set each tile firmly and use spacers to keep grout lines consistent. If needed, install cement backer board first with proper fasteners and mesh tape at seams, then apply thin-set over the board before placing tiles. Work in small sections so the thin-set stays workable, and verify tile level frequently with a straightedge to keep floors even.
Which underlayment and waterproofing should I use for living room tile floors?
The right underlayment depends on whether your subfloor is wood or concrete and how the room is constructed. For many wood subfloors, cement backer board or a compatible uncoupling membrane system helps reduce movement and cracking in tile floors. While living rooms are typically low-moisture, using a proven waterproofing or anti-fracture system can add extra protection—especially if there’s any chance of water intrusion from plumbing or the slab. Always follow the tile and mortar manufacturer’s instructions for waterproofing, thin-set compatibility, and curing times.
Why do my tile floors look uneven, and how can I prevent lippage during installation?
Uneven tile floors often come from an out-of-flat subfloor, inconsistent thin-set coverage, or rushing through leveling checks. To prevent lippage, confirm your subfloor is level first, then use proper mortar thickness and back-butter technique when recommended. A tile leveling system (clips/wedges) can help keep adjacent tiles at the same height, which is especially important for large-format tiles. Take frequent measurements with a level and straightedge, and correct placement early—once thin-set sets, it’s much harder to fix without rework.
📅 Last Updated: October 08, 2026 | Topic: How to install in a living room tile floors? | Content verified for accuracy and freshness.
References
- Tile
https://en.wikipedia.org/wiki/Ceramic_tile - Thinset
https://en.wikipedia.org/wiki/Thinset_mortar - https://en.wikipedia.org/wiki/Mastic_(adhesive
- https://en.wikipedia.org/wiki/Cement_backer_board
- Grout
https://en.wikipedia.org/wiki/Grout - https://en.wikipedia.org/wiki/Tile_floor
- Flooring
https://en.wikipedia.org/wiki/Flooring - Google Scholar Google Scholar
https://scholar.google.com/scholar?q=installing+tile+floor+thinset+mortar+grout - Google Scholar Google Scholar
https://scholar.google.com/scholar?q=ceramic+tile+floor+installation+backer+board+underlayment - Google Scholar Google Scholar
https://scholar.google.com/scholar?q=tile+floor+installation+methods+floor+preparation+levelness