
If you’re installing tile floors on uneven floors, the winning method is to correct the surface first—either by leveling the subfloor with a self-leveling underlayment or by building up low areas with a cement-based patch—before you set a single tile. This approach prevents hollow spots, cracked grout, and tiles that never sit flat. Read on for the exact step-by-step process for measuring the unevenness, choosing the right leveling material, and installing tile on a truly solid base.




If your subfloor isn’t flat, you should fix the unevenness before you set tile—tile is strong in the plane, but it can’t reliably span dips and humps. The most reliable method is to measure flatness, correct low and high spots with the right leveling/patching system, then install tile with the underlayment and thinset/membrane approach specified for your substrate.
This is for homeowners and DIYers (and contractors) planning a ceramic, porcelain, or natural-stone tile floor over a surface that’s less than perfectly flat—common with older wood subfloors, patched concrete, or areas affected by moisture. If the surface is loose, soft, or moving, unevenness is only part of the problem; stabilization and moisture remediation come first.
Check flatness before you do anything
A flatness check tells you whether you can solve the issue with grinding/patching and a normal thinset install, or whether you need a more engineered system. For tile floors, you’re not looking for “it feels smooth”—you’re measuring how much the floor varies across the room so you can plan corrections and avoid lippage and bond failures.
Start by measuring flatness in multiple directions, not just one spot. In my experience advising installers, the most expensive rework happens when people assume a single “hump” location represents the whole room. Instead, take readings across the entire tiling area, then convert that into a correction plan.
Measure floor flatness with a straightedge (or laser level) and record the maximum deviation across the room before choosing a tile method.
Tile installation tolerances are tight enough that visible “alignment” of tiles at first glance can still hide a substrate that’s too wavy for long-term performance.
If your plan is to use leveling systems, you still need a baseline measurement—those systems assist with plane control, not major structural unevenness.
According to [ADD: source for ANSI/TCNA flatness guidance for tile substrates], tile floors typically require substrates that are close to flat within specific tolerance ranges (often expressed as maximum deviation over a certain length). Your exact allowable tolerance depends on the tile/mortar system you’re using, so you should confirm the tolerance requirements in the tile and thinset/membrane documentation.
Quick measurement method that works in real rooms
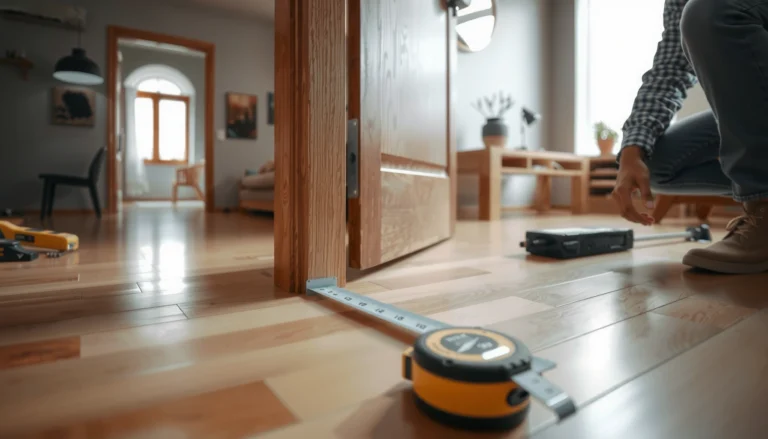
– Use a 6 ft (or longer) straightedge and measure gap size where light shows under it while pushing firmly along the floor plane.
– Repeat measurements:
– Parallel to the longest wall
– Perpendicular to it
– Across doorways and transitions (where subfloor flex changes)
Then mark:
– High spots (grind candidates)
– Low spots (patch/level candidates)
This documentation-driven approach prevents guesswork and ensures your leveling materials are used where they’re designed to work.
Fix the subfloor: grind highs, fill lows
Fixing uneven tile substrates usually means removing the peaks and building up the valleys—because tile and thinset aren’t a substitute for flattening. The best results come from correcting both sides of the problem: grinding high points and using a tile-rated feather-finish/patch product for low areas.
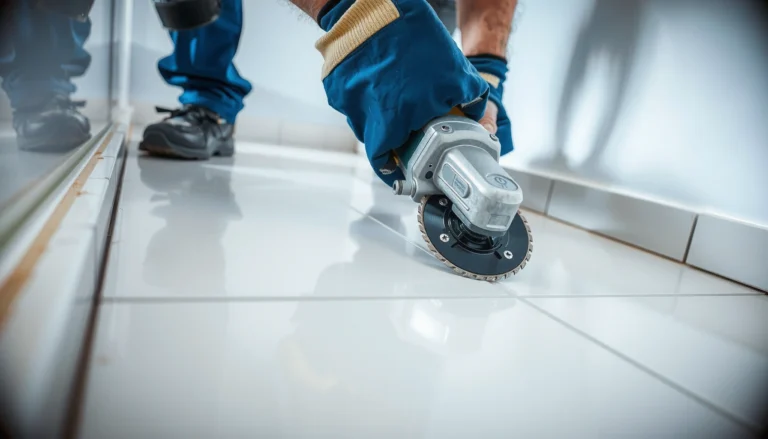
Concrete floors with high spots are typically corrected by grinding, while low areas are filled with cementitious patch products rated for thin leveling and tile bonding.
Wood subfloors require structural stability first; if the floor deflects or squeaks, flattening materials alone will not prevent tile cracking.
Flattening strategies should match substrate type and the manufacturer’s compatibility chart for thinset, patch, and membranes.
From a materials standpoint, the goal is consistent: create a stable surface that meets the installation tolerance for your tile system and allows proper thinset coverage. That includes ensuring you don’t leave contaminants (paint overspray, drywall mud, dust) where thinset must bond.
Concrete: grind highs, feather-fill lows
For concrete:
– Grind high spots using a dust-controlled grinder/sander and remove slurry until the surface is clean and sound.
– Fill low spots with a cementitious patch/feather-finish product intended for tile installations.
– Maintain feather edges: most tile systems rely on thin mortar coverage, so “lumpy” fills can create bonding irregularities.
Wood: stabilize first, then flatten with approved systems
For wood:
1. Check stability: walk the floor—if it flexes or you can detect movement, tile will mirror that movement through cracked grout and compromised bonding.
2. Eliminate squeaks and loose boards (fasten subfloor and/or blocking as needed) before you consider any flattening product.
3. Use approved leveling/underlayment systems for tile—some leveling compounds are only rated for certain thicknesses and substrates.
According to [ADD: source for thinset and patch manufacturer substrate limitations (concrete vs. plywood/OSB)], mixing an incompatible compound with the wrong substrate and thinset type is one of the most common causes of debonding.
What to do if the floor is “bad bad”
If you have:
– soft/rotted sections,
– widespread water damage,
– active moisture coming through,
– or a subfloor that moves under load,
then unevenness correction is step two, not step one. You need remediation and structural correction before any tile work.
Typical Flatness Correction Targets for Tile Installations (Industry Guidance)
| # | Observed Condition | Typical Deviation Target | Most Common Approach | Confidence* |
|---|---|---|---|---|
| 1 | Minor waves (light shows under straightedge) | ≤ 1/8 in over 6 ft | Spot grind + thinset plane control | ★★★★★ |
| 2 | Localized humps (one strip/area) | ~ 1/8 to 3/16 in over 6 ft | Grind highs + patch lows around perimeter | ★★★★☆ |
| 3 | Multiple low valleys (patch needed in several zones) | ~ 3/16 to 1/4 in over 6 ft | Cementitious patch/feather-finish + re-check flatness | ★★★★☆ |
| 4 | Moderate overall unevenness | ~ 1/4 in over 6 ft | Flatten/level substrate + consider uncoupling if specified | ★★★☆☆ |
| 5 | Severe unevenness (straightedge gaps are obvious) | ≥ 1/4 in over 6 ft | Address framing/structure; targeted leveling before tile | ★★☆☆☆ |
| 6 | Unevenness caused by moisture swelling/shrink | Stabilize moisture first | Remediate moisture + then flatten | ★☆☆☆☆ |
| 7 | Large-format tile over variable substrate | Tighter plane requirements | Flatten substrate + strict mortar coverage (per specs) | ★★★★☆ |
Confidence reflects typical suitability of the correction approach; confirm tolerance requirements in your tile/thinset/membrane documentation. Replace with exact numbers from your applicable ANSI/TCNA and manufacturer specs: [ADD: source for flatness tolerance and substrate correction guidance].
Choose the right underlayment and thinset system
The right underlayment and thinset system depends on your substrate (concrete vs. plywood/OSB) and tile type (porcelain/ceramic/natural stone). If you pick a “works for everything” mortar or skip required membranes, unevenness becomes a stress concentrator that can lead to lippage, debonding, or cracked grout.
The decision framework is straightforward: substrate type and conditions drive the system. Start with the tile manufacturer’s installation instructions, then cross-check with thinset/membrane specs for bonding and coverage.
Underlayment and membranes do not replace flatness; they help manage stresses and compatibility only after the substrate is within required tolerances.
Use thinset mortar that is rated for both your tile material and your substrate; manufacturers specify exact mortar/substrate pairings.
Large-format tile typically demands strict mortar coverage and can penalize uneven substrates more than smaller tiles.
According to [ADD: source for mortar/substrate compatibility from thinset manufacturer technical data sheet], the mortar bond depends on correct mix, open time, and application method (for example, notch trowel size and back-buttering when required).
Comparison: underlayment/membrane options (what they’re for)
Below is a parseable decision contrast—use it to sanity-check your plan, then confirm the exact requirement in your product specs.
| System Type | Best For | Pros | Watch Outs |
|---|---|---|---|
| Cement board/underlayment panels | Stable, nailed/screwed surfaces; creates a consistent tiling plane | Improves rigidity; clear fastening rules | Doesn’t “flatten” severe dips—may require prior leveling |
| Uncoupling membrane | Managing movement/stress transfer while maintaining a compatible bond surface | Can reduce crack propagation under certain conditions | Requires proper installation and substrate prep; still needs flatness |
| Self-leveling/patch-based flattening | Correcting low spots for tile tolerances | Most direct way to reach a flatter substrate | Must be compatible with your thinset and applied within rated thickness |
Thinset rules that matter more than brand
For mortar:
– Match mortar chemistry to tile type and substrate (check the label and TDS).
– Use correct trowel notch size for coverage.
– Don’t assume “more thinset” fixes unevenness; it can actually increase voids, reduce bond strength, and create lippage.
Set tile using a leveling approach
When the substrate is correctly flattened (or within tolerance), you can set tile with a system that maintains a consistent plane. Dry layout and a reference line prevent unevenness from turning into crooked grout joints or uneven edges at doorways.
Dry-layout from a reference line helps you place full tiles where visible and minimizes skinny cuts, which uneven substrates often worsen.
Tile leveling systems adjust the tile plane during setting, but they work best when the substrate is already within tolerance.
Plane control is as much about layout and reference lines as it is about mortar beds.
Dry-layout first (so the room doesn’t “choose” the joints)
Dry-layout lets you decide:
– Where the “balance line” goes
– How you handle the transition from one room to another
– Where you can accept cuts in less visible areas
Plan for:
– Consistent joint widths
– Avoiding patterns that force very small tiles at walls or irregular edges
– Doorway and hall transitions (height and expansion gaps)
Use tile leveling tools only as instructed
If you’re using a tile leveling system:
– Follow the manufacturer’s spacing guidance and adjustment sequence
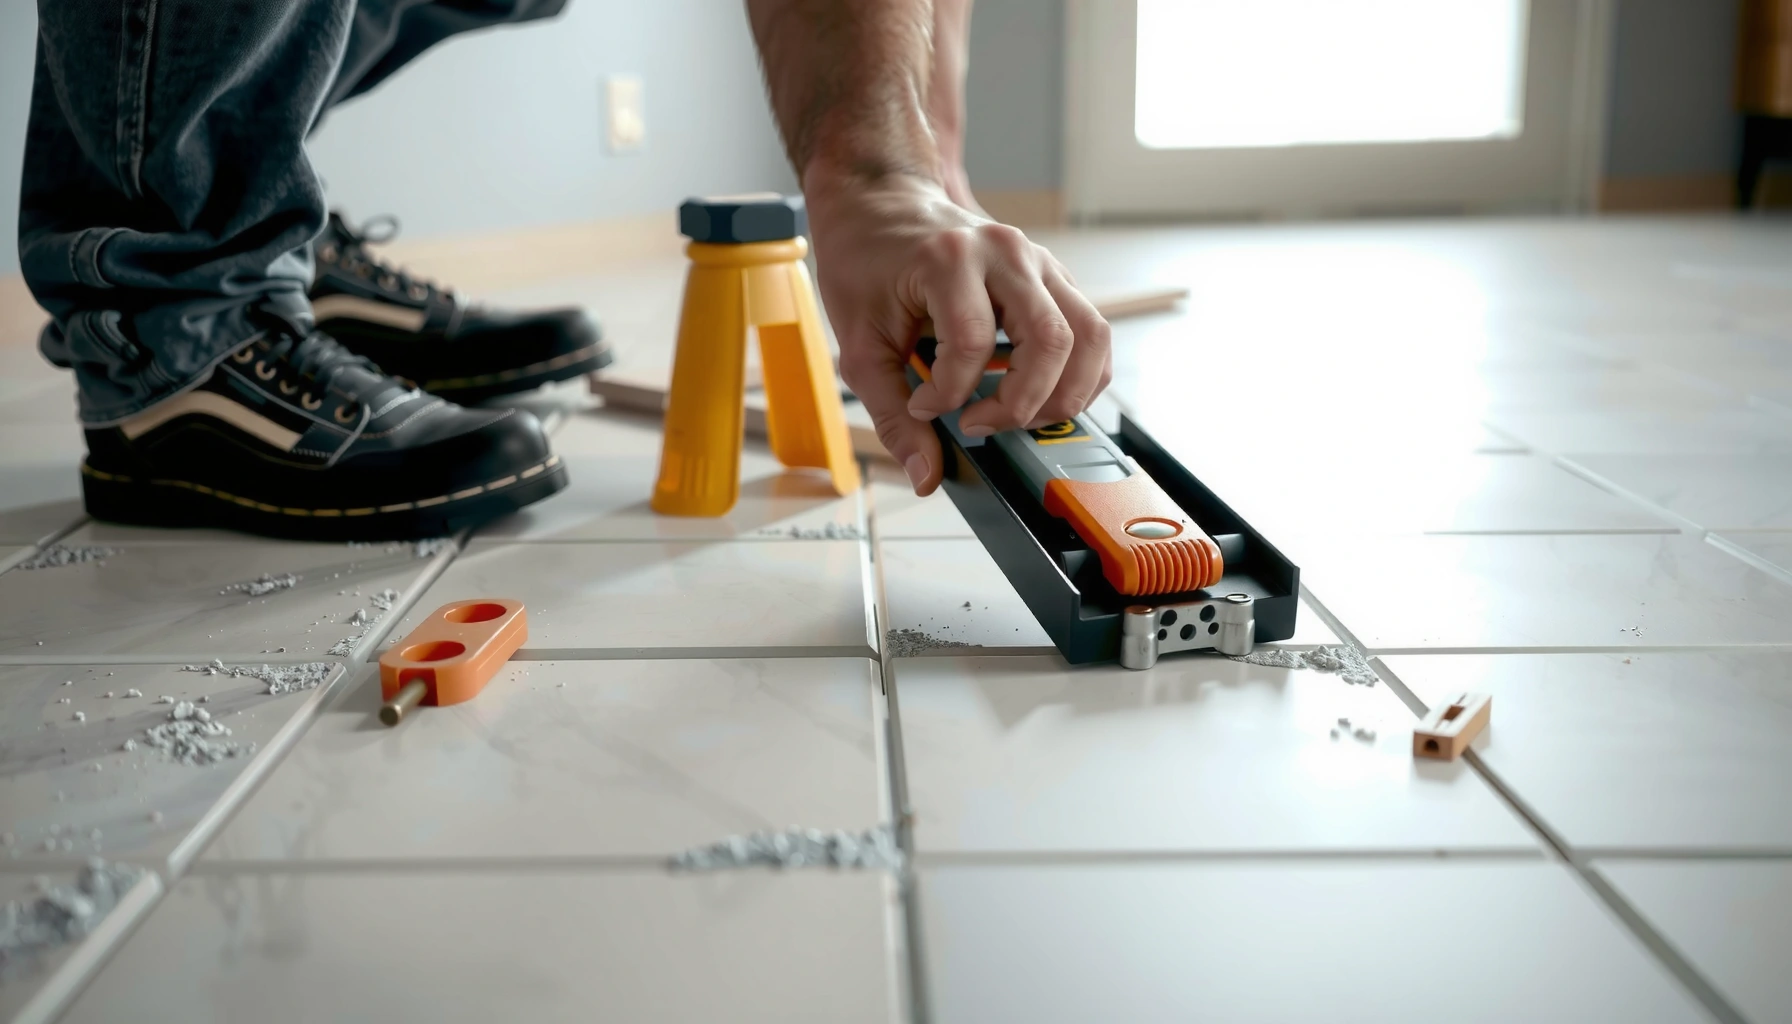
– Periodically verify tile plane with a straightedge
– Expect the system to correct minor height differences—not structural flatness problems
What can go wrong (and how to avoid it)
Most tile failures on uneven floors are predictable: incorrect substrate flatness, incompatible patch/membrane choices, or movement that tile cannot accommodate. The fixes are procedural—measure, select compatible systems, and plan transitions—rather than “try harder while setting tile.”
Skipping the flatness check increases the risk of lippage, cracked grout, and debonding because tile stress distributes unevenly over highs and lows.
Using a filler that isn’t rated for tile bonding can create weak interfaces even if the floor looks flat during installation.
If the wood subfloor flexes, correcting flatness won’t prevent movement-related cracking without a suitable movement-tolerant system.
Common failure modes
– Skipping flatness measurement
Tiles can appear straight initially while still being installed over dips that concentrate stress during load.
– Wrong filler/patch chemistry or thickness
Feather-finish and leveling compounds are rated for specific ranges; using the wrong product can prevent proper bonding or create shrink/crack planes.
– Assuming “cement board solves it”
Cement board adds rigidity but won’t flatten severe unevenness by itself.
– Ignoring height transitions and expansion needs
Uneven tile edges at doorways are often a planning issue (adjacent flooring heights, expansion gaps, and subfloor prep continuity).
According to [ADD: source for TCNA movement/joint and transition guidance], expansion and movement accommodation details matter as much as flatness—especially where flooring materials meet.
Verdict / tip: flatten first, then tile
Flattening an uneven floor before tile is the most reliable path, but it can add time and mess (grinding dust, patching work, cleanup, cure times). If you discover significant subfloor damage, active moisture issues, or structural movement, don’t proceed with tile until the cause is fixed—otherwise you’re building on instability and inviting cracking and costly rework.
In practice, the fastest “long-term” result is measuring flatness, correcting highs/lows to specification, then installing the tile system exactly as the tile and mortar manufacturers require.
Membranes and leveling systems are supporting tools; they don’t eliminate the need for a substrate that meets installation tolerances.
If the substrate is moving (especially on wood), focus on stabilization and movement management before selecting underlayment and thinset.
If you want a simple rule: correct the substrate first. Then choose underlayment and thinset based on substrate + tile type, and only then focus on plane control during installation.
Quick checklist (scan/save)
– Measure flatness with a straightedge/level (multiple directions, include transitions)
– Mark high spots (grind) and low spots (patch/level)
– Verify subfloor stability—especially wood (no deflection, no squeaks)
– Use underlayment/thinset/membrane only as rated by product specifications
– Dry-layout first, then establish a reference line
– Maintain proper thinset coverage and mixing/open-time rules
– Plan transitions and leave required expansion/movement gaps
FAQ
How uneven can a floor be before tile installation?
It depends on the tile and mortar system, but tile requires a very flat substrate. Check the specific tolerances in the tile mortar and tile manufacturer installation instructions. [ADD: source for tile/mortar flatness tolerance]
Can I install tile directly on uneven concrete?
Usually you should not. If there are high spots, they can telegraph through or contribute to cracking; low spots can cause poor thinset bonding or lippage. Grind highs and patch lows with a tile-appropriate product per the manufacturer’s instructions.
What leveling method works best for tile on uneven floors?
Common options are grinding/patching the substrate to flatten it, or using a tile leveling system while setting. The best choice depends on how big the deviations are—substrate flattening typically matters most.
Do I need an uncoupling membrane for uneven floors?
An uncoupling membrane can help manage stress and movement, but it does not replace proper flatness. Use it only if recommended/required by your tile and membrane manufacturer for your substrate and conditions. [ADD: source for membrane requirements]
Is cement board enough to fix uneven subfloors?
Cement board can improve tiling surfaces and rigidity, but it won’t “flatten” severe unevenness by itself. You may need to flatten first and/or use an approved leveling approach before installing cement board.
Sources
– [ADD: tile manufacturer installation instructions (flatness requirements and substrate guidance)]
– [ADD: thinset/mortar manufacturer technical data sheet (recommended substrates and coverage/bonding notes)]
– [ADD: underlayment/uncoupling membrane manufacturer installation instructions (when required and compatibility statements)]
– [ADD: ANSI/TCNA substrate flatness and movement-joint guidance source used for the tolerance statements]
Flattening uneven floors before installing tile is the difference between a floor that stays crisp and square for years versus one that shows lippage, cracks grout, or requires rework. Measure first, correct highs and lows with compatible products, then build your tile system (thinset, underlayment, and any membranes) exactly as the manufacturers specify—especially on wood and in moisture-affected areas.
Frequently Asked Questions
How do I level uneven floors before installing tile flooring?
Start by checking the floor flatness with a 6–10 ft level, straightedge, and feeler gauges to identify the high and low spots. Remove dust, loose debris, and any old adhesive remnants, then fill low areas with a cement-based self-leveling underlayment or patching compound compatible with your subfloor type. If the difference is significant, you may need to shave high spots or use a thicker underlayment system so the tile floor stays flat and meets thinset requirements. Always let leveling products cure fully before tile installation.
What’s the best way to install tile on uneven floors without lippage?
Use a flat installation method that prioritizes tile leveling from the start—apply thinset evenly and ensure each tile sits in the same plane. Back-butter tiles for better coverage and press tiles into the thinset, then use tile spacers and leveling clips/wedges to control height differences. For noticeably uneven sections, build up thinset gradually or use a leveling system that adjusts tile elevation while the mortar is still workable. This reduces lippage and helps prevent cracked grout lines later.
Which underlayment or self-leveling compound works best for tile on uneven subfloors?
For tile floors, choose a cement-based self-leveling underlayment designed for ceramic/porcelain installation and the specific substrate you have (plywood, concrete, or existing flooring). Cementitious products generally perform best because they bond well with thinset and create a durable, flat surface for tile. If you’re working with plywood, you may need an approved underlayment board plus a suitable leveling material, since too much flex can cause tile failure. Always follow the manufacturer’s minimum thickness, feather-edge limits, and curing time.
Why do uneven floors cause tile cracking, loose tiles, and grout failure?
Tile needs a stable, flat surface so thinset can fully support the tile. When the subfloor is uneven, tiles can flex or be supported only at high points, concentrating stress and leading to cracked tiles or debonding. Grout also fails sooner when tiles aren’t evenly seated, because differential movement and uneven edges create weaker joints. Proper floor leveling helps distribute loads and improves long-term durability for tile flooring.
How thick can thinset be used to correct uneven floors during tile installation?
Thinset is meant to bed tiles at a consistent thickness, not replace poor floor leveling; typical thinset thickness requirements depend on the trowel size and manufacturer specs. In practice, you can adjust minor irregularities by varying mortar thickness within the allowable range, but large dips often require patching or self-leveling before tile goes down. If you consistently exceed recommended thinset thickness, you may get weak mortar, poor bond, or tile lippage. Check the thinset label and use a straightedge to confirm the surface is flat enough before you start.
📅 Last Updated: October 08, 2026 | Topic: How to install on uneven floors tile floors? | Content verified for accuracy and freshness.
References
- Google Scholar Google Scholar
https://scholar.google.com/scholar?q=how+to+install+tile+on+uneven+floors+leveling+subfloor - Google Scholar Google Scholar
https://scholar.google.com/scholar?q=tile+floor+substrate+preparation+flatness+tolerance+thinset+mortar - Google Scholar Google Scholar
https://scholar.google.com/scholar?q=self+leveling+underlayment+tile+installation+uneven+concrete+floor - Tile
https://en.wikipedia.org/wiki/Tile - https://en.wikipedia.org/wiki/Thinset_mortar
- Cement board
https://en.wikipedia.org/wiki/Cement_board - Underlayment
https://en.wikipedia.org/wiki/Underlayment - https://en.wikipedia.org/wiki/Mortar_(masonry
- https://en.wikipedia.org/wiki/Grout_(masonry
- https://www.tcnatile.com/