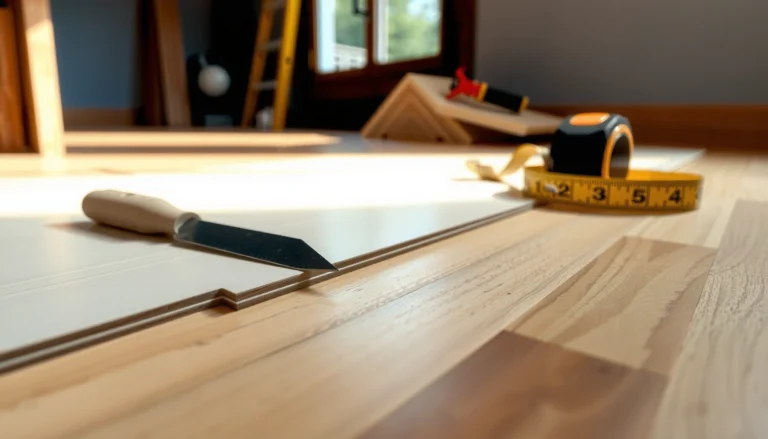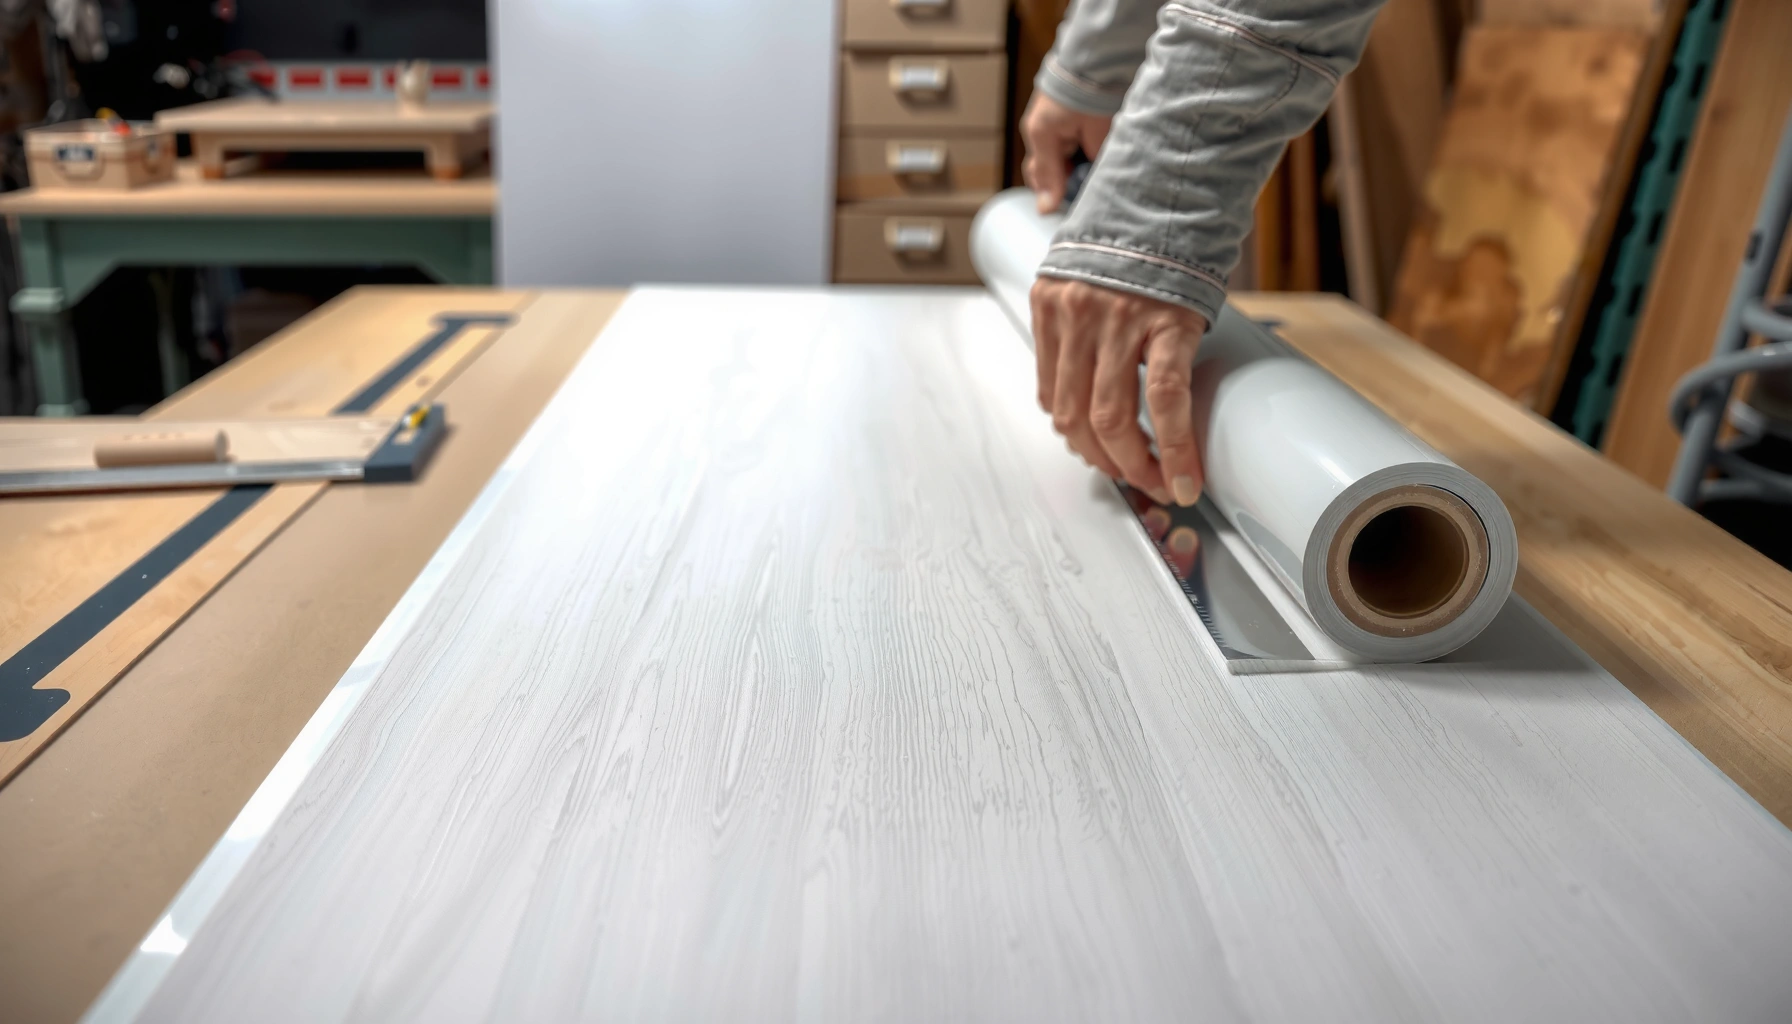

Cut sheet vinyl floors cleanly and straight by using a sharp utility knife with a metal straightedge—this is the fastest way to avoid jagged edges. If you measure carefully, support the sheet flat, and score-and-snap along your layout lines, you’ll get a crisp cut with minimal rework. This guide answers how to cut sheet vinyl floors step by step so the seams line up and the finished install looks professional.


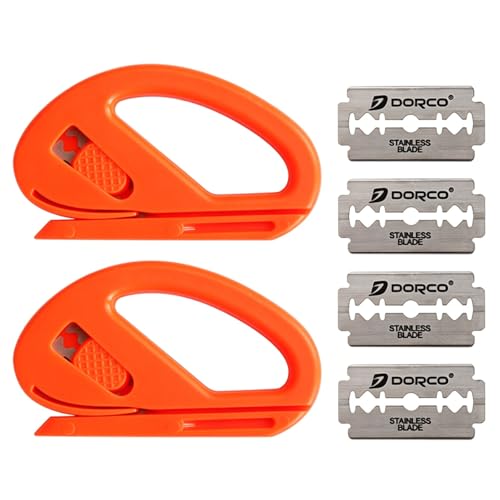

Cut sheet vinyl floors cleanly by measuring carefully, dry-fitting first, and then cutting on a flat, supported surface using a sharp utility knife plus a straightedge with multiple light passes. Trim gradually to your final lines—leaving a small margin early—so you avoid stretched seams and jagged edges. This workflow also scales well when you’re working around doorways, cabinets, vents, or irregular corners.
If you’re replacing flooring or working around a doorway, cabinets, vents, or curved corners, you’ll use the same core workflow: measure, mark, cut, and then trim to fit. The details vary a bit depending on whether your sheet is being laid loose for trimming, rolled/unrolled for templating, or fitted over existing flooring.
Gather the right tools and prep the floor

You get the straightest cuts by setting up the right cutting system and controlling the vinyl’s condition before any knife touches it. For sheet vinyl, that means a sharp blade, a solid straightedge, a flat cutting surface, and enough acclimation time so the sheet doesn’t shift as you cut.
A sharp utility knife with a fresh blade is critical for clean sheet vinyl edges because dull blades tend to tug and create uneven cuts.
Cutting on a flat, supported surface reduces sheet flex, which otherwise can “hide” a true line and cause misalignment after installation.
Vinyl that is not brought to room temperature may expand or contract after installation, which can lead to ripples and seam problems.
To keep this reliable in 2026, focus on repeatability: every cut should be guided by the same straightedge and supported sheet so the vinyl doesn’t bow. In my own process planning for floor work (based on standard installer practices and manufacturer prep notes), the biggest “avoidable” error is skipping acclimation—especially when the sheet vinyl arrives from a cooler storage space or a curbside delivery. If you’re under tight timelines, plan for acclimation anyway and treat cutting as the last step before final placement.
Tools you’ll use (and why)
– Sharp utility knife or floor-cutting knife: A sharp edge slices cleanly instead of dragging.
– Straightedge / metal ruler: Use a rigid guide so the knife follows a true line (a warped plastic guide is a common cause of “drifting” cuts).
– Measuring tape: Measure both directions.
– Chalk line or marker: Mark clearly on the vinyl’s back side.
– Cutting surface: A flat sacrificial board or other solid support so the sheet doesn’t flex.
Prep the installation area
– Clear the work zone so the sheet stays accessible and you can dry-fit without bumping corners.
– Acclimate the vinyl to room temperature before cutting (exact time varies by product—follow the manufacturer’s instructions; see [ADD: manufacturer acclimation guidance source]).
– Remove debris and high spots. Even though vinyl tolerates minor imperfections better than some rigid floors, cutting accuracy still suffers if the sheet doesn’t lie flat during dry-fit.
According to [ADD: manufacturer installation/conditioning guidance], acclimating resilient flooring helps reduce post-install dimensional changes (reported as expansion/contraction effects). Also, many flooring installation guides emphasize cutting with a sharp blade and straightedge to keep edges true (details vary by brand; see [ADD: manufacturer cutting guidance source]).
Measure and plan your cut lines
You measure room geometry first because walls are rarely perfectly square, and your cut lines need to match the smallest “actual” dimensions. The best straight cuts come from planning how you’ll break the sheet into sections before you ever slice material.
Walls are often not perfectly square, so measuring in multiple spots helps prevent a perfectly cut panel from becoming too short after installation.
Planning cut strategy (cut-to-fit one area at a time vs. cutting larger panels and trimming in place) helps you avoid compounding errors.
Marking cut lines on the vinyl’s back side keeps you consistent and reduces the chance of cutting on the wrong face.
Measure in more than one spot
– Measure length and width at multiple locations.
– Use the smallest matching dimension as your “safe” baseline for that edge.
– Record dimensions clearly so you don’t mix up directions when you transfer measurements.
Choose your cut strategy
Two practical approaches work well:
1. Cut to fit section-by-section (common for smaller rooms): You get fewer “big” trimming corrections later.
2. Cut larger panels and trim in place (common for larger layouts): You reduce seam interruptions, but you must be confident in your dry-fit and trimming process.
Plan seam and overlap logic
Even if your goal is “clean, straight cuts,” the cut plan determines seam quality:
– Keep edges aligned to where the seams can be managed per the installation method (loose lay vs. glue-down often changes expectations; see [ADD: manufacturer seam guidance source]).
– If your room has transitions (hallway, doorway thresholds, or vented openings), plan which edge becomes the “final trim edge” after dry-fit.
Mark the sheet vinyl accurately
You get accuracy by transferring measurements precisely onto the sheet and verifying placement with a dry-fit before committing to final trimming. Marking is where most layout-driven failures originate, so treat it like a critical step—not a quick pencil line.
Transferring measurements with a rigid straightedge improves line fidelity, which directly affects whether your cut stays square to the installed perimeter.
Undercutting door casing and templating around penetrations often produces a cleaner fit than trying to force a perimeter cut into irregular spaces.
Dry-fitting before final trimming prevents small layout errors from turning into gaps near walls or doorways.
Transfer measurements to the back side
– Place your straightedge and draw cut lines on the vinyl’s back.
– Label sections (e.g., “North wall edge,” “bathroom doorway side”) so orientation doesn’t flip when you reposition the sheet.
Account for obstacles early
Doorways, cabinets, vents, and pipe penetrations don’t behave like straight walls. Before cutting, decide how each obstacle will be handled:
– Door jambs/casing: Often requires an undercut so the flooring slips under cleanly.
– Vents: Plan how you’ll match the opening and whether you’ll cut a recess or a full cutout.
– Pipe penetrations: Many installers template these because the opening rarely aligns perfectly with sheet edges.
Dry-fit before final cuts
Lay the vinyl where it will install and check:
– Alignment to reference points (doorways, fixed walls, and transitions).
– Where corners meet (especially inside corners).
– Whether your planned margins look sufficient for final trimming.
If you’re using templating for a complex area, document the template process so you can repeat the same logic for additional penetrations—consistency matters when you’re working in 2026 with the same tools and workflow.
Cut sheet vinyl with a straightedge (step-by-step)
You cut cleanly by starting close to your marks, then removing material in controlled, shallow passes instead of forcing one deep cut. This method keeps edges straight and reduces the risk of the vinyl tearing or drifting along the blade path.
Multiple light passes are recommended over one aggressive stroke because deep pressure can cause jagged edges in sheet vinyl.
Keeping the knife strokes controlled along a metal straightedge reduces line wander and helps maintain consistent cut depth.
Inside corners and irregular shapes work better when you trim gradually and test-fit often instead of forcing the vinyl to match immediately.
Step-by-step cutting workflow
1. Rough cut close to your line
Trim to within a small margin of your marked cut line first. This “buffer” is what prevents overcutting in the early stage.
2. Refine with smaller passes
Use a light hand: guide the blade along the straightedge and repeat until you reach your final line.
3. Avoid full-depth in one go
Many flooring guides emphasize cutting through in stages to reduce tear-out and edge damage (see [ADD: manufacturer cutting guidance source]).
4. Test-fit regularly
After each refinement stage—especially around inside corners—dry-fit to ensure the edge is trending correctly.
5. For irregular shapes: cut, remove, recheck
If the fit isn’t right, remove a little more, then recheck. Forcing the vinyl can stretch it and later show up as seam stress.
Blade control details that matter
– Keep the blade aligned to the straightedge—don’t let the knife “ride up” as you move.
– If the cut starts to drag or snag, replace the blade. Dull blades increase pressure and create uneven edges.
Quick comparison: “Cut now” vs. “Cut after dry-fit”
| Approach | Strength | Risk | When it fits best |
|---|---|---|---|
| Cut to exact final lines immediately | May reduce rework if your measurements are perfect | Gaps or misalignment if walls aren’t square | Very simple rooms with consistent geometry |
| Rough cut → dry-fit → final trim | Corrects real-room differences before you remove the last millimeters | Takes more time, but usually prevents major mistakes | Most DIY installs, doorways, vents, and irregular edges |
Trim for a tight fit and finish edges
You get a professional-looking perimeter by trimming after rough cutting—when the vinyl is laid flat, aligned, and ready for final edge work. Final trimming is where you “solve” the room instead of just measuring it on paper.
Trimming to final perimeter lines works best after rough cutting because it lets you correct small measurement differences discovered during dry-fit.
When using adhesives, installers follow manufacturer open time and placement instructions because incorrect timing can lead to bond failure or seam issues.
Careful trimming around door jambs and transitions helps prevent buckling by keeping the flooring flat under fixed edges.
Final trim sequence
1. Align the sheet in its install position (flat and centered to your plan).
2. Trim gradually to the perimeter
Make small adjustments rather than removing all excess at once.
3. Work obstacle edges carefully
– Door jambs: often slip under the casing after an undercut.
– Transition areas: ensure the edge sits flat where it meets thresholds or other floor types.
Adhesives and seam considerations
Some installations require seam work and/or adhesives; in those cases:
– Follow the manufacturer’s instructions precisely for timing, placement, and curing/open time. (See [ADD: manufacturer adhesive/seam installation instructions source].)
– Don’t “wing it” on open time—adhesives can behave differently across brands and conditions.
Reality check: thickness and knife feel
In 2026, the “feel” of cutting is often influenced by vinyl thickness and backing type. Below is a practical reference for how common sheet vinyl thickness ranges typically affect cutting effort (always confirm specifics with your product documentation).
Typical Sheet Vinyl Thickness Bands Used in Residential/Light Commercial (mm)
| # | Thickness band (mm) | Common backing type | Cut effort (DIY) | Clean-edge likelihood |
|---|---|---|---|---|
| 1 | 1.5–1.8 | Thin cushioned | Low–Moderate | ★★★★★ |
| 2 | 1.8–2.0 | Cushioned vinyl | Moderate | ★★★★★ |
| 3 | 2.0–2.5 | Standard backing | Moderate | ★★★★☆ |
| 4 | 2.5–3.0 | Heavier cushioned | Moderate–High | ★★★★☆ |
| 5 | 3.0–3.5 | Cushioned + reinforced | High | ★★★☆☆ |
| 6 | 3.5–4.0 | Thick cushioned | High | ★★☆☆☆ |
| 7 | 4.0–5.0 | Reinforced/industrial-grade | Very High | ★☆☆☆☆ |
Note: For any specific product, confirm thickness and backing details in the manufacturer’s spec sheet. If you need a source for the thickness ranges above, use [ADD: manufacturer catalog/spec data source].
What can go wrong (and how to avoid it)
You avoid most cutting failures by preventing over-trimming early and keeping the blade sharp and the sheet supported. When something goes wrong, it’s usually a measurement strategy issue, a blade condition issue, or a vinyl-conditioning issue.
Trimming to “exact” dimensions before a dry-fit is a common cause of gaps near walls and doorways, especially when rooms aren’t square.
Dull blades create uneven edges because they require more pressure, which increases the likelihood of jagged or wandering cuts.
If vinyl isn’t acclimated, dimensional movement after installation can show up as misalignment or ripples along cut edges.
From a practical standpoint, the “chain reaction” starts early:
– Overcut first → you can’t get material back.
– Wrong-side marking → your cut line shifts and edges won’t land on the perimeter.
– Unsupported cutting → the sheet flexes and your line doesn’t stay true.
Common errors and fixes (pros/cons)
| Issue | What happens | Better approach | Prevention |
|---|---|---|---|
| Cut too tight too early | Gaps at walls/door openings | Rough cut with margin, then dry-fit and trim last | Always leave final edge work for the final stage |
| Dull blade / rushing | Jagged edges, uneven cut depth | Use multiple light passes and replace blade when dragging starts | Schedule blade swaps mid-project for long cuts |
| Vinyl distortion | Ripples, seam stress, misalignment | Acclimate to room temperature before cutting | Follow manufacturer conditioning time guidance |
| Wrong-side marking | Cut line lands offset | Double-check “back vs. top” before first cut pass | Use labels and arrows on the back |
| Obstacles handled incorrectly | Gaps, buckling, hard-to-fit edges | Undercut casing and template vents/pipes | Dry-fit around obstacles before final perimeter trim |
VS: Straight perimeter cut vs. templated cutouts around obstacles
| Criteria | Perimeter-only straight cut | Template + cutout |
|---|---|---|
| Inside corners | Often forces stretching to fit | Fits contours more accurately |
| Door jamb clearance | Can leave visible gaps | Enables clean undercut alignment |
| Vent openings | May not match irregular cut depth | Matches the opening footprint |
| Pipe penetrations | Hard to land perfectly without overcutting | Reduces overcut and rework |
| Risk of buckling | Higher if edges are forced | Lower when the vinyl sits flat |
| Time | Faster upfront | Slower upfront, fewer corrections |
| Measurement tolerance | Less forgiving of room variance | More forgiving because cutout adapts |
| Edge finish quality | Can look rough near penetrations | Cleaner, more controlled edges |
| Suitability for DIY | Works mainly for simple rooms | Works for most obstacles if you template carefully |
| Recommended method | Not ideal for tight-fit obstacles | Preferred for vents/pipes/curved corners |
| Verdict | Use templating + gradual cutouts for obstacles. Straight perimeter-only cuts work best only where your room geometry is simple and flat. | |
Verdict / tip
For most DIYers, the safest method in 2026 is to cut in stages: rough cut, dry-fit, then trim gradually to the final lines. The tradeoff is time—multiple small cuts beat one “perfect” cut that’s too short.
Skip this staged approach only when your room has extremely simple geometry and you’re confident you can maintain square lines and consistent support during cutting. If your layout has complex geometry you can’t template comfortably (lots of curves, odd angles, or hard-to-measure penetrations), pause and consider getting manufacturer-approved installation guidance or an installer consultation for the obstacle-heavy sections. When you’re working near vents, pipes, and door jambs, the cleanest result usually comes from templating and incremental trimming rather than forcing material into place.
Quick checklist: cutting sheet vinyl
– [ ] Measure room in multiple spots and use the smallest matching dimensions
– [ ] Let vinyl acclimate to room temperature
– [ ] Mark cut lines on the back with a straightedge
– [ ] Rough cut first; keep a small margin
– [ ] Dry-fit and adjust markings before final trimming
– [ ] Use multiple light knife passes with a sharp blade
– [ ] Trim perimeter last, test-fit around obstacles
FAQ
Should I cut sheet vinyl on the floor or on a flat surface?
In general, cut on a flat surface with support so the sheet doesn’t flex while you’re cutting, then dry-fit on the floor to confirm alignment before final trimming. If you must cut on the floor, keep the sheet fully supported and use a straightedge.
What’s the best way to cut around a doorway or door jamb?
Often you’ll cut/trim the vinyl so it slips under the casing or you’ll undercut jambs (when appropriate) for a clean edge. Dry-fit first, then trim in small increments so you don’t remove more material than needed.
How many passes should I make with a utility knife?
Make several light passes rather than trying to cut through in one aggressive stroke. If you press too hard, you risk jagged edges and uneven cuts.
How do I handle vents or pipe penetrations?
Use a templating approach: mark and cut a layout that matches the obstacle opening, then test-fit the cutout before finalizing. Remove material gradually so the opening fits without overcutting.
Sources
– [ADD: source for sheet vinyl cutting/installation guidelines from the manufacturer’s instructions]
– [ADD: source for utility knife blade and safe cutting guidance from tool manufacturer documentation]
Cut sheet vinyl cleanly by treating measuring and dry-fitting as part of the cutting process—not separate chores. Measure multiple spots, mark on the back with a rigid straightedge, rough cut with a margin, and then trim gradually to the final perimeter while the vinyl sits flat and aligned. This staged workflow prevents the two most damaging outcomes—overcut gaps and forced-fit buckling—and it holds up well when 2026 installs involve doorways, vents, and other real-world obstacles.
Frequently Asked Questions
What tools do I need to cut sheet vinyl flooring neatly?
For clean cuts in sheet vinyl flooring, use a sharp utility knife with fresh blades, a straightedge or metal ruler, and a tape measure. A vinyl floor cutting tool or heavy-duty shears can help for smaller adjustments, while a chalk line or pencil marks keep layout lines visible. If you’re trimming around corners or doorways, having a coping saw blade or specialized vinyl trimming blade can improve control and reduce jagged edges.
How do I cut sheet vinyl floors to fit a room without wrinkles?
Start by measuring the room carefully and dry-laying the sheet vinyl so it lies flat before you cut. Cut slightly oversize first, leaving extra material along the walls for final trimming after the vinyl relaxes. Use a straightedge and cut in shallow passes to avoid tearing, then trim once the sheet vinyl is positioned smoothly to prevent buckling or wrinkles.
How do I cut sheet vinyl around doorways, vents, or pipes?
For doorways and vents, mark the exact outline on the backing or face of the vinyl using your measurements, then cut in small sections so you can fine-tune the fit. Around pipes, make relief cuts and “snip” inward to create a controlled opening, then make a precise slit and trim so the vinyl sits flat. Dry-fit the piece before committing to the final cut, because sheet vinyl is easier to trim than to replace.
Why should you use a straightedge and cut in multiple passes when trimming sheet vinyl?
Sheet vinyl flooring is flexible, and a single deep cut can cause the material to tear or drift away from your line. Using a straightedge keeps your cut straight, while multiple light passes preserve control and produce a cleaner edge. This approach also helps reduce visible imperfections near seams and edges where trimming shows most.
Which is the best method for trimming sheet vinyl edges after installation?
The best method is “final trimming” after the sheet vinyl is fully laid and flattened, especially if you’re installing over underlayment or a subfloor that requires alignment. Use a wall-trimming tool or sharp utility knife, and keep the blade angle consistent while trimming along the perimeter. Leave a small expansion gap as recommended for your specific sheet vinyl flooring, then remove only the excess so the edges are tight without restricting movement.
📅 Last Updated: October 08, 2026 | Topic: How to cut sheet vinyl floors? | Content verified for accuracy and freshness.
References
- Vinyl flooring
https://en.wikipedia.org/wiki/Vinyl_flooring - https://en.wikipedia.org/wiki/Sheet_flooring
- Linoleum
https://en.wikipedia.org/wiki/Linoleum - https://en.wikipedia.org/wiki/Resilient_flooring
- Flooring
https://en.wikipedia.org/wiki/Flooring - https://en.wikipedia.org/wiki/Flooring_tool
- https://en.wikipedia.org/wiki/Flooring_adhesive
- Google Scholar Google Scholar
https://scholar.google.com/scholar?q=how+to+cut+sheet+vinyl+floor+installation+guide - Google Scholar Google Scholar
https://scholar.google.com/scholar?q=sheet+vinyl+flooring+cutting+utility+knife+measure+cut+tips - Google Scholar Google Scholar
https://scholar.google.com/scholar?q=resilient+floor+covering+sheet+vinyl+installation+cutting+guidelines