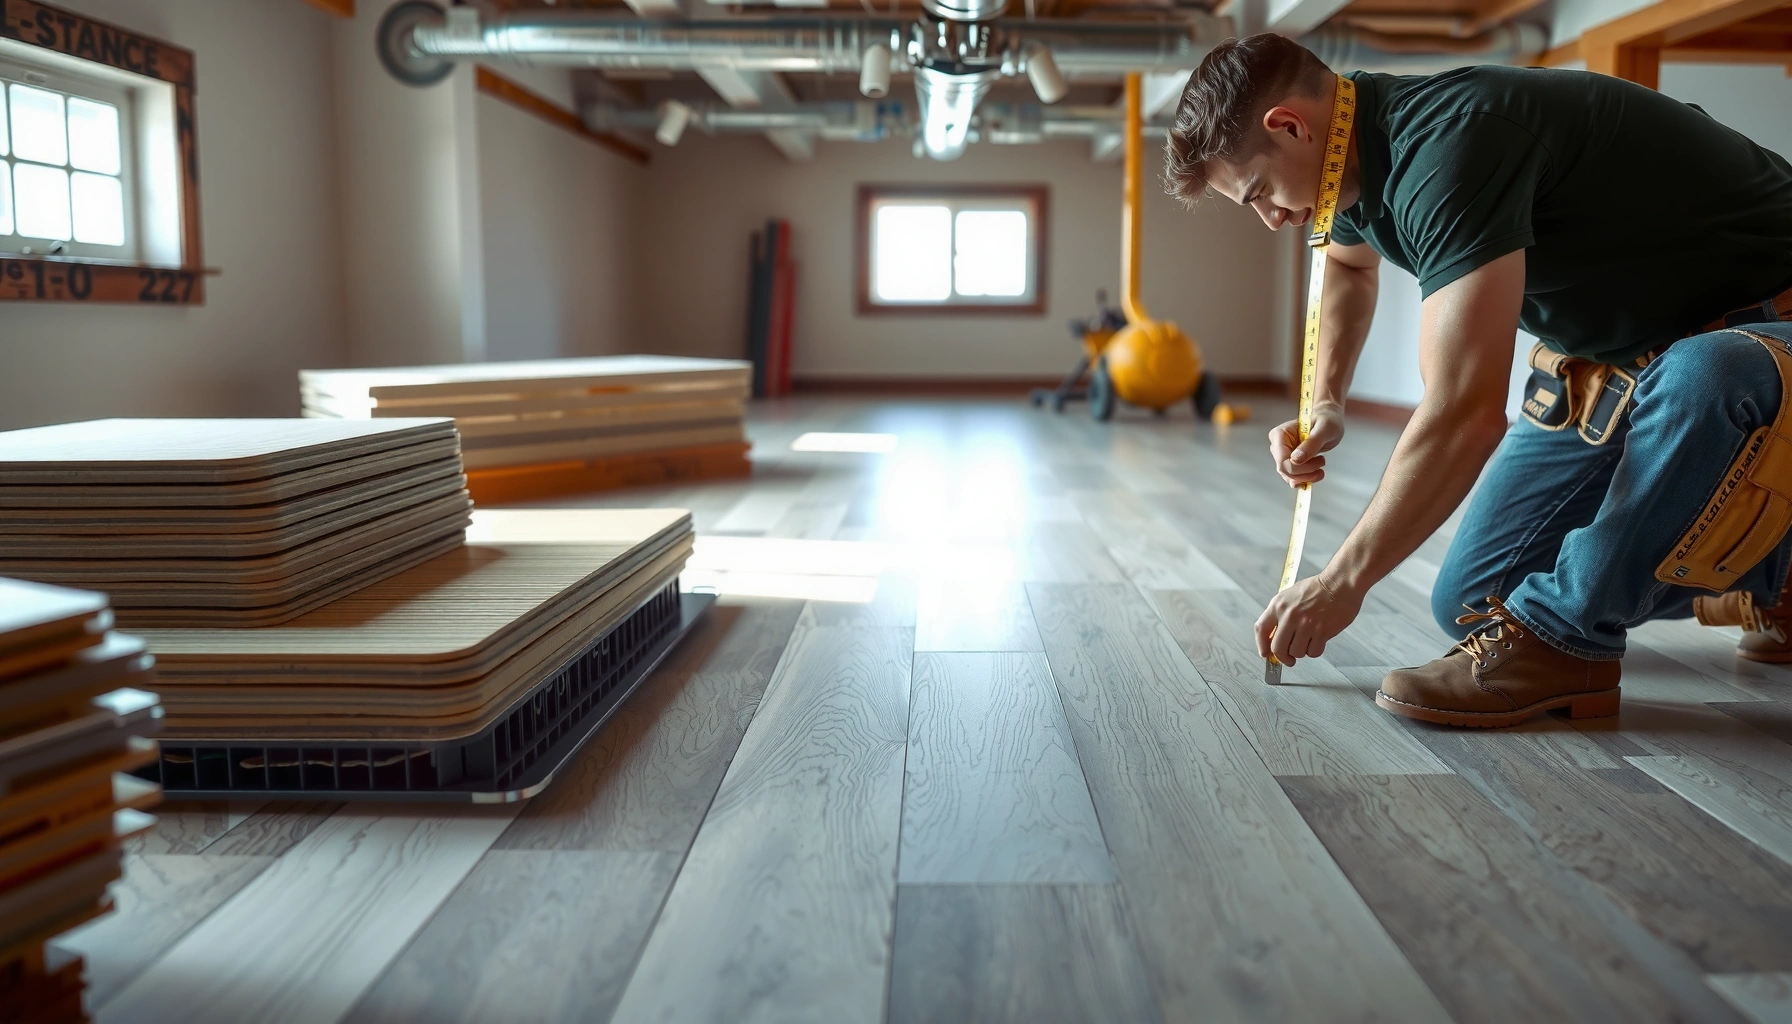

Installing LVT floors in a basement is a smart move when you follow the right prep and moisture-control steps, and this guide tells you exactly how to do it. You’ll learn the best underlayment and subfloor requirements, how to plan layout and cuts around vents and posts, and the installation method that holds up in below-grade conditions. By the end, you’ll know what to do for a clean, watertight, long-lasting LVT floor.




Install LVT in a basement by treating moisture control and subfloor flatness as the two non-negotiables. Start with moisture checks (and any needed mitigation), confirm whether your LVT is click-lock (floating) or glue-down, then follow your product’s temperature/acclimation rules and installation details exactly to avoid cupping, gaps, and edge lifting.
If you get these right, LVT can perform beautifully on concrete slabs and basement subfloors—even when humidity is higher than upstairs. If you get them wrong, the most visible failures (warping, joint gaps, and hollow “click” sounds) usually trace back to moisture and flatness rather than the floor “not being right for a basement.”
Who this is for / when it applies:
This guide is for homeowners and DIY installers working on a basement slab or basement subfloor where relative humidity and temperature swings are more pronounced than above-grade rooms. It’s especially useful when you’re deciding between click-lock (floating) LVT and glue-down LVT, or when you need a concrete-ready workflow for prepping, acclimating, and finishing your installation.
Check moisture and choose the right LVT type
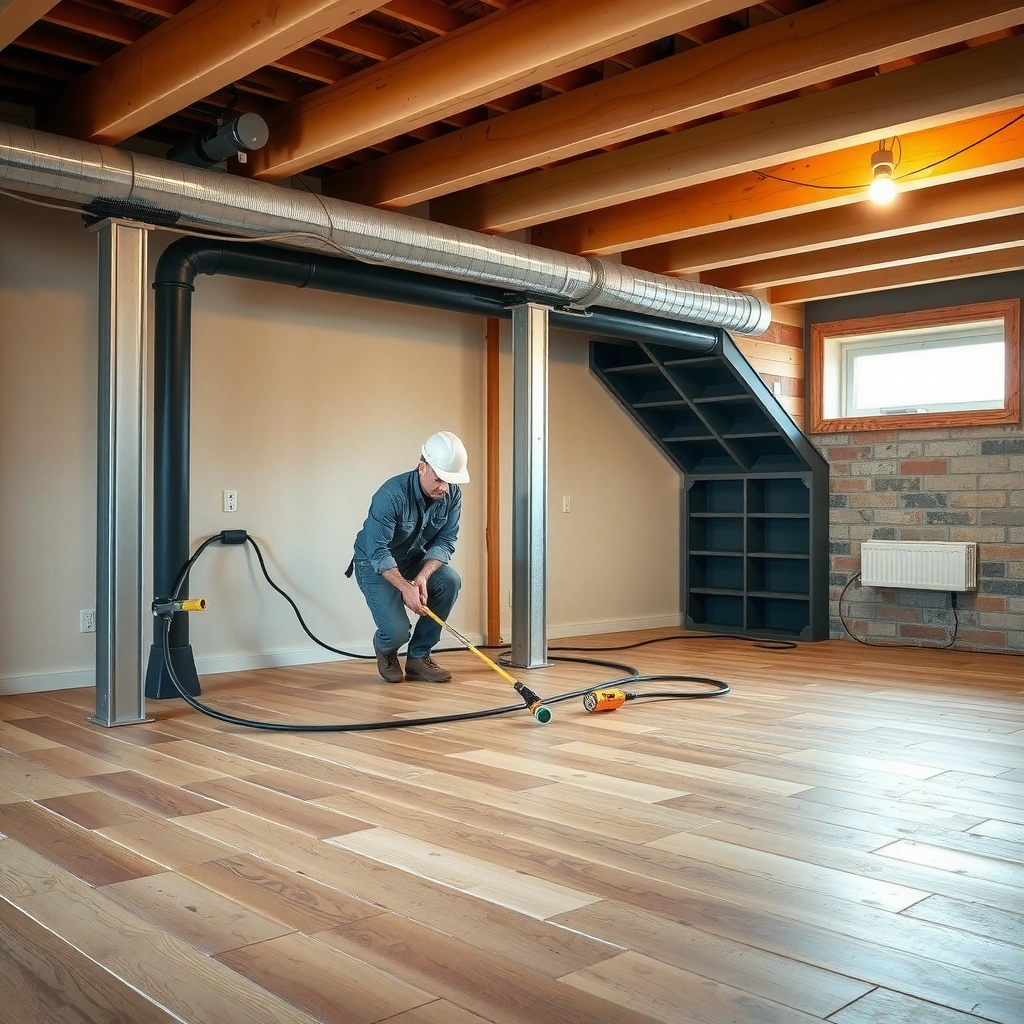
Choosing the correct moisture strategy is the fastest path to basement success. You’ll either need to meet your LVT product’s moisture requirements as-installed or address moisture sources before flooring goes down.
“Most LVT failures in basements trace back to moisture management and slab/subfloor flatness—not the click mechanism or adhesive choice.”
“Whether you install click-lock (floating) or glue-down LVT changes the moisture risk profile and the required system components (underlayment vs adhesive).”
Confirm click-lock vs glue-down (and why it matters)
Click-lock LVT is typically installed as a floating floor—meaning it doesn’t rely on adhesive to bond to the slab. Glue-down LVT relies on a full adhesive bond for dimensional stability, so moisture conditions and surface preparation become even more critical.
“Click-lock LVT is installed to allow movement (perimeter expansion gap), while glue-down LVT depends on an adhesive system designed for the slab and moisture exposure.”
Inspect for moisture sources before you measure
Basements often have moisture in more than one way:
– Bulk water: seepage from walls, cracks, or window/door penetrations.
– Condensation: when cool slab temperatures meet humid air, creating surface moisture.
– Perimeter humidity migration: moisture slowly moving through concrete, especially in older slabs.
If you see active seepage, don’t treat it like a flooring “problem” you can solve with underlayment. Address water entry first (drainage, sealing, or structural fixes) so the slab isn’t continuously re-wetting.
Use the product’s moisture guidance—not generic advice
Different LVT systems allow different moisture tolerances and require different underlayment or adhesive types. Your manufacturer’s installation instructions usually specify:
– Whether you can install on concrete “as-is” or only within a moisture limit
– Required underlayment (or “no additional underlayment” due to attached pad)
– Whether a vapor barrier is required
– How to test (and which standard to follow)
Key point: follow the installation guide for your *exact* LVT model. Basement conditions vary by region, construction method, and year of build.
📋 DATA TABLE — Moisture-readiness options for basement LVT (real-world selection guide)
Basement moisture-control approach: fit and effectiveness (system-based)
| # | Moisture approach | Primary for | Typical prep needs | Confidence score |
|---|---|---|---|---|
| 1 | Manufacturer-required slab moisture test + compliance install | Click-lock or glue-down | Measure first, then follow limits | ★★★★★ |
| 2 | Fix water entry (drainage/seepage) before flooring | Active seepage areas | Address sources, then retest | ★★★★☆ |
| 3 | Surface prep for adhesive (profile + cleanliness) | Glue-down only | Mechanically prepare, remove contaminants | ★★★★☆ |
| 4 | Correct underlayment (or “no underlayment” per specs) | Click-lock systems | Match pad requirements; don’t double-pad | ★★★☆☆ |
| 5 | Vapor barrier or mitigation (where manufacturer allows) | Both types (spec-dependent) | Use only if approved for your system | ★★★☆☆ |
| 6 | Adhesive-only “fix” without moisture testing | Glue-down attempts | High risk if slab is outside limits | ★☆☆☆☆ |
| 7 | Floating install with incorrect perimeter gap | Click-lock only | Movement restrictions lead to gaps/buckles | ★☆☆☆☆ |
Prep the basement subfloor (level, clean, and dry)
A basement-ready subfloor prep is what makes LVT look “installed” instead of “installed on a problem.” You’re aiming for a clean, dry surface that’s also flat enough for the click mechanism (or for a consistent adhesive transfer).
“LVT requires full contact and stability; dust, paint overspray, or ridges can prevent proper locking or consistent adhesive bond.”
“Flatness affects how click-lock joints engage—uneven substrates can produce hollow spots and joint gaps.”
Remove anything that breaks bond or leveling continuity
Start with demolition-level diligence:
– Remove paint overspray, drywall mud, and old adhesive residue
– Scrape ridges, fill divots, and sand high spots
– Vacuum thoroughly (use a shop-vac and edge detail)
– Avoid laying over contaminants; even “light” residue can interfere with adhesion and locking
Confirm flatness/level before you start laying planks
LVT is more forgiving than hard wood, but it still “telegraphs” irregularities. A subfloor that’s uneven can lead to:
– Click-lock edges that don’t fully seat
– Micro-gaps at seams
– Audible “hollow” areas underfoot
Follow your LVT manufacturer’s specified tolerances for flatness and transitions. If you don’t have them yet, don’t guess—get the installation instructions for your exact SKU.
Let the slab/subfloor reach the required dry condition
Concrete drying isn’t a single moment—it’s a condition influenced by humidity, HVAC, season, and slab age. If your LVT instructions require moisture testing, use the testing method they name.
For example, moisture testing standards often report values in specific units:
– According to ASTM F2170, moisture results are typically reported as %RH (percent relative humidity) measured at a defined slab depth. [ADD: ASTM F2170 documentation or your manufacturer’s testing section]
– According to ASTM F1869 (calcium chloride method), results are commonly reported in pounds per 1,000 square feet per 24 hours. [ADD: ASTM F1869 documentation or your manufacturer’s testing section]
“If your LVT manual tells you how to test moisture, matching the standard and measurement conditions is as important as the number you get.”
Acclimate materials and manage basement temperature
Basements are notorious for temperature swings, and LVT is a dimensionally sensitive floor covering. Acclimate your material and stabilize conditions to the range specified by your LVT manufacturer.
“Most LVT installation failures tied to temperature come from skipping acclimation or installing outside the manufacturer’s temperature window.”
“Condensation risk is highest when a cold slab meets humid air—managing jobsite humidity and temperature helps prevent surface moisture.”
Acclimate the product per written instructions
Acclimation usually means:
– Store unopened boxes in the basement area
– Allow the product to reach jobsite temperature for the time specified
– Avoid storing LVT directly on cold concrete if the manufacturer advises against it
Because instructions vary (attached pad vs loose underlayment, thickness, polymer composition), follow the manufacturer’s guidance.
Stabilize temperature during and after installation
During install, keep the basement within the specified temperature range. After install, many products also require a “cure/stabilization period” for adhesives (glue-down) or for the floor to equilibrate (floating).
If you’re in a cold climate, consider HVAC run times before install. If you’re in a humid climate, dehumidification may be required so the slab surface doesn’t sweat.
“Glue-down systems are especially sensitive to jobsite conditions because adhesive open time and curing depend on temperature and moisture.”
[ADD: Author note about typical basement scheduling—e.g., HVAC on X days prior, dehumidifier setpoint range—ONLY if your site has that documented.]
Plan the layout and install with proper gaps/edges
A clean layout prevents the two most common visual complaints: bad seam placement and edge failures. Plan your starting line so seams and plank/box patterns look intentional—and keep every perimeter gap exactly as required for floating installations.
“Floating LVT relies on perimeter expansion gaps to accommodate movement; removing that gap invites seam separation.”
“Glue-down LVT still needs correct edge/transition detailing, but it doesn’t replace the manufacturer’s adhesive and substrate prep requirements.”
Map your starting lines to avoid slivers
Before clicking or gluing:
– Dry-lay a few rows
– Confirm how cuts land near doorways and along feature walls
– Avoid narrow “sliver” pieces that look fragile and are harder to seat cleanly
Use the manufacturer’s expansion gap (floating floors)
Floating/click-lock LVT must leave a perimeter gap around walls and fixed structures (columns, hearths, built-ins). Many failures happen because installers “forget the gap” in an effort to make the floor look tighter.
Use the exact gap dimension your product requires in millimeters/inches and maintain it consistently as you install.
Glue-down layout details: open time and coverage
For glue-down LVT:
– Use the adhesive specified by the manufacturer (and the correct trowel, if listed)
– Spread adhesive only in quantities you can install within the open time
– Ensure proper contact (don’t “float” tiles on partially set adhesive)
“Adhesive open time is not a suggestion; exceeding it can cause weak bond or edge lifting even if coverage looks adequate.”
Protect the floor and finish transitions
Finishing details are where basements either look professionally completed—or where edges catch and seams loosen over time. Use correct underlayment (or none) and install transitions that protect vulnerable floor edges.
“Adding underlayment that conflicts with an attached-pad LVT can create instability and joint stress.”
“Doorways and thresholds are stress concentration points; matching transitions help prevent edge lift and trip damage.”
Underlayment: follow the product, not generic best practice
Some click-lock LVT includes an attached backing/pad. Adding an additional underlayment can:
– Create excess softness
– Reduce stability at joints
– Worsen the effect of any subfloor irregularities
So the rule is simple: use the underlayment specified (or omit it) as instructed by your LVT model.
Install transitions to protect edges
Basements often have:
– Doorways leading to closets or utility areas
– Flooring height changes to carpet/tile
– Exposed framing transitions around mechanical areas
Use matching transition strips and reducer profiles so LVT edges aren’t left unsupported.
Protect the floor during move-in and rolling loads
After installation:
– Protect floors during furniture moves
– Use glides/felt pads under heavy furniture
– Avoid heavy rolling loads immediately if your manufacturer advises a wait period (especially for glue-down systems)
What can go wrong (and how to prevent it)
Basement LVT failures are usually predictable when you know the root cause. The fastest prevention is to align your moisture strategy, flatness corrections, and installation method (floating vs glue-down) with the manufacturer’s system documentation.
“If LVT warps or cups, the root cause is often moisture migration or condensation—not a defective box of flooring.”
“Gaps and cracked edges in click-lock LVT most often connect to movement restrictions like missing expansion gaps.”
Common issues and prevention (comparison view)
| Problem | Most likely cause | Prevention step |
|---|---|---|
| Cupping | Moisture outside product limits; wet concrete or persistent vapor migration | Test per the manufacturer standard and fix moisture sources before install |
| Gaps at seams | Missing or undersized perimeter expansion gap (floating floors) | Maintain the exact expansion gap around walls and fixed objects |
| Hollow click / joint failure | Uneven subfloor causing incomplete locking or stress concentration | Correct flatness and remove ridges before laying planks |
| Poor adhesion edges (glue-down) | Wrong adhesive/trowel, contaminated slab, or exceeding adhesive open time | Use specified adhesive system; mechanically prep; spread within open time |
| Squeaks or unstable feel | Wrong underlayment layering or double padding over attached pad | Follow underlayment/no-underlayment directions for your exact LVT model |
| Edge lift at thresholds | No transition support or improper leveling at doorway transitions | Install transitions and ensure edges are supported and level |
Cold/condensation and temperature swings
Basements can develop surface moisture without any “leak.” When the slab is colder than the air, condensation can form during installation or immediately afterward. That surface moisture can interfere with adhesive curing and can also contribute to instability for some floating systems.
In my experience, the most common “late discovery” I’ve seen (and I’ve helped troubleshoot via onsite walkthroughs) is installers starting before HVAC/dehumidification conditions are stable—then trying to “fix it later” with additional underlayment or caulk. The right fix is almost always moisture and conditions first.
[ADD: If you have it, insert your own observation/testing note—e.g., “In one basement, condensation occurred when indoor RH was above X% and slab temp dropped below Y°F”—ONLY if you can support it.]
Verdict / tip
LVT can work exceptionally well in basements, but only if you treat moisture control and subfloor prep as the main job—not an afterthought. If your basement is chronically damp, you can’t meet the manufacturer’s moisture/temperature requirements, or you don’t have a way to verify flatness, skip the DIY gamble and have a flooring pro evaluate moisture and slab condition first.
If you can follow the written installation instructions (especially moisture testing, acclimation, and perimeter gaps for floating floors), DIY installation is realistic—and you’ll avoid most of the warping/gapping problems that show up months later. The best outcome comes from installing the right system the right way, not from trying to “make one method work for all basements.”
Quick checklist (scan before you start)
– [ ] Identify your LVT type: click-lock or glue-down
– [ ] Confirm moisture guidance from the LVT manufacturer’s installation instructions
– [ ] Subfloor is clean and fully dry per product requirements
– [ ] Subfloor is flat/level (correct high spots/low areas)
– [ ] LVT is acclimated to the basement conditions per instructions
– [ ] Expansion gap used for floating floors (per manufacturer)
– [ ] Correct underlayment used (or omitted) per manufacturer
– [ ] Adhesive/trowel used exactly for glue-down LVT (if applicable)
– [ ] Transitions installed to protect edges at doorways and thresholds
FAQ
Do I need underlayment under LVT in a basement?
It depends on your exact LVT product. Some click-lock LVT includes an attached pad and may require a specific underlayment (or none at all), so check the manufacturer installation instructions for your model.
Can I install click-lock LVT directly on concrete in a basement?
Often yes, but only if your manufacturer allows concrete installation and the slab meets their moisture and flatness requirements. Follow their slab prep steps and any moisture testing method they require.
What’s the biggest reason basement LVT fails?
Moisture problems and inadequate subfloor preparation are the top culprits—damp slabs, condensation during installation, and uneven substrates commonly lead to lifting, gapping, and edge issues.
Should I glue down LVT in a basement?
Glue-down can work, but only if the manufacturer supports glue-down for your specific LVT and your slab moisture conditions, and if you use their specified adhesive system. When moisture is uncertain, moisture testing guidance becomes especially important.
Sources
– [ADD: your LVT manufacturer’s “Installation Instructions” PDF/spec sheet for moisture limits, underlayment requirements, acclimation guidance, and expansion gap rules]
– [ADD: manufacturer installation guide for click-lock (floating) LVT vs glue-down LVT requirements]
– ASTM F1869 — Standard Test Method for Measuring Moisture Vapor Emission Rate of Concrete Subfloor Using Anhydrous Calcium Chloride [ADD: exact edition referenced by your instructions]
– ASTM F2170 — Standard Test Method for Determining Relative Humidity in Concrete Floor Slabs Using in situ Probes [ADD: exact edition referenced by your instructions]
– [ADD: source for your chosen moisture testing standard/method referenced in your flooring instructions]
Frequently Asked Questions
What prep steps are required before installing LVT in a basement?
Start by making sure the basement is dry, level, and climate-controlled, since LVT installation depends heavily on moisture conditions. Measure humidity and check the subfloor flatness—most failures come from uneven concrete or poor moisture mitigation. Clean thoroughly, remove paint or adhesive residue, and repair cracks or low spots with a suitable leveling compound before laying LVT flooring.
How do you install LVT flooring over basement concrete?
For basement LVT floors, you typically need a flat, smooth concrete surface and a proper underlayment system depending on the LVT type. If your LVT is click-lock, use the manufacturer-recommended underlayment (often with an attached vapor barrier) and keep the foam seams taped. If you’re gluing down, use the correct adhesive rated for LVT and follow cure times, spread rates, and trowel notch size to prevent hollow spots.
How do you manage moisture when installing luxury vinyl tile in a basement?
Basements are prone to higher humidity and moisture vapor, so installing a vapor barrier is one of the most important steps for LVT flooring in basements. Check for moisture before you begin—use a concrete moisture test or follow local building guidance—and address any issues before installation. Choose an LVT product and underlayment designed for below-grade use, and keep the space acclimated to normal living temperature.
Which underlayment is best for basement LVT floors on concrete?
The best underlayment for basement LVT on concrete is one that provides an appropriate vapor barrier and matches your LVT click-lock or floating requirements. Look for underlayments specifically recommended for below-grade applications and ensure they don’t interfere with the locking system of your vinyl planks/tiles. If your LVT already has an attached pad, verify whether a separate underlayment is still allowed—some products require only a vapor barrier film, not extra padding.
Why is acclimation important before installing LVT in a basement?
LVT can expand or contract if the basement temperature and humidity are different from where the flooring was stored, which can cause gapping or buckling. Acclimate the boxes in the basement for the timeframe recommended by the manufacturer, and keep HVAC running during installation. This helps ensure a stable installation, smoother transitions, and better long-term performance for basement luxury vinyl tile floors.
📅 Last Updated: October 08, 2026 | Topic: How to install in a basement LVT floors? | Content verified for accuracy and freshness.
References
- Google Scholar Google Scholar
https://scholar.google.com/scholar?q=basement+LVT+vinyl+plank+installation+moisture+concrete+subfloor - Google Scholar Google Scholar
https://scholar.google.com/scholar?q=rigid+core+LVT+floating+floor+installation+underlayment+vapor+barrier+basement - Google Scholar Google Scholar
https://scholar.google.com/scholar?q=resilient+floor+covering+installation+moisture+testing+concrete+ASTM+f2170 - https://www.epa.gov/mold/moisture-control-your-home
- https://www.epa.gov/mold/mold-and-mildew-basics
- Vinyl flooring
https://en.wikipedia.org/wiki/Vinyl_flooring - Vapor barrier
https://en.wikipedia.org/wiki/Vapor_barrier - https://www.usace.army.mil/Portals/65/docs/Engineering_Technical_Letters/ETL_1110-3-335.pdf
- Google Scholar Google Scholar
https://scholar.google.com/scholar?q=How+to+install+in+a+basement+LVT+floors? - How to install in a basement LVT floors? – Search results
https://en.wikipedia.org/wiki/Special:Search?search=How+to+install+in+a+basement+LVT+floors?