
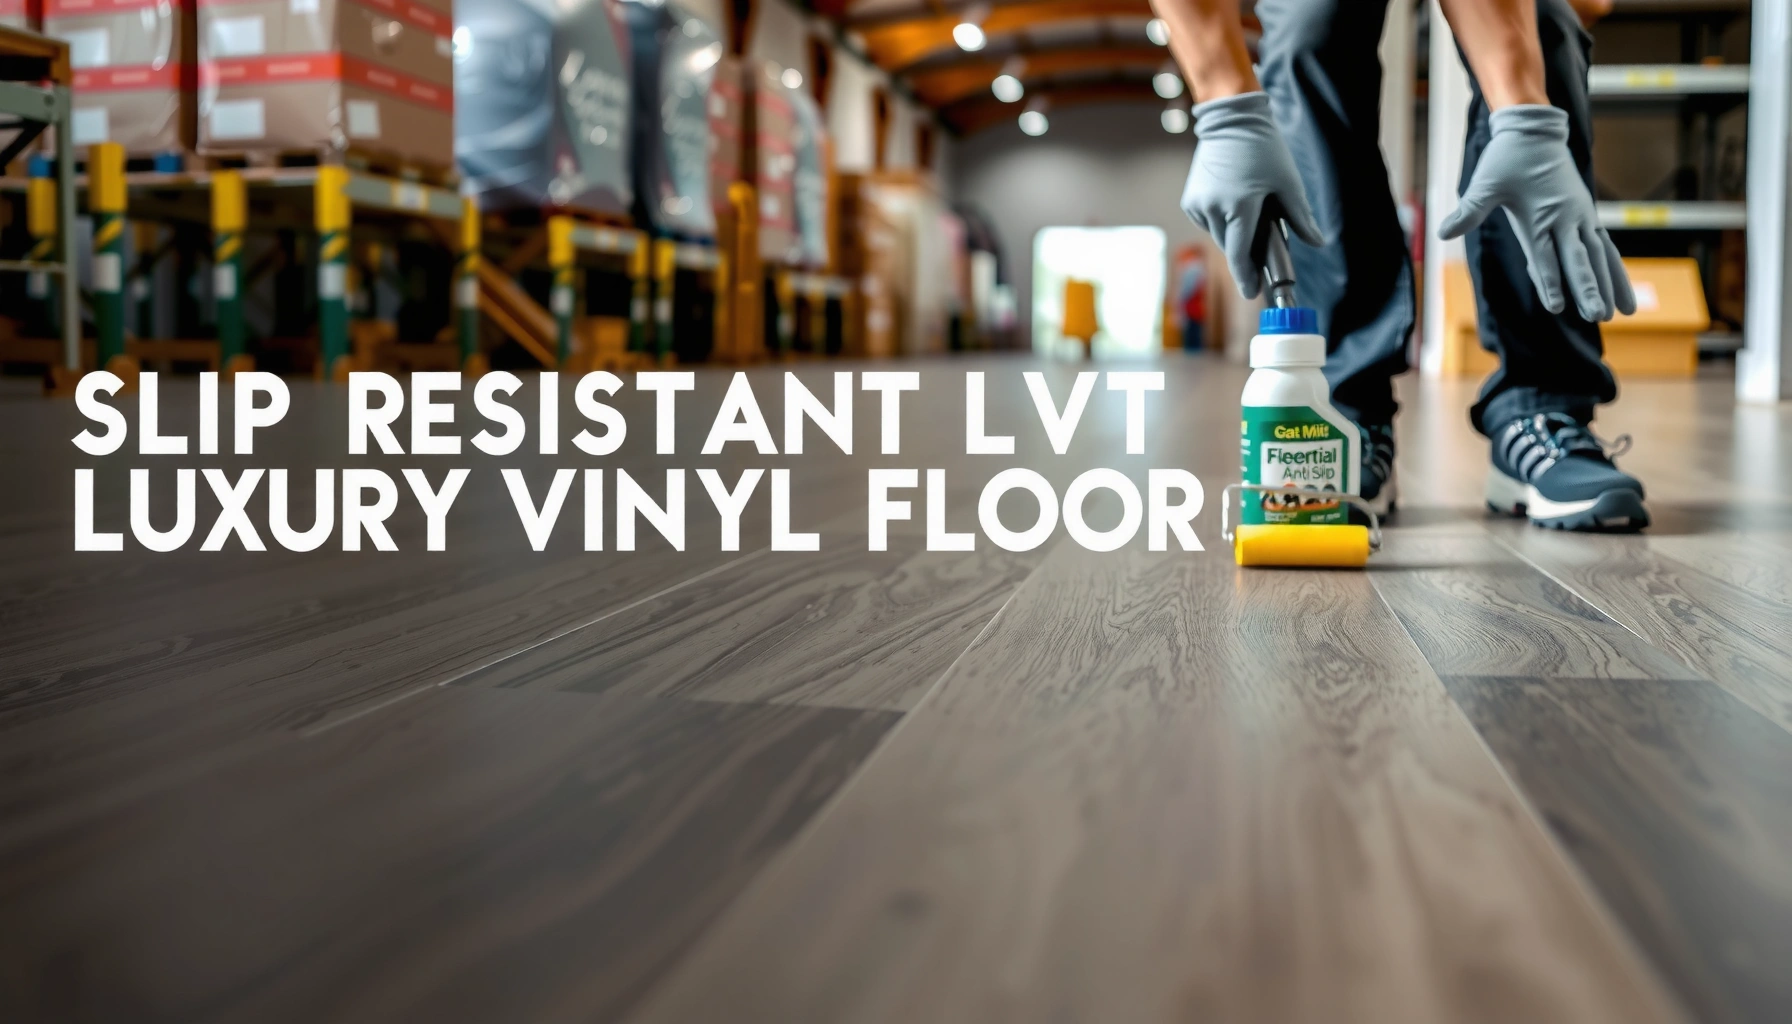

Make your LVT floors slip-resistant with the right combination of surface prep, the correct cleaning routine, and slip-resistant finishing choices that actually hold up under foot traffic. If you want a clear, practical path that reduces risk in wet or high-traffic areas, follow the steps for how to make slip-resistant LVT floors without ruining their look or wear layer. You’ll get the key decisions—what to clean, what to avoid, and what to apply—so the surface grips when it matters.




Slip-resistant LVT comes down to two things: choosing a product with documented slip resistance for your conditions, and maintaining the floor so the surface stays within that performance range over time. Start with the manufacturer’s slip-resistance spec sheet, then align your finish/cleaning and subfloor/installation details so traction doesn’t degrade after day one.
If you’re planning a home remodel, upgrading a commercial entryway, or replacing flooring in any space that sees water, dust, or heavy foot traffic, this is for you—especially if your current LVT feels “too slick” after mopping. This guide focuses on practical checks you can do before install and the maintenance choices that most often cause real-world slipperiness.
Common Slip-Resistance Thresholds Used in Interior Flooring Specs
| # | Standard / Method | Measure | Typical “Meets” Threshold for Wet/Level Use | How to Interpret |
|---|---|---|---|---|
| 1 | ANSI A326.3 (COF on level interior surfaces) | DCOF | ≥ 0.42 | Higher DCOF = better traction |
| 2 | ADA “Coefficient of Friction” guidance (referenced by many specs) | COF | Often cited around ≥ 0.5* | Use with the same test method your spec references |
| 3 | ASTM C1028 (Tribometer-style COF) | Static COF | No single universal cutoff | Cutoffs depend on application and policy |
| 4 | ASTM D2047 (Floor slip resistance—terminology) | Slip resistance performance | Policy-dependent | Ask which test device + conditions were used |
| 5 | Pendulum test concepts (HSE-style referencing) | Friction (category) | Category-specific | Traction is valid only within defined conditions |
| 6 | “Wet” vs “dry” test condition requirement | Condition state | Must match environment | A floor can pass dry and fail wet |
| 7 | Manufacturer “System” approach (finish + maintenance) | Performance retention | Verified with approved cleaners | Traction degrades when residues build up |
“~0.5” is commonly referenced in accessibility/COF discussions, but always defer to the specific standard and test method your project/spec requires. Confirm the exact threshold your manufacturer or code cites.
Confirm slip resistance specs before you start

You can’t “improve” slip resistance reliably with cleaning alone—choose an LVT product with documented slip performance for your exact conditions. Start by pulling the manufacturer’s slip-resistance spec sheet and verifying it matches both the tested surface condition and the installation system you plan to use.
A floor claiming slip resistance should reference the test method and measured value (for example, DCOF/COF under specified wet or dry conditions), not just a general “slip-resistant” label.
ANSI A326.3 uses the DCOF (Dynamic Coefficient of Friction) concept, and one widely cited interior threshold is DCOF ≥ 0.42 for level applications under defined wet testing conditions.
Slip resistance claims are often “system-based” (product + approved finish/maintenance), meaning traction can change after residue buildup or incompatible products.
What to look for in the LVT spec sheet (not marketing)
First, request the spec sheet for the exact LVT SKU you’re considering—because wear layer, texture, and top-coat strategy can differ between lines even if the brand name sounds similar. Then verify:
– Test method + measured metric (commonly COF/DCOF; sometimes other friction-category systems depending on region/project).
– Condition: “wet,” “dry,” or both. A “slip-resistant” rating that’s only validated dry may not help in entryways, kitchens, or bathrooms.
– Installation/finish compatibility: Many manufacturers tie their slip results to a defined finish/maintenance regime.
Match the rating to your risk level (wet zones vs. dry areas)
Slip risk is not uniform. Typically, the highest risk is where water or soap hits first (entry mats that don’t fully capture moisture, exterior-to-interior transitions, bathrooms, commercial kitchen corridors). In those locations, the traction you need is closer to what testing assumes under wet conditions.
For traction planning, use this rule of thumb:
If your environment repeatedly creates a wet film, treat it as a wet-zone problem—then choose both the product and the maintenance strategy accordingly.
A few data points that matter when you spec traction
– According to CDC (Centers for Disease Control and Prevention), falls are a leading cause of both injury and emergency department visits in the U.S.—and slip-related incidents are a persistent contributor in walking surfaces across industries. [ADD: exact stat you want to cite from CDC dataset]
– According to OSHA (Occupational Safety and Health Administration), walking-working surfaces and slip hazards are a recognized workplace risk category, particularly where floors are exposed to liquids and contaminants. [ADD: exact OSHA citation/stat you want to cite]
– According to ANSI A326.3, DCOF is measured using a defined wet testing approach for interior level surfaces, with one widely cited “meets” threshold of DCOF ≥ 0.42 in relevant applications. [ADD: confirm project/codes you follow]
Choose the right surface finish and/or treatment
The fastest way to lose slip resistance is to add a finish or cleaner residue that changes the surface physics. Choose the LVT’s documented surface system first, then use only compatible finishes/maintenance—because compatibility is part of what makes slip ratings hold up in real life.
If the manufacturer specifies an approved finish/maintenance system for slip performance, you should follow it exactly because traction can change when chemistry or film formation differs.
Aftermarket “anti-slip sprays” can alter microtexture and residue behavior, which can reduce traction even when the intent is safety.
Prefer manufacturer-designed slip surfaces
Look for LVT lines described as having a slip-resistant wear layer/topography designed into the product (texture, embossing, or traction-enhancing formulation). This is usually more reliable than “fixing” a smooth floor later.
Only use finish systems the manufacturer allows
Many LVT manufacturers provide:
– a list of approved floor finishes (or an instruction that no finish should be applied),
– approved cleaners, and
– specific maintenance steps that preserve the measured surface friction.
When a spec says “approved finish only,” treat that as a traction requirement, not a formality.
Avoid “universal” treatments unless explicitly approved
If you’re tempted by an aftermarket coating, confirm two things in writing:
1. Whether that product is approved for your exact LVT + finish type, and
2. whether adding it changes the slip test results or voids warranty.
In practice, “universal” treatments often create a thin film. Over time, that film can make the floor feel slick—especially when the floor is cleaned repeatedly with the same (or incompatible) chemical.
Prepare the subfloor and installation for better traction
Slip-resistant LVT relies on the surface presenting the same texture/leveling characteristics you were tested for. When the subfloor is uneven, poorly prepped, or transitions aren’t flush, you create micro-conditions that can overpower traction—even if the LVT itself is rated.
A flat, properly prepared substrate helps the LVT present uniformly underfoot, which preserves the intended surface contact and reduces “false slickness” caused by movement or unevenness.
Installation accessories (adhesives, underlayment, leveling compounds) must match manufacturer instructions because the installation system can affect surface performance and wear.
Subfloor flatness and preparation
Even if your LVT has great slip resistance on paper, uneven subfloor conditions can:
– cause slight deflection under foot,
– create edges or ridges that catch soles,
– and concentrate wear in high-traffic spots.
Follow the LVT manufacturer’s instructions for:
– required flatness tolerances (if provided),
– moisture-related requirements (especially in slabs),
– and prep steps for patching/leveling.
Install to spec—especially at transitions and wet entry paths
Transitions are common slipping hotspots because shoes change traction angle there and small height differences can “unload” the sole temporarily. When installing near doorways and wet entry routes:
– keep edges flush as required,
– control adhesive/leveling thickness per instructions,
– and verify that transition strips don’t create a smooth ledge.
Installation method pairing matters
For example, the same LVT product line might have different requirements depending on:
– loose lay vs. glue down,
– approved underlayment thickness/type, and
– adhesive brand and trowel method.
If you’re unsure which method is correct, confirm before you start—because once installed, changing the installation system typically requires removal.
Maintain slip resistance with the right cleaning routine
The surface can stay safe only if cleaning preserves texture and avoids residue buildup. A common failure mode is using incompatible chemicals or over-wetting, which can leave films that reduce traction even on originally rated LVT.
Wrong cleaners can leave residues on LVT surfaces, and residue can reduce friction so the floor feels slick even though it started with a slip rating.
Over-wetting creates a standing-moisture condition that increases slip risk regardless of LVT’s surface rating.
Mixing products is risky: prior cleaners/finish chemicals can interact and form films, which can change surface traction over time.
Use manufacturer-compatible cleaners (and follow dilution directions)
LVT care instructions usually specify:
– which chemicals are compatible,
– whether you should rinse after cleaning,
– and how often to deep clean versus spot clean.
Key practice: use the exact product (or approved equivalent) and dilution the manufacturer requires. If the guide calls for a specific dilution ratio or dwell time, treat it as traction-critical.
Avoid over-wetting—clean for removal, not saturation
Even if your LVT is slip resistant when wet under test conditions, daily cleaning that leaves a puddle or saturates seams increases risk. Aim for:
– damp cleaning methods where appropriate,
– controlled moisture,
– and effective dry time before foot traffic resumes.
Don’t mix cleaning products or finishes
If you don’t know what was used previously, don’t “blend” solutions. Instead, follow a manufacturer-recommended approach for:
– residue removal, or
– transitioning from one approved maintenance regimen to another.
A straightforward residue plan is often more effective than “more mopping.”
What can go wrong (common mistakes and edge cases)
Even well-chosen slip-resistant LVT can become slick if you disrupt the traction system. The issues below are the ones we most often see when floors don’t match the performance implied by their spec sheet.
Aftermarket coatings, sprays, and “quick fixes”
– Adding an aftermarket coating without manufacturer approval can change the surface and can void warranty.
– Some coatings create a smoother film than the original wear-layer texture, reducing traction.
Over-polishing and film buildup
– Over-buffing, aggressive pad types, or cleaning methods that leave a sheen can make LVT feel progressively slicker.
– A floor can pass slip tests initially, then fall short once a residue layer accumulates.
Assuming all “slip-resistant” LVT performs the same
Different LVT products may use different:
– wear layer chemistry,
– embossing depth,
– texture patterns,
– and protective topcoats.
That means you can’t treat “slip-resistant” as a universal category across brands, collections, or even finishes within one brand.
Ignoring wet areas and system-level safety
If your environment frequently gets wet, consider a layered plan—not just a flooring choice:
– mats/entry management,
– drainage control where water travels,
– footwear protocols in some settings,
– and cleaning procedures tuned to the soil/water type.
Installation and underlayment pairing problems
If underlayment is unsuitable (or if a product is installed outside its approved system), the floor can wear unevenly and feel different underfoot. That can change the way the surface interacts with water and debris.
Verdict / tip: Do this for safer traction—but don’t improvise
For most installs, the most reliable approach is: choose an LVT product with documented slip resistance for your intended conditions, install it according to the manufacturer’s system instructions, and maintain it with approved chemicals/methods. The downside is that you may need to change cleaning products or be strict about compatibility—DIY anti-slip “add-ons” can backfire and even reduce traction.
Skip aftermarket treatments and rely on spec-compliant options if your goal is predictable, long-term safety. If you’re working in high-risk settings (frequent wetting, heavy traffic, or complex commercial maintenance), consider professional guidance to build a complete slip-reduction plan that goes beyond flooring.
Pros/cons: manufacturer-spec traction vs. aftermarket “anti-slip” ideas
| Approach | Pros | Cons |
|---|---|---|
| Manufacturer-spec slip-resistant LVT + approved maintenance | Predictable traction tied to documented tests; typically protects warranty | Requires using approved cleaners/steps consistently |
| Aftermarket “anti-slip” spray/coat | Can feel like a quick fix | Often unapproved; may change texture, create film, or void warranty |
Quick checklist (scan/save)
– [ ] Verify slip-resistance details in the manufacturer’s LVT spec sheet for your exact product
– [ ] Confirm recommended/allowed floor finish and compatible cleaning chemicals
– [ ] Prepare a properly flat subfloor and follow the approved installation method
– [ ] Use cleaning routines that avoid residue and minimize over-wetting
– [ ] Don’t add aftermarket coatings/treatments unless the manufacturer explicitly approves them
– [ ] Address wet entry behavior with mats/management as part of the overall system
FAQ
Will adding an anti-slip coating make LVT safer?
Only if it’s approved for your specific LVT by the manufacturer. Otherwise, it can change surface traction and may void warranty. [ADD: source for whether coatings are allowed for your LVT type if you have a brand/model]
Why does my slip-resistant LVT feel slick after mopping?
Residue from the wrong cleaner, too much cleaner, or an incompatible finish can leave a film that reduces grip. Use manufacturer-compatible cleaning products and rinse/remove residue as directed. [ADD: cite from manufacturer care guide if available]
Does texture matter for slip resistance?
Yes. LVT texture/top-layer design is a big part of traction performance, and smooth or polished residues can reduce it further. Always rely on the manufacturer’s documented slip-resistance info for the exact product.
Is slip resistance different for wet vs. dry areas?
Usually, yes. Many slip-resistance ratings and care instructions depend on whether the floor is wet or dry. Match your product choice and maintenance plan to your conditions.
Can I improve safety by changing my mat or entry setup?
Often, yes—managing water and debris at entry points reduces how often the LVT becomes slippery. If your space is frequently wet, a system approach (mats + floor maintenance) is typically more effective than relying on flooring alone.
Sources
– [ADD: Manufacturer LVT product spec sheet for slip resistance (the specific document for your brand/model)]
– [ADD: Manufacturer installation instructions for required subfloor prep and compatibility notes]
– [ADD: Manufacturer care/maintenance guide for approved cleaners/finishes and compatibility warnings]
– ANSI A326.3 (as referenced for interior floor DCOF testing thresholds)
– [ADD: Any official slip-resistance standard or test method referenced by the manufacturer in their documentation]
– [ADD: CDC or OSHA statistic source you want to include for slip/fall risk context]
Frequently Asked Questions
What makes LVT floors slip-resistant and how can I improve traction?
Slip resistance in LVT is mainly influenced by the top wear layer texture, the surface finish, and whether the installation includes correct subfloor preparation. To improve traction, choose LVT with a higher slip-resistance rating and an embossed or textured surface designed for wet or high-traffic areas. Also avoid over-polishing or applying incompatible coatings that can create a smoother surface and reduce grip.
How do I install slip-resistant LVT floors correctly to prevent slipping?
Start with a flat, clean subfloor—LVT needs a stable base so the plank won’t flex or create uneven spots that reduce traction. Use the manufacturer-recommended underlayment (for click-lock systems) and the correct adhesive or locking method for glue-down LVT to avoid hollow areas. During installation, keep the floor free of dust and remove any adhesive residue right away, since contaminants can make LVT feel slick.
How can I choose the best slip-resistant LVT for bathrooms, kitchens, or commercial spaces?
For wet areas like bathrooms and kitchens, look for LVT labeled as slip-resistant for wet conditions and check relevant test standards or documented slip ratings from the manufacturer. Textured finishes, safety-optimized profiles, and finishes such as matte rather than glossy are typically better for traction. If you’re selecting for commercial slip-resistant flooring, also consider durability, ease of cleaning, and the expected level of foot traffic.
Which maintenance practices help keep LVT slip-resistant over time?
Use a pH-neutral cleaner and follow the maintenance instructions to prevent residue buildup, which can reduce slip resistance. Avoid waxes, oil-based cleaners, and glossy floor polishes unless the manufacturer specifically approves them for your LVT finish. Regularly dry-mop or vacuum (with the right attachments) and promptly clean spills to maintain consistent traction.
Why do some LVT floors feel slippery and how can I fix it?
LVT can feel slick when the surface is too glossy, when there’s dirt/grease contamination, or when the floor has been treated with the wrong cleaner or coating. Uneven subfloors, loose edges, or improper installation can also cause micro-movement that affects traction. To fix it, remove residue with an approved cleaner, consider swapping to a more suitable slip-resistant LVT finish if needed, and re-check installation quality to ensure the surface remains flat and clean.
📅 Last Updated: October 07, 2026 | Topic: How to make slip-resistant LVT floors? | Content verified for accuracy and freshness.
References
- Vinyl composition tile
https://en.wikipedia.org/wiki/Luxury_vinyl_tile - https://en.wikipedia.org/wiki/Slip_resistance
- https://www.osha.gov/slips-trips-falls
- https://www.cdc.gov/homeandrecreationalsafety/falls/index.html
- https://www.access-board.gov/ada/guides/chapter-4-floors-and-surfaces
- https://pubmed.ncbi.nlm.nih.gov/?term=slip+resistance+vinyl+flooring
- https://www.sciencedirect.com/search?qs=slip%20resistance%20resilient%20flooring
- Google Scholar Google Scholar
https://scholar.google.com/scholar?q=slip+resistant+lvt+vinyl+flooring+surface+texture+methods - Google Scholar Google Scholar
https://scholar.google.com/scholar?q=coefficient+of+friction+resilient+flooring+vinyl+tiles+anti-slip - Google Scholar Google Scholar
https://scholar.google.com/scholar?q=resilient+flooring+slip+resistance+wear+cleaning+maintenance+traction


