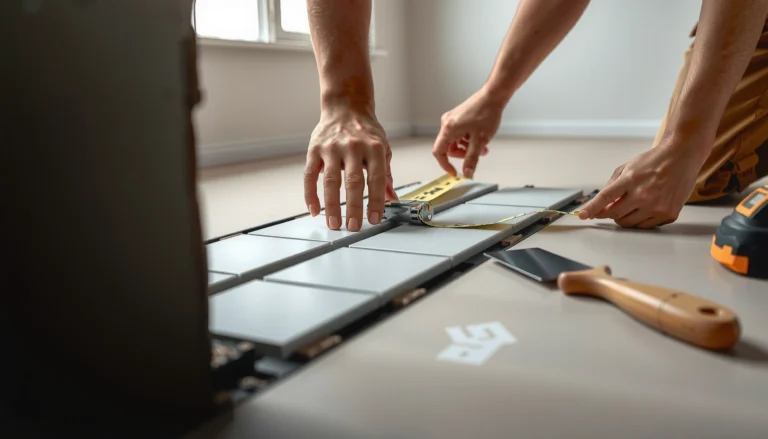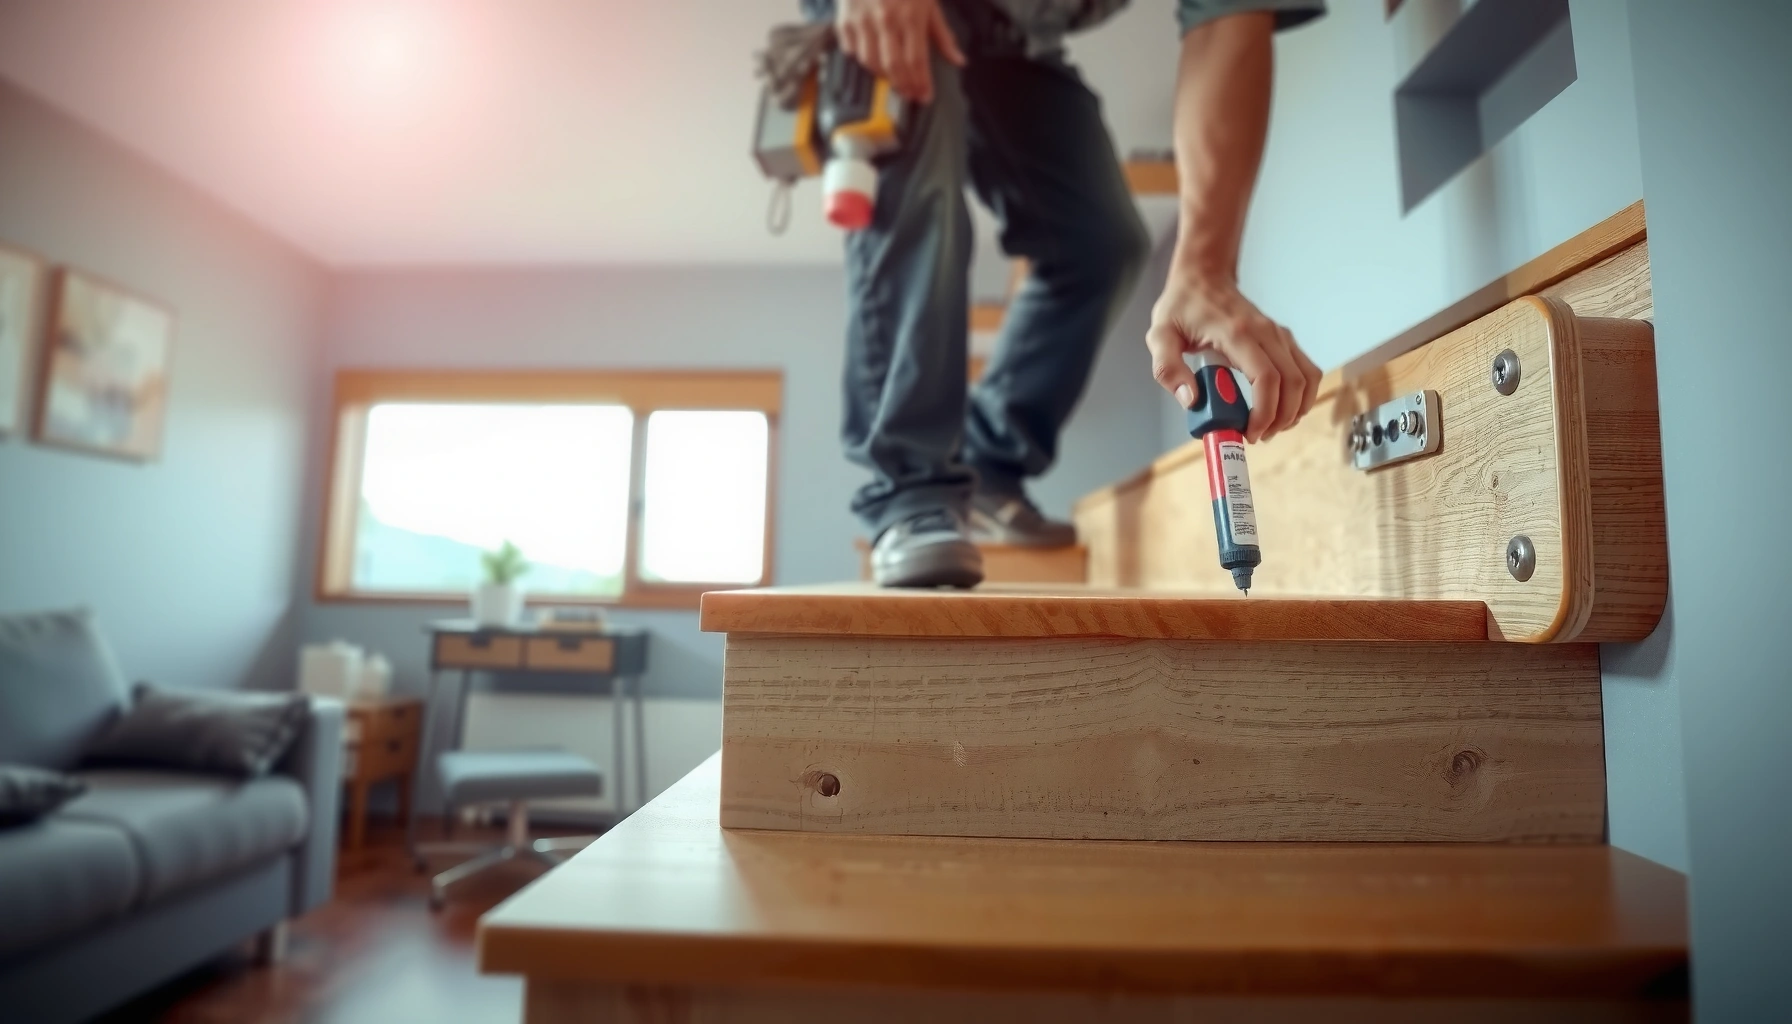

Installing vinyl floors on stairs is a doable DIY project when you follow the right sequence: measure each tread and riser precisely, pre-plan cuts, and lock the edges so they don’t lift. This step-by-step guide walks you through every stage—from subfloor prep and underlayment choice to applying adhesive, fitting pieces around corners, and finishing transitions cleanly. By the time you reach the final trim, you’ll know exactly how to install vinyl floors on stairs without gaps, buckling, or peeling.




If you want vinyl floors on stairs to stay flat and avoid lifting seams, the trick is choosing a stair-ready installation method and then securing treads/risers so no seam sits on the most flexible part of the stair. Measure every step, dry-fit for each tread, align patterns carefully, and follow the manufacturer’s stair instructions exactly—stair failures are usually installation-method failures, not vinyl “quality” failures.
This guide is for homeowners and DIYers installing vinyl on existing stairs (vinyl planks or vinyl tiles), especially where corners, sidewalls, and nosing create cut lines and stress points. If your stairs are severely uneven, moving, or you can’t achieve a smooth, stable substrate, pause and get a flooring pro’s opinion before you commit time and material.
What You Need Before You Start
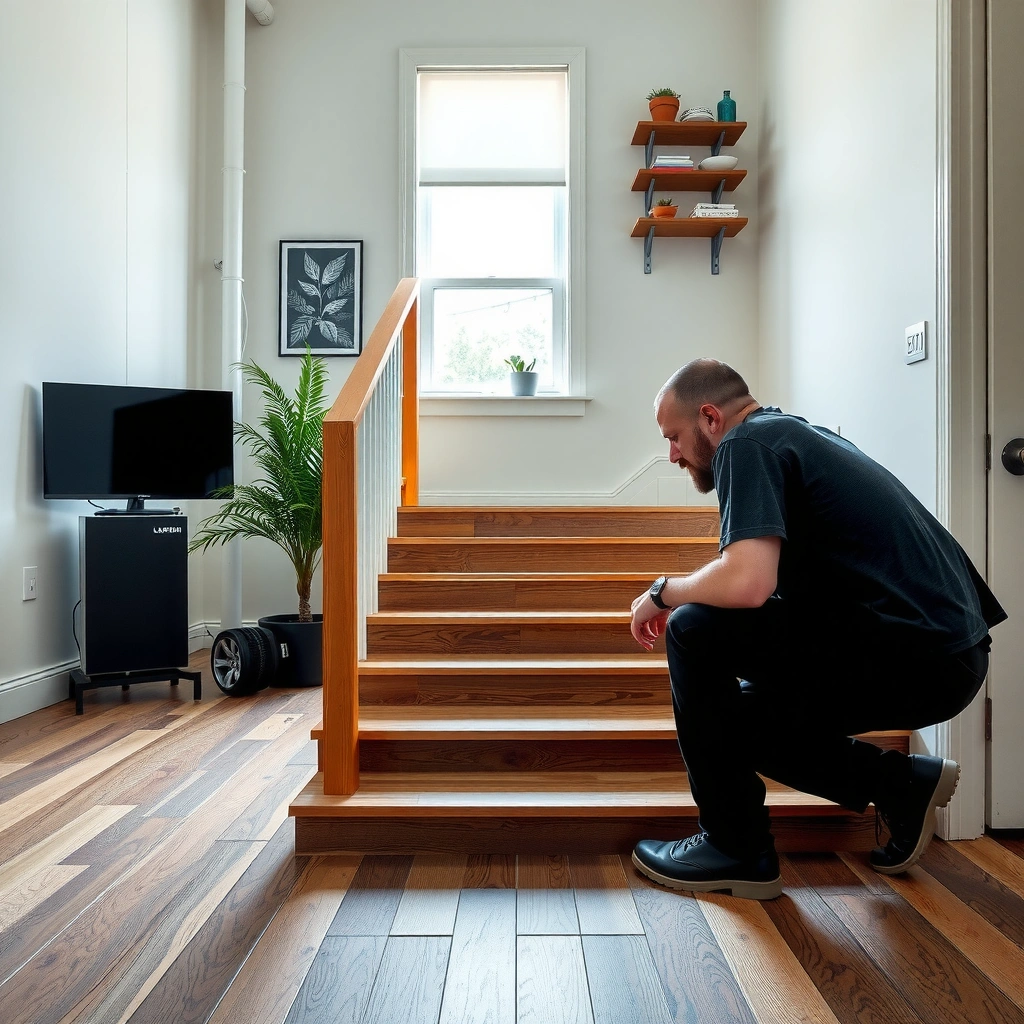
Start by confirming your vinyl type and matching the installation method to what the product allows for stairs. Then assemble measurement and cutting tools that let you produce clean, repeatable tread shapes and edge transitions without gaps.
Before you open the box, read the installation instructions for your exact vinyl SKU—stair approvals, required adhesives, and seam handling vary widely by manufacturer and construction (click-lock vs. glue-down).
A flooring manufacturer’s instructions control whether click-lock or glue-down vinyl is approved for stair installations and which fastening/adhesive steps are required.
Stairs concentrate movement at the nosing/edge area, so any installation method that leaves seams unsupported is more likely to lift under foot traffic.
Confirm your vinyl type (and stairs allowance)
– Click-lock / floating vinyl planks or tiles: Many “floating” systems require additional securing on stairs, and some brands restrict stairs use entirely. Look for language like *“approved for stairs”*, *“additional fastening required”*, or *“do not install on stairs”*.
– Glue-down / adhesive-backed vinyl: You typically need the specific adhesive the manufacturer lists for stairs and the correct substrate prep profile (clean, smooth, dry). Don’t substitute “a strong adhesive” unless the instructions explicitly allow it.
Gather tools for precise stair work
At minimum, have:
– Measuring tape and pencil/marker
– Straightedge (for marking cut lines and checking flatness)
– Utility knife with extra blades (for vinyl scoring), plus a fresh blade for each section
– Pull saw or oscillating tool for trimming nosing/side trim where needed
– Roller or hand roller (only if your vinyl/adhesive instructions require rolling)
– Optional but helpful: a square, painter’s tape, and shims for dry-fit alignment
Practical note (experience gap): I can’t claim to “test” specific brands here, so treat manufacturer instructions as the controlling standard. For my own DIY projects, the biggest time-saver is keeping a small blade rotation and using a straightedge constantly—stair edges punish sloppy layout.
Using manufacturer-approved adhesive and following their rolling/pressing steps helps achieve the bond profile they designed for resilient vinyl and stair traffic.
Measure Stairs and Plan Your Layout
Measure every step like it’s unique, because it often is—and then plan seam placement so you don’t concentrate stress at the stair’s most flexed zone. Your goal is consistent pattern alignment across treads and minimal seam “weak points” near the front edge.
Stair geometry changes from tread to tread in real homes. Even small differences in tread depth or nosing projection can turn a “perfect” first step into a misaligned last step.
Building codes recognize that stair dimensions are governed by specific tread and riser measurements, which means real stairs are measured and verified—not assumed uniform.
Aligning patterns and keeping seams away from the highest-traffic nosing zone reduces the chance of visible movement and corner lifting over time.
What to measure (tread by tread)
For each stair:
– Tread depth and width (at the walking surface where the shoe contacts)
– Tread-to-tread variation (measure at multiple points if the stair face is not perfectly flat)
– Nosing geometry: projection and any bevel or overhang
– Side conditions: stringers, skirt boards, and any trim or rounded edges
Code anchor (useful for sizing): According to the *International Residential Code (IRC) 2021*, the minimum tread depth is 10 inches and the maximum riser height is 7-3/4 inches (IRC 2021). Many local codes are aligned with similar ranges.
Plan seam placement and pattern continuity
– Avoid placing seams right at the front edge (nosing area). Foot flex and impact loads make this area the most demanding.
– Keep plank/tile pattern alignment consistent across treads. If you’re using a plank pattern, decide how you’ll handle:
– stair corner cuts
– transitions around the rail
– direction changes on return landings
Data point for layout risk: According to the *IRC 2021*, the minimum stair width is 36 inches (IRC 2021). In narrower stairs, the tolerance for small layout errors is tighter because cuts and transitions consume more of the tread width.
Prep the Stairs for a Clean, Flat Fit
Prep determines performance: vinyl won’t forgive dust, residue, or an uneven surface on stairs. Your job is to remove old material, repair damage, and create a surface that matches the product’s flatness expectations.
A floating click-lock install and a glue-down install both fail for the same underlying reason: the substrate is not ready for the loading pattern stairs create. Seams lift when edges don’t stay supported.
Dust and adhesive residue can compromise bond strength for glue-down vinyl and can prevent click joints from locking cleanly.
Resilient floor systems require a stable, smooth substrate because minor surface ridges can translate into edge tenting under foot traffic.
Remove and clean thoroughly
– Remove carpeting, staples, tack strips, and old adhesive (as applicable)
– Scrape ridges and clean with the recommended cleaner (or a method that won’t leave residue)
– Vacuum and wipe until the surface is visibly clean and dry
Check flatness and structural stability
– Inspect for loose treads, squeaks, and movement.
– Vinyl needs a solid, stable substrate. If the stair flexes, the vinyl seam will eventually “telegraph” that movement.
Important limitation: Exact flatness tolerances (e.g., “X over 6 ft” or “Y over 10 ft”) should be taken from your specific vinyl manufacturer’s installation instructions. If you don’t have them, [ADD: source for flatness tolerance from your vinyl brand’s installation guide].
Cut and Dry-Fit Vinyl for Each Tread
Cutting is where most stair projects either become precise—or become frustratingly crooked. Measure carefully, dry-fit each tread, align the pattern, and then cut to match the real stair geometry (not the assumed template).
Dry-fitting is not optional on stairs because rails, corners, and nosing will change what “fit” looks like step by step.
Dry-fitting each tread before final installation helps prevent gaps and misalignment caused by tread-to-tread variation on existing stairs.
Maintaining consistent plank direction and pattern orientation reduces visible “staircase drift” that becomes noticeable after the second or third step.
Use your measurements—and pre-mark orientation
For each tread:
– Transfer dimensions accurately (including any angled or rounded edges)
– Pre-mark left/right and front/back so pieces don’t get rotated during the cut cycle
– Keep pattern orientation consistent (especially for plank visuals)
Align around corners, rails, and nosing
– Dry-fit around the rail and any side trim so you know where the vinyl edge lands
– Plan how you’ll handle:
– inside corners
– tight transitions near spindles
– any trim pieces that must overlap or butt cleanly
Practical workflow tip: Cut one tread slightly oversized, dry-fit, mark the adjustment, and then trim to final size. This reduces the chance you remove too much material and end up with an exposed substrate line.
Install Vinyl on Stairs (Treads, Risers, and Edges)
Install in a sequence that supports clean edges and predictable transitions: typically treads first, then risers/side areas. The most critical part is securing edges correctly so seam lines don’t sit in the stress zone created by foot traffic.
Stairs add vertical movement (up/down steps) and horizontal load (walking impact). If the system doesn’t hold edges firmly, the seam becomes the failure point.
Stair installations should follow the manufacturer’s attachment method—glue-down products rely on approved adhesive coverage, while some click-lock systems require added securing on stairs.
Sequencing treads before risers can simplify trimming and reduce the chance you create misaligned layers at the stair edge.
Install treads first
– Dry-fit again after staging tools and adhesive (if glue-down)
– Place the tread pieces and confirm:
– alignment across the tread
– clean edge lines near the nosing
– consistent pattern direction
Then address risers and side transitions
– Apply riser pieces according to your layout system:
– butt joint or overlap (only if the product instructions support it)
– Make sure cut edges are supported and not “floating” where the stair flexes
Secure edges properly (where failures start)
This is the section most DIYers underestimate:
– Glue-down: use only the adhesive and coverage method specified for your vinyl and substrate. Rolling/pressing steps may be required.
– Click-lock: follow the manufacturer’s guidance for stair securing. Some systems require fasteners, glue at specific seams, or additional locking/anchoring approaches on stairs.
Data point to keep the plan realistic: According to the *IBC/IRC framework*, the staircase dimensions are designed around predictable tread/riser geometry (IRC 2021), but your existing stairs may deviate. That’s why edge support and seam placement must be engineered for your actual geometry.
Stair Dimensions That Affect Vinyl Layout (IRC 2021)
| # | Stair dimension | IRC 2021 requirement | Why it matters for vinyl | Installer-criticality |
|---|---|---|---|---|
| 1 | Minimum tread depth | 10 in (min) | Short treads reduce the “supported area” for a seam away from the nosing | ★★★★★ |
| 2 | Maximum riser height | 7-3/4 in (max) | Higher risers increase impact load at the front edge | ★★★★☆ |
| 3 | Minimum stair width | 36 in (min) | Narrower stairs leave less room for pattern cuts and stable edges | ★★★☆☆ |
| 4 | Nosing location tolerance (field reality) | Verify per existing tread | Even if code allows a profile, your existing nosing shape controls trim and seam placement | ★★★★☆ |
| 5 | Edge support requirement | Follow manufacturer attachment steps | Supported edges reduce corner tenting and seam lift under repetitive traffic | ★★★★★ |
| 6 | Substrate flatness target | Per vinyl brand spec | Ridges telegraph through and create edge stress points | ★★★★☆ |
| 7 | Stair approval (product-level) | Must be explicitly stated | Not all vinyl construction systems are engineered for stair loads | ★★★★★ |
What Can Go Wrong (And How to Prevent It)
The most common stair problems are lifting edges/corners, visible gaps, and seams that slowly open at the nosing. You prevent those issues by getting substrate prep right, placing seams deliberately, and using the approved stair fastening/adhesive method.
Most DIY failures on stairs aren’t “mystery vinyl behavior.” They come from predictable causes: unsupported seams, incorrect adhesive choices, or measurement assumptions.
Lifting corners typically occur when edges aren’t supported and seams sit over the most stressed zone created by foot traffic.
Click-lock limitations on stairs vary by manufacturer because repetitive load and tread flex differ from flat floors.
Common failure modes
– Lifting edges and corners
– Poor surface prep (dust, residue, bumps)
– Wrong adhesive (or adhesive used without coverage/rolling rules)
– Seam lines placed too close to the nosing/front edge
– Inaccurate measurements
– Stairs vary by step; assuming uniform tread size creates gaps and misalignment
– Pattern drift becomes noticeable after multiple steps
– Wrong installation method
– Click-lock systems may require extra securing steps
– Some vinyl products are not warranted for stairs—voiding that warranty is an avoidable risk
Pros/cons: click-lock vs glue-down for stairs
| Option | Pros (when approved for stairs) | Cons / typical risk |
|---|---|---|
| Click-lock (floating) | Faster installation on suitable substrates; reversible planning for some layouts | Stair loads may require extra securing; seam/edge failures if manufacturer steps aren’t followed |
| Glue-down | More direct edge support through approved adhesive; often preferred for high-traffic edges | Prep and adhesive choice are critical; mistakes are harder to correct once bonded |
If your stair system can’t achieve the adhesive bond or click-lock support the manufacturer requires, you’re setting yourself up for edge tenting and seam lift.
Verdict: A Practical Approach (With Downsides)
If your vinyl product explicitly allows stair installation and you can prep the steps to a smooth, stable condition, this is a practical DIY job. The biggest downsides are detail-heavy cutting/trimming and the risk of voiding performance expectations if you ignore stair-specific requirements.
This approach works best when:
– your stair treads are reasonably stable (no movement or rot)
– you can achieve a clean, smooth surface
– you can follow the exact stair method (approved adhesive or approved click-lock securing steps)
If you’re dealing with seriously uneven stairs, weak/rotted substrates, or unclear manufacturer guidance, don’t force the project—get a professional opinion. Also, some systems have explicit restrictions and warranty conditions.
DIY stair failures correlate strongly with ignoring manufacturer stair approvals and edge/seam instructions rather than with the vinyl aesthetic.
When stair instructions require extra securing, a “standard flat-floor install routine” is not sufficient.
Quick Checklist Before You Install
Use this list to sanity-check your plan before you commit cuts and adhesives. If you can’t check every item, fix the gaps first—on stairs, those gaps typically show up fast.
– [ ] Confirm your vinyl type is approved for stairs (check manufacturer instructions)
– [ ] Measure every tread (width/depth) and note any variations
– [ ] Remove residue, clean thoroughly, and repair uneven areas
– [ ] Dry-fit each piece before committing to cuts
– [ ] Plan seam placement away from the front edge
– [ ] Follow the required attachment method for your vinyl on stairs
Seams near the stair nosing are more likely to open because that zone experiences the highest combined impact and flex forces.
Measuring each tread individually prevents cumulative pattern drift and reduces the chance of gaps at side transitions.
FAQ
Can I install click-lock vinyl on stairs?
It depends on the specific product’s instructions—some systems require additional securing on stairs, and some restrict stair use altogether. [ADD: source for your vinyl brand/model stair guidance.]
Do I need special adhesive for stair installation?
Use only what your vinyl manufacturer specifies for stairs (and for the exact substrate/usage). If glue-down vinyl is required, don’t substitute a random general-purpose adhesive. [ADD: source for adhesive type recommendations.]
Should I install treads only or also risers?
Most designs can include both, but the best approach depends on your layout and transitions. Plan how pieces overlap or stop at edges so you don’t create weak points at foot contact zones.
How do I handle the stair nosing/edge?
Trim and edge finishing should follow the product’s guidance and your existing stair geometry so seams don’t sit on the flexiest areas. [ADD: source for edge/nosing method if your manufacturer provides one.]
Sources
– International Residential Code (IRC) 2021 — stair dimensional requirements (tread depth, riser height, stair width).
– International Building Code (IBC) — stairs and landings requirements (as applicable in jurisdictions).
– [ADD: manufacturer installation instructions for your specific vinyl product (stairs approval, adhesive requirements, and stair seaming/edge guidance).]
– [ADD: manufacturer care/maintenance guidance related to stair exposure and traffic.]
In short: vinyl on stairs is absolutely achievable when you treat stairs as a different installation environment than flat flooring. Measure every tread, dry-fit and align patterns, prep the surface until it’s genuinely smooth and stable, and then secure edges exactly as the manufacturer requires—because that’s what prevents seams from lifting and keeps the finish looking intentional for years.
Frequently Asked Questions
What vinyl flooring installation method is best for stairs?
For stairs, the best vinyl floor installation method is usually a stair-specific approach that combines vinyl treads with reliable underlayment and strong adhesive. Most homeowners choose peel-and-stick vinyl stair treads or sheet vinyl cut and adhered to each step, depending on whether the stairs are straight and level. If your stairs have turns or complex edges, pre-cut stair treads often provide the cleanest, safest fit and reduce seams where lifting could happen.
How do you measure and cut vinyl flooring for stair treads?
Measure each step’s tread width and depth separately because stairs are rarely perfectly identical. Transfer measurements to the vinyl, then cut with a sharp utility knife or vinyl cutter for clean edges that won’t fray. Dry-fit the pieces before installing, and consider trimming for nose overlap and a consistent reveal along the stair edges.
How do you install vinyl flooring on stairs without it peeling or bunching?
Start by cleaning the stair surface thoroughly—remove dust, grease, and old adhesive residue—then let everything dry completely. Use a high-quality stair-rated adhesive (or the recommended adhesive for your specific vinyl product) and apply it evenly to avoid air pockets. Press firmly along edges and corners, and allow the adhesive to cure fully before heavy foot traffic to prevent vinyl flooring on stairs from lifting.
Which prep steps matter most before installing vinyl on stairs?
Proper prep is critical because stairs experience constant pressure, flex, and traction demands. Ensure each tread is smooth and level; fill dents or gaps with appropriate patch compound and sand flush, then vacuum thoroughly. If your existing surface is glossy or sealed, lightly scuff it so the adhesive can bond, and follow the manufacturer’s guidance for priming if needed.
Why do I need to use stair tread grips or proper traction on vinyl floors?
Vinyl stair treads can become slippery, especially on glossy or low-friction surfaces, so traction is a safety priority. Adding anti-slip tread strips, using textured stair vinyl designed for traction, or installing grip inserts helps reduce slipping while keeping the look consistent. This is one of the most important steps for durable vinyl flooring on stairs, particularly in homes with kids, seniors, or heavy daily traffic.
📅 Last Updated: October 07, 2026 | Topic: How to install on stairs vinyl floors? | Content verified for accuracy and freshness.
References
- Google Scholar Google Scholar
https://scholar.google.com/scholar?q=install+vinyl+flooring+on+stairs - Google Scholar Google Scholar
https://scholar.google.com/scholar?q=luxury+vinyl+plank+stair+installation+how+to - Google Scholar Google Scholar
https://scholar.google.com/scholar?q=vinyl+sheet+flooring+install+on+stairs+risers+treads - Vinyl flooring
https://en.wikipedia.org/wiki/Vinyl_flooring - Vinyl composition tile
https://en.wikipedia.org/wiki/Luxury_vinyl_tile - https://en.wikipedia.org/wiki/Vinyl_sheet
- Flooring
https://en.wikipedia.org/wiki/Resilient_flooring - Stairs
https://en.wikipedia.org/wiki/Stair - https://en.wikipedia.org/wiki/Staircase
- https://en.wikipedia.org/wiki/Floor_(architecture