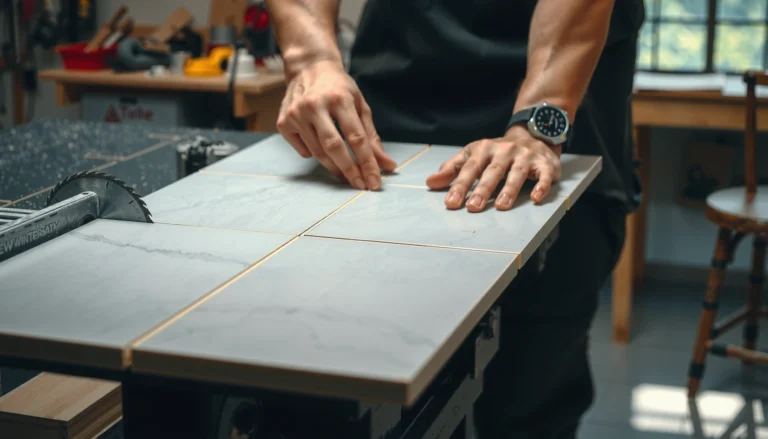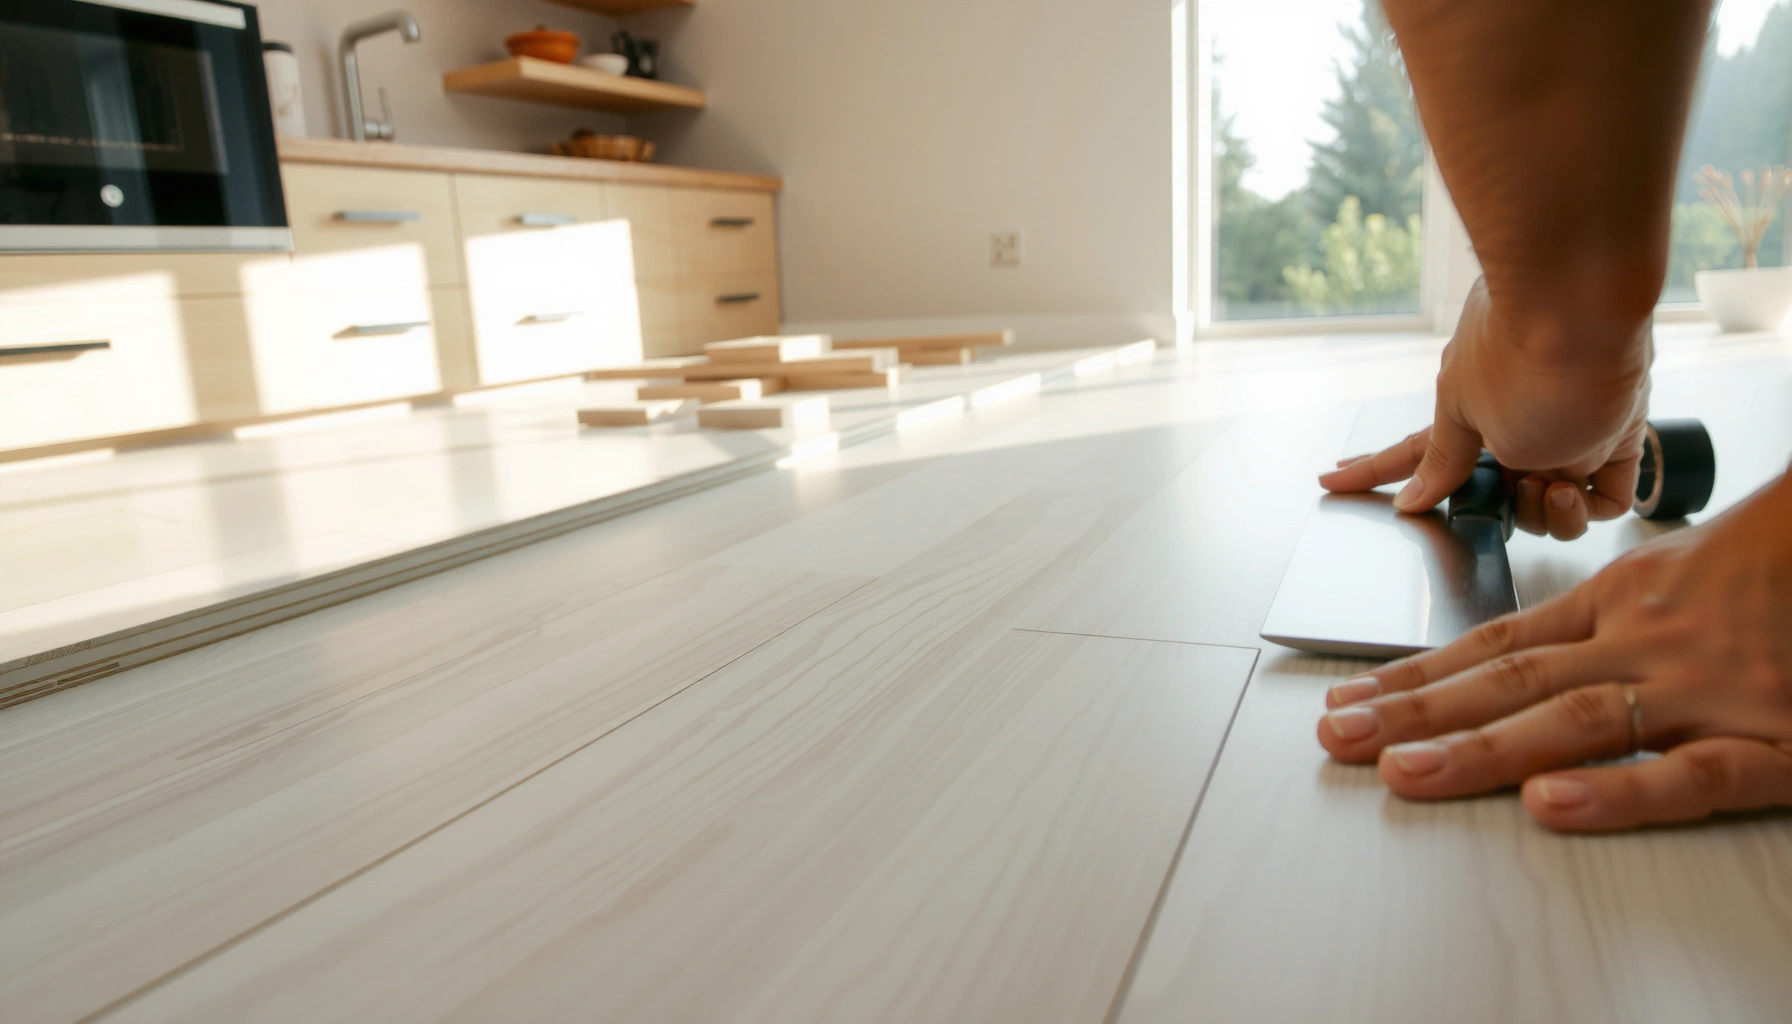

Learn exactly how to install kitchen vinyl floors with a step-by-step walkthrough that tells you what to do from prep to final trim. Follow these clear, order-by-order instructions to get a flat, watertight fit that holds up to spills and heavy foot traffic. If you want the fastest path to a professional-looking kitchen floor without costly mistakes, this guide is the one to use.


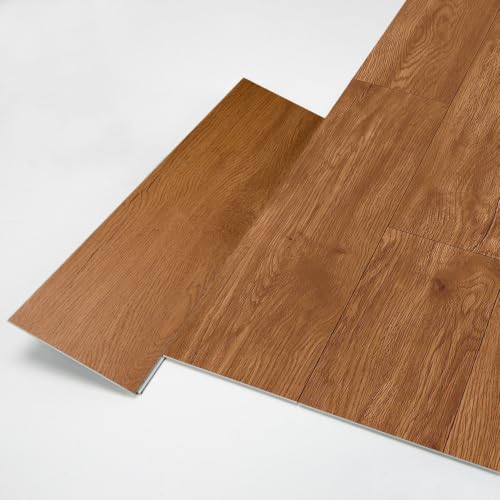

If you want a kitchen vinyl floor that stays flat and looks tight, the whole job comes down to one thing: prep. Get the subfloor flat and clean, acclimate the vinyl, then install using the exact method your product specifies (click-lock vs glue-down), finishing with proper transitions, seams, and moisture-aware edge details.
This guide is for homeowners installing a vinyl kitchen floor—either click-lock planks or glue-down planks/sheets—and for anyone replacing damaged sections. It’s written to help you avoid the most common failure modes (bubbles, gaps, and peeling) without assuming prior flooring experience. As of 2026, the fundamentals remain the same because the industry still treats resilient vinyl as a “subfloor-following” product: whatever is wrong below tends to show above.
Plan Your Kitchen Vinyl Floor Layout

Plan first so you don’t end up with thin “rips” at doorways or walls. When your layout matches the manufacturer’s rules for direction, starting row, and expansion space, installation goes faster and seams behave better under kitchen traffic and humidity.
Before you cut anything, decide whether you’re installing vinyl planks or sheet vinyl, and whether the product is click-lock (floating) or glue-down (direct bonded). According to ASTM F710, Standard Practice for Preparing Concrete Floors to Receive Resilient Flooring, resilient floors are highly sensitive to surface conditions and preparation steps—layout planning helps you avoid layout outcomes that amplify small imperfections.
Kitchen vinyl layout should be planned around doorways and high-traffic paths so you minimize awkward slivers that are harder to support and trim accurately.
Click-lock and glue-down vinyl follow different “do-not-violate” rules, especially around edge spacing, so your layout planning must match your product’s installation method.
– Decide planks vs sheet vinyl and confirm whether it’s click-lock or glue-down. If the box says “floating,” treat it as a floating floor even if you think glue would “help.”
– Measure the room (length and width) and sketch a layout that centers rows in the largest area. Then plan your starting point to avoid tiny pieces where you’ll see them.
– Check expansion gap requirements (if applicable). Many resilient products require a small perimeter gap to allow movement as temperature changes. If your product has a “no-gap” edge system, follow that instead of guessing.
– Verify approved installation surfaces. Some products allow install over certain existing floors; others require complete removal. Don’t assume tile or sheet flooring is acceptable without checking the manufacturer’s instructions.
Prep the Subfloor (This Determines If It Fails or Lasts)
You avoid most kitchen vinyl failures by making the subfloor flat, clean, and dry before installation. If the base isn’t right, the vinyl will telegraph humps, loosen at seams, or fail to lock/bond evenly—often within months in busy kitchens.
Start by removing old flooring materials as required by your product. Then assess the surface: wipe it, scrape it, and remove everything that interferes with bonding or flatness (dust, paint overspray, adhesive residue, splinters, and loose patches). The flooring standard that installers reference for resilient surfaces is ASTM F710, which emphasizes preparation practices for receiving resilient flooring.
For resilient vinyl, subfloor surface contamination (dust, paint, or loose material) can prevent proper adhesion and contribute to weak spots.
Flatness matters: resilient flooring can conform to minor irregularities and then create gaps, separation, or movement under load.
Moisture control isn’t optional in kitchens; persistent moisture can lead to odor, microbial growth, and adhesive or seam failure.
– Remove old flooring (only if required) and inspect the subfloor type: plywood/OSB, concrete, or an existing approved covering.
– Clean thoroughly: vacuum and damp-wipe if allowed by the manufacturer. Let the surface dry fully.
– Check for high spots and dips using a straightedge (a long, rigid bar is best). Leveling compounds and patch systems vary—use what the manufacturer approves for your subfloor type.
– Level before you install vinyl. A good rule in resilient flooring prep is to keep flatness within tight tolerances; many industry guidelines reference targets like 3/16 in over 10 ft for resilient installations (always confirm your product and subfloor standard). According to ASTM F710 (industry practice), floor flatness is critical to avoid telegraphing and failure.
– Fix moisture sources first. In kitchens, that means addressing plumbing leaks, under-sink condensation, and any active concrete moisture drive.
For concrete slabs, moisture testing is often a decisive step. According to ASTM F2170 (relative humidity testing) and ASTM F1869 (calcium chloride test), the goal is to confirm the slab meets the flooring manufacturer’s moisture limits—vinyl failures commonly trace back to ignoring these thresholds.
Acclimate and Gather Tools/Materials
Acclimation reduces buckling, gapping, and seam-fitting problems by bringing the vinyl to the room’s temperature and humidity conditions before installation. Plan your timing so the vinyl sits in the installation space as the manufacturer specifies.
Gather tools and materials that match your installation method—especially for glue-down systems, where adhesive type, coverage, and rolling matter as much as the flooring itself.
According to ASTM F710, preparation and correct environmental conditions are part of resilient flooring success; acclimation is how you align the product with those conditions.
Vinyl acclimation helps the material reach installation temperatures so seams and locking joints fit without stress from rapid temperature swings.
Glue-down installs require correct adhesive spread and pressure/rolling so the bond forms uniformly across the plank or sheet.
– Acclimate the vinyl exactly per the manufacturer’s instructions (temperature range and time window). If you can’t find the time, stop and locate the install guide rather than “winging it.”
– Essential tools for both types: measuring tape, utility knife, straightedge, chalk line/marker, tapping block (for click-lock), spacers (if the product requires perimeter gap spacers).
– Glue-down essentials: a notched trowel sized for the adhesive and flooring (the manufacturer specifies this), seam roller or appropriate roller, plus recommended adhesive/primer if required.
– Transitions and trim: don’t treat transitions as optional afterthoughts. Buy matching reducers, T-molds, or end caps where vinyl meets tile, wood, or adjacent rooms.
Practical checklist before you open boxes
– Confirm you have enough material for waste (cuts around cabinets and doorways).
– Confirm left/right direction arrows (if your product has them).
– Confirm transition pieces match the floor height/thickness.
Install the Vinyl Flooring (Planks or Sheet)
Install by matching your product type’s mechanics: click-lock rows connect and float, while glue-down planks/sheets bond to the subfloor. The fastest way to avoid gapping and lifting in a kitchen is to follow the manufacturer’s starting-row direction, cutting approach, adhesive trowel, and cure/roll steps.
For click-lock vinyl, forcing seams together is a common cause of permanent gaps and weakened joints—let the system seat naturally.
For glue-down vinyl, adhesive spread rate and required rolling/pressure affect bond coverage and reduce the risk of hollow spots and lifting.
Cutting tight around cabinets and door frames requires a consistent undercut or fitting method so edges don’t create stress points at seam lines.
Click-lock (floating) planks: step-by-step
– Start from the straightest wall and establish a level baseline row.
– Maintain the perimeter expansion gap using spacers if recommended.
– Lock rows together gently: align the tongue and groove, then use a tapping block as directed—do not “pull” a seam into place.
– Stagger end joints per the manufacturer’s minimum stagger requirement (commonly several inches; confirm your flooring spec).
– Cut around obstacles (vents, posts, cabinet toe-kicks where applicable). For under-door fits, undercut trim if the instructions allow it.
Glue-down planks or sheet vinyl: step-by-step
– Dry-fit layout first. Mark reference lines so you can keep plank alignment as you spread adhesive.
– Spread adhesive using the exact trowel/notch size and pattern specified.
– Observe open time (how long adhesive remains workable). If adhesive skins over, remove and re-apply per manufacturer direction.
– Set planks/sheets and roll (or apply pressure) as instructed to eliminate air pockets.
– Respect cure time before heavy traffic—kitchen floors see immediate loads, so cure matters more than most DIYers expect.
– Seam care: keep sheet edges aligned and use the recommended finishing process (heat welding or seam tape systems only if approved).
Click-lock vs glue-down: which approach fits a kitchen?
- Click-lock (floating)
- Pros: Often easier DIY install, no adhesive curing windows, replaceable sections if damaged (depending on product).
- Cons: Must maintain expansion space; perimeter details and transitions are critical to prevent seam gapping.
- Glue-down (direct bonded)
- Pros: Generally better stability in tricky areas and fewer movement-related issues when installed correctly.
- Cons: Requires correct adhesive/trowel, strict cure time, and subfloor flatness/porosity matters even more.
Kitchen-Related Subfloor/Install Risks and Typical Failure Signatures (Resilient Vinyl)
| # | Risk area | Typical symptom | Severity rating | DIY risk |
|---|---|---|---|---|
| 1 | Subfloor not flat | Gaps at seams; hollow-sounding spots | ★★★☆☆ | High |
| 2 | Skipping acclimation | Buckling; seam mismatch after temperature swings | ★★★☆☆ | High |
| 3 | Perimeter gap ignored | Peaking, separation, or edge “creep” | ★★★★☆ | High |
| 4 | Wrong adhesive/trowel (glue-down) | Soft spots; lift along plank edges | ★★★★☆ | High |
| 5 | Moisture source unresolved | Odor, discoloration, mildew under vinyl | ★★★★☆ | Very High |
| 6 | Inadequate transition detailing | Lift at doorways; edge fraying | ★★★☆☆ | Medium-High |
| 7 | Poor seam execution (sheet) | Gaps or visible seam lines | ★★★☆☆ | Medium-High |
Finish Edges, Transitions, and Seams
Finish work is where kitchen vinyl either stays protected or slowly fails at the boundaries. Because kitchens see water exposure, steam, and frequent chair movement, edge seals and transitions must match the product’s expansion and moisture expectations.
According to ASTM F710, resilient flooring performance depends on correct preparation and detailing. In real kitchens, the “detailing layer” is what you control: transitions, trim, and seam treatment.
Transitions installed with the correct reducer or threshold piece prevent unsupported edges from flexing and lifting under traffic.
Never bury the manufacturer’s required expansion space unless the instructions explicitly allow it; that perimeter gap is part of how the floor stays stable.
Sheet vinyl seams require the approved finishing method (tape, welding system, or specific seam treatment) to avoid visible gaps.
– Install baseboards or approved edging to cover the perimeter gap—only using methods consistent with your vinyl system.
– Use transitions at thresholds (doorways into hallways, transitions to tile, and height changes). Choose pieces that don’t trap expansion.
– Treat seams correctly:
– For sheet vinyl, follow seam-welding or finishing steps approved by the manufacturer.
– For planks, keep seams aligned and avoid forcing ends into uneven ridges—small misalignments become big visual gaps over time.
– Kitchen moisture strategy: don’t rely on “caulk everywhere” unless your manufacturer says it’s acceptable. Many failures happen when sealants block movement the system needs.
What Can Go Wrong (And How to Avoid It)
Most kitchen vinyl problems come from three categories: subfloor issues, installation-method errors, and moisture exposure. If you prevent those with planning, acclimation, and correct detailing, you dramatically reduce the odds of bubbles, gaps, and peeling.
According to ASTM F710, resilient flooring longevity is tightly linked to surface conditions and preparation quality—so troubleshooting usually starts below the vinyl.
Uneven subfloor surfaces can cause hollow areas that lead to separation at seams and reduced joint integrity.
In resilient vinyl, skipping acclimation can create post-install dimension changes that show up as buckling or gap formation.
– Uneven subfloor → hollow spots, joint separation, and movement.
– Skipping acclimation → thermal expansion stresses seams and edge details.
– Wrong adhesive or wrong coverage (glue-down):
– Adhesive that’s too thin can leave unbonded areas.
– Too much adhesive can interfere with seam flatness and create squeeze-out at edges (which can also complicate trimming).
– Moisture issues:
– Kitchen humidity, leaks, or slab moisture can drive problems later—odor, lifting, and mildew under vinyl.
A quick moisture reminder with real test standards: According to ASTM F1869, the calcium chloride method reports moisture vapor emission rate in lb/1000 sq ft/24 hr, which flooring manufacturers use to set acceptance thresholds. That’s why “it looks dry” isn’t enough for concrete.
Verdict / Tip (Who Should Skip This)
Vinyl kitchen flooring is usually a strong DIY choice when you can measure accurately, prep thoroughly, and follow your product’s install method precisely—especially around expansion gaps and transitions. The tradeoff is that resilient vinyl is unforgiving: if the subfloor isn’t flat or the moisture profile is unknown, repairs can be expensive.
Skip DIY (or pause and hire a pro) if you have significant subfloor damage, persistent moisture, or you’re unsure whether your product is approved for your existing floor type and conditions. Also consider help if you’re installing glue-down vinyl on concrete and you don’t feel confident meeting manufacturer-specific adhesive, trowel, and moisture requirements—those details control bond performance.
DIY is most successful when the homeowner can meet flatness, cleanliness, moisture, and installation-method-specific requirements set by the vinyl manufacturer.
If you can’t confirm subfloor flatness or moisture limits, vinyl may fail even if the surface “looks” acceptable during installation.
Glue-down installs add risk because adhesive selection, spread pattern, and cure timing are frequent points of failure in kitchens.
Quick scan checklist (save this):
– [ ] Confirm installation type: click-lock or glue-down
– [ ] Subfloor flatness checked; high spots removed/leveled
– [ ] Area clean and dry; moisture risk addressed
– [ ] Vinyl acclimated per manufacturer directions
– [ ] Expansion gap/edge rules followed (if required)
– [ ] Correct tools and (for glue-down) correct adhesive + roller
– [ ] Transitions and seams finished per product instructions
FAQ
Can I install vinyl kitchen floors over existing tile or vinyl?
It depends on the specific product instructions. Many manufacturers require a solid, smooth, properly prepared surface and may allow certain existing coverings while forbidding others—check the installation guide for your exact flooring.
How long should I wait before moving furniture onto newly installed vinyl?
Follow the manufacturer’s timeline, especially for glue-down installations where adhesive cure time matters. If your product doesn’t specify a timeframe, [ADD: source for cure time from the manufacturer’s installation instructions].
Do I need to remove baseboards to install vinyl flooring?
Often you can cut and fit around baseboards, but removing them can make edge finishing cleaner—only do what your product instructions support. [ADD: source for edge/baseboard guidance from the manufacturer installation guide.]
What’s the biggest reason vinyl floors lift in kitchens?
Most failures trace back to inadequate subfloor prep, moisture intrusion, or not following adhesive/expansion guidance. If lifting happens quickly, recheck flatness and moisture, then verify installation steps against the manufacturer instructions.
Sources
– ASTM F710, Standard Practice for Preparing Concrete Floors to Receive Resilient Flooring (preparation/flatness concepts referenced for resilient flooring success)
– ASTM F1869 (calcium chloride moisture testing method; unit reporting for vapor emission rate)
– ASTM F2170 (in-situ relative humidity moisture testing method)
– [ADD: manufacturer installation instructions for your specific vinyl product (click-lock or glue-down), including acclimation requirements, expansion gap rules, adhesive/roller guidance, and seam finishing steps]
– [ADD: manufacturer subfloor requirements/specifications for flatness and approved existing floor types]
– [ADD: manufacturer instructions for temperature/humidity limits during installation and post-install curing time]
A kitchen vinyl floor lasts when your prep is disciplined, your installation method matches the product, and your edges/transitions handle water and movement properly. Plan your layout to avoid weak slivers, level and clean the subfloor, acclimate the material, and finish seams and thresholds exactly as the manufacturer directs—then you’ll get the tight look that makes vinyl feel like a long-term upgrade rather than a quick refresh.
Frequently Asked Questions
How do I prepare my kitchen subfloor before installing vinyl floors?
Start by removing the old flooring, baseboards, and any tack strips so you have a smooth, clean surface. Check for damage and fix any uneven spots—vinyl flooring is forgiving, but large dips or high seams can cause wear or separation. Sweep thoroughly, then vacuum, and ensure the subfloor is dry and free of dust or grease, especially in kitchens where moisture and spills are common.
What is the best way to install vinyl flooring in a kitchen around cabinets and edges?
Dry-fit vinyl planks or tiles to plan your layout so cuts land near the edges and seams don’t create weak points in high-traffic areas. For areas under cabinets, check the product guidelines—many homeowners choose to cut and fit around cabinet bases rather than remove cabinetry to prevent misalignment. Leave the required expansion gap around walls and vertical surfaces, then install trim or quarter round to cover the gap for a clean, professional finish.
Which type of vinyl flooring is most suitable for kitchens, glue-down or click-lock?
For many kitchens, click-lock (floating) vinyl plank is popular because it’s quicker to install and easy to replace if a section gets damaged. Glue-down vinyl can provide extra stability for heavier traffic and can feel more secure on certain subfloors, but it requires careful subfloor readiness and correct adhesive use. Consider your floor flatness, comfort with DIY, and whether you want the easiest future repair when choosing between kitchen vinyl flooring installation methods.
How can I prevent water damage when installing vinyl floors in a kitchen?
Use kitchen vinyl flooring that’s designed for moisture resistance and follow the manufacturer’s instructions for sealing seams and transitions. Keep spill-prone areas in mind—use caulk or sealant where required at door thresholds, along plumbing penetrations, and around any expansion points to reduce water intrusion. Also, avoid washing the floor with excess water; use a damp mop and clean promptly to protect the wear layer and underlying layers.
Why do my vinyl floor seams lift or separate after installation, and how do I fix it?
Seam lifting usually happens from poor subfloor preparation, missing expansion gaps, or installing over moisture or debris. Check that your floor is properly acclimated to room temperature, then ensure the subfloor is flat—small bumps can turn into seam gaps over time. If the issue is minor, re-press or rework the affected planks; for larger separations, you may need to remove sections and reinstall with correct spacing and a clean, level surface.
📅 Last Updated: October 07, 2026 | Topic: How to install in a kitchen vinyl floors? | Content verified for accuracy and freshness.
References
- Vinyl flooring
https://en.wikipedia.org/wiki/Vinyl_flooring - https://en.wikipedia.org/wiki/Resilient_flooring
- https://www.britannica.com/technology/vinyl-flooring
- Lead Renovation, Repair and Painting Program | US EPA
https://www.epa.gov/lead/renovation-repair-and-painting-program - Asbestos | US EPA
https://www.epa.gov/asbestos - Asbestos – Overview | Occupational Safety and Health Administration
https://www.osha.gov/asbestos - https://www.cdc.gov/mold/default.htm
- Google Scholar Google Scholar
https://scholar.google.com/scholar?q=how+to+install+vinyl+sheet+flooring+subfloor+preparation+moisture - Google Scholar Google Scholar
https://scholar.google.com/scholar?q=how+to+install+vinyl+plank+flooring+floating+click+locking+installation+instructions - Google Scholar Google Scholar
https://scholar.google.com/scholar?q=vinyl+flooring+installation+acclimation+temperature+humidity+guidelines