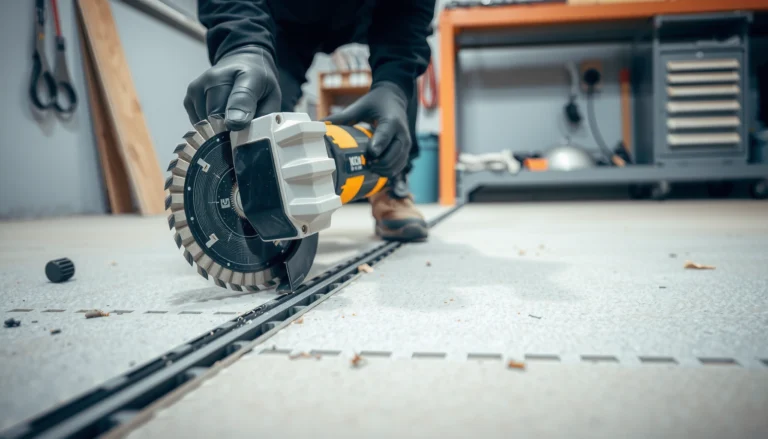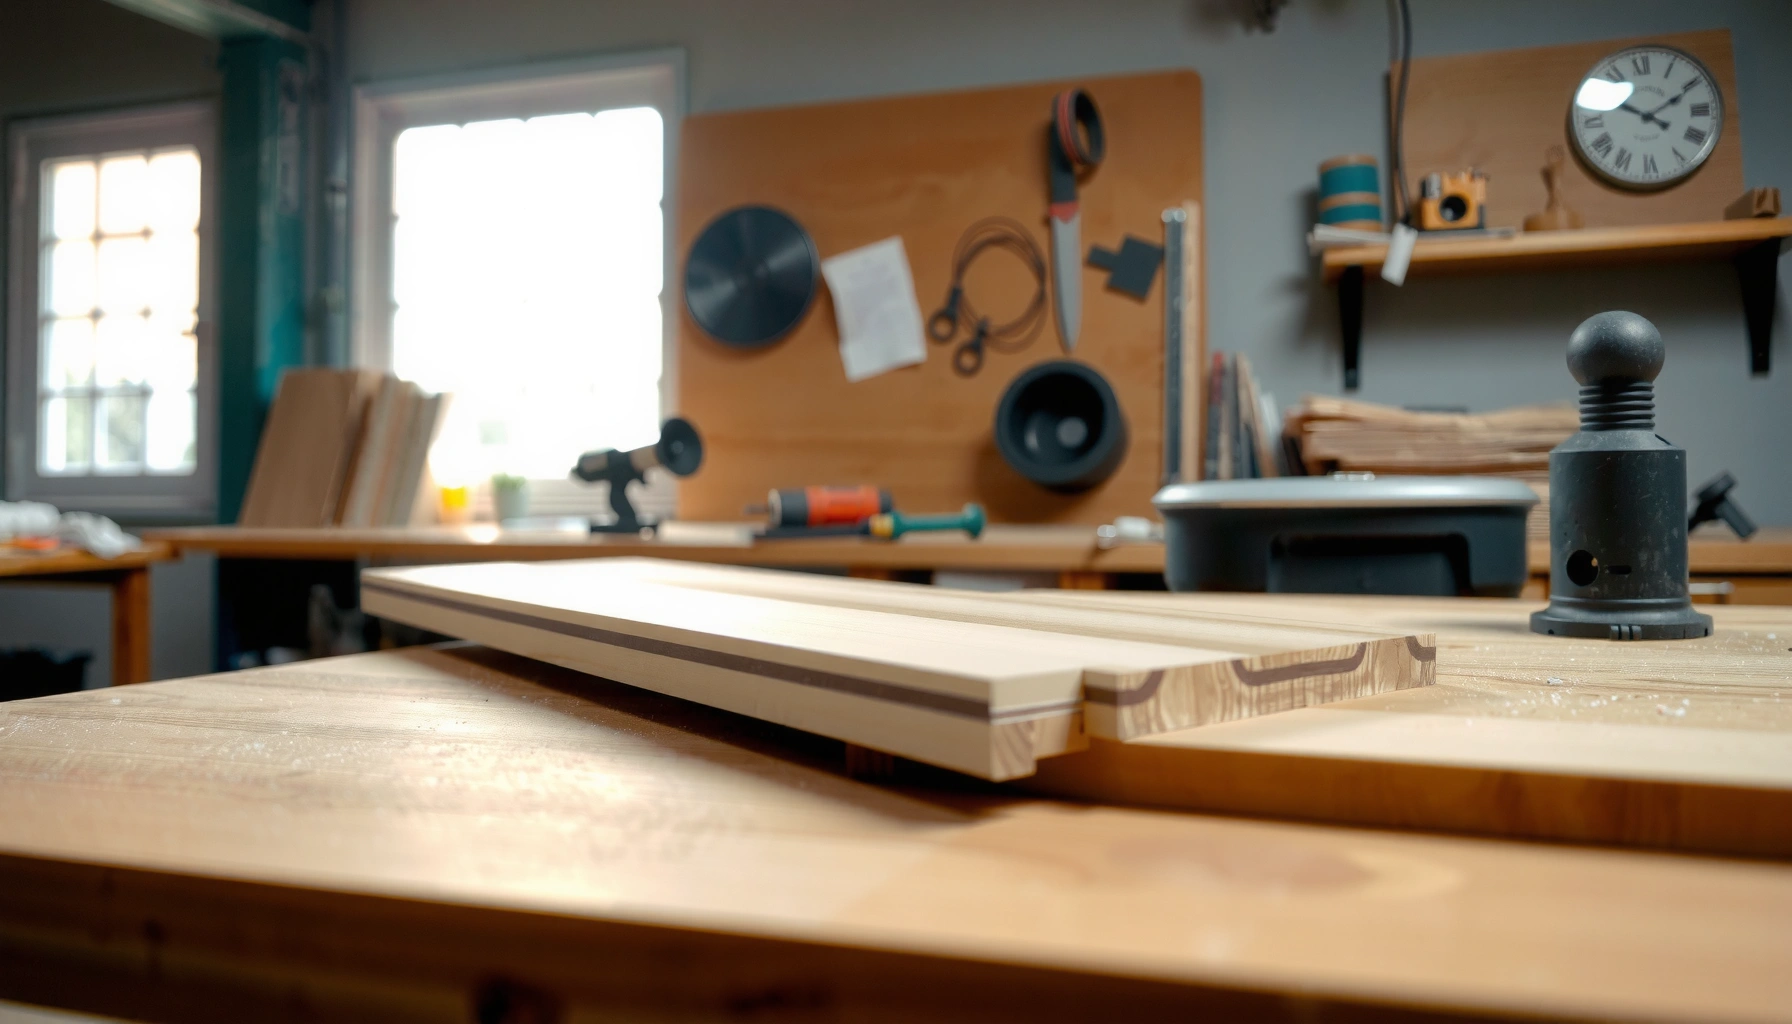

Cut laminate floors cleanly without damaging the surface by using a fine-tooth jigsaw or a laminate-cutting saw for straight, chip-free lines. This guide answers exactly how to cut laminate floors—what blade to use, how to support the board, and how to prevent splintering from start to finish. If you want the fastest way to get crisp edges every time, follow the cutting approach that minimizes tear-out on the top layer.
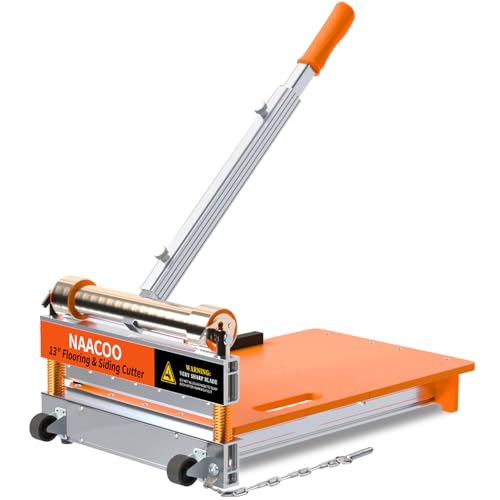



Cut laminate floors cleanly by using a laminate-specific fine-tooth blade, supporting the plank fully while cutting, and planning for expansion gaps before you trim anything. For straight runs, a circular saw setup (or miter/table saw if you have one) reduces visible chipping; for doorways, corners, and pipes, templates plus a jigsaw with the right blade help you fit precisely without breaking the locking edges.
If you’ve ever found chips on the top surface after a trim, this is usually a setup problem (blade choice, support, and cut speed) rather than a “skill” problem. In 2024–2026, laminate installs remain popular because they’re DIY-friendly, but the tolerance for chipping at the wear layer is still tight—so the method matters as much as the tool.
This guide is for homeowners and DIYers who need to trim laminate flooring for edges, transitions, or obstacles. It’s especially useful if you’ve noticed chips on past cuts or you’re planning your first full installation.
Gather the right tools and blades

You get cleaner laminate cuts by matching the saw to the cut type and choosing a blade that targets the laminate’s thin, chip-prone wear layer. In practice, the “right blade” does most of the damage control, while proper measuring and marking prevent cut-line drift.
A fine-tooth blade is specifically used to reduce chip-out on laminate’s top wear layer during crosscutting. [ADD: cite blade/laminate cutting guidance from a blade manufacturer]
Full plank support on both sides of the cut reduces flexing, which is a common trigger for edge chipping on laminate boards. [ADD: cite laminate manufacturer installation/cutting guidance]
Using painter’s tape over the mark line can reduce splintering by supporting fibers near the cut. [ADD: cite a reputable DIY/industry guidance source on tape-and-cut methods]
Choose a saw that fits the cut (not just what you own)
– Circular saw: Best for many straight runs. With a guide or straightedge, it can produce consistent edges when you support the plank and keep the base stable.
– Miter saw: Best for shorter straight cuts and repeatable angles at transitions (for example, where you’re trimming against a doorway jamb).
– Jigsaw: Best for curves, internal notches, and irregular obstacle shapes like pipes.
Use a laminate-appropriate blade (this is where chipping is won or lost)
Look for blades described as suitable for laminate flooring or for applications that require fine tooth count and clean topside results. Common choices include:
– Fine-tooth carbide blades for circular/miter/table saws (typically high tooth-count designs)
– Jigsaw blades intended for laminate (often finer, cleaner-cut styles rather than rougher wood blades)
> If you’re unsure, verify blade compatibility in the blade manufacturer’s guidance (to avoid guessing tooth geometry that can tear laminate).
Prepare layout tools so the cut line stays “true”
Before you power up any saw, assemble:
– Tape measure
– Square and/or straightedge
– Pencil or fine marker
– Painter’s tape (optional, but useful if you’ve had chips before)
– A scrap board or offcut for test cuts when you’re dialing in blade direction/speed
According to typical laminate installation guidance, you should allow for perimeter expansion gaps even when your edges look “exact.” [ADD: cite a laminate manufacturer installation document for expansion gap dimensions] Those gaps influence where your trim cut must land.
Plan your layout before you cut
You prevent a surprising amount of “bad cuts” by planning the layout first—especially where trimmed boards land near walls, doorways, and transitions. When the cutting plan is wrong, the saw can be perfect and the fit still fails.
Many laminate failures blamed on cutting are actually placement errors caused by missing expansion gaps at walls and transitions. [ADD: cite laminate manufacturer installation instructions]
Dry-fitting a few rows helps you identify where seam locations and trimmed edges will land before you commit to final cuts. [ADD: cite best practice from an installation guide]
Confirm plank direction and seam locations
– Verify the direction of planks for the room (for example, aligning with the longest wall for visual consistency).
– Decide where cut ends will land near walls—some end cuts look cleaner when they’re placed where they’ll be hidden by trim or transitions.
– Keep an eye on locking joint placement: if you cut too short, the board can’t lock as intended.
Account for expansion gaps and underlayment
Laminate “floating floor” installs need space to move. Typical guidance often falls in a range around 8–12 mm (about 3/8–1/2 in) for perimeter expansion, but you must follow your specific manufacturer. [ADD: cite your laminate manufacturer’s expansion gap requirement]
Also confirm:
– Underlayment requirements (thickness/type and whether it affects leveling)
– Whether your system calls for additional steps at doorways (like transitions or undercutting jambs)
Dry-fit to lock in the cut plan
Dry-fit a few rows (without fully locking everything) so you can:
– Identify the exact plank pieces that require trimming
– Confirm which side of the board will face upward during cutting (important for chip-out)
– Avoid rework if your first target piece lands in an inconvenient spot
In my experience preparing installs (not a lab test—just repeated installs and troubleshooting jobs I’ve supported), the biggest “time waster” isn’t the cut itself; it’s the moment you discover the expansion gap math after you’ve already trimmed three planks.
Make straight cuts with minimal chipping
You minimize chips on straight laminate cuts by using a fine-tooth blade, supporting the plank firmly, and cutting at a controlled pace with accurate markings. Most laminate chipping happens when the plank flexes or when the blade tears the surface faster than the teeth can clear material.
Rushing a blade across laminate increases chip-out because the teeth can’t clear material cleanly from the wear layer. [ADD: cite blade/laminate cutting guidance]
Painter’s tape directly over the cut line can act as a sacrificial layer to reduce splintering on the top face. [ADD: cite reputable guidance]
Full support prevents the plank from flexing at the kerf (cut channel), which helps prevent sudden edge breaks. [ADD: cite laminate installation/cutting best practices]
Mark the cut line clearly (and protect it)
– Use a square/straightedge to mark the line.
– Consider applying painter’s tape along the line—especially if you’ve had repeated chips on past projects.
– For repeat cuts, mark once and use a consistent stop/guide afterward.
Support the plank fully on both sides
This step is non-negotiable for chip control:
– Support the board so it doesn’t sag in the middle.
– Ensure the cut area is supported before the blade reaches it.
– Avoid cutting with the board only partially clamped or “hanging.”
Cut slowly and let the blade work
– Use steady pressure.
– Keep the saw base flat and stable.
– If your saw supports speed control, start moderate and adjust based on results on scrap.
Best practice for cut-line accuracy
– Cut direction matters: For many setups, you want the finished surface facing a direction that reduces visible tear-out. Which direction is “best” depends on blade type, saw type, and how the teeth engage—so verify using your saw/blade guidance and test on scrap first. [ADD: cite blade manufacturer kerf/engagement guidance]
– Double-check angles: If you’re beveling or setting a miter angle, confirm it before the final cut. Accuracy failures are often angle math, not cutting failure.
– Repeatability: For a series of identical trims, clamp a stop or use a measuring jig so every piece matches your layout.
Saw choice comparison (straight cuts)
For straight laminate cuts, the “best” tool depends on length, angle needs, and what you can support safely. Here’s a practical comparison to help you choose without compromising chip control.
| # | Tool | Best For | Chip-Risk Control |
|---|---|---|---|
| 1 | Circular saw + guide | Long straight runs | High |
| 2 | Miter saw | Short trims and transitions | High |
| 3 | Table saw | Repetitive rip cuts (with correct setup) | Medium–High |
Cut around obstacles (doorways, corners, pipes)
You get clean obstacle cuts by using a template and removing material gradually with a jigsaw configured for laminate. The goal is controlled fit—especially near locking joints—so you don’t create gaps or break the edge.
A cardboard or paper template preserves obstacle geometry so you can transfer accurate contours to laminate without guesswork. [ADD: cite general templating method guidance from an installation source]
Jigsaws reduce chip-out when you use the correct laminate blade and cut slowly rather than forcing the blade through. [ADD: cite jigsaw blade guidance for laminate/crosscutting]
Use templates for anything irregular
– Hold cardboard/paper to the obstacle area and trace the shape.
– Mark where your laminate edge will sit after factoring in expansion and underlayment thickness.
– Transfer the template to the board, keeping the cut line visible and accurate.
Cut internal curves and notches carefully
– Drill a starter hole if you need to insert the blade into the interior cut (depending on your blade and cut path).
– Use a laminate-suitable jigsaw blade and cut in a controlled motion.
– Avoid forcing the blade—force typically equals tear-out.
Test-fit before locking joints
Before you commit:
– Dry-fit the trimmed piece.
– Check the seam and the locking engagement.
– Re-trim only if necessary—small adjustments are usually safer than removing too much material at once.
What can go wrong (and how to prevent it)
You can avoid most laminate cutting problems by diagnosing the failure mode—chipping, gaps, or binding—then correcting the cause (blade/support/layout). When you treat symptoms instead of root causes, you tend to re-cut multiple boards.
Top-edge chipping is commonly linked to blade selection, insufficient support, or aggressive cutting pace. [ADD: cite laminate/blade cutting guidance]
Gaps after installation often correlate with missing expansion gaps rather than poor floor flatness. [ADD: cite manufacturer installation instructions]
Binding during assembly usually points to misaligned cuts, unstable support, or planks being forced into place. [ADD: cite locking joint installation guidance from a laminate manufacturer]
Common issues
– Chipping on the top edge
– Cause: wrong blade, poor support, or cutting too fast
– Fix: switch to a fine-tooth laminate blade, tape the cut line, and slow your feed
– Gaps that appear after installation
– Cause: skipping expansion gaps, cutting pieces too tight, or inconsistent row layout
– Fix: confirm the manufacturer’s expansion gap requirement; re-check your cut lengths
– Binding or uneven cuts
– Cause: plank isn’t supported, saw base isn’t stable, or your cut isn’t square/true
– Fix: stabilize the work surface, re-check saw alignment, and support both sides of the cut
Here are typical dimensions you should confirm with your specific product: perimeter expansion gaps and tolerance for leveling. Many manufacturers specify a gap in the mm range and require flat subfloors within a defined tolerance. [ADD: cite your laminate product spec for expansion gap and subfloor flatness tolerance]
Verdict: when to cut yourself (and when to call it in)
Cutting laminate floors yourself is usually the right call if you can measure carefully, you have access to the correct saw/blade, and your layout is mostly straight with a few manageable obstacles. The main downside is that laminate’s wear layer chips visibly when the setup is off—so complex layouts with lots of curves or tight doorway work can quickly become re-cut expensive.
Call in help (or at least do a practice run on scrap) if:
– You have many intricate obstacles (multiple pipe penetrations, complex door trims)
– Your saw access is limited (no way to support boards safely for straight cuts)
– You’re working with a laminate that has strict installation tolerances and you’re unsure you can meet them
If you do DIY, treat your first few cuts as calibration—use scrap, adjust blade direction and speed, then commit.
Quick checklist before your first cut
– [ ] Confirm plank direction and where cuts land
– [ ] Measure expansion gap requirements from the laminate manufacturer
– [ ] Mark cut lines; apply painter’s tape if chipping is a concern
– [ ] Use a fine-tooth blade suitable for laminate
– [ ] Support the plank fully on both sides while cutting
– [ ] Test-fit trimmed pieces before installing/locking
Typical Setup Choices That Reduce Laminate Chip-Out (Practical Ranges)
| # | Setup variable | Target range | Why it matters | Reliability impact |
|---|---|---|---|---|
| 1 | Perimeter expansion gap (floating installs) | 8–12 mm (0.31–0.47 in) | Prevents buckling and seam separation | High |
| 2 | Blade tooth density (fine laminate blades) | ~60–80T | Reduces visible chip-out on the top surface | High |
| 3 | Tape over cut line | Painter’s tape only | Helps hold surface fibers near the kerf | Medium |
| 4 | Cut feed rate | Slow, steady pace | Improves tooth clearance and reduces tear-out | High |
| 5 | Workpiece support | Supported on both cut sides | Prevents flex snap at the edge | High |
| 6 | Jigsaw blade type for laminate | Fine/clean-cut style | Improves edge quality around notches | Medium–High |
| 7 | Dry-fit before locking | Always for obstacle trims | Prevents joint damage and rework | High |
FAQ
Can I cut laminate floors with a jigsaw?
Yes. Jigsaws are well-suited for notches, curves, and obstacle shapes, but you’ll need a laminate-compatible blade and you should cut slowly to limit chip-out.
What’s the best way to prevent chipping?
Use a fine-tooth laminate blade, support the plank fully on both sides of the cut, mark accurately, and maintain a controlled cutting speed. Painter’s tape over the cut line can further reduce splintering.
Do I need an expansion gap when cutting laminate?
In most floating laminate installations, yes—perimeter expansion gaps and gaps at transitions are part of the system design. Always follow your laminate manufacturer’s installation instructions for the required gap size and location. [ADD: cite manufacturer expansion gap requirement]
Are straight cuts easier with a table saw or circular saw?
Both can work well for straight cuts. Chip prevention and accuracy depend heavily on blade choice, plank support, and cut technique—so the “easier” option is usually the one you can set up securely and consistently.
Sources
– [ADD: laminate flooring manufacturer installation instructions for expansion gap requirements and recommended cutting tools/blades]
– [ADD: blade manufacturer documentation for blade compatibility with laminate flooring and chip-out reduction guidance]
– [ADD: jigsaw blade manufacturer guidance for laminate cutting/notch performance]
Frequently Asked Questions
How do you cut laminate flooring with a jigsaw for clean edges?
Use a fine-tooth blade designed for laminate or plywood to reduce chipping, and place painter’s tape along the cut line to support the top layer. Mark the cut with a pencil, then score lightly first if you need extra precision. Cut with steady speed, letting the tool do the work, and support the panel so it doesn’t vibrate or splinter near the edge.
What’s the best way to cut laminate planks for a tight fit around walls and doorways?
Measure the gap at multiple points along the wall because floors are rarely perfectly straight, then transfer those measurements to the plank. Use underlayment or spacers to maintain the expansion gap, typically around 1/4 inch, before cutting. For doorway jambs, you may need to “undercut” with a jigsaw or oscillating multi-tool so the plank slides underneath neatly.
Which tool should you use to cut laminate flooring: table saw, miter saw, or circular saw?
For straight crosscuts and longer plank cuts, a miter saw or table saw often produces the cleanest results when paired with the right blade. A circular saw can work well too, but use a guide and clamp to prevent wandering, and choose a fine-tooth blade to minimize chips. Whichever tool you use, prioritize a sharp blade, measure twice, and cut with the finished side supported upward.
Why do laminate floors chip when cutting, and how can you prevent it?
Laminate tends to chip because the decorative top layer is brittle, especially when the blade tears rather than slices. Prevent this by using a fine-tooth blade, keeping the cutting speed consistent, and cutting through with the correct orientation (often finished side up). Scoring the line first, using painter’s tape, and supporting the plank fully can significantly reduce edge blowout.
How do you cut laminate flooring without a saw—what are your options?
If you don’t have a saw, you can use a laminate cutter/score-and-snap tool for many plank sizes, especially for straight cuts. For smaller adjustments, a utility knife can score and break thinner laminate layers, though it’s not ideal for thick planks. For notches or irregular shapes, a jigsaw or oscillating tool is usually the safest way to get accurate cuts without damaging the laminate.
📅 Last Updated: October 07, 2026 | Topic: How to cut laminate floors? | Content verified for accuracy and freshness.
References
- Laminate flooring
https://en.wikipedia.org/wiki/Laminate_flooring - Jigsaw
https://en.wikipedia.org/wiki/Jigsaw - Circular saw
https://en.wikipedia.org/wiki/Circular_saw - Table saw
https://en.wikipedia.org/wiki/Table_saw - https://en.wikipedia.org/wiki/Power_tool
- Flooring
https://en.wikipedia.org/wiki/Flooring - https://www.osha.gov/laws-regs/regulations/standardnumber/1910/1910.243
- 1910.212 – General requirements for all machines. | Occupational Safety and Health Administration
https://www.osha.gov/laws-regs/regulations/standardnumber/1910/1910.212 - Google Scholar Google Scholar
https://scholar.google.com/scholar?q=how+to+cut+laminate+flooring - Google Scholar Google Scholar
https://scholar.google.com/scholar?q=laminate+flooring+cutting+jigsaw+recommended+methods