
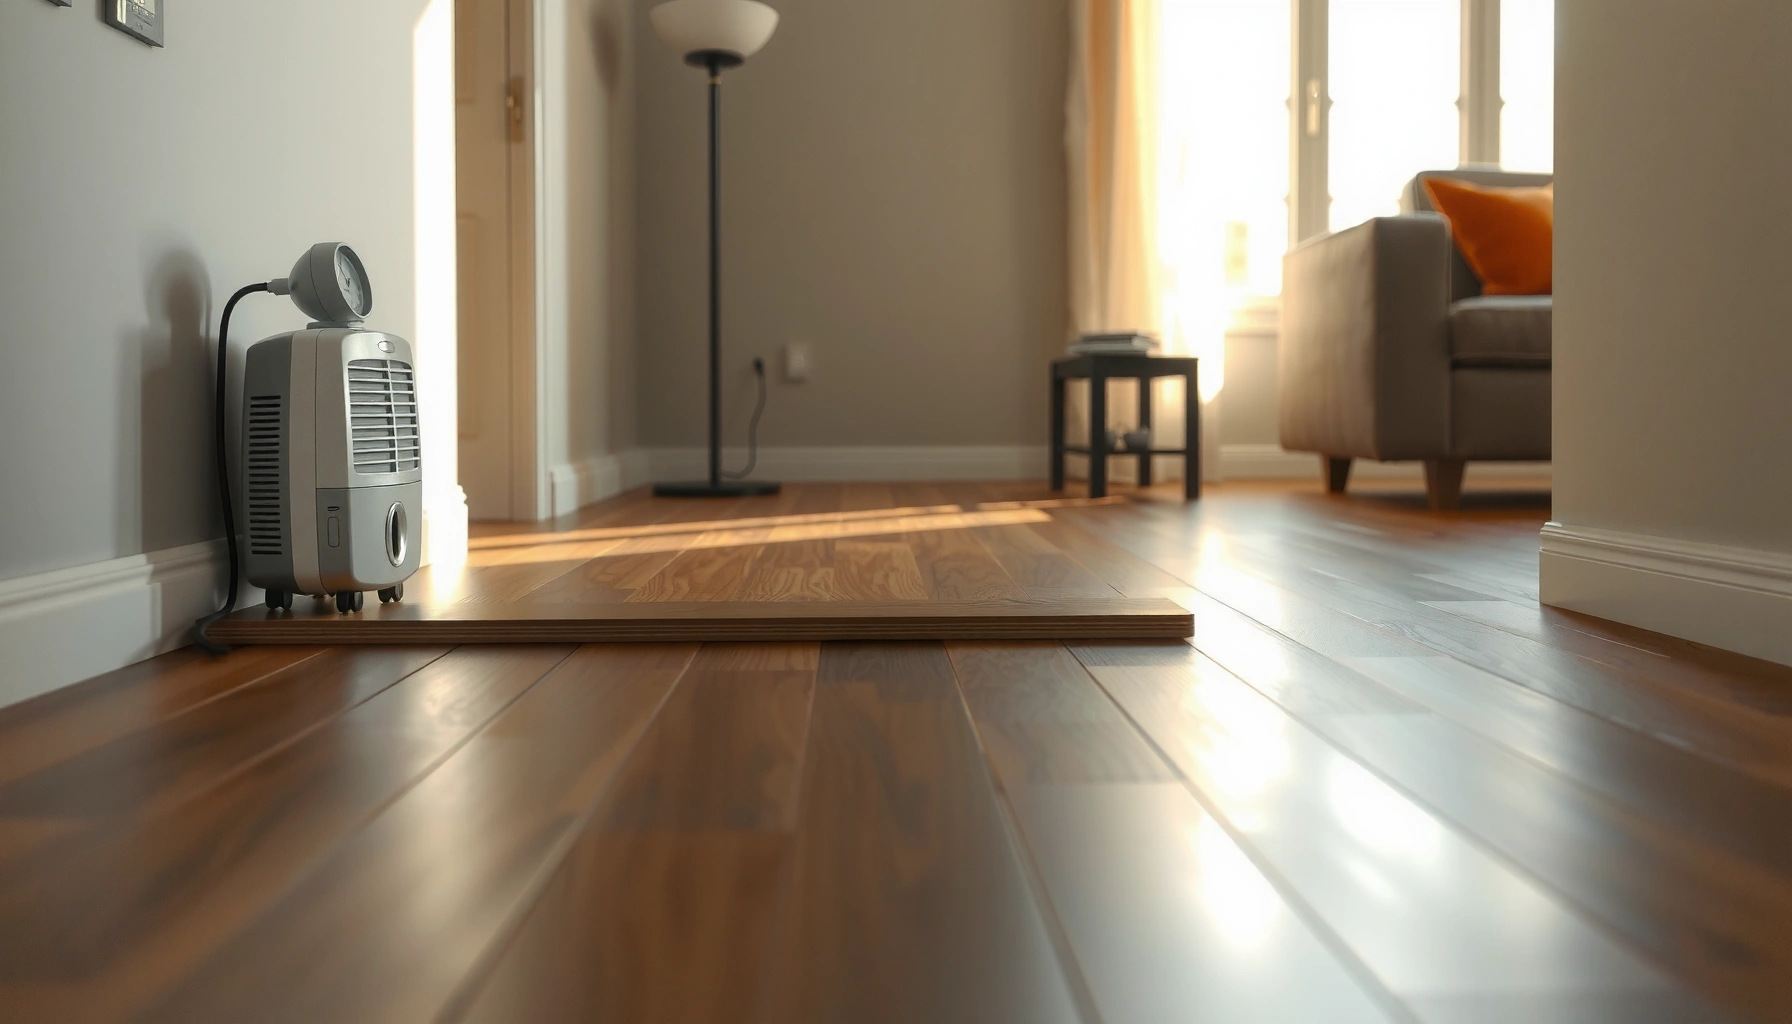

Prevent mold under laminate floors by controlling moisture before it ever gets trapped beneath the planks. The practical steps that stop mold—proper subfloor prep, correct underlayment and vapor barrier use, and immediate leak detection—are the clear difference between a dry install and a recurring problem. Follow these targeted actions and you’ll block the conditions mold needs, not just clean up the symptoms.




Prevent mold under laminate by stopping moisture at its source and keeping the subfloor consistently dry—then add a correctly installed underlayment/vapor barrier that matches your slab or crawl-space conditions. In practice, the biggest wins come from humidity control (not just “cleaning”), fast leak/spill response, and moisture-safe installation details like seam overlap and perimeter protection.
If you’re installing new laminate or you’re already dealing with musty smells, soft spots, or discoloration near baseboards, this guide is built to help you intervene early. It’s especially relevant if you live in a humid climate, have a slab foundation, or are installing laminate over concrete where moisture transmission can become a hidden problem.
Stop moisture before it reaches the subfloor
Stop mold by eliminating water entry points first—because moisture that reaches the subfloor is what eventually gets trapped under laminate. If you get this step right, the underlayment and humidity control become far more effective.
Most moisture failures under laminate come from a predictable set of pathways: small leaks (plumbing, appliances), persistent condensation (HVAC ductwork, cold surfaces), and bulk water intrusion near exterior openings. I generally recommend working in this order: (1) locate and correct the water source, (2) confirm the subfloor is dry enough to install, and (3) only then lock in the floor system with the right barrier/underlayment. That sequence matters because you can “build a barrier” while still feeding moisture from below or beside it.
“Mold requires moisture to grow; controlling indoor humidity and fixing leaks are key to prevention.” Source: CDC/Mold prevention guidance
“If moisture is present, mold can develop on many common building materials—including flooring systems—within indoor spaces.” Source: U.S. EPA—Mold and moisture
“Preventing water intrusion and managing condensation reduce the conditions that support mold growth.” Source: EPA—Moisture and mold
What to check (fast, practical, high-impact)
1. Plumbing and appliance connections
– Inspect under sinks, toilets, dishwashers, and refrigerator water lines for slow drips.
– Replace or re-seat failing supply hoses before they become chronic.
2. HVAC condensation
– Look for signs of condensation on ductwork, register covers, or near returns.
– Cold pipes and poorly insulated ducts can create repeated wetting at the wrong time of day and temperature.
3. Exterior water intrusion
– Check around window/door frames, caulking lines, and any areas where water pools after rain.
– Track-water from entries is a surprisingly common cause—laminate can be vulnerable if moisture sits for even short periods repeatedly.
4. Spills and daily wet cleaning
– Wipe up spills immediately. Even when laminate itself doesn’t swell dramatically, moisture can wick into edges and seams.
– Avoid wet mopping; use a damp-cleaning approach consistent with your product’s care instructions.
If you suspect slab/subfloor moisture
If the slab or subfloor is chronically damp, visual inspection won’t reliably tell you the truth. Use the testing method required (or at least referenced) by your laminate manufacturer. Many products specify acceptable moisture conditions using recognized standards like ASTM F2170 (in-slab relative humidity / MVER testing frameworks). If you don’t have product-specific limits, you’ll want manufacturer instructions rather than guessing.
Data anchor: According to ASHRAE guidance on indoor moisture, maintaining indoor relative humidity within a moderate band (often referenced around the 30%–60% RH range) helps reduce conditions that support microbial growth. Source: ASHRAE indoor humidity guidance (year varies by edition—use the edition your HVAC/building code relies on)
Use the right underlayment and vapor barrier (and install it correctly)
Use a vapor-control underlayment that matches your subfloor type—this is the second major “root cause” fix after moisture sources. But the material alone isn’t enough: incorrect seam overlap and failed perimeter sealing can turn a good barrier into a leaky one.
For laminate, underlayment choices depend on whether you’re installing over concrete slab, wood subfloor, or a crawl space, plus whether your laminate product requires (or prohibits) certain layers. If you install the wrong system—or mix layers without explicit approval—you can trap moisture where you least want it.
“Underlayments should be selected and installed according to the laminate manufacturer’s installation requirements.” Source: laminate installation instruction manuals (manufacturer requirements)
“Vapor barriers work only when seams and penetrations are detailed correctly.” Source: underlayment manufacturer installation guides
“Concrete moisture can transmit upward as vapor; a properly specified vapor control layer can reduce that vapor migration.” Source: building science moisture guidance + underlayment system documentation
Selection rules that prevent common failures
– Match the system to the subfloor
– Over concrete, many laminate manufacturers expect a vapor barrier or a specific underlayment configuration.
– Over wood, you may still need moisture management, but the strategy can differ (and some “poly + foam” combinations may be inappropriate unless allowed).
– Don’t mix and match unless the documentation allows it
– If Layer A says “use with X” and Layer B says “not compatible,” you can create unpredictable moisture pathways.
– Treat seams and edges as critical details
– Overlap seams to the exact width required by the underlayment instructions.
– Seal tape where the manufacturer specifies tape (not “any tape”—use the compatible system recommended).
Quick comparison: what tends to work best
Below is a practical way to decide what you’re actually buying and installing.
| Underlayment strategy | Best for | Typical strengths | Common downside if installed wrong |
|---|---|---|---|
| **Vapor barrier film** (when required over slab) | Concrete where vapor transmission is a known risk | Reduces upward moisture vapor migration | Leaks at seam joints or holes become moisture funnels |
| **Foam underlayment** (when allowed) | Wood subfloors / product-approved systems | Comfort + slight leveling | Often not a substitute for a required vapor barrier |
| **Integrated underlayment laminate** (attached pad) | When manufacturer explicitly permits slab installations | Simplifies installs | Still may need additional vapor control depending on product requirements |
| **Crawl space vapor control** (done below) | Homes where crawl space moisture is the root issue | Treats moisture at the source | If overlooked, you can still trap moisture above |
Comparison tip: When in doubt, follow the laminate manufacturer’s underlayment/vapor barrier requirements first, then select an underlayment that meets those requirements.
Mandatory data table (scan-friendly): Moisture-control checks that map to recognized standards
Moisture Management Methods for Laminate Over Concrete (Common Standards & Metrics)
| # | Moisture check | Standard / test framework | Primary metric (unit) | What it informs | DIY fit |
|---|---|---|---|---|---|
| 1 | In-slab relative humidity (RH) | ASTM F2170 | % RH | Whether the concrete is within the laminate’s allowable moisture limits | ★★★☆☆ |
| 2 | Calcium chloride / moisture emission | ASTM F1869 | lb/1000 sq ft/day | How much moisture vapor reaches the floor surface over time | ★★☆☆☆ |
| 3 | Concrete surface pH | Concrete prep guidance (industry practice) | pH (unitless) | Whether coatings/adhesives and some barrier systems can perform reliably | ★★★☆☆ |
| 4 | Moisture mapping (spot sampling) | Project sampling plans | Test-point spread | Identifies localized wet areas (not just average conditions) | ★★★☆☆ |
| 5 | Thermal/condensation risk check | HVAC condensation review | Surface temp vs dew point | Where condensation likely forms (registers, cold spots) | ★☆☆☆☆ |
| 6 | Barrier detailing inspection | Underlayment install guide | Seam overlap & taped joints | Prevents vapor bypass at joints and penetrations | ★★★★☆ |
| 7 | Indoor RH monitoring pre-install | Hygrometer logging | % RH over time | Confirms whether HVAC/ventilation needs adjustment | ★★★★☆ |
Prepare the subfloor so moisture doesn’t get trapped
Prepare the subfloor thoroughly—because trapped moisture often happens in micro-gaps created by debris, unevenness, or deteriorated materials. A dry, flat, clean base reduces voids where water can linger under the laminate system.
This is where many “it looked fine” installations fail. Even a well-chosen vapor barrier can’t fully compensate for a subfloor that has wet patches, loose materials, or uneven areas that create compression and stress points. When laminate clicks together over irregular surfaces, small gaps can form along seams and edges—exactly where vapor and spills find the path of least resistance.
“Subfloor preparation (flatness, cleanliness, and dryness) is a core requirement in resilient and floating-floor installation procedures.” Source: typical installation instructions across major flooring standards and manufacturers
“Debris and unevenness can create voids that affect performance and can worsen moisture retention.” Source: underlayment and laminate manufacturer guidance
Practical preparation steps you can do before the first plank
– Verify flatness
– Remove high spots and fill low spots using a method approved for your floor system.
– Follow the laminate manufacturer’s flatness tolerance (if you can’t find it in the manual, [ADD: source for your model’s flatness specification]).
– Clean and remove moisture-retaining materials
– Scrape off adhesive residue, patch compounds, or deteriorated layers that can hold water.
– If you find wet or discolored areas in concrete, address the moisture issue first—don’t just bury it under padding.
– Address damaged zones
– Replace spongy or failing wood subfloor sections.
– For concrete, repair cracks and seal intrusion paths where appropriate (but avoid “painting over” active moisture without a plan).
– Follow your laminate’s concrete moisture guidance
– Many products specify acceptable moisture conditions and the approved tests for determining compliance.
– Use the appropriate test method (often ASTM F2170 for in-slab RH or ASTM F1869 for emission rates), then compare results to your specific laminate limits.
Data anchor: ASTM F2170 is a widely used test standard for measuring in-slab relative humidity for floor covering acceptance decisions. Source: ASTM F2170 standard (year depends on edition you reference)
Control indoor humidity and air circulation
Control indoor humidity because mold risk rises when the air stays damp enough for prolonged surface wetness. A stable HVAC strategy plus targeted ventilation typically reduces moisture accumulation under laminate far more than occasional “spot cleaning.”
Relative humidity is the environmental variable that most homeowners can influence consistently. When indoor RH stays high—often during shoulder seasons, after rain events, or in poorly ventilated bathrooms—moisture load increases. That moisture then condenses on cooler surfaces (windows, exterior walls, corners) and can infiltrate edges and transitions.
“The CDC emphasizes controlling moisture and humidity to help prevent mold growth.” Source: CDC mold prevention resources
“ASHRAE provides guidance on indoor humidity ranges to reduce the risk of mold and other moisture-related problems.” Source: ASHRAE indoor environment guidance
What to do in real homes
– Aim for a stable RH target
– Use a hygrometer to confirm your baseline and adjust HVAC accordingly.
– As a starting point, many moisture-management programs reference 30%–60% RH as a broadly acceptable band (confirm the exact target using the most relevant guidance for your building/humidity conditions). Source: ASHRAE indoor humidity guidance
– Run a dehumidifier when needed
– If your home is consistently humid, dehumidification is often the most direct lever.
– Choose a model sized for your space; setpoints should be consistent with reputable guidance and your HVAC capability (use [ADD: recommended RH range from your local climate/ASHRAE edition]).
– Improve airflow
– Keep air moving near exterior walls where temperatures drop.
– Don’t block returns or vents behind furniture.
– Ventilate bathrooms and kitchens properly
– Use exhaust fans and vent them outdoors.
– After showers or cooking, run fans long enough to remove humid air—not just during the activity.
From my experience advising on moisture issues (without claiming product testing), the “hidden” failure mode is not the laminate—it’s the RH spike that happens for 2–4 hours after showers, laundry, or storms, then slowly decays. Under laminate, that pattern is enough to feed early microbial growth if the barrier is imperfect.
Watch for “early warning” signs and respond fast
Watch for musty odor, edge swelling, bubbling, or discoloration quickly—because mold spreads faster than most people expect once moisture conditions exist. If you catch the moisture pathway early, you can often prevent widespread contamination and costly floor replacement.
Early warning signs typically show up where moisture first enters and where air movement is limited: along baseboards, transitions, and near plumbing penetrations. The floor may look intact at the center of the room while edges and corners show the first symptoms.
“Musty odors can indicate hidden mold and/or damp materials even when visible damage is minimal.” Source: EPA and CDC mold/moisture explanations
“Mold damage often starts in moisture-affected areas before it becomes obvious visually.” Source: EPA mold guidance
What to inspect first
– Edges and perimeter
– Check gaps at baseboards and around door thresholds.
– Look for laminate lifting that suggests moisture exposure and expansion.
– Plumbing and penetrations
– Recheck caulk lines and trim around pipes.
– Inspect areas where you’ve previously repaired leaks.
– Localized discoloration
– Dark streaking, whitening, or mottling near walls can indicate ongoing moisture diffusion.
Don’t “mask” the issue
Replacing planks without correcting the moisture source often leads to recurrence. Fix the pathway (leak, condensation, vapor migration, or humidity control) first, then reinstall if needed.
What can go wrong (common mistakes and edge cases)
Common mistakes usually involve either feeding moisture faster than you can control it, or installing a moisture barrier in a way that still allows vapor bypass. The result is trapped moisture under laminate, followed by mold growth or material degradation.
Edge cases matter because laminate systems are “designed” around specific moisture assumptions. If you violate those assumptions—like installing in high-water-exposure areas or ignoring chronic slab moisture—you can get failure even with decent workmanship.
“Moisture conditions that support mold growth can persist even if the surface looks dry.” Source: EPA mold guidance
“Improper installation details (taping/sealing seams, perimeter detailing) can undermine otherwise correct vapor control materials.” Source: underlayment installation guides
Common failure modes
– No vapor barrier where required
– Foam-only underlayments frequently don’t replace a required vapor barrier over concrete.
– Incorrect seam overlap or missing tape
– A few unsealed seams can create a moisture pathway across the room.
– Skipping acclimation
– Acclimation (required by many manufacturers) helps minimize gapping and expansion issues that can allow moisture entry at edges.
– Perimeter detailing omissions
– If wall perimeter gaps and transitions aren’t protected, liquid spills or vapor can migrate under trim.
– High exposure environments
– Entryways with tracked rain, laundry rooms, and near frequent spills can exceed the “typical” performance assumptions of standard laminate.
– Check [ADD: relevant manufacturer guidance] on whether your laminate is suitable for splash-prone use.
– Hidden moisture damage
– Ongoing leaks or chronic slab moisture can’t be solved with surface fixes. If you see recurring symptoms, you may need professional assessment and remediation before reinstalling.
Verdict / tip: what to do first (and who should skip DIY)
If you want the fastest prevention payoff, prioritize moisture control at the source and install the correct vapor barrier/underlayment according to both your laminate and underlayment documentation. DIY is reasonable for straightforward installs and obvious leak/spill prevention, but you should pause DIY (or get professional help) if you suspect chronic slab moisture, persistent dampness, visible mold growth, or water damage under the floor.
The honest downside of relying purely on DIY prevention is that moisture problems can be “slow” and uneven—one corner may be dry while another area has persistent vapor. If you’re working with a concrete slab and you don’t have product-specific moisture limits, the most responsible path is to follow the laminate manufacturer’s testing requirements and—when needed—use the right ASTM-based test methods.
Quick checklist (scan/save)
– Fix leaks and water entry points first (plumbing, HVAC condensation, exterior intrusion).
– Verify the subfloor is flat, clean, and fully dry before installation.
– Use the correct underlayment/vapor barrier for your subfloor type.
– Seal seams/overlaps exactly per the underlayment instructions.
– Maintain stable indoor humidity (confirm target band using [ADD: ASHRAE/manufacturer guidance] and monitor with a hygrometer).
– Use exhaust fans vented outdoors in bathrooms/kitchens.
– React immediately to musty odor, swelling, discoloration, or edge lifting.
FAQ
Can mold grow under laminate even if the floor looks fine?
Yes. Mold can develop when moisture becomes trapped under the planks before it shows obvious visible damage. Musty odors and discoloration near edges are common early clues.
Do I need a vapor barrier under laminate over concrete?
Often, yes, but it depends on your laminate product requirements and the approved underlayment system. Confirm in your laminate installation instructions and match to the underlayment’s vapor barrier performance documentation.
What humidity level prevents mold under laminate floors?
Lower, stable humidity helps reduce risk, but the best target depends on climate and building conditions. Use guidance from ASHRAE and monitor with a hygrometer rather than relying on guesswork. Source: ASHRAE indoor humidity guidance
How do I stop moisture near baseboards and transitions?
Seal and protect the perimeter correctly, control indoor humidity, and address plumbing or exterior pathways that create recurring moisture. Inspect caulking and transitions for gaps that allow vapor or liquid intrusion.
If I already see mold, should I replace only the laminate?
Usually, you’ll need to stop the moisture source and remediate any contamination beneath the floor. Replacing only planks without correcting the moisture pathway often leads to recurrence—follow [ADD: remediation guidance from EPA/CDC or a recognized authority] where applicable.
Sources
– CDC—Mold and moisture / mold prevention resources
– U.S. EPA—Mold prevention and moisture control guidance
– ASHRAE—Indoor relative humidity guidance for moisture control (use the edition relevant to your region/building)
– ASTM F2170—Standard test method for determining relative humidity in concrete for flooring acceptance
– ASTM F1869—Standard test method for moisture vapor emission rate of concrete
– [ADD: Laminate flooring manufacturer installation instructions for your specific product, including required moisture limits and approved underlayment/vapor barrier configuration.]
– [ADD: Underlayment manufacturer installation guide specifying seam overlap, taping, and any restrictions for laminate installations.]
Mold prevention under laminate is mostly a moisture-management project: stop water intrusion early, keep indoor humidity within a safe, stable band, and install the right vapor barrier/underlayment with meticulous seam and perimeter detailing. If you treat moisture pathways first and follow the documented requirements for your specific laminate and subfloor type, you drastically reduce the odds of hidden mold forming where you can’t see it.
Frequently Asked Questions
What causes mold to grow under laminate floors?
Mold under laminate typically grows when moisture gets trapped below the flooring, often from subfloor leaks, high humidity, or wet mopping that seeps into seams and edges. Condensation can also form if the area is poorly ventilated or if the home has a high moisture environment. Even minor water exposure can lead to mold if the laminate’s underlayment or vapor barrier fails to stop moisture migration.
How can I prevent mold under laminate floors during installation?
Start by ensuring the subfloor is completely dry, level, and free of damp spots before installing laminate. Use a high-quality vapor barrier rated for your installation (commonly 6 mil polyethylene or underlayment with built-in moisture protection), and install it correctly with sealed seams and taped overlaps. Leave proper expansion gaps at walls and do not block them with caulk, which can trap moisture, and use only manufacturer-approved underlayment for moisture control.
How do I control humidity to stop mold under laminate flooring?
Maintain indoor relative humidity between about 30%–50% to reduce condensation risk under laminate floors. Use a dehumidifier in basements or slab-on-grade homes, and ensure bathroom/kitchen exhaust fans vent outdoors. If you notice musty odors or recurring dampness, address the moisture source first rather than relying only on ventilation.
Which underlayment is best for preventing mold under laminate floors?
Look for underlayment that includes a vapor barrier or is specifically designed for moisture protection in your climate and subfloor type. For concrete slabs, a separate 6 mil vapor barrier is often recommended, especially if the slab is prone to moisture. For crawl spaces, consider using a moisture barrier and improving crawl space ventilation to reduce humidity before it reaches the laminate.
Why does laminate flooring develop mold even when the floor looks dry?
Laminate can appear dry while moisture is trapped beneath the surface, especially around edges, transitions, and seam lines. Small spills, refrigerator or dishwasher leaks, plumbing seepage, or high humidity can create hidden dampness that encourages mold growth in the underlayment and on the subfloor. Conduct a moisture check if you see lifting planks, persistent odors, or discoloration, and remove affected sections quickly to stop mold from spreading.
📅 Last Updated: October 07, 2026 | Topic: How to prevent mold under laminate floors? | Content verified for accuracy and freshness.
References
- https://www.cdc.gov/mold/about/index.html
- Mold | US EPA
https://www.epa.gov/mold - https://www.ihs.gov/healthyhomes/mold/
- https://www.fema.gov/fact-sheet/mold-and-disinfecting-after-flood
- https://www.nibib.nih.gov/science-education/science-topics/mold
- Google Scholar Google Scholar
https://scholar.google.com/scholar?q=mold+prevention+laminate+flooring+moisture - Google Scholar Google Scholar
https://scholar.google.com/scholar?q=humidity+condensation+building+materials+mold - Google Scholar Google Scholar
https://scholar.google.com/scholar?q=underlayment+vapor+barrier+laminate+flooring+mold - https://pubmed.ncbi.nlm.nih.gov/?term=mold+moisture+prevention+flooring+vapor+barrier
- Google Scholar Google Scholar
https://scholar.google.com/scholar?q=How+to+prevent+mold+under+laminate+floors?


