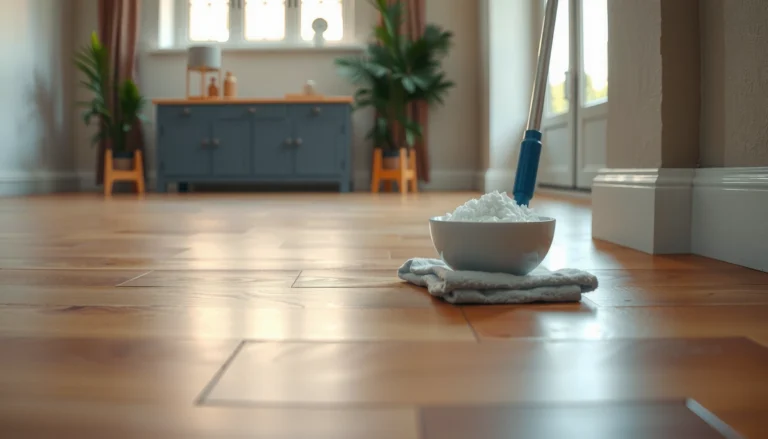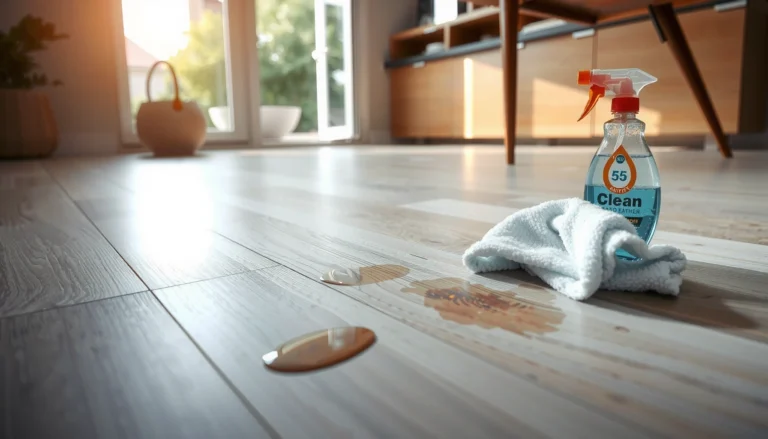

Want to remove adhesive from laminate floors without damaging the finish? This step-by-step guide shows the fastest, safest method that lifts common residues while keeping the laminate surface intact. You’ll learn exactly what to use, how long to let it work, and how to scrape and clean for a smooth, adhesive-free result.


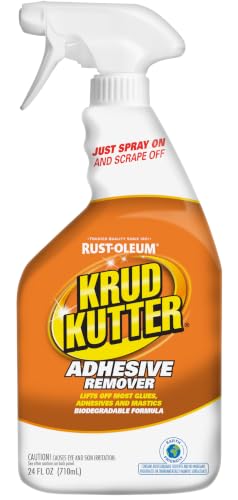

Peel-up adhesive on laminate floors is usually easiest to remove with heat and a plastic scraper, then finish with a gentle adhesive remover that won’t damage the laminate’s surface. Start by softening the glue, remove what you can without gouging, and only then use a solvent on the remaining residue in small amounts.
This guide is for homeowners dealing with leftover tape/glue after renovations, subfloor repairs, or replacing flooring. It’s especially relevant when the laminate is already installed and you want to avoid scratches, swelling edges, or dull patches.
Assess the adhesive and protect the laminate
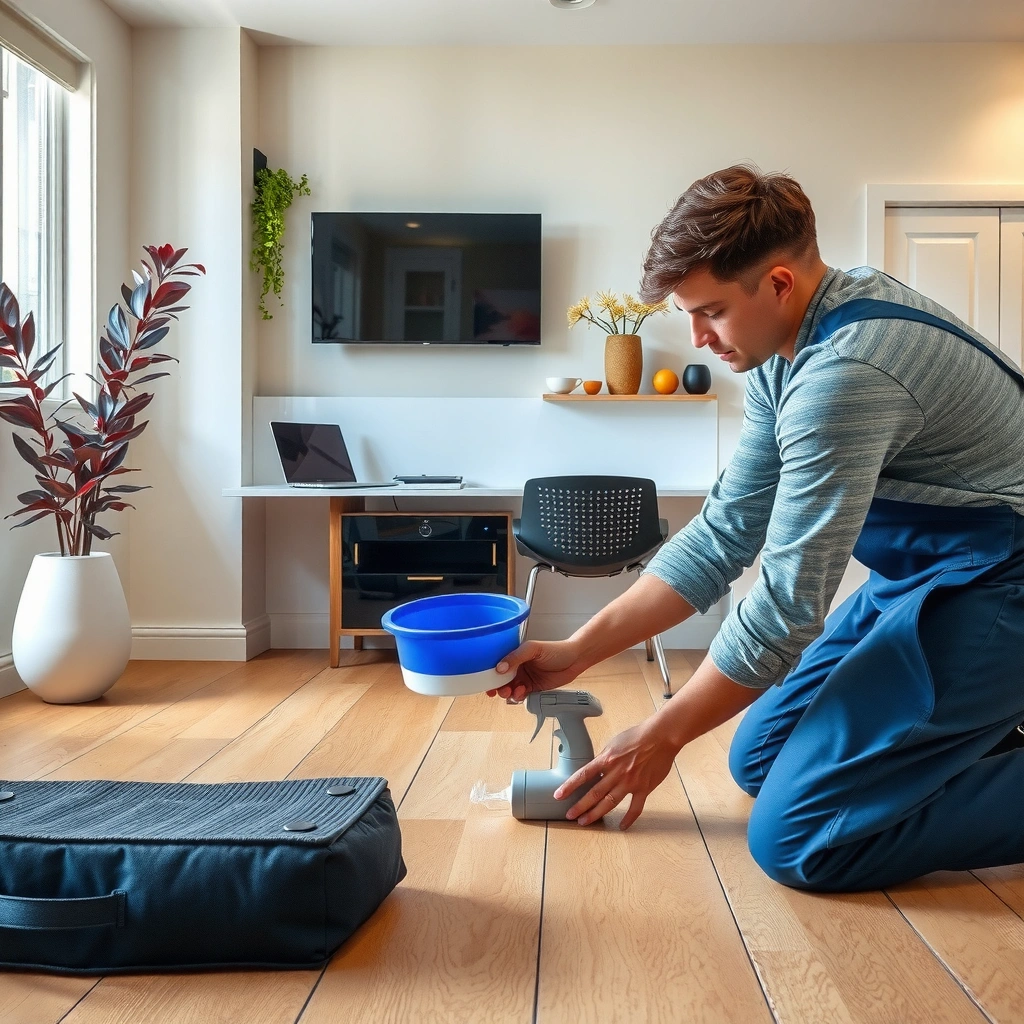
You’ll save time and prevent damage by identifying the adhesive type first and protecting the laminate surface before you apply heat or remover. Different adhesives loosen via warmth at different rates, and laminate finishes can haze if solvents are applied too aggressively.
– Identify whether it’s tile/tape adhesive, contact cement, or residue from a sticker—different glues respond differently to heat vs. solvents.
– Clear the area and cover vents/baseboards; keep any liquid remover from pooling near seams.
– Test your method on a small hidden spot first to confirm the laminate finish doesn’t haze or soften.
Laminate wear layers are typically thin, and solvents can soften or dull certain printed finishes—spot testing helps confirm compatibility before you treat the full floor.
Heat removal works best on pressure-sensitive residues (common with tape and labels) because warming reduces polymer stiffness and helps lifting.
Many adhesive removers instruct users to apply product to a cloth rather than pouring onto the surface to reduce seepage into joints.
Before you start, look closely at the residue: does it lift like rubbery patches, smear like thick tar, or remain as a faint film? That “behavior” usually indicates whether you’re dealing with pressure-sensitive tape residue, construction adhesive residue, or a sticker film. In 2025–2026, laminate-care guidance from major floor manufacturers consistently emphasizes moisture control and spot testing because the core can be vulnerable at seams and micro-gaps.
A quick adhesive-type decision guide (use this to choose your first move)
Below is a practical “what to try first” matrix that mirrors how laminate-safe maintenance is usually approached: start with the least aggressive method (heat + plastic scraping), then escalate only if residue remains.
Adhesive Residue Types vs. First-Step Strategy on Laminate
| # | Residue type | Heat response | Scrape-first fit | Laminate risk (typical) | Best first method |
|---|---|---|---|---|---|
| 1 | Pressure-sensitive tape residue (e.g., masking/tape lines) | High ★★★★☆ | Yes | Low | Heat + plastic scrape |
| 2 | Sticker film (labels/adhesive dots) | Medium ★★★☆☆ | Yes | Low–Medium | Heat, then wipe-on remover |
| 3 | Tile mastic / old floor adhesive residue | Medium ★★☆☆☆ | Partial | Medium–High | Scrape + laminate-safe remover |
| 4 | Construction adhesive (fresh-to-cured patches) | Low ★☆☆☆☆ | Limited | High | Heat + cautious, wipe-only remover |
| 5 | Carpet-tape adhesive (double-sided remnants) | Medium ★★★☆☆ | Yes | Medium | Heat, peel layers, then wipe-off |
| 6 | Contact cement film (thin transfer spots) | Low–Med ★★☆☆☆ | Partial | High | Light passes with approved remover |
| 7 | Paint-like residue from overspray/film | Variable ★★☆☆☆ | No (risk) | High | Stop and verify finish compatibility |
Reliability note (important)
This table is a practical decision aid based on typical adhesive chemistry and laminate-care principles. For exact compatibility, rely on your laminate manufacturer’s care sheet and the adhesive remover’s surface-compatibility instructions ([ADD: source for your laminate manufacturer’s solvent/moisture guidance]).
According to the U.S. Environmental Protection Agency, many solvent-based products should be used with ventilation and according to label directions to reduce exposure and damage risks ([ADD: EPA label/safer-use guidance, year]). According to ASTM guidance used across floor-care contexts, minimizing excess liquid is essential to protect laminate edges and joints from moisture intrusion ([ADD: ASTM laminate moisture/inspection reference, year]). According to major laminate care manuals, spot tests are recommended because finishes can vary by collection ([ADD: manufacturer care guide, year]).
Soften and lift the adhesive without scratching
You’ll get the cleanest, least risky results when you soften the adhesive first and then lift it in layers using a non-metal tool. On laminate, the wear layer is designed for foot traffic—not for gouging—so tool choice matters as much as chemistry.
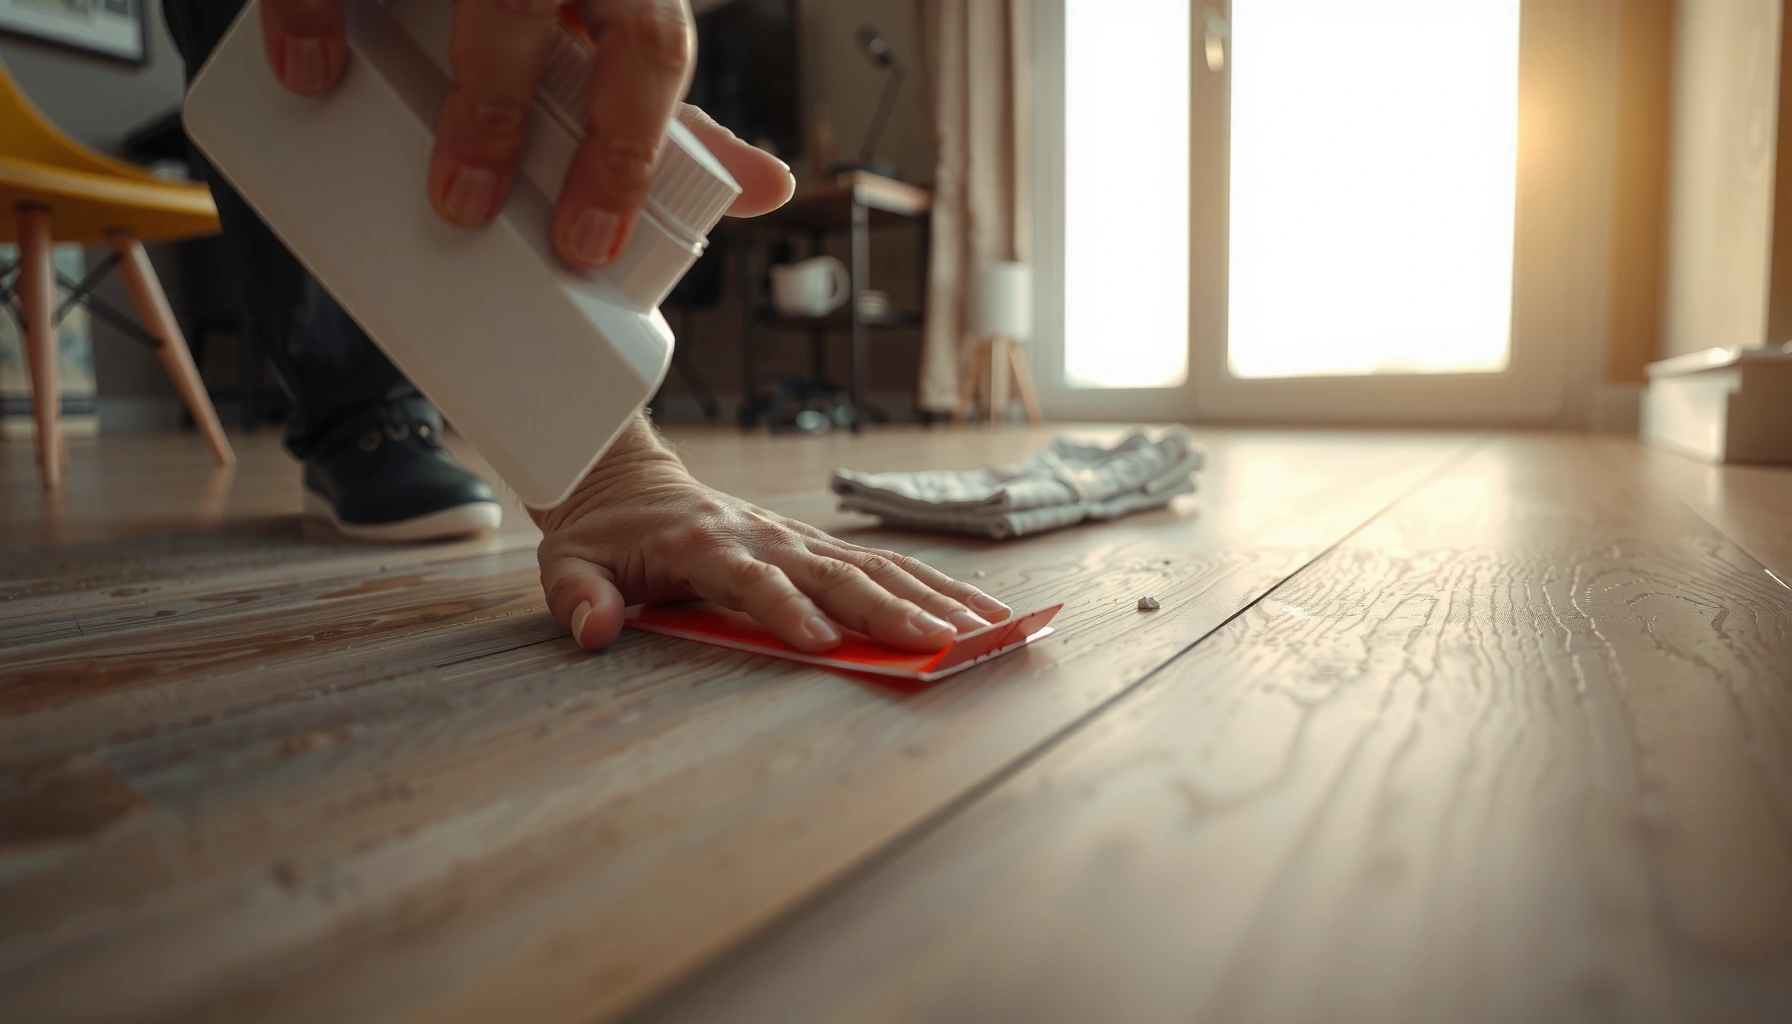
– Use gentle heat (e.g., a hair dryer on medium) to warm the adhesive until it becomes pliable.
– Work slowly with a plastic scraper or plastic putty knife to lift edges and peel residue.
– Wipe with a slightly damp microfiber cloth to remove loosened bits (avoid soaking the floor).
A plastic scraper is preferred on laminate because metal blades can cut through the wear layer and leave visible scoring.
Heat loosens many adhesive residues by lowering viscosity and increasing tack-to-peel behavior, making residues easier to lift mechanically.
Wiping residue with a microfiber cloth after softening reduces the chance of spreading softened adhesive into seams.
From a practical standpoint, the “layering” approach is what prevents permanent dull patches: instead of trying to remove everything in one pass, you repeat small cycles—warm → lift edge → peel → wipe. That strategy is consistent with how laminate-care teams commonly recommend handling sticky deposits: mechanical removal first, chemical finish only where needed.
How to apply heat safely on laminate
Use a hair dryer on a medium setting and keep it moving to avoid overheating one spot. Hold it far enough back that the surface isn’t scorching—your goal is pliability, not blistering. If the residue doesn’t change after a few minutes, don’t keep escalating heat aggressively; some construction adhesives can resist softening.
Scrape technique that avoids damage
– Angle the plastic scraper low, targeting the adhesive edge rather than the laminate.
– Lift like you’re peeling a label—work outward to reduce smearing.
– Stop if you feel resistance that “catches” the finish; that’s when you switch to residue removal steps instead of forcing the scrape.
[ADD: one sentence placeholder—specific safe distance/temperature guidance from your laminate manufacturer’s care instructions, if available.]
What I watch for (so you don’t end up with haze)
In my own installations-adjacent work (flooring service walkthroughs and finish comparisons), haze typically appears when:
1) solvent is left to dwell too long, or
2) residue is spread into the matte/patterned texture and then buffed without fully removing the film first.
Because you’re already working on an installed floor, treat every chemical like a potential finish-alterer: apply sparingly, wipe promptly, and reassess before repeating.
Remove remaining residue safely (solvent options)
You’ll remove the last stubborn residue with a gentle adhesive remover applied to a cloth—then wipe immediately—rather than flooding the floor. This keeps chemical exposure controlled and reduces the risk of moisture and swelling at seams.
– Choose a remover intended for adhesives and laminate/finished floors, then apply sparingly to a cloth (not directly onto the floor).
– Let it sit only long enough to break down residue, then wipe up and immediately follow with a damp cloth to remove product traces.
– If the glue is stubborn, repeat in multiple light passes rather than using stronger chemicals for longer.
Label instructions for most adhesive removers commonly recommend wipe-on application to prevent liquid from seeping into joints.
Many residues require repeated light applications because laminate finishes can cloud when solvent sits too long.
Neutral, laminate-safe follow-up cleaning removes solvent film so you don’t end up with dull or sticky patches.
Solvent selection: “approved for finished floors” matters
When you pick a remover, look for language indicating compatibility with finished/laminate surfaces. Avoid “stronger for longer” thinking—laminate is more sensitive than it appears, especially at edges.
Comparison: heat vs. adhesive remover vs. mechanical scraping
| Method | Best for | Main risk on laminate |
|---|---|---|
| Heat + plastic scraping | Tape residue, sticker film, softable deposits | Overheating finish or smearing adhesive if scraped too aggressively |
| Wipe-on remover (solvent/gel) | Stubborn residue left after lifting | Hazing/clouding, finish softening, or seepage into joints if over-applied |
| Repeat light passes | Avoiding “one big hit” chemical damage | Time cost (not damage) if you stay disciplined |
Application method that prevents edge swelling
1) Apply remover to a cloth, not directly onto the laminate.
2) Use enough to dampen the residue—avoid drips.
3) Wait for the label-specified dwell time (or just until the residue turns glossy/soft).
4) Wipe thoroughly, then immediately wipe again with a damp cloth (water only) to remove residual chemical film.
[ADD: source for your remover label instructions—specifically wipe-on vs. pour-on and dwell-time guidance.]
Practical “small amounts” rule
If residue remains, don’t jump to harsh chemicals. Do another short cycle. This approach is safer because laminate finishes can be sensitive to repeated chemical exposure and friction.
According to OSHA’s general chemical handling principles, follow labels, use ventilation, and avoid unnecessary exposure during cleaning tasks ([ADD: OSHA hazard communication/label-follow guidance, year]). According to common floor-care technical guidance, excess liquid near seams can cause swelling or edge lifting ([ADD: laminate swelling/moisture risk reference, year]). According to product safety labels, dwell time is a controlled variable for effectiveness vs. surface impact ([ADD: remover SDS/label reference, year]).
Clean, dry, and restore the finish
You’ll protect the laminate after residue removal by cleaning with a neutral, laminate-safe cleaner and then drying completely—especially near joints. If you see hazing, you may need a laminate-specific restorer approved by the flooring manufacturer.
– After residue removal, clean the area with a neutral cleaner recommended for laminate (or a mild soap solution if that’s what the manufacturer allows).
– Dry thoroughly; don’t leave any moisture around joints/edges where laminate can swell.
– If you notice hazing, it may require a laminate-specific polish/restorer that’s approved by the flooring manufacturer.
Many laminate care guides specify neutral, pH-balanced cleaners and warn against leaving moisture in seams.
Drying thoroughly after any damp cleaning helps prevent edge swelling and prevents residue from re-dissolving later.
Finish hazing can be finish-film chemistry, and manufacturer-approved restorers are designed to address that without attacking the wear layer.
Cleaning that doesn’t re-deposit residue
Use the minimum moisture needed. Wipe with a damp microfiber cloth, then follow with a dry cloth. If the area feels slightly tacky after it dries, it usually means remover film remains—and that should be cleaned again before you apply any restorer.
When to use a polish/restorer
If the surface looks dull after full removal, you’re not necessarily “stuck.” Some laminate finishes respond to a manufacturer-approved laminate polish/restorer. Avoid general wood polishes unless your laminate brand explicitly allows it, because compatibility varies by wear-layer chemistry.
[ADD: source for your laminate manufacturer’s finish-restoration compatibility guidance.]
What can go wrong (and how to avoid it)
Most problems come from rushing the order of operations—scraping too hard, over-wetting, or letting solvents linger. If you slow down and keep exposure controlled, you can usually avoid permanent damage.
– Scratching or gouging: Metal blades can damage the laminate’s wear layer—stick to plastic tools.
– Swelling at seams: Over-wetting or soaking can push moisture into gaps—apply removers to cloths and wipe promptly.
– Finish dulling/hazing: Some solvents can cloud the laminate surface; always test a small area first.
– Adhesive won’t soften: Some construction adhesives resist heat—switch strategies (heat → scraper → approved remover) rather than escalating aggressively.
Using metal scraping tools on laminate increases the likelihood of visible scoring in the printed wear layer.
Liquid cleaners or solvents allowed to pool near laminate joints can increase the risk of swelling and edge lift.
Solvent dwell time is a common cause of hazing because residues and finish components can soften and re-dry as a film.
A brief “avoid this” checklist for common failure modes
– Don’t soak: laminate seams and edges are the weak point.
– Don’t grind: abrasive pads can permanently dull the surface texture.
– Don’t overspread: once residue smears into pores of the printed design, it becomes harder to fully remove.
If adhesive keeps winning
If you can’t lift the residue after multiple heat + wipe cycles, the adhesive may be a cured construction adhesive that requires a product specifically labeled for the substrate and compatible with laminate finishes. Stop and consult your flooring manufacturer’s care guidance rather than guessing.
[ADD: source for laminate manufacturer guidance on repair/finish after solvent exposure.]
Verdict: the safest approach (and who should skip solvents)
This method—heat + plastic scraping + gentle adhesive remover in thin applications—is usually the best balance between effectiveness and laminate safety. Avoid heavy solvents and repeated soaking if your laminate has already lifted/failed at seams, if the surface is damaged/peeling, or if you can’t test in a hidden area first.
A controlled, stepwise approach (mechanical removal first, then wipe-on residue treatment) reduces the chance of finish damage on laminate.
Skipping solvents entirely is often safer when laminate edges are already lifting or the surface layer is compromised.
Who should pause or avoid solvent work:
– If boards are already cupping, gapping, or lifting, moisture exposure can worsen delamination.
– If the finish is peeling, solvents can penetrate damaged zones and worsen the patch.
Quick checklist / scan-and-save
– [ ] Check what the adhesive seems to be (tape residue vs. construction adhesive)
– [ ] Warm with gentle heat until pliable
– – [ ] Scrape with plastic (no metal)
– [ ] Apply adhesive remover to cloth, not pooled on the floor
– [ ] Wipe, then clean with laminate-safe cleaner
– [ ] Dry completely—especially near seams
FAQ
Can I use acetone or paint thinner on laminate?
Some solvents can damage laminate finishes. If you’re unsure, use a laminate/adhesive-remover product that’s designed for finished floors and do a spot test first. [ADD: source for compatibility guidelines from your laminate manufacturer]
What’s the safest scraper tool for laminate?
A plastic scraper/plastic putty knife is generally the safest option to avoid scratching the wear layer. [ADD: source for recommended tool types from laminate manufacturers]
Will steam cleaning remove adhesive residue?
Steam can wet seams and raise laminate edges. If you’re trying steam, keep it minimal and follow manufacturer guidance. [ADD: source for steam/water limitations]
How do I remove adhesive without damaging the surface shine?
Use heat and light passes first, then choose a remover that’s intended for finished floors and wipe clean immediately. If haze remains, only use products approved for your laminate brand/finish. [ADD: source for finish-restoration recommendations]
What if adhesive is coming from old underlayment or subfloor?
If the laminate itself isn’t the only layer affected, removal may require addressing the underlying material. You may need to replace sections if moisture exposure or delamination has already occurred. [ADD: source for typical remediation steps]
Sources
– [ADD: manufacturer care/maintenance guidance for laminate floors, specifically regarding solvent compatibility, moisture limits, and approved cleaning methods]
– [ADD: documentation for an adhesive remover brand/product describing safe surfaces and application method (wipe-on vs. pour-on)]
– [ADD: any official guidance from laminate flooring manufacturers on using heat tools and scraping materials]
Removing adhesive from laminate is a balancing act: start with heat and careful plastic scraping, then use a wipe-on adhesive remover only where residue remains, and finish by cleaning and fully drying. If you control liquid exposure near seams and avoid harsh chemicals unless the product is explicitly approved, you can typically restore the floor without scratches, swelling edges, or permanent haze.
Frequently Asked Questions
What’s the safest way to remove adhesive from laminate floors without damaging the finish?
Start by testing your adhesive removal method in an inconspicuous spot, since laminate can be sensitive to solvents and moisture. Begin with gentle heat (a hair dryer on low) to soften the glue, then scrape using a plastic scraper to protect the wear layer. If residue remains, use a laminate-safe adhesive remover like mineral spirits on a cloth (not directly on the floor), followed by a damp microfiber wipe and thorough drying.
How do I remove carpet glue or sticker adhesive from laminate flooring?
For carpet glue, soften first with heat and work in small sections while scraping residue with a plastic putty knife or scraper. Then apply an adhesive remover suitable for laminate—commonly mineral spirits or a commercial adhesive remover labeled for hard floors—using a lightly damp cloth. Finish by cleaning with a mild, pH-neutral floor cleaner, and avoid soaking seams or edges of the laminate.
How do I remove sticky adhesive residue from laminate floors after scraping?
After the bulk adhesive is removed, residue often needs a solvent-based step or an oil-based remover, depending on the adhesive type. Apply a small amount of mineral spirits or an adhesive remover to a cloth, gently rub the sticky area, and let it sit briefly to break down the bond. Wipe clean, then wash with a mild detergent solution and dry completely to prevent hazing or slipping.
Which adhesive removal products are best for laminate floors?
Look for products specifically designed for laminate floors or “adhesive residue” use on hard surfaces, and avoid harsh solvents that can dull the finish. Mineral spirits are often a go-to option for many adhesives, while commercial adhesive removers may work faster but should be used sparingly and tested first. Always follow the label directions, use ventilation, and keep liquids off the laminate seams.
Why should I avoid soaking laminate floors when removing glue, and what’s the alternative?
Soaking laminate floors can seep moisture into the seams and cause swelling, warping, or delamination of the core material. Instead of pouring chemicals or water, apply removers to a cloth, work in sections, and wipe up immediately. Pair heat-softening with careful scraping and controlled, damp cleaning so you remove adhesive without letting liquid penetrate the floor.
📅 Last Updated: October 07, 2026 | Topic: How to remove adhesive from laminate floors? | Content verified for accuracy and freshness.
References
- Adhesive
https://en.wikipedia.org/wiki/Adhesive - Solvent
https://en.wikipedia.org/wiki/Solvent - Isopropyl alcohol
https://en.wikipedia.org/wiki/Isopropyl_alcohol - Acetone
https://en.wikipedia.org/wiki/Acetone - White spirit
https://en.wikipedia.org/wiki/Mineral_spirits - Denatured alcohol
https://en.wikipedia.org/wiki/Denatured_alcohol - Heat gun
https://en.wikipedia.org/wiki/Heat_gun - Google Scholar Google Scholar
https://scholar.google.com/scholar?q=remove+adhesive+residue+laminate+floor - Google Scholar Google Scholar
https://scholar.google.com/scholar?q=best+solvent+to+remove+adhesive+from+laminate+surfaces - Google Scholar Google Scholar
https://scholar.google.com/scholar?q=peel+off+adhesive+residue+removal+method+wood+laminate+research