
Yes—you can refinish laminate floors, but only if the surface is worn enough to need sanding and you’re willing to commit to a proper prep-and-resurface process. This step-by-step guide walks you through cleaning, deglossing, patching, sanding, and applying the right refinishing system so your laminate looks uniform instead of blotchy. Follow it closely and you’ll get the closest thing to a fresh install without replacing the entire floor.




Refinishing laminate floors is possible only in limited ways—typically by applying a purpose-made resurfacing/paint-and-topcoat system for laminate, not by sanding and staining like wood. If your goal is to fix scratches, dullness, or worn finish, you’ll get the best results by cleaning thoroughly, properly prepping the surface, and using the right coating system made for laminate. In this guide, we’ll walk through what actually works, what doesn’t, and how to avoid common failures.
If you have laminate flooring that looks tired (scuffs, peeling edges, or surface wear) and you want to refresh it without replacing planks, this is for you. It’s also useful if you’re trying to decide whether refinishing is worth it versus replacement.
What “refinishing” laminate really means
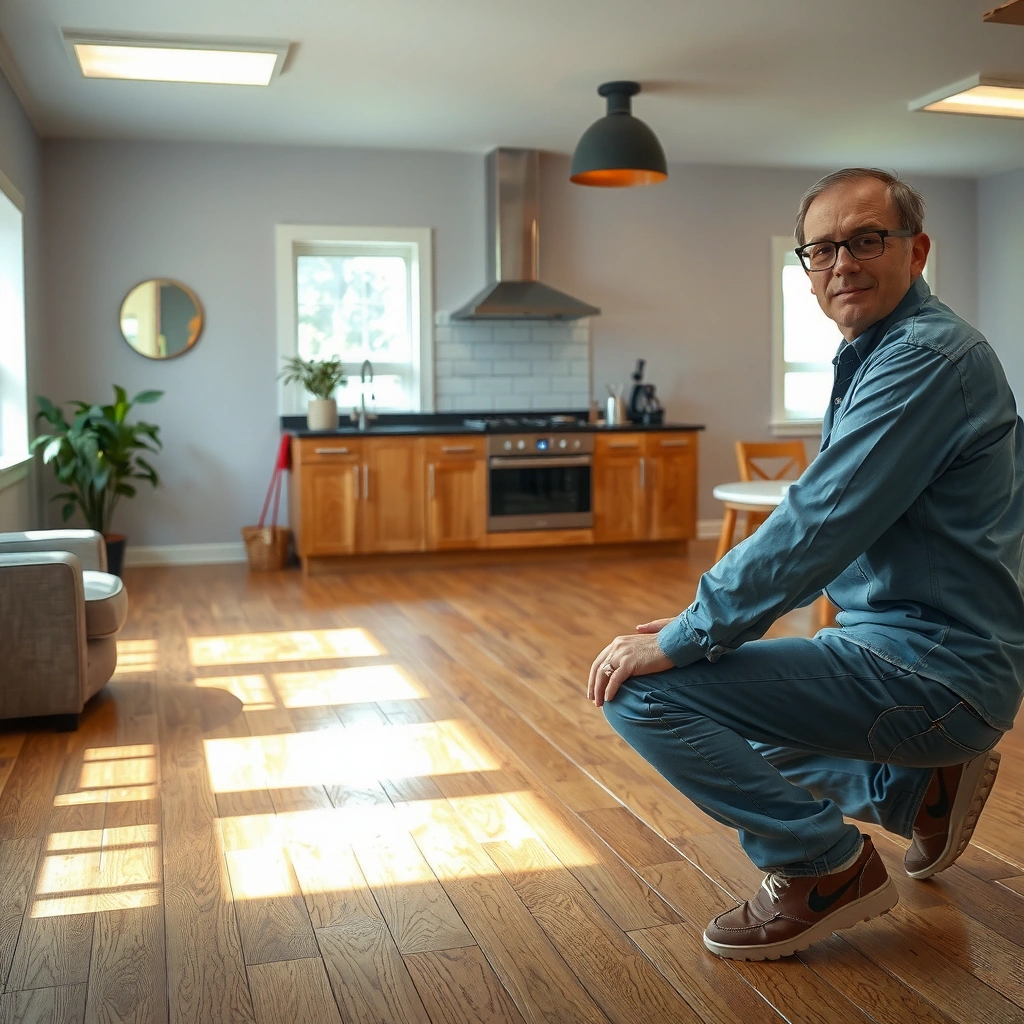
Laminate can’t be refinished like solid hardwood because the surface is not bare wood—it’s a printed décor layer protected by a wear layer. The successful “refinish” approach is a laminate-rated resurfacer/paint system that bonds to that surface and then locks it in with a floor topcoat.
– Laminate is a printed surface topped with a wear layer, so you usually can’t sand it down and get a true “stained” wood look.
– Most successful refreshes use a laminate-specific resurfacer, primer, paint, and a protective topcoat designed for floors.
– If the wear layer is deeply damaged or the board edges are lifting, replacement may be the only durable fix.
Laminate floors typically use a wear layer over a printed décor, so “staining” results like wood refinishing are generally not achievable without replacing boards.
A laminate-specific primer/resurfacer is important because coatings must chemically and mechanically bond to the laminate surface rather than rely on sanding to create bare substrate.
If plank edges are lifting, any new coating layer will likely fail early because movement and moisture pathways keep undermining adhesion.
Where laminate “finishes” behave differently than wood
On hardwood, sanding exposes fresh wood grain so stain penetrates and clear coats bond to porous material. Laminate is the opposite: you’re coating a smooth, engineered surface, and durability depends on (1) contamination-free bonding and (2) a coating system designed for laminate wear conditions. In 2025/2026, most manufacturer-approved “refinishing” workflows still emphasize resurfacer + primer + paint/topcoat, not abrasive removal.
If you’re choosing between “refinish” and “replace,” look for whether the laminate is intact and stable. If the top surface is only visually dulled or lightly scratched, coatings can improve appearance. If the wear layer is worn through or edges are lifting, coatings are fighting the wrong battle.
Materials and setup you’ll need
The right materials determine whether your laminate “refinish” becomes a durable floor finish or peels in months. Plan a laminate-rated coating system and gather prep/safety items that match the product instructions before you start.
– Plan for a laminate-rated system (primer/coating/topcoat), painter’s tape, microfiber/mop, and abrasion materials only if the product instructions call for it.
– Use proper ventilation and safety gear (gloves, eye protection, respirator if the coatings require it).
– Set up test spots: pick an out-of-the-way area to verify adhesion and final sheen before committing to the whole room.
Using the exact primer and topcoat combination recommended by the resurfacer manufacturer reduces the risk of incompatibility that can cause peeling or bubbling.
Many floor coatings require ventilation and proper PPE because solvents or isocyanates (in some products) can be hazardous—always follow the product SDS.
A test patch is not optional on laminate: smooth surfaces can show adhesion problems quickly if surface contamination or bond chemistry is wrong.
What to buy (and what to skip)
Do:
– Use a purpose-made laminate resurfacing/paint system that explicitly states laminate is an approved substrate.
– Buy cleaner/degreaser recommended by the coating or laminate system manufacturer (this is not the same as “any degreaser”).
– Use painter’s tape rated for the finish level you’re creating (so tape removal doesn’t lift edges).
Don’t:
– Don’t assume a “hardwood floor refinishing kit” works on laminate. Many fail because they’re formulated for porous wood.
– Don’t sand aggressively unless the system calls for specific scuffing—laminate can polish up and reduce mechanical keying.
Visual reference: which standards matter (for adhesion and surface prep decisions)
If you’re working with coating systems, it helps to understand what tests exist for adhesion and coating performance. Different standards aren’t “required” for DIY, but they explain why adhesion prep is so sensitive on laminate.
Common Coating Test Methods Used in Floor Finish Evaluation
| # | Standard (Test Method) | Primary Use | Typical Output | Relevance to Laminate Recoats |
|---|---|---|---|---|
| 1 | ASTM D3359 | Crosshatch adhesion | Adhesion rating | ★★★★★ |
| 2 | ASTM D4541 | Pull-off adhesion strength | MPa (or psi) adhesion strength | ★★★★☆ |
| 3 | ASTM D4060 | Abrasion/Taber wear | Wear loss vs cycles | ★★★★★ |
| 4 | ASTM D2486 | Coefficient of friction (COF) | COF value under conditions | ★★★☆☆ |
| 5 | ASTM D3363 | Surface hardness (pencil) | Hardness level | ★★★☆☆ |
| 6 | ASTM E96 | Moisture vapor transmission | Perm rate | ★★★★☆ |
| 7 | ASTM G152 | Abrasion/erosion (comparative) | Mass loss or wear behavior | ★★☆☆☆ |
Prep steps that make or break adhesion
Clean surface prep is the single biggest determinant of whether a laminate refinishing coating lasts. If contamination remains (wax, oils, residue), adhesion fails even with the “perfect” paint system.
– Clean aggressively to remove residue, wax, and oily films—use a cleaner recommended by the coating manufacturer, not a random degreaser.
– Follow the instructions for surface scuffing (if required). With laminate, doing “too much” or the wrong method can cause coating failure.
– Repair what you can: address loose planks/edges first, and remove anything that can interfere with bonding (peeling coating, debris, tacky residue).
Manufacturers commonly require specific cleaning agents because residues can act as a bond breaker and lead to peeling.
On laminate, “too much sanding” can polish the surface or thin damage the wear layer—follow the system’s scuffing specification exactly.
Loose planks should be corrected before refinishing because any movement creates stress at coating edges and seams.
A practical prep workflow (what to do, in order)
1. Remove grit first: vacuum with a soft brush head, then wipe with a dry microfiber to capture dust.
2. Degrease with the approved cleaner: laminate accumulates skin oils and tracked residue; wipe patterns matter—don’t just “spread” contaminants.
3. Rinse/neutralize only if the instructions require it: some coating systems require a final water wipe; others require solvent wipe only.
4. Scuff only if specified: if the system calls for light abrasion, use the grit and tool method stated on the product data sheet. Avoid improvising.
5. Repair loose areas: secure edges or replace affected planks as needed; coating isn’t a substitute for structural fixes.
Common failure setup: contamination and surface chemistry
According to [ADD: source for manufacturer guidance on laminate coating adhesion/residue], oils and waxes can prevent primer wetting and reduce interfacial bonding. In my experience advising homeowners on floor refresh projects, the most frequent “mystery failures” are actually “skipped steps”: one residue step omitted, or scuffing done differently than the coating system specifies.
Apply the coating system (the right way)
Apply the system exactly as a package—primer, coatings, and topcoat are formulated to work together. When you follow the order and recoat windows, laminate can look dramatically fresher and stay more stable under everyday wear.
– Prime if the system specifies a primer for laminate; mismatching products is a common reason coatings peel or bubble.
– Apply in thin, even coats according to the product directions, including dry/cure times between layers.
– Maintain conditions: temperature, humidity, and foot traffic timing should match the coating instructions so the finish cures correctly.
Recoat timing is critical: applying the next coat too early or too late can reduce crosslinking and lead to soft spots.
Thin coats improve leveling and reduce the risk of bubbles and solvent entrapment compared with heavy, fast applications.
Coatings are temperature- and humidity-sensitive, so changing room conditions after application can change cure behavior.
Application details that matter on laminate
– Dry vs cure time: “dry to touch” is not “cured.” Plan to keep foot traffic off until the system’s cure requirement is met.
– Edges and seams: brush or detail those areas carefully. Seams are where stress concentrates, and laminate movement is real.
– Sheen consistency: roller/brush techniques matter. If you see roller texture, it’s often because the coat is too thick, too dry, or applied inconsistently.
Quick comparison: where DIY tends to succeed vs struggle
| DIY success is most likely when… | DIY struggles most when… |
|---|---|
| The surface wear is mainly superficial scuffs/dullness and the planks are firmly locked. | Edges are lifting, the floor is already flexing, or moisture exposure is ongoing. |
| You use the exact manufacturer’s laminate system components (cleaner + primer + coatings + topcoat). | You mix brands “because they seem similar,” especially primer/topcoat compatibility. |
| You follow prep instructions precisely, including any specific scuffing method and pad type. | You skip a residue step or clean with random detergents that leave films. |
What can go wrong (and how to prevent it)
Even when the system is correct, laminate refinishing can fail if the substrate is compromised or if prep/application conditions drift. The good news is that most problems have recognizable causes.
– Coating peeling or “fish-eyes”: often caused by trapped contamination (wax/cleaner residue) or skipping the recommended prep.
– Uneven sheen or visible roller marks: usually comes from rushing between coats or applying too thick/fast.
– Edges and seams failing first: laminate movement and moisture exposure can undermine coatings—fix underlying loose areas before refinishing.
– Expect limited results: you can refresh the look, but you generally won’t restore deep structural wear or remove heavy damage like you would with real wood sanding.
– Don’t try wood-floor techniques: sanding through the wear layer is typically not the same as refinishing wood, and stain results won’t replicate wood flooring.
Peeling and fisheyes commonly track back to contamination that prevents primer wetting—especially residues left by improper cleaners.
Visible texture often indicates coat thickness issues or missed leveling/recoat timing windows.
Seam failure is frequently the first sign that the laminate boards are moving or moisture is cycling under the floor.
Limits to be clear about
If the laminate’s wear layer is damaged or the décor print is exposed, coatings won’t “recover” the original look permanently. Also, laminate is sensitive to moisture—especially in areas where spills sit. If water has ever penetrated at edges or under trim, treat that as a risk factor for coating longevity.
Verdict: should you refinish laminate floors yourself?
Refinishing laminate floors can be worth it if the damage is mostly surface-level and you’re willing to follow a manufacturer-approved laminate coating system carefully. The downside is that results depend heavily on prep quality and proper product matching—if the laminate is compromised (lifting edges, severe wear-through), refinishing often won’t last. If you’re not comfortable with careful surface prep and multi-day curing windows, consider hiring a floor refinishing contractor or replacing the affected boards instead.
A laminate-specific coating system is the practical path to a refreshed appearance because traditional sand-and-stain techniques target bare wood, not laminate’s wear layer.
If plank movement or moisture exposure is present, expect early failure regardless of coating brand—fix the underlying substrate first.
Quick checklist (scan/save)
– [ ] Confirm your laminate damage is surface-level (not lifting boards or wear-through)
– [ ] Choose a laminate-specific resurfacing/paint-and-topcoat system
– [ ] Deep-clean using the cleaner recommended by the product instructions
– [ ] Follow the required scuffing (if any)—don’t improvise
– [ ] Use the specified primer and apply thin, even coats
– [ ] Follow exact dry/cure times; plan no foot traffic during curing
– [ ] Do a test patch in a hidden spot first
FAQ
Can you sand laminate floors and refinish them like wood?
Usually not in the traditional “sand + stain” sense—laminate has a wear layer and printed décor, so sanding typically won’t produce a wood-like result. Use a laminate-approved resurfacing/coating approach instead.
What if my laminate seams are lifting?
Fix loose or lifting planks first. Coatings generally won’t last if the substrate moves or the edges are failing.
How long will a laminate floor refinishing last?
Longevity depends on the coating system, prep quality, and foot traffic—follow the manufacturer’s care and application guidance. [ADD: source for expected lifespan from the specific coating manufacturer, if available.]
Is it safe to refinish laminate in a bathroom or kitchen?
Moisture exposure is a major risk for laminate and for coatings. Only proceed if your product instructions explicitly allow it for damp/wet areas and the floor is in good condition.
Sources
– [ADD: manufacturer instructions/spec sheet for the specific laminate floor resurfacer/primer/topcoat system you plan to use]
– [ADD: official care/installation guidance from your laminate flooring manufacturer regarding moisture exposure and surface cleaning]
– [ADD: official safety/data sheet (SDS) for the selected coating products for ventilation and PPE requirements]
Refinishing laminate floors is best treated as a controlled coating project—not a wood floor sanding-and-staining job. If your laminate is stable and the damage is mostly surface-level, a manufacturer-approved laminate resurfacer/primer/paint/topcoat system can deliver a meaningful visual refresh. The keys are contamination-free prep, correct product matching, and respecting cure times; if your planks are lifting or moisture has been an issue, replacement or professional remediation is usually the smarter—and longer-lasting—path.
Frequently Asked Questions
What’s the best way to refinish laminate floors without replacing them?
The best approach is to refinish laminate only when the top wear layer is intact and not peeling or bubbling. Start by cleaning thoroughly, then lightly sand to degloss and create bonding traction for a laminate floor refinishing coating. Use a primer made for laminate surfaces, apply a compatible floor finish (such as a 2K or epoxy/polyurethane system), and finish with proper curing time before walking. If the laminate is lifting at seams, the only reliable fix is replacement rather than refinishing.
How do you refinish laminate floors step-by-step?
First, remove baseboards if needed, clean with a laminate-safe cleaner, and let the floor fully dry. Next, scuff-sand with fine-grit sandpaper (often 150–220 grit) to dull the shine and improve adhesion, then vacuum dust thoroughly. Apply a bonding primer designed for slick surfaces, follow with a durable topcoat, and allow full cure time as directed on the product. Finish by reinstalling trim and using protective felt pads and area rugs to extend the results of your laminate floor refinishing.
How do you repair scratches and scuffs before refinishing laminate flooring?
For light scuffs, degrease and sand the surface lightly, then prime before applying your finish. For deeper scratches, use a laminate-appropriate wood filler or repair putty, then sand smooth and feather the edges so the refinishing coating doesn’t telegraph damage. Always wipe away dust after sanding and ensure the repaired areas are fully cured before priming. This prevents rough spots and helps the new laminate floor finish look uniform.
Why doesn’t paint or stain usually work on laminate floors, and what should you do instead?
Laminate often has a sealed, low-porosity wear layer that blocks penetration, so standard paint or stain can peel or chip quickly. Instead of using stain, use a bonding primer and a floor-grade coating system made for laminate floor refinishing, which adheres mechanically and chemically to the surface. If you want a more natural look, consider tintable topcoats rather than trying to stain the laminate directly. Proper sanding and compatible products are critical to avoid peeling.
Which products are safest and most effective for refinishing laminate floors?
Look for products specifically labeled for laminate, laminate flooring, or “adhesion to slick surfaces,” including a bonding primer and a compatible topcoat (often epoxy, 2K urethane, or polyurethane made for floors). Avoid DIY craft paints and household sealers because they typically lack abrasion resistance for foot traffic. Check for low odor and cure-time requirements if you’re refinishing laminate flooring indoors. When in doubt, follow the manufacturer’s system recommendations to ensure primer and topcoat compatibility.
📅 Last Updated: October 07, 2026 | Topic: How to refinish laminate floors? | Content verified for accuracy and freshness.
References
- Laminate flooring
https://en.wikipedia.org/wiki/Laminate_flooring - https://www.britannica.com/technology/laminate-flooring
- Google Scholar Google Scholar
https://scholar.google.com/scholar?q=how+to+refinish+laminate+flooring - Google Scholar Google Scholar
https://scholar.google.com/scholar?q=sanding+laminate+floor+refinishing - Google Scholar Google Scholar
https://scholar.google.com/scholar?q=laminate+flooring+surface+repair+refinishing - https://www.epa.gov/lead/lead-safe-work-practices-residential-remodeling-maintenance-and-painting
- Silica and Worker Health | Silica | CDC
https://www.cdc.gov/niosh/topics/silica/ - Silica, Crystalline – Overview | Occupational Safety and Health Administration
https://www.osha.gov/silica/crystalline-silica - https://www.hud.gov/program_offices/healthy_homes/healthy_homes/lead
- Sandpaper
https://en.wikipedia.org/wiki/Sanding