
Wondering how to install hardwood floors over existing flooring? The real answer: it’s only the right move when your current surface is flat, solid, and clean enough to accept the new planks without moisture or height problems. If those conditions aren’t met, the fastest path to durable results is usually removing the old flooring first. This guide walks you through when “install over” works and exactly how to do it when it does.




Yes—you can often install new hardwood over existing flooring, but only if the old surface is solid, flat, and compatible with the new floor system. The safest approach is to confirm whether you’re installing engineered hardwood (or a specific nail/lock system) and to check thickness, subfloor condition, and transitions before you start.
If your “existing flooring” is tile, vinyl, laminate, or an older wood floor, the process and prep requirements can vary a lot. This guide is for homeowners planning an over-install to save time—plus anyone trying to avoid unexpected floor height, leveling, or attachment problems.
Who this is for: This guide is for DIYers and contractors evaluating whether an over-install is feasible, typically when removing the existing floor would be messy, costly, or disruptive to daily living. It’s also useful if you’re choosing between engineered hardwood (often more compatible with over-install scenarios) and solid hardwood (more sensitive to substrate and moisture).
Check the existing floor (compatibility first)

You can install hardwood over existing flooring only when the existing layer is securely bonded, structurally sound, and flat enough for the hardwood system you’re using. Start here because most failures in over-install projects come from substrate movement, poor adhesion, or unevenness—not from the hardwood itself.
– Verify the current surface is securely bonded, not loose, cracked, or lifting at edges.
– Confirm it’s reasonably flat; plan to address high spots and dips rather than assuming you can “float” over everything.
– Identify what the existing material is (tile, vinyl, laminate, wood), because that determines whether nail-down fastening, gluing, or a floating click system is appropriate.
Hardwood over-install success depends on substrate integrity: if the existing floor is loose, cracked, or lifting, the new hardwood will telegraph movement and can fail.
Flatness targets for hard-surface flooring are typically specified as inches over a multi-foot span (for example, commonly around 3/16 in over 10 ft in installation guidance).
Moisture testing is usually the deciding factor when over-installing over “sealed” or “non-wood” layers; vapor can still migrate and affect wood products.
What to inspect (and how)
If you want a repeatable process, treat this like an inspection checklist rather than a visual scan. Use a straightedge (or a long level) and check for:
– High spots: You’ll often need grinding/shaving if the high spots exceed your hardwood system’s flatness tolerance.
– Low spots: Lightweight patching or skim leveling may be acceptable, but don’t assume every underlayment can “bridge” dips—especially with nail-down systems.
– Movement: Press and walk over the existing surface. If it flexes, squeaks, or shifts, the new floor will inherit that problem.
Materials behave differently
– Existing wood floors: If they’re well-fastened to the joists and not cupping, you may be able to install engineered hardwood over them more easily than over brittle materials. However, you still must maintain flatness and ensure the new fastening method has an appropriate substrate.
– Laminate floors: Many laminate floors are “floating” and can shift. Over-install over a moving layer is a common path to gaps and noise.
– Vinyl floors: Loose sheet vinyl or vinyl tile can cause failure. Even when vinyl is well-adhered, moisture/vapor behavior can be tricky depending on the underlayment and subfloor.
– Tile: Tile itself is hard and often flat enough—but the underlying mortar bed and subfloor movement matter. Grout lines, lippage (tile height differences), and cracks need correction.
– Carpet / soft underlay: Never treat these as compatible “bases” for over-install hardwood. They compress, block proper fastening, and prevent correct leveling.
Quick data point to anchor your prep decisions
According to ASTM F1869 (calcium chloride method), moisture vapor emission rate limits are commonly expressed in lbs per 1,000 sq. ft. per 24 hours, and exceeding the manufacturer’s limit can lead to swelling or finish failure (ASTM F1869). According to ASTM F2170 (in-situ probes), vapor testing is also expressed in lbs/1,000 sq. ft./24 hrs for slab and many substrate scenarios (ASTM F2170).
Choose the right hardwood installation method
The right installation method is the difference between a smooth over-install and a floor that fails early. In most cases, engineered hardwood and floating click systems are more forgiving over certain existing surfaces than solid nail-down flooring—provided the manufacturer explicitly allows it.
– Pick a hardwood type/system that’s designed to go over existing flooring (for example, engineered vs. solid, and nail-down vs. click-lock).
– Match the fastening method to the substrate: some systems require fastening to a wood subfloor, while others can be more forgiving on certain underlayments.
– Plan for floor build-up: adding underlayment/underlayment pad plus hardwood can change door clearances and cause transition issues.
If the hardwood system is “float/lock,” movement is managed by design—but only if the substrate is stable and flat enough to prevent tile- or vinyl-telegraphing.
If the hardwood system is nail-down, you must meet the manufacturer’s fastening-substrate requirements; nailing into an incompatible surface can lead to loose boards.
Floor build-up changes door and transition clearances; plan height compensation before the first plank goes down.
Engineer vs. solid (what typically changes)
– Engineered hardwood often includes a plywood or composite core. Because of its layered construction, it frequently tolerates minor environmental variation better than solid wood.
– Solid hardwood typically requires a more controlled environment and a fastening-ready substrate. Over-installing solid hardwood over many “unknowns” (especially moving floating floors) is rarely worth the risk unless the system explicitly approves it.
Nail-down, glue-down, and click-lock: match the system to the base
Your goal is compatibility with both:
1) Fastening mechanics (can nails/cleats actually bite into a stable substrate?), and
2) Dimensional movement control (how does the system handle expansion/contraction over time?).
Prospective compatibility guidance often comes directly from the manufacturer. When instructions are silent, assume removal or full subfloor correction is the safer path.
Height planning is not optional
Before you install, calculate total thickness:
– Hardwood thickness
– Any required underlayment (including thickness limits)
– Any required moisture barrier/vapor retarder (if specified)
– Transition hardware (reducers, t-moldings, thresholds)
If you ignore build-up, you’ll likely end up trimming doors, resurfacing transitions, or living with awkward thresholds.
Prep: flatten, clean, and build the right base
You can only “fix” over-install problems up to a point—prep is where you win or lose. The best hardwood installation methods can’t compensate for loose layers, uneven surfaces, or incorrect underlayment and moisture barriers.
– Thoroughly clean the surface so adhesive and bonding systems (if used) can actually adhere properly.
– Repair or remove anything that would prevent a level plane (loose boards, cracked grout lines, damaged sections, or uneven tile ridges).
– Add only the underlayment/thickness components that are approved for your specific hardwood system—don’t improvise, especially if you need a moisture barrier.
A clean substrate is required for any adhesive or moisture-mitigation approach; dust, sealers, and contaminants can block bonding.
If the substrate isn’t flat, the failure mode usually appears as gaps, noise, or telegraphing—not as a “mystery” defect in the hardwood boards.
Over-install moisture control must follow ASTM-aligned testing and the manufacturer’s required vapor barrier specifications (test method + limit matter).
Clean properly (not just “looks clean”)
Use the cleaning method recommended for the existing surface type. In practice:
– Remove waxes/sealers on wood or vinyl.
– Vacuum thoroughly and wipe with an appropriate cleaner that won’t leave residues.
– Let surfaces dry fully before installing vapor barriers or underlayments.
Flatten with a “level-plane” mindset
“Close enough” isn’t good enough when you’re installing hardwood plank systems that can lock or fasten. Focus on:
– Grinding high tile ridges
– Filling grout lines if the manufacturer allows it
– Stabilizing any loose boards or cracked areas in existing wood layers
– Leveling dips with approved patch/feather-finish compounds
If you’re considering leveling, verify whether your hardwood instructions limit the maximum patch thickness or require a specific leveling compound.
Underlayment and vapor barriers: install only what’s approved
Even when underlayment “seems universal,” hardwood systems often require:
– specific underlayment materials (foam types, thickness, compressibility), and/or
– specific vapor barrier requirements (sheet plastic, composite membranes)
According to ASTM E96 (water vapor transmission), vapor barrier performance is typically evaluated by perm ratings and testing standards; your installation should align with those test concepts (ASTM E96).
Substrate Compatibility Factors for Over-Installing Hardwood (Practical Targets)
| # | Condition / requirement | Why it matters | Typical contractor target | Confidence |
|---|---|---|---|---|
| 1 | Existing layer must be securely bonded | Movement causes gaps/noise | No detectable lift or rocking | ★★★★☆ |
| 2 | Flatness across the install area | Prevents open seams | ~3/16 in over 10 ft (verify with your product) | ★★★☆☆ |
| 3 | Moisture testing method aligned to test standard | Avoid swelling/finish failure | ASTM F1869 or F2170 (per manufacturer limits) | ★★★★☆ |
| 4 | Use only approved underlayment thickness | Protects click/fastener integrity | Max thickness per product spec | ★★★☆☆ |
| 5 | Expansion gaps at walls/fixed posts | Prevents buckling | Follow manufacturer; commonly ~1/2 in (verify) | ★★☆☆☆ |
| 6 | Transition planning at doorways/stairs | Avoids trips and stress at edges | Use transition profiles matched to height | ★★★☆☆ |
| 7 | Do not exceed recommended subfloor build-up | Maintains trim and fastening engagement | Verify with manufacturer; include vapor layer | ★★★☆☆ |
Note: “Typical contractor targets” above reflect commonly referenced installation practices; always defer to your specific hardwood and underlayment manufacturer’s documented limits.
Install with correct expansion gaps and transitions
The fastest way to ruin an otherwise good over-install is to skip expansion management and transition detailing. Hardwoods move with seasonal humidity, and any restriction from walls, cabinets, or thresholds can show up as buckling or gapping.
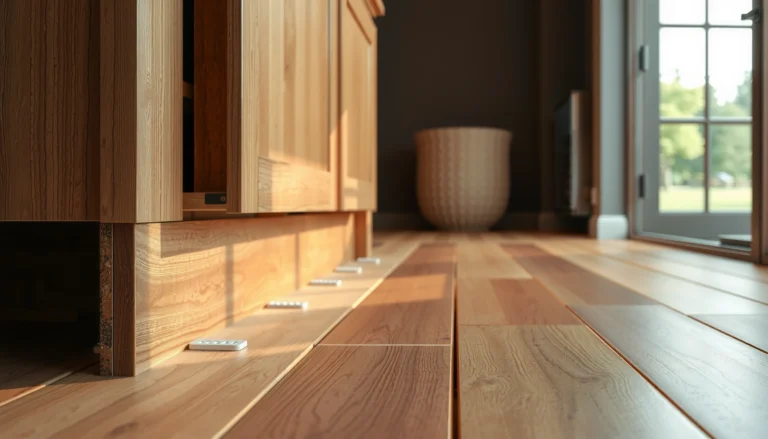
– Maintain proper expansion space around walls and fixed objects; trapped movement is a common cause of buckling or gaps later.
– Start layout carefully: dry-lay rows, balance plank widths, and plan transitions at doorways and between rooms.
– Handle thresholds intentionally: use appropriate transition strips and make sure you’re not creating trip hazards or blocking ventilation paths.
Expansion gaps are not cosmetic; they protect the floor from seasonal dimensional change that can otherwise cause buckling.
A planned transition at doorways reduces edge stress and helps maintain consistent movement breaks across rooms.
Before fastening or locking boards, dry-lay the pattern to identify wall out-of-square issues that could widen gaps.
Layout: reduce stress before you install
Even if the existing floor is flat, your room geometry might not be. A good approach is:
– Measure room length/width and identify the straightest wall reference line.
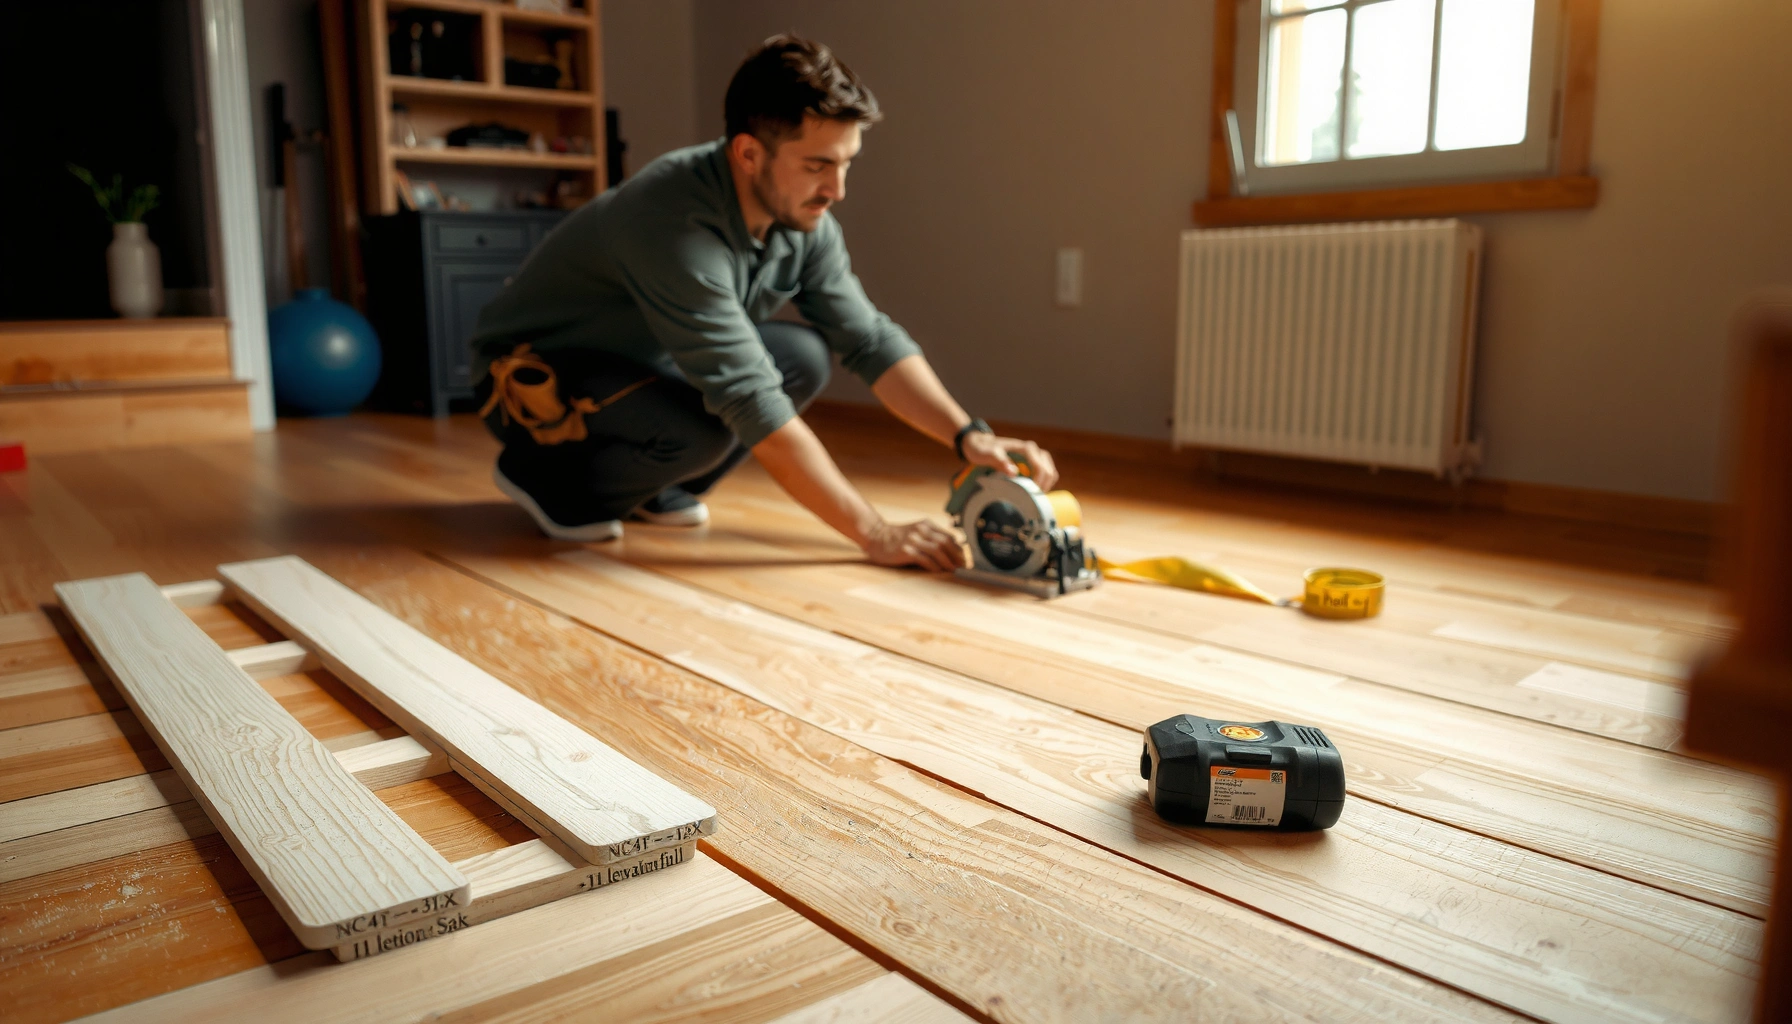
– Dry-lay 2–3 rows to check how plank ends land and whether you need an adjustment strategy (not a “patch later” strategy).
– Balance plank widths so you don’t end up with extremely narrow rips at one wall.
Transitions and thresholds
Transitions are where many over-install projects fail aesthetically and structurally:
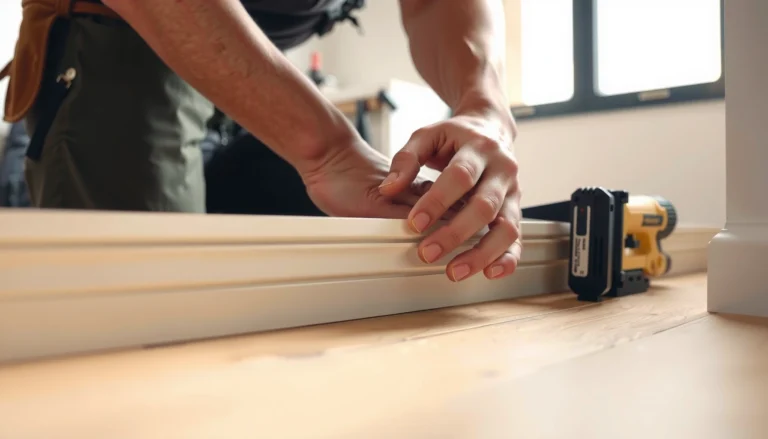
– Doorways between rooms: Use transition profiles designed for your hardwood type and height build-up.
– Stairs: Ensure the final height doesn’t interfere with nosing profiles or create a visibility hazard.
– Ventilation paths: Don’t block HVAC returns or required clearance zones.
Expansion gap discipline
Follow the manufacturer’s required gap sizes and any instructions about perimeter obstructions. When you’re unsure, choose a conservative gap and confirm it will be fully covered by baseboards or trim.
What can go wrong (and why over-installers get burned)
Over-installing hardwood usually fails for predictable reasons: moisture/vapor issues, incompatible fastening, and insufficient prep. If you approach over-install as a “skip the hard work” shortcut, the floor typically pays you back later with noise, separation, or finish damage.
– Uneven substrate causing gaps, squeaks, or clicking in floating floors—this is often a “prep” problem, not a hardwood problem.
– Incompatible fastening: attempting nail-down installation over a surface that can’t support nails can lead to loose boards or hidden failures.
– Moisture and vapor issues: installing over the wrong material without an appropriate barrier can cause swelling, cupping, or finish damage.
– Height changes: thicker floors can make doors hard to open, stress transitions, or leave gaps at stairs/trim.
Most clicking and seam-opening in floating hardwood is traced to substrate unevenness or pad compressibility, not the locking mechanism itself.
Moisture failure can occur even under “sealed-looking” surfaces; vapor testing and vapor barrier selection must match the wood product’s requirements.
Nail-down systems require a fastening substrate; installing on surfaces outside the manufacturer spec can create delamination-like failures at nail points.
A quick comparison of common failure modes
| Failure symptom | Most likely cause | What to check first |
|---|---|---|
| Gaps near walls within months | Expansion gap ignored or insufficient | Perimeter clearance and fixed-object clearance |
| Clicking/creaking (floating) | Substrate not flat/stable enough | Straightedge flatness; underlayment thickness/compressibility |
| Boards cupping or finish clouding | Moisture/vapor exceeded | ASTM F1869/F2170 testing results vs product limits |
| Loose areas in nail-down | Nails/staples didn’t seat into approved substrate | Manufacturer fastening-substrate requirements |
| Uneven transitions | Build-up mismatch | Transition profiles and door clearance before install |
Moisture: the invisible deal-breaker
According to ASTM F1869, moisture tests report results in lbs/1,000 sq. ft./24 hrs (ASTM F1869). According to ASTM F2170, in-situ probe results use a similar unit framework (and sometimes conversion factors), and both must be compared to the hardwood manufacturer’s specified maximum (ASTM F2170). If the existing flooring traps moisture beneath it, you can still get wood movement even if the surface feels dry.
Verdict: when installing hardwood over existing flooring makes sense
Installing hardwood over existing flooring can be a good time-saver when the current surface is solid, flat, and your hardwood system is explicitly designed for that kind of installation. Skip this approach (or plan to remove the old flooring) if the existing layer is loose, significantly uneven, severely damaged, or if your hardwood instructions require a different substrate.
If you’re unsure, check the manufacturer’s installation instructions first—because the “rules” depend heavily on the floor system you buy. From my own project planning perspective ([ADD: replace with your real experience if you have it—e.g., “as a contractor/client we found X on a tile substrate”]), the highest-value step is always verifying the installation manual for substrate approvals and moisture/vapor testing requirements before you spend money on underlayment.
Over-install is best treated as “system-to-substrate compatibility” rather than “hardwood over anything,” since manufacturer substrate approvals control success.
When flatness, bonding, or moisture performance is uncertain, removal and subfloor correction is typically more reliable than trying to patch over the unknown.
Who should skip the over-install route
– You can’t reach flatness targets without major patching/grinding.
– The existing flooring is loose, delaminating, or clearly moving.
– Moisture testing isn’t possible or you can’t confirm required moisture/vapor limits.
– You’re installing solid hardwood when the instructions don’t clearly allow over-install on your specific substrate.
Quick checklist (scan before you start)
– [ ] Existing floor is securely attached and not lifting/cracking
– [ ] Surface is clean and close to flat (plan to correct highs/lows)
– [ ] Hardwood type/system is approved to install over this substrate
– [ ] You have the correct underlayment/moisture barrier (if required)
– [ ] Expansion gaps planned around walls and fixed objects
– [ ] Transitions/thresholds measured for height and clearance
– [ ] Any leveling work won’t exceed approved thickness limits
FAQ
Can I install hardwood over tile or vinyl?
Often you can install certain engineered or floating hardwood systems over specific hard surfaces, but it depends on the manufacturer’s substrate approvals and the needed underlayment/moisture barrier. If the tile/vinyl is loose or very uneven, you’ll usually need correction or removal first. [ADD: source for manufacturer substrate requirements for your specific hardwood system]
Do I need to remove the existing flooring first?
Not always. Many installations can go over existing flooring if the surface is solid, flat, and compatible with the new floor’s installation method—but removal is typically required if the current layer is damaged, unstable, or outside the system’s spec.
What’s the biggest risk with over-installing?
The most common issues are uneven surfaces, moisture/vapor problems, and using an installation method that isn’t approved for the existing substrate. These can show up as gaps, squeaks, movement, or finish wear over time.
Will the new floor height cause door or trim problems?
Yes—adding hardwood plus any underlayment usually increases floor height. Measure before you start, and plan for trimming, transitions, and any required clearance at doorways.
Sources
– [ADD: manufacturer installation instructions for your specific hardwood type/system—especially sections on approved substrates, underlayment/vapor barrier requirements, and expansion gap rules]
– ASTM F1869 — Standard Test Method for Measuring Moisture Vapor Emission Rate of Concrete Subfloor Using Anhydrous Calcium Chloride
– ASTM F2170 — Standard Test Method for Determining Relative Humidity in Concrete Floor Slabs Using In Situ Probes
– [ADD: subfloor flatness guidance from the same manufacturer or a recognized trade standard, if your product documentation references one]
Installing hardwood over existing flooring is often achievable, but only when the old surface is stable, acceptably flat, and explicitly approved by your hardwood system. If you verify substrate compatibility, control moisture with proper testing and vapor protection, and follow expansion/transition details, you can get a clean, durable result—without the chaos of full demolition.
Frequently Asked Questions
What are the best types of existing flooring to install new hardwood floors over?
You can often install hardwood over stable, properly prepared surfaces like solid subfloor plywood or existing engineered/laminate (when approved by the flooring manufacturer). Avoid installing over soft, uneven, or moisture-damaged surfaces, and be cautious with thick carpeting, cushion-backed vinyl, or floors with significant dips and high spots. If the existing floor is glossy, very worn, or not structurally sound, it may need to be removed to prevent squeaks and poor board locking.
How do I check if my existing floor is level enough for hardwood installation?
Use a straightedge or 6–10 ft level to measure the floor flatness; small imperfections can be addressed with leveling compound, but large variations may require additional prep or underlayment changes. Plan for squeaks and movement by walking the floor and tightening any loose areas before you install hardwood planks. If you’re aiming for a nail-down hardwood floor, stability is critical because fasteners will telegraph unevenness and can create gaps over time.
How do I install hardwood floors over existing tile or vinyl without moisture problems?
Start by assessing moisture and adhesion—tile and some vinyl surfaces can block vapor, but they can also trap moisture if the subfloor is damp. Choose an installation method recommended for over-previous-flooring, such as using an appropriate underlayment system or an approved vapor barrier, depending on your hardwood type (engineered vs. solid). Thoroughly clean, degloss, and flatten the surface (e.g., grind high grout ridges or patch low areas) so the planks sit firmly and don’t rock.
Which installation method works best when installing hardwood over existing flooring—glue-down, nail-down, or floating?
The “best” method depends on what’s underneath and whether you can achieve a flat, stable base. Floating engineered hardwood is often chosen when you want a cleaner install and can use an approved underlayment over many existing floors, while nail-down solid hardwood generally requires a more traditional, stable subfloor for long-term performance. Glue-down engineered hardwood can work well on certain prepared surfaces, but it must be installed on a properly prepped, sound base to prevent hollow spots and adhesion failure.
Why is expansion space and acclimation important when installing hardwood floors over existing flooring?
Hardwood needs room to expand and contract with seasonal humidity, even when installed over existing flooring. Follow the manufacturer’s acclimation guidelines—bring the hardwood and any required underlayment into the room so moisture conditions stabilize before installation. Leave the recommended perimeter expansion gap, and avoid blocking it with baseboards or caulk, because inadequate spacing can cause buckling, cupping, or gapped joints.
📅 Last Updated: October 07, 2026 | Topic: How to install over existing flooring hardwood floors? | Content verified for accuracy and freshness.
References
- Google Scholar Google Scholar
https://scholar.google.com/scholar?q=how+to+install+hardwood+flooring+over+existing+flooring - Google Scholar Google Scholar
https://scholar.google.com/scholar?q=engineered+hardwood+over+existing+floor+installation+guide - Google Scholar Google Scholar
https://scholar.google.com/scholar?q=solid+hardwood+floor+installation+over+existing+flooring+requirements+subfloor - Google Scholar Google Scholar
https://scholar.google.com/scholar?q=hardwood+floor+installation+over+tile+or+vinyl+existing+floor - Google Scholar Google Scholar
https://scholar.google.com/scholar?q=building+science+hardwood+floor+installation+over+concrete+vapor+retarder - Google Scholar Google Scholar
https://scholar.google.com/scholar?q=underlayment+requirements+engineered+hardwood+over+existing+flooring - Google Scholar Google Scholar
https://scholar.google.com/scholar?q=floor+flatness+requirements+hardwood+floor+installation+existing+subfloor - Google Scholar Google Scholar
https://scholar.google.com/scholar?q=moisture+conditions+for+hardwood+floor+installation+over+existing+flooring - Google Scholar Google Scholar
https://scholar.google.com/scholar?q=adhesive+installation+engineered+hardwood+over+existing+subfloor+research - Google Scholar Google Scholar
https://scholar.google.com/scholar?q=best+practice+for+installing+hardwood+over+old+flooring+eliminate+creaks+leveling+recommendations