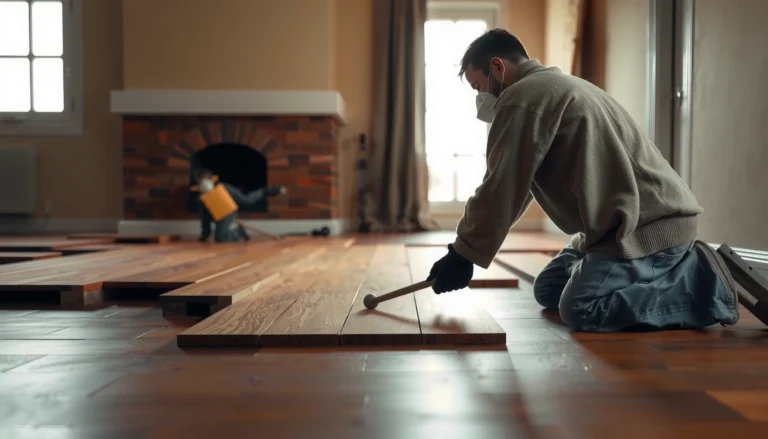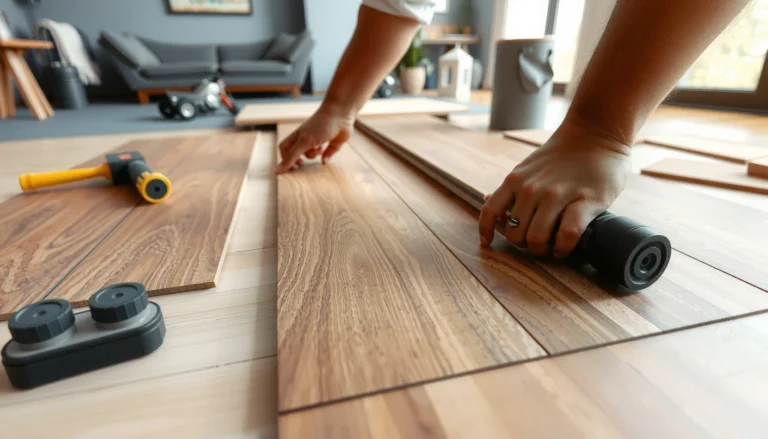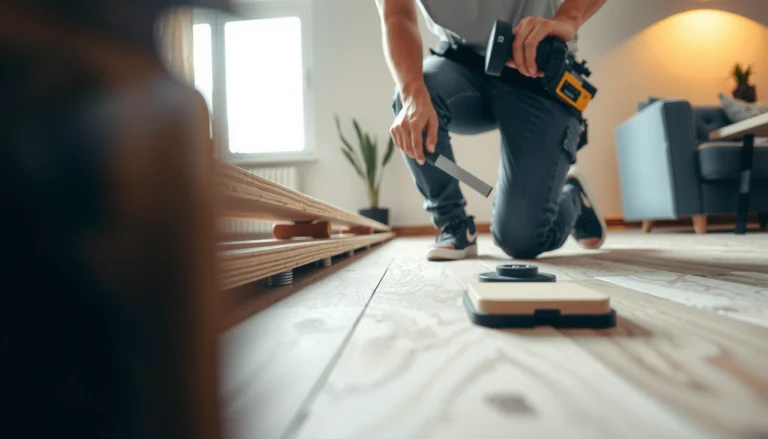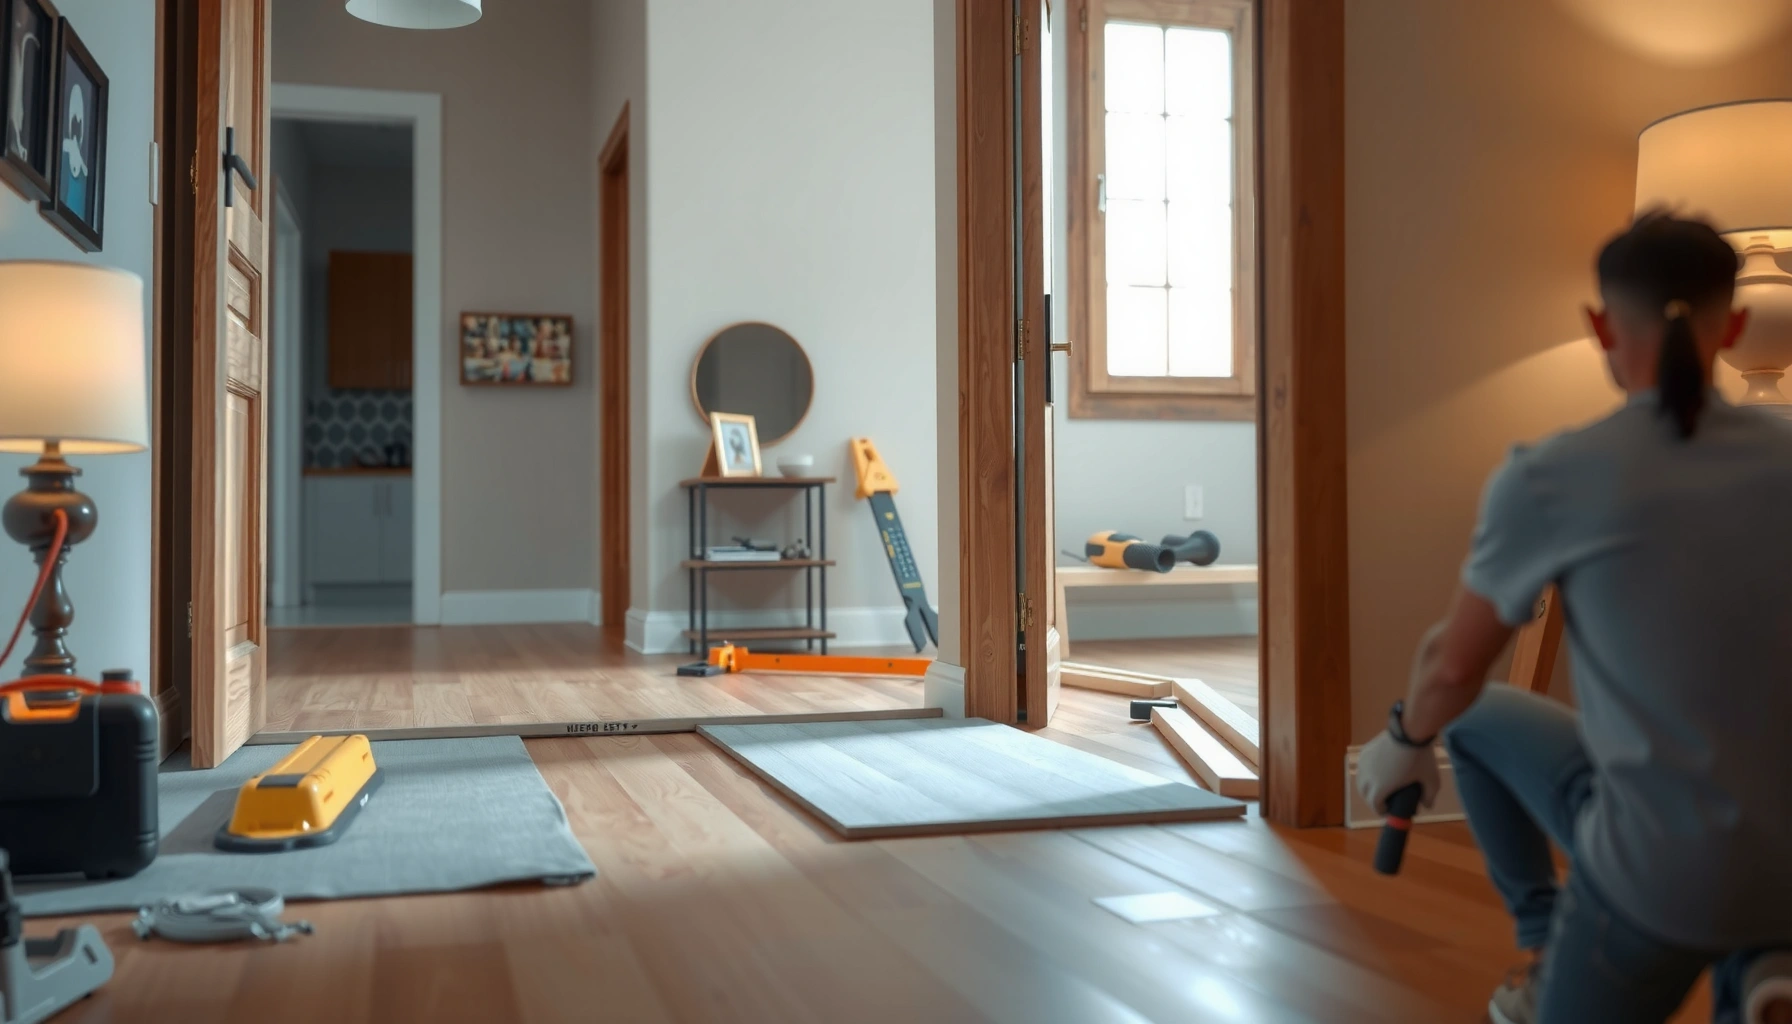

If you need to install hardwood floors around doors without ruining the fit or creating gaps, this step-by-step guide is the fastest path to a clean, professional result. You’ll get the exact order of operations—from undercutting door jambs to planning expansion space and finishing the floor transitions—so every plank locks in tight. Follow it closely and you’ll end up with a smooth doorway edge that looks right and holds up.




When hardwood flooring meets doorways, the cleanest result comes from planning floor height first and then undercutting the door jamb so the planks slide underneath while preserving the required expansion gap. Follow a repeatable sequence—measure and mark the jamb height line, undercut/trim for clearance, cut boards to fit the doorway geometry, and finish transitions—so the floor stays straight and looks seamless.
If you’re installing new hardwood (or refinishing existing work) in a space with doorways, you’re in the right place. This is especially relevant when you need to keep boards consistent across thresholds, deal with jamb clearance, or avoid gaps that show under trim.
Measure Floor Height and Plan the Cut Lines
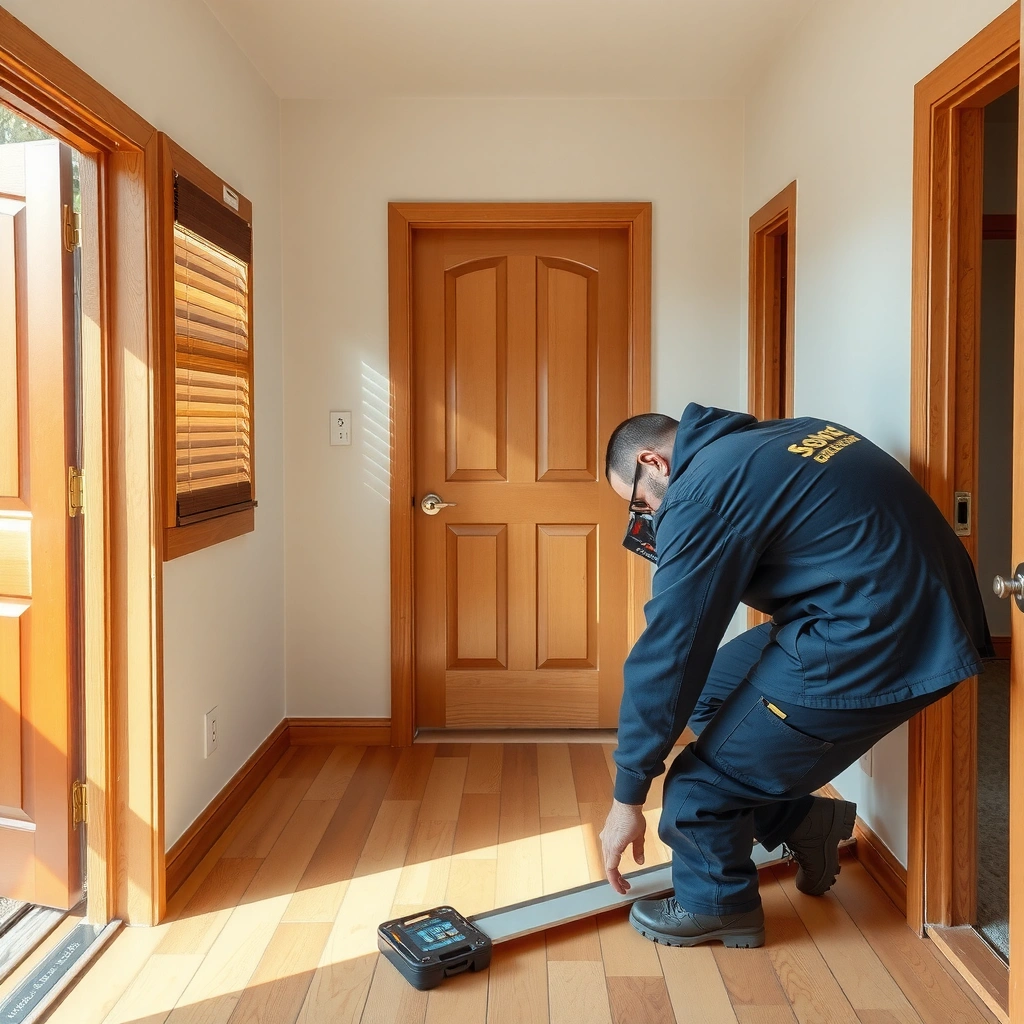
You get the right fit around doors when you determine the finished floor height early and translate that thickness into a precise “height line” on the jamb. This prevents the two most common problems—boards that don’t slip under the casing cleanly and visible gaps where trim should cover the edge.
Finished floor height controls jamb clearance: if your underlayment, subfloor prep, and transition pieces change thickness, the undercut height must change too.
A properly planned height line lets the hardwood tuck under casing without compressing the perimeter area that must remain free to expand.
First, confirm the finished floor height at the doorway. “Finished height” includes the hardwood plank thickness plus any underlayment (if your installation method uses it) and any attached pad. Then account for any transition pieces you intend to use—reducers, T-moldings, or thresholds—because those profiles can shift the visual meeting point by several millimeters.
Next, mark a height line on the jamb/trim. Use a pencil and square to transfer the measurement accurately to the casing area where the planks will slide. If your door casing is already painted or finished, lightly score along the cut line rather than pressing hard—this reduces tear-out and makes touch-up easier.
Finally, dry-fit a short run of boards across the doorway area. Dry-fitting is not just “checking the cut”; it’s also validating that your expansion gap plan will still hold once the board is seated. According to installation guidance from major hardwood organizations, expansion space is required at fixed vertical obstructions to accommodate seasonal movement (National Wood Flooring Association (NWFA) installation guidance).
Key measurements to verify before cutting
– Finished floor thickness at the doorway (hardwood + underlayment/pad, if applicable)
– Whether a threshold/transition profile will raise or lower the meeting line
– The exact location where the jamb casing begins to overlap the floor edge
Prepare the Door Jamb: Undercut for a Clean Fit
You achieve a tight, professional look around doors by undercutting the jamb at the marked height so boards slide under without forcing. When the undercut is uneven, you’ll see the mismatch as a gap that paint, caulk, or trim can’t fully hide.
A jamb undercut is measured from the finished floor height line, so the goal is consistent depth along the casing length—not a “best guess” cut.
Undercutting the casing creates clearance that lets the plank’s edge move seasonally while the floor surface remains straight.
Use a jamb saw (or a comparable door-jamb undercut tool) and remove material at your pencil height line. The jamb saw’s blade profile helps you reach tight spaces while keeping the cut flat and controlled. Keep the cut straight and consistent—uneven depth is one of the biggest drivers of visible clearance problems later.
Test fit after undercutting. The board should slide underneath with minimal resistance and sit flat. Critically, you should still preserve the manufacturer-required expansion gap at the perimeter/edges near the doorway. According to common hardwood installation instructions, the expansion gap is specified for the flooring system and should not be eliminated, even if trim “would cover it” ([ADD: manufacturer installation instructions for your specific hardwood product and model]).
Practical tip for painted jambs and finished casing
If the casing is painted or stained, you can reduce surface splintering by:
– Scoring lightly along the height line first
– Supporting the jamb area so it doesn’t flex while cutting
– Dry-fitting immediately to confirm clearance before you remove more material
Typical Clearance & Expansion Targets Used in Hardwood Doorway Fitups
| # | Doorway/Edge Detail | Common Target | What It Prevents | Fit Risk if Missed |
|---|---|---|---|---|
| 1 | Finished-floor height mark on jamb | Within ±1/16 in (±1.6 mm) | Plank edge clearance mismatch | High |
| 2 | Undercut depth consistency | No “step” larger than ~1/8 in (3.2 mm) | Visible wedge gaps | High |
| 3 | Expansion gap at fixed trim/obstructions | Varies by manufacturer (commonly ~1/4–1/2 in) | Seasonal movement issues | Critical |
| 4 | Board seating clearance under casing | Slides in without forcing | Stress & edge-peeking | Medium |
| 5 | Gap hiding strategy (trim overlap) | Trim covers gap evenly along jamb | Unbalanced visual lines | Medium |
| 6 | Transition edge clearance (height changes) | Use correct reducer/threshold sizing | Tripping and separation | Lower |
| 7 | Casing-to-floor movement freedom | No fastening through the floating perimeter | Buckling/squeaks | Critical |
Cut and Fit Boards Around Door Openings
You get clean, repeatable doorway edges by dry-fitting the first pieces, then cutting lengths so the seams and board ends land where the opening geometry demands—without sacrificing expansion room. The goal is a tight visual line while the floor remains free to move.
Dry-fitting door-area boards reveals the real seam locations and prevents “pretty in the shop” cuts that fail on site due to framing variation.
Hardwood movement requires clearance at fixed edges; forcing the board into casing defeats the expansion design.
Dry-fit the first full row near the doorway and mark where the door opening interrupts the plank run. Measure board lengths based on the board’s actual position relative to the jamb/trim you undercut. For rectangular openings, plan cuts at both sides so the pattern alignment remains consistent—especially if you’re using a center-locked or tongue-and-groove profile where joint visuals matter.
When you cut around the opening, prioritize:
– Straight reference lines from the board’s installed position
– Square ends where seams meet jamb edges
– Consistent spacing from the expansion gap zone (not “gap chasing” after the cut)
If you’re working with multiple doorways in the same run, treat each as a height-control checkpoint. Even a small thickness difference in subfloor patches can add up over several door spans and create a stepped look.
Floating vs. fastened installation: why the “fit” rules differ
If your hardwood is nail-down or staple-down, follow the fastening instructions precisely in the field (and still maintain clearance at fixed perimeter boundaries). If the floor is floating, you must not fasten through the planks in a way that blocks movement. This is why manufacturer installation method matters ([ADD: manufacturer guidance describing whether your floor is nail-down/staple-down or floating]).
Handle Thresholds and Transitions (Where Needed)
You create a seamless doorway finish by using thresholds/transitions only when the floor system or height profile requires them, and by leaving clearance so the floor can still move. A good transition reads as intentional; a bad one reads as “a bandage.”
A transition profile is typically used when floor heights differ or when two flooring types meet and require movement control.
The transition must not pin the hardwood at the perimeter; it should accommodate movement according to product instructions.
Decide early whether you need a threshold or transition strip. Common triggers include:
– Height changes between rooms (hardwood plus underlayment over a thicker area, or different subfloor heights)
– Different flooring types meeting the doorway (tile, carpet, LVP)
– Transitions at openings where trim overlap can’t reliably hide the edge
If you’re butting into another floor type, match heights with a reducer, or use a threshold sized for the difference. You’ll typically fasten the threshold to the subfloor where required, not to the floating floor surface (again, follow the specific profile and installation method instructions).
Comparison: choosing a transition strategy at doorways
| Strategy | Best for | Pros | Cons |
|---|---|---|---|
| Run hardwood through the doorway (no threshold) | Same height, compatible floor type, simple casing | Smoother visual line | More sensitive to clearance accuracy |
| Reducer/transition strip | Small height difference, stable adjacent floor | Controls step/edge profile | Requires correct sizing and placement |
| Threshold at larger transitions | Different materials or higher height changes | Durable, hides junction cleanly | More detail work to align seams |
What Can Go Wrong (And How to Avoid It)
Hardwood around doors usually fails due to one of three causes: blocked movement, incorrect undercut depth, or fastening that interferes with expansion. If you prevent those, the rest becomes straightforward carpentry and careful layout.
Most doorway failures trace back to “pinching” the floor against trim or thresholds, which removes the designed expansion space.
Undercut errors show up immediately at dry-fit—boards that don’t slip cleanly are a warning sign, not a problem to “force through.”
– No expansion gap: Hardwood expands and contracts seasonally; if the edge is pinned against trim or thresholds, you can see warping, separation at seams, or squeaks later. Use the manufacturer’s spacing guidance ([ADD: exact expansion-gap requirement from your hardwood manufacturer/spec sheet]).
– Jamb undercut too shallow: The board won’t slide under cleanly, leading to forced seating, edge stress, or gaps you didn’t plan for. Re-check your height line and confirm board thickness against the finished floor height you measured.
– Boards pinned against casing/trim: If nails, screws, glue, or rigid blocks interfere with movement, the floor can buckle in doorway spans where it’s most noticeable. Keep fixed components from restricting floating or expansion behavior ([ADD: whether your floor is nail-down, staple-down, or floating per the product instructions]).
Quick pros/cons view: tools for jamb undercutting
If you’re choosing how to cut the jamb, here’s a practical comparison:
– Jamb saw
– Pros: High control in tight spaces; cleaner, straighter undercuts
– Cons: Requires correct setup and careful height marking; limited for irregular casing profiles
– Oscillating multi-tool
– Pros: Works when access is unusual; fast material removal
– Cons: Blade wandering can create uneven undercut depth; more sanding/touch-up risk
– Hand saw + careful scoring
– Pros: Simple tools; fine control with patience
– Cons: Slower; hard to keep the cut perfectly consistent
Verdict / Tip: The “Jamb Undercut + Dry-Fit” Approach Works Best
The most reliable way to keep hardwood looking tight around doors is to undercut the jamb to your measured finished height and then dry-fit before you finalize cuts. This reduces the chance of hidden clearance problems because you confirm both the undercut geometry and the seam layout in real conditions.
This method is the cleanest way to keep hardwood looking tight around doors because the boards tuck under the casing instead of fighting the trim. The downside is it takes careful measurement and usually requires specific tools (jamb saw and precision measuring). If you’re not comfortable cutting into door trim, or if your door casing is easily damaged, consider hiring a flooring installer—especially if your plan depends on getting an exact height match to avoid an uneven threshold.
Quick Checklist (Save This)
– [ ] Confirm finished floor height (including underlayment/thickness)
– [ ] Mark jamb height line for the board to slide under
– [ ] Undercut door casing/jamb at the marked height
– [ ] Dry-fit boards across the doorway area before final cutting
– [ ] Keep manufacturer-recommended expansion gaps at edges ([ADD: exact value])
– [ ] Plan threshold/transition if the doorway changes height or floor type
FAQ
How much space should I leave between hardwood and door trim?
Use the expansion gap specified by your hardwood manufacturer for the perimeter/obstructions. If you don’t have it yet, use [ADD: exact expansion-gap requirement from your product instructions].
Should I nail the floor under the door jamb?
That depends on installation method. For nail-down/staple-down products, follow the manufacturer’s nailing pattern; for floating floors, don’t fasten in a way that restricts movement—[ADD: manufacturer guidance for your installation type].
What’s the easiest way to cut boards around a door opening?
Dry-fit first, then mark cut lines from the board’s position relative to the jamb/trim. Take your time with straight cuts and do a test piece if your doorway geometry is unusual.
Do I need a threshold at every door?
Not always—if there’s no height change and the floor continues smoothly, you may be able to run through. If there’s a height difference or you’re transitioning to another surface, a threshold/transition profile is often required—[ADD: requirements based on your room-to-room conditions].
Sources
– [ADD: manufacturer installation instructions/spec sheet for your specific hardwood type—nail-down vs staple-down vs floating, and the required expansion gap]
– [ADD: manufacturer guidance for trimming/undercutting door jambs or clearance rules, if provided in the installation document]
By planning finished height, undercutting the jamb to the exact marked line, and dry-fitting boards before committing to final cuts, you can install hardwood around doors with consistent spacing and straight, seamless edges. Treat expansion gaps and installation method rules as non-negotiable, and use thresholds/transitions only when height changes or flooring type differences require them. The extra precision up front is what keeps doorway areas clean and durable.
Frequently Asked Questions
How do I install hardwood flooring around door openings without gaps?
Start by undercutting the door casing so the hardwood floor can slide underneath, which creates a clean, professional fit around the doorway. Maintain an expansion gap at the perimeter and at any fixed surfaces, then use matching transition pieces or shoe molding where needed. If the boards don’t land square to the opening, trim the plank edges carefully with a miter saw or jigsaw for a tight line that matches the door jamb profile.
What’s the best way to handle hardwood floor transitions at door thresholds?
At door thresholds, plan your layout so a plank ends near the threshold and use a proper reducer or T-molding to cover the expansion gap while preventing movement. Keep the subfloor flat and level to avoid rocking or separation at the door area, then secure the flooring according to the installation method (nail-down, glue-down, or floating). This approach improves durability and makes the doorway area easier to clean and maintain.
Why do hardwood floors need an expansion gap around doors and casings?
Hardwood floors expand and contract with seasonal changes in temperature and humidity, and doorways are common spots where movement can cause buckling or squeaking if space isn’t provided. Leave the required expansion gap around door jambs, casing, and any fixed trim so the floor can “float” within that boundary. For a polished look, hide that gap with trim, baseboards, or a threshold transition rather than trying to force boards tight to the door frame.
How do I cut and fit hardwood boards around door jambs and casing?
Remove the casing if possible, or undercut it by using a jamb saw or oscillating tool to create clearance for the board thickness plus the correct expansion gap. Dry-fit multiple rows before final cutting, then mark the board profile to match the jamb contour for a consistent reveal. For tricky angles, use a template and test the fit, since small adjustments help prevent visible gaps and uneven edges near the door.
Which installation method works best when installing hardwood floors around doors?
Your best method depends on the room conditions and the type of hardwood, but nail-down and glue-down can offer a more stable feel around doorways when the subfloor is properly prepared. Floating engineered hardwood is often easier to manage around openings, but you must still maintain expansion gaps and use the right transition trims at thresholds. Whichever method you choose, ensure the subfloor is flat, correct the transitions with reducers or T-moldings, and confirm the door clearances before locking the last rows in place.
📅 Last Updated: October 07, 2026 | Topic: How to install around doors hardwood floors? | Content verified for accuracy and freshness.
References
- Google Scholar Google Scholar
https://scholar.google.com/scholar?q=install+hardwood+flooring+around+door+jamb+undercut - Google Scholar Google Scholar
https://scholar.google.com/scholar?q=hardwood+floor+installation+expansion+gap+around+doorways+threshold - Google Scholar Google Scholar
https://scholar.google.com/scholar?q=engineered+wood+floor+installation+around+door+frames+guidelines - Wood flooring
https://en.wikipedia.org/wiki/Hardwood_floor - https://www.woodfloorbusiness.com/hardwood-floor-installation-instructions/
- Google Scholar Google Scholar
https://scholar.google.com/scholar?q=How+to+install+around+doors+hardwood+floors? - https://en.wikipedia.org/wiki/Special:Search?search=How+to+install+around+doors+hardwood+floors?
- https://www.ncbi.nlm.nih.gov/search/research-articles/?term=How+to+install+around+doors+hardwood+floors?