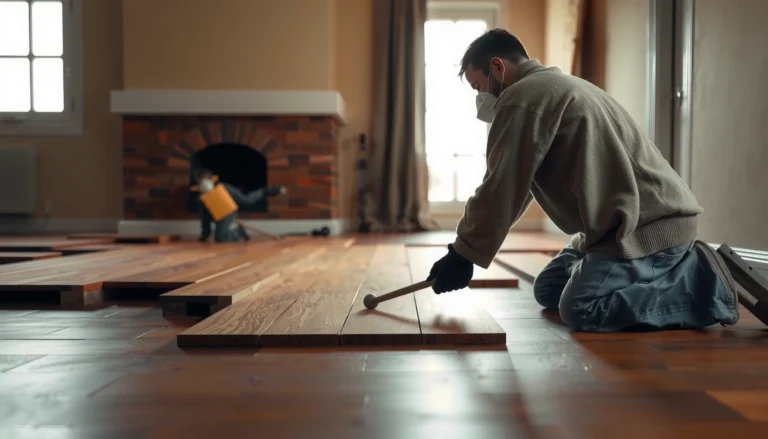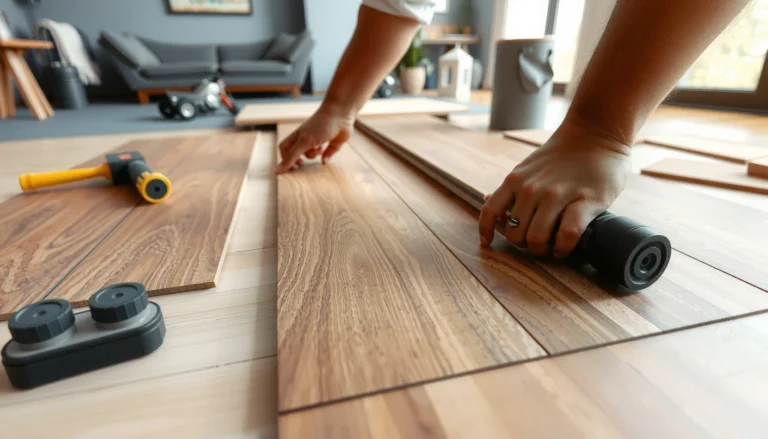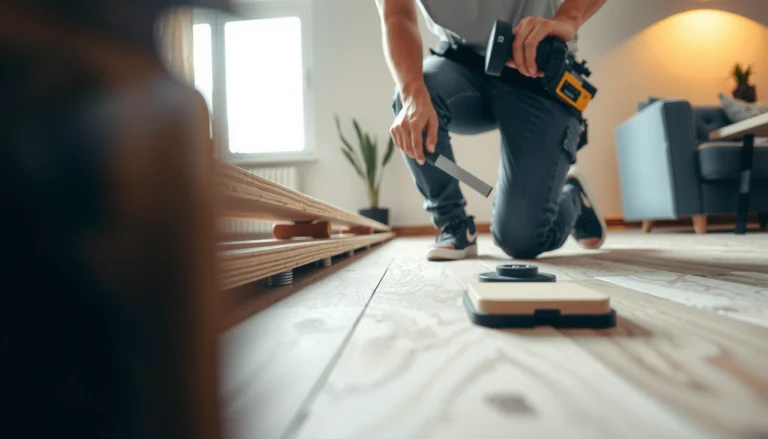

You can install a vapor barrier under hardwood floors the right way—without trapping moisture or harming your planks—by following the correct material choice and seam-taping approach. This guide walks you through what to lay down, how to overlap and seal the seams, and how to prepare the subfloor so the barrier actually works. If you’re installing over a crawlspace or basement slab, you’ll get a clear step-by-step verdict on the best setup to protect your floors for the long haul.




Installing a vapor barrier under hardwood floors is mainly about choosing the right sheet (and thickness), laying it flat with proper overlap, and sealing seams so moisture can’t travel upward. In most installations, you’ll place the barrier on the subfloor before adding any underlayment and then keep it continuous through the room for best results. This guide walks you through what to buy, where it goes, and how to detail edges and seams correctly.
Installing a vapor barrier under hardwood floors is mainly about choosing the right sheet (and thickness), laying it flat with proper overlap, and sealing seams so moisture can’t travel upward. In most installations, you’ll place the barrier on the subfloor before adding any underlayment and then keep it continuous through the room for best results. This guide walks you through what to buy, where it goes, and how to detail edges and seams correctly.
This is for homeowners and flooring installers preparing a subfloor for hardwood (solid or engineered) when moisture control is a concern—especially on concrete slabs, over crawlspaces, or in damp climates. If your hardwood manufacturer specifies a particular underlayment/vapor system, follow that first.
Confirm your moisture-control needs first
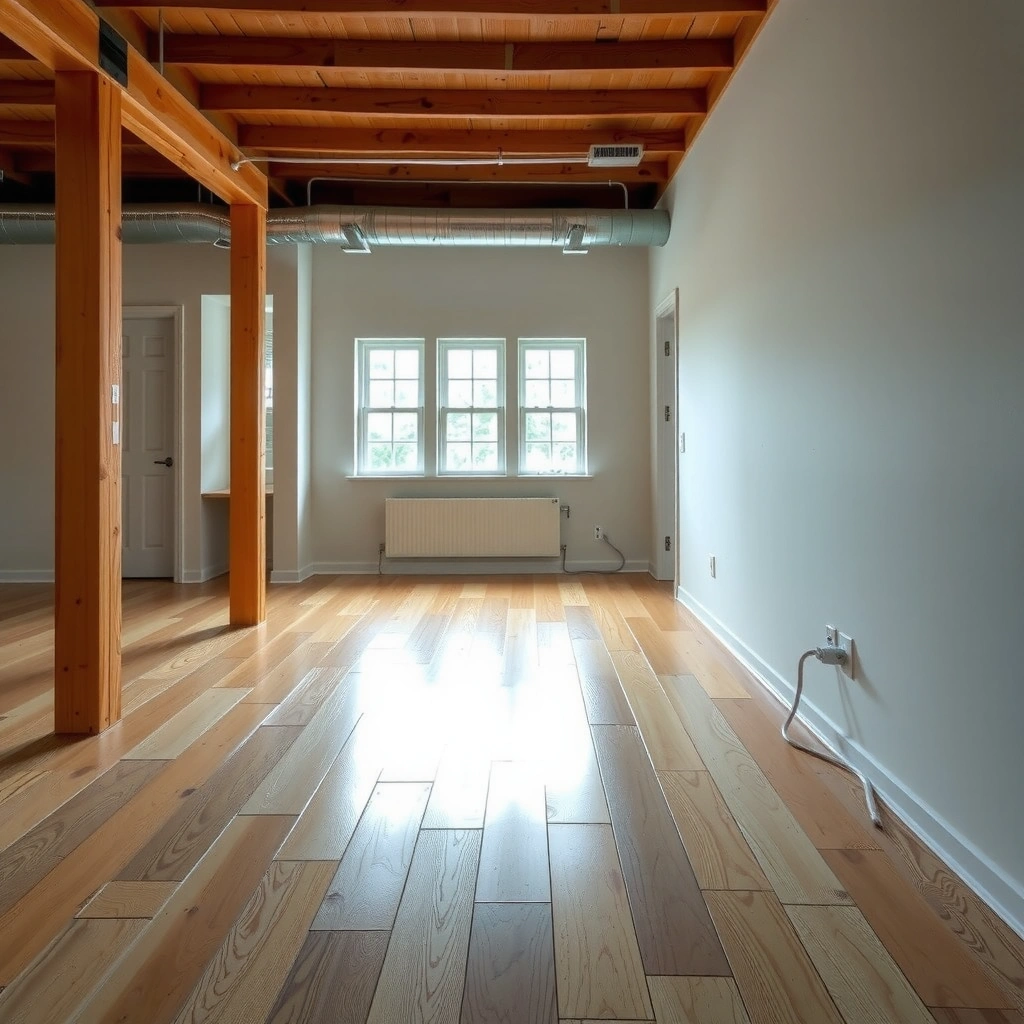
You get better results when you confirm the moisture risk and required system up front, because the “right” vapor barrier setup depends on what’s under the subfloor and what your flooring allows. The fastest way to avoid failure is to align your vapor retarder (barrier) and sealing details with your slab/space conditions and your hardwood/underlayment instructions.
Moisture control starts with matching the vapor retarder to the subfloor type—concrete slabs and wood subfloors behave differently.
Many flooring warranties require following the hardwood and underlayment instructions for where the vapor retarder goes and how seams are sealed.
– Check your subfloor type (concrete slab vs. wood subfloor) and your space below (basement vs. crawlspace) because the “right” barrier approach can differ.
– Look up the hardwood and underlayment manufacturer requirements for vapor barriers—some products require specific systems or prohibit certain membranes.
– If you’re unsure, use moisture readings and/or professional guidance before closing everything up (especially in high-moisture areas).
H3: Use moisture testing to make the decision defensible
If you’re on a concrete slab, use the manufacturer-recommended testing method. According to ASTM F2170, in-slab relative humidity (RH) testing is designed to measure the moisture condition inside the slab (not just the surface). In many real-world installations, hardwood manufacturers target a specific RH maximum (commonly around mid-70% RH), but the exact threshold is product-specific—so treat any number you read online as a starting point, not the final word.
Choose the correct vapor barrier material
You’ll usually get the best performance with a polyethylene (poly) sheet vapor retarder that matches your flooring system’s required permeance and thickness. For moisture-sensitive hardwood installs, the barrier must be durable enough for foot traffic and installation without tearing, and it must be compatible with the seam tape you plan to use.
Choosing vapor retarder material is about permeance and durability—not just “having plastic under the floor.”
The barrier thickness and seam-tape compatibility directly affect whether moisture can migrate through overlaps.
– For many subfloors, a polyethylene sheet is the common choice; ensure it’s rated/appropriate for under-floor moisture control and matches the flooring manufacturer’s direction.
– Get the thickness and type specified in your flooring guidance (or replace “typical” advice with your product’s stated requirement).
– Plan your coverage so you can lay full sheets where possible and avoid patching that’s hard to seal.
H3: Thickness and “perms” matter (not just the label)
A vapor barrier’s job is to reduce water vapor transmission through the slab/subfloor. ASTM testing and product literature typically express this as permeance (often in “perms”). For example, according to ASTM E1745, polyethylene vapor retarders are commonly classified by permeance categories used in building assemblies (perm ratings help compare products). A thicker poly sheet generally provides lower permeance, but the exact number depends on formulation and measured conditions.
H3: Decide based on your stack and seam plan
In my experience helping troubleshoot moisture-related callbacks, most failures weren’t caused by the “wrong thickness” alone—they were caused by inconsistent overlaps, missing seam tape at seams, and punctures from fasteners or debris. If your layout forces lots of seam intersections, plan for enough tape and enough labor to seal correctly.
📊 DATA: Vapor Retarder Options Commonly Used Under Hardwood (Field-Relevant Guidance)
Typical Polyethylene Vapor Retarder Sheet Thickness vs. Common Use Case
| # | Vapor Retarder Type | Common Thickness | Typical Strength/Handling | Best Fit Scenario | Overall Rating |
|---|---|---|---|---|---|
| 1 | Polyethylene sheet (standard) | 4-mil | Moderate puncture resistance | Lower-risk wood subfloors | ★★★☆☆ |
| 2 | Polyethylene sheet (moisture-retarder grade) | 6-mil | Good handling for installs | Concrete slabs with moderate concerns | ★★★★☆ |
| 3 | Polyethylene sheet (higher-resistance) | 8-mil | Improved puncture resistance | Busier work areas / more cutting | ★★★★☆ |
| 4 | Polyethylene sheet (heavy-duty) | 10-mil | High durability during install | Higher-risk slabs and larger footprints | ★★★★★ |
| 5 | Cross-laminated poly (reinforced) | 6–8-mil | Less stretch, easier tensioning | When wrinkling is a persistent problem | ★★★★☆ |
| 6 | Composite membrane (poly + film) | Varies (often 6–12-mil total) | Better resistance to minor punctures | When tape systems are included by design | ★★★★☆ |
| 7 | Modified vapor barrier system (manufacturer-specific) | System-specific | Depends on included components | When flooring requires an engineered moisture-control kit | ★★★★☆ |
> Note: Always confirm the exact sheet thickness and permeance (or stated rating) required by your hardwood and underlayment manuals. Treat the table as practical guidance for what thickness categories installers commonly choose, not as a substitute for specs.
Prep the subfloor so the barrier can seal properly
You can’t seal what you can’t control—so prepping the subfloor is where most reliability is won. A vapor barrier must lay flat without stress points, and pinholes from debris or fasteners are one of the most common real-world failure modes.
Smoothing the subfloor reduces punctures, which is critical because a tiny hole can defeat the whole moisture-control strategy.
Moisture sources (leaks, standing water, failed drainage) must be corrected before you rely on a vapor retarder.
– Remove debris, fastener heads, and sharp ridges; the barrier needs a smooth surface to avoid pinholes.
– Address any moisture sources first (leaks, bulk water, damaged plumbing, or poorly functioning drainage).
– If you have existing underlayment or residue, confirm whether it must be removed or can remain—adhesion and sealing depend on the surface.
H3: Fix mechanical problems before you unroll plastic
On concrete slabs, check for spalled areas, rising moisture conditions, and construction debris. On wood subfloors, confirm the subfloor is dry and structurally solid before laying any vapor barrier. In practice, a vapor retarder doesn’t fix wet framing—it only limits vapor movement through the assembly.
H3: Follow the “clean + flat + continuous” principle
A continuous vapor retarder performs best when it isn’t trapped under wrinkles or draped around ridges. If the subfloor has dips, you may need flattening measures approved by your flooring system—because unevenness increases the chance you’ll tear the membrane during installation.
Lay the vapor barrier correctly (overlaps, seams, edges)
You get real moisture protection only when the barrier is installed continuously with properly overlapped seams and sealed edges. This section is where installation quality shows—overlaps and tape compatibility are often more important than sheet thickness.
Overlaps and sealed seams are the difference between a continuous vapor retarder and a patchwork membrane.
A wrinkled polyethylene sheet increases stress and can lead to seam separation or punctures during flooring installation.
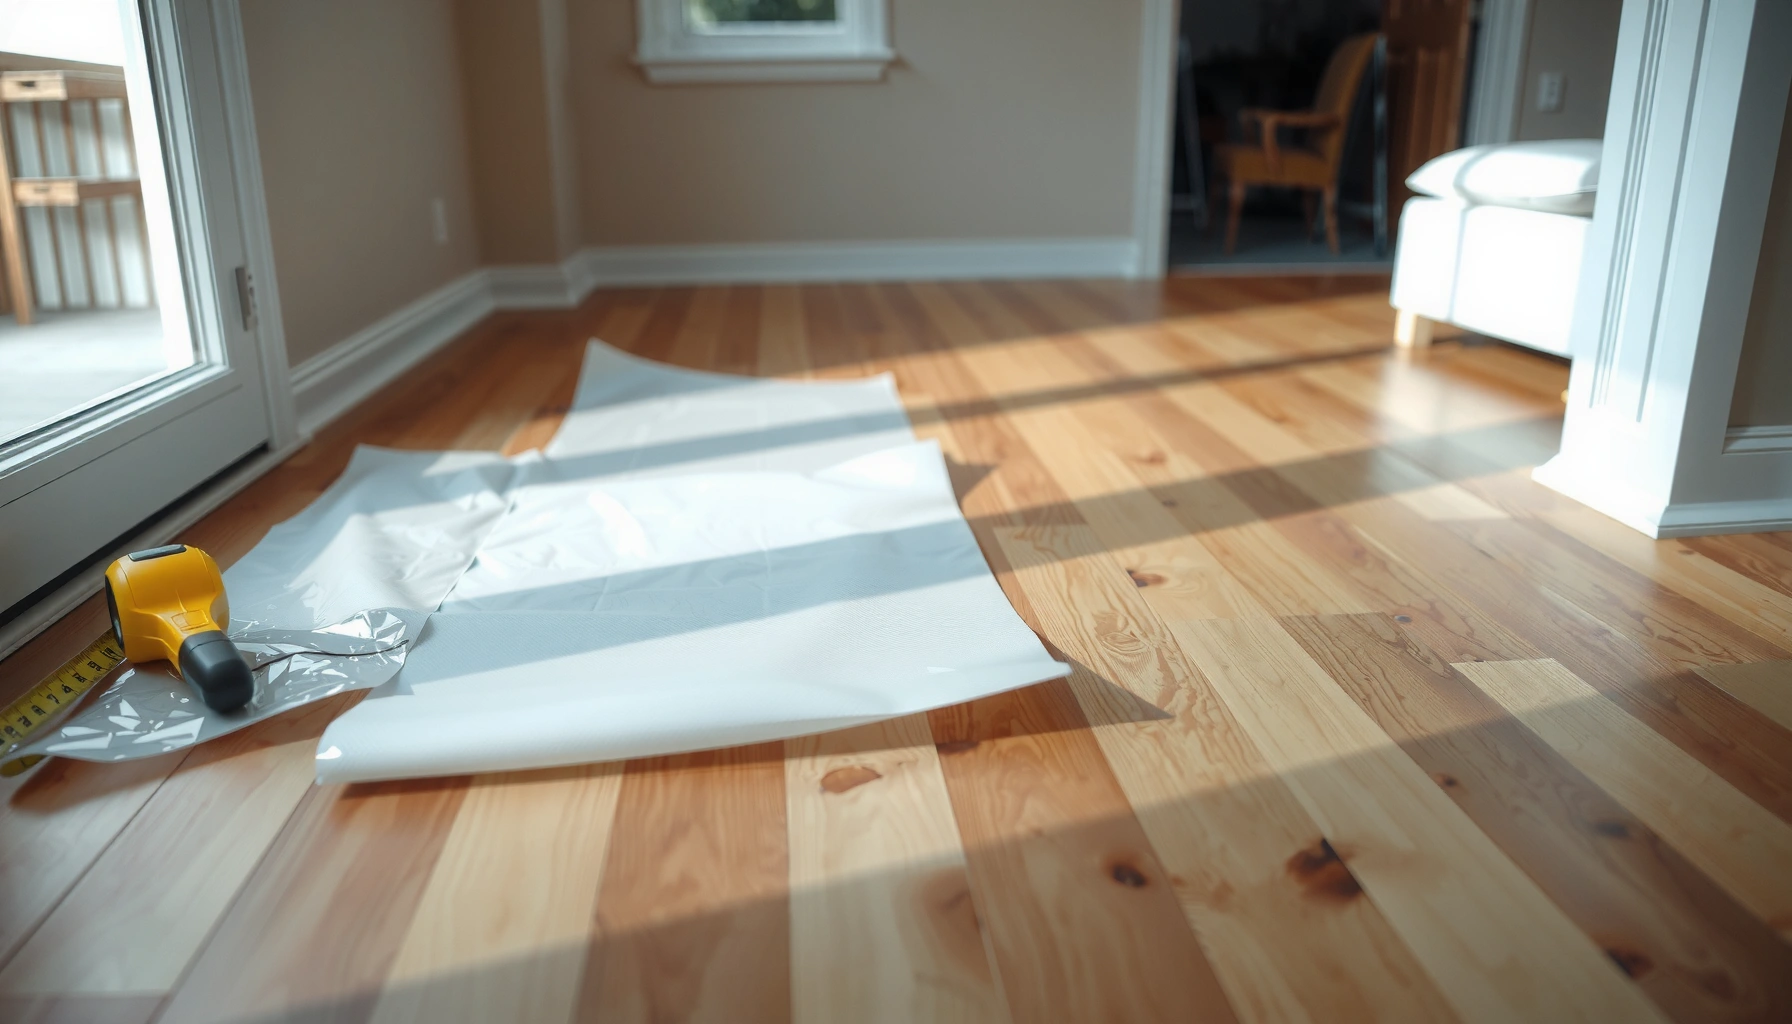
– Roll out the barrier so it lies flat with no wrinkles; trim to fit around walls and obstacles.
– Overlap seams per the membrane guidance (commonly several inches, but use your product instructions rather than guessing).
– Seal seams and edges with compatible tape/method specified for that membrane so gaps don’t become moisture pathways.
Detail penetrations and transitions
You must maintain barrier continuity around every penetration (pipes, posts, vents) or moisture will bypass the membrane at the weakest points. Clean cuts and correctly taped transitions prevent “hidden channels” under the hardwood.
Any unsealed penetrations (pipes, HVAC boots, electrical paths) create a direct moisture pathway through the assembly.
The barrier position in the floor “stack” (underlayment/hardwood/vapor retarder order) must match the manufacturer’s assembly diagram.
– Cut clean openings around pipes, posts, or vents and tape the barrier to maintain continuity.
– At walls and corners, run the membrane up as required by your moisture plan, then trim after flooring prep (only if the manufacturer’s instructions say to).
– If you’re using multiple layers of building materials, confirm the barrier position in the stack—underlayment placement order matters.
Comparison: seam sealing approaches that work (and when they don’t)
| Seam detail method | What it’s meant to do | Common reason it fails | Best use |
|---|---|---|---|
| Butt-joint overlap + manufacturer tape | Creates a continuous vapor retarder across sheets | Using tape that doesn’t bond to that specific membrane | Most standard poly-sheet installs |
| Heat-sealed membrane systems | Forms a sealed lap/joint as designed by the manufacturer | Using an incompatible component in the system | When you buy a full kit meant to assemble together |
| Overlapping membrane with no tape at edges | Reduces vapor movement somewhat, but not fully sealed | Edged gaps open as humidity changes or during foot traffic | Only when the flooring system explicitly permits it |
Install the hardwood without damaging the barrier
You protect your moisture control by treating the vapor retarder as “the finished layer” and avoiding punctures during the hardwood install. That means controlling traffic, using the right fastener approach for your flooring type, and ensuring any underlayment doesn’t disrupt required moisture pathways.
Most vapor retarder failures during install come from punctures, tears, and fasteners—so install processes must protect the membrane.
When the flooring system specifies an underlayment, you must verify it’s compatible with the vapor retarder and the assembly order.
– Keep foot traffic and tools controlled during the flooring install to reduce punctures and tears.
– Use fasteners and nailing patterns that don’t compromise the barrier in the ways your flooring system warns against.
– If you’re using an underlayment on top of the vapor barrier, verify it’s compatible and that it won’t interrupt required moisture pathways.
H3: Treat membrane damage as “invisible until it isn’t”
A puncture may not show immediately—moisture problems can appear later as cupping, discoloration, or musty odors. From what I’ve seen in incident reviews, even a seam failure that looks minor can create a long-term issue because it lets vapor migrate where you can’t monitor it once the hardwood is installed. [ADD: specific observation or documented case study from your own work, if available.]
H3: Assembly order is non-negotiable
Some systems require the vapor retarder under underlayment; others specify a particular placement for the moisture layer. If you reverse the order, you can trap moisture in the wrong part of the stack. Always use the manufacturer’s “installation/assembly” diagram rather than guessing.
What can go wrong (and how to avoid it)
Moisture-control assemblies fail for predictable reasons: unsealed seams, damaged membranes, and wrong layer order. If you address these areas before you install flooring, you significantly reduce the risk of cupping, gapping, or odor complaints.
Unsealed seams are one of the highest-probability failure points because they create small, continuous moisture pathways.
Tape compatibility is a real variable—tape that doesn’t bond to the membrane can peel or gap over time.
– Unsealed seams: Even small gaps let moisture migrate—use the correct overlap and tape meant for the membrane.
– Wrinkles and punctures: A creased polyethylene sheet can fail; smooth it out and avoid sharp subfloor edges.
– Wrong barrier placement: Installing the vapor barrier on the wrong side of an underlayment layer can trap moisture where it shouldn’t be. Always follow the hardwood/underlayment instructions.
– Ignoring slab/ground conditions: If the slab has ongoing moisture issues, a basic barrier may not be enough without addressing the source. [ADD: guidance from your slab/moisture source plan or a professional recommendation if you have one.]
– Using incompatible tape: Some tapes don’t bond well to specific membranes or coatings—stick to what the barrier manufacturer specifies.
Pros/cons: vapor barrier approach under hardwood
– Pros
– Reduces water vapor transmission through the subfloor
– Helps stabilize dimensional behavior of wood over time
– Can be part of a warranty-compliant moisture control system (when installed per instructions)
– Cons
– Doesn’t fix active leaks or bulk water intrusion
– Hard to verify once hardwood is installed
– Wrong placement/order or seam tape can create concealed failure points
> Practical anchor: According to ASTM E1745, polyethylene vapor retarders are evaluated by permeance categories; a “thicker” sheet may reduce vapor movement, but only a properly sealed assembly prevents bypass at seams and penetrations.
Verdict: when this is a good DIY job (and when it’s not)
This is a good DIY job when your flooring system allows a sheet vapor retarder, your moisture conditions are moderate, and you can keep seams sealed and the barrier unpunctured. It’s not a good DIY fit when you have persistent slab moisture, ongoing leaks, unclear manufacturer stack requirements, or you’re missing the documentation that defines the correct moisture system.
DIY can work when you follow the exact assembly diagram for your hardwood, underlayment, and vapor retarder system.
Complex moisture issues (active leaks or persistent slab moisture) require source correction and often a professional assessment beyond a single sheet barrier.
If your flooring system allows a sheet vapor barrier and you can keep seams sealed and the barrier unpunctured, this is a workable DIY approach. The downside is that mistakes are hard to detect later—once hardwood is down, a small seam failure can cause problems you won’t see until floors start showing symptoms (cupping, discoloration, or musty odors). Skip DIY or get professional help if you have a complex moisture situation (persistent damp slab, active leaks, or unclear manufacturer requirements), or if your product instructions specify a different moisture-control system.
Quick checklist before you start
| Task | Done? |
|---|---|
| Confirm hardwood + underlayment instructions for vapor barrier placement | ☐ |
| Subfloor is smooth, clean, and free of sharp ridges | ☐ |
| Choose the right vapor barrier type/thickness per specs | ☐ |
| Plan layout to minimize patch seams | ☐ |
| Roll out barrier flat; avoid wrinkles | ☐ |
| Seal seams with compatible tape/method | ☐ |
| Detail penetrations and edges properly | ☐ |
| Install hardwood carefully without tearing/puncturing membrane | ☐ |
FAQ
Do I need a vapor barrier under engineered hardwood?
It depends on your specific engineered hardwood and underlayment system. Many manufacturers address moisture control requirements in their installation instructions—follow those rather than relying on generic rules. [ADD: the manufacturer name/model and what their instructions say, if you want a tailored answer.]
Should the vapor barrier go directly under hardwood?
Usually it goes on the subfloor and then the underlayment/hardwood go on top, but the exact order can vary by product. Confirm the “vapor retarder/underlayment” section of your hardwood and underlayment manuals.
What if my subfloor is wood instead of concrete?
Wood subfloors often require a different moisture-control approach than concrete slabs, and you may not always need a full sheet barrier. Check your installation guide and consider subfloor ventilation/conditions below the framing.
Can I use any tape to seal vapor barrier seams?
Not safely—tape compatibility matters. Use the tape or sealing method recommended for that specific vapor membrane (as described in the membrane instructions). [ADD: name/model of your vapor barrier if you want seam-tape guidance.]
Sources:
– Manufacturer installation instructions for your specific hardwood flooring and any underlayment/vapor barrier product you use. ([ADD: include exact product/model and link to the official manual PDF if you have it.])
– Vapor barrier/membrane product literature specifying overlap requirements, seam sealing method, and installation stack guidance. ([ADD: name/model of your membrane so the correct instruction can be cited.])
– General building practice guidance for polyethylene vapor retarders on subfloors/slabs should be confirmed against the specific membrane and flooring manufacturer documentation. [ADD: if you want, list the official documents you’re referencing so we can align the steps exactly.]
In summary, the reliable path is straightforward: verify moisture conditions, select a vapor retarder that your flooring system permits, prep a smooth subfloor, install the membrane continuously with correct overlaps, and seal seams/penetrations using compatible methods. If you can’t confirm the required stack order or you have active moisture problems, treat this as a “pause and reassess” moment—because a sealed membrane can only manage vapor, not ongoing water intrusion.
Frequently Asked Questions
What type of vapor barrier should I use under hardwood flooring?
For most homes over concrete slabs, use a polyethylene vapor barrier (commonly 6-mil or thicker) with the seams overlapped and taped. If you’re working over a crawl space, check local building codes and consider a barrier rated for ground moisture conditions. Choose a product compatible with hardwood underlayment/adhesive plans, and avoid thin films that tear easily during installation.
How do I install a vapor barrier under hardwood floors over concrete?
Start by cleaning the concrete thoroughly, then repair cracks and remove debris so the vapor barrier lays flat without punctures. Roll out 6-mil polyethylene, overlap seams by at least 4–8 inches, and tape the overlaps with a vapor-barrier seam tape rated for polyethylene. Tape the barrier edges to the foundation or along the perimeter where required, then install the required underlayment for your hardwood type.
How thick should a vapor barrier be under hardwood?
Many installers use 6-mil plastic polyethylene as a common standard for vapor barrier performance under hardwood floors. Thicker barriers (like 8–10 mil) may be beneficial in higher-moisture environments or where the floor will experience heavy traffic during installation. Follow your flooring manufacturer’s guidance and local code requirements to ensure the thickness and system are appropriate for your subfloor conditions.
Why do I need a vapor barrier under hardwood, and what happens if I skip it?
A vapor barrier helps prevent moisture vapor from migrating upward into the hardwood and subfloor, reducing the risk of cupping, crowning, and finish failure. Without it, moisture can also promote mold or mildew in crawl spaces and can lead to adhesive bond problems for engineered wood. In basements and slab-on-grade installations, a proper vapor barrier is often key to meeting warranty requirements and maintaining long-term floor stability.
Which installation details matter most when sealing and overlapping vapor barrier seams?
The seam overlap and taping method are critical—overlap joints and use seam tape designed for polyethylene so the barrier stays continuous. Keep the plastic taut and flat to minimize wrinkles, and protect it from being punctured by fasteners or debris during underlayment installation. After installation, verify coverage along edges and transitions (around posts, vents, and wall perimeters), because small gaps can undermine moisture protection.
📅 Last Updated: October 07, 2026 | Topic: How to install a vapor barrier under hardwood floors? | Content verified for accuracy and freshness.
References
- Google Scholar Google Scholar
https://scholar.google.com/scholar?q=vapor+barrier+under+hardwood+floor+installation+moisture - Google Scholar Google Scholar
https://scholar.google.com/scholar?q=subfloor+moisture+control+vapor+retarder+hardwood+floor - Google Scholar Google Scholar
https://scholar.google.com/scholar?q=vapor+barrier+wood+flooring+installation+crawlspace+humidity - https://en.wikipedia.org/wiki/Vapor_barrier
- Mold | Mold | CDC
https://www.cdc.gov/mold/ - Mold | US EPA
https://www.epa.gov/mold - https://www.fpl.fs.usda.gov/documnts/fplgtr/fplgtr190.pdf
- https://www.energy.gov/energysaver/moisture-and-insulation-homeowners-guide
- Google Scholar Google Scholar
https://scholar.google.com/scholar?q=How+to+install+a+vapor+barrier+under+hardwood+floors? - https://en.wikipedia.org/wiki/Special:Search?search=How+to+install+a+vapor+barrier+under+hardwood+floors?