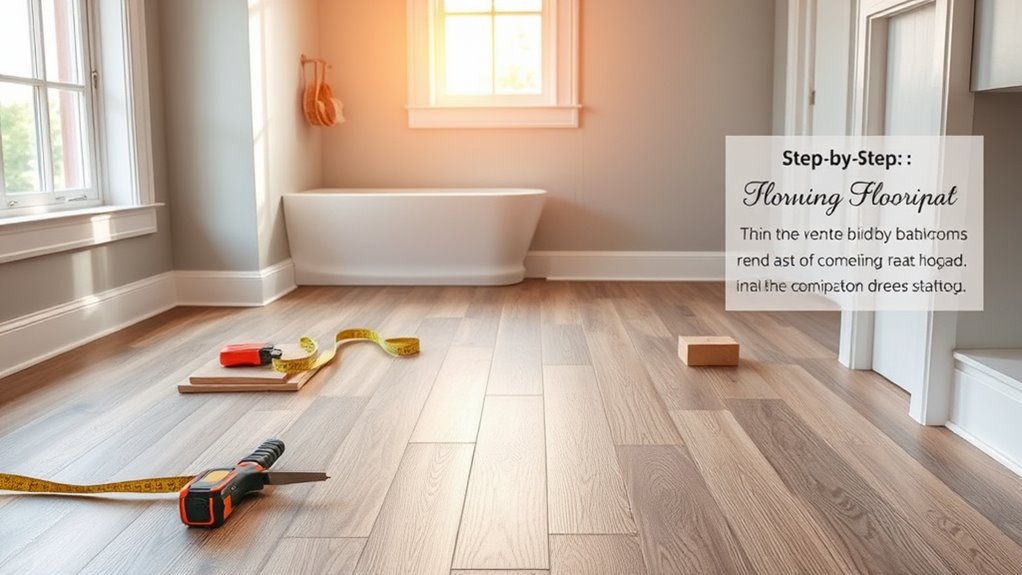
To install vinyl plank flooring in your bathroom, start by preparing a clean, dry, and level subfloor, applying a moisture barrier if needed. Next, measure your space carefully and plan the plank layout, considering obstacles and direction. Cut planks precisely to fit, allowing for expansion gaps near walls. Then, install planks by clicking them tightly together, staggering seams for stability. Finally, seal edges and expansion gaps with waterproof sealant to protect from moisture damage. Follow these steps closely, and you’ll guarantee a durable, professional finish.
Prepare the Bathroom Subfloor
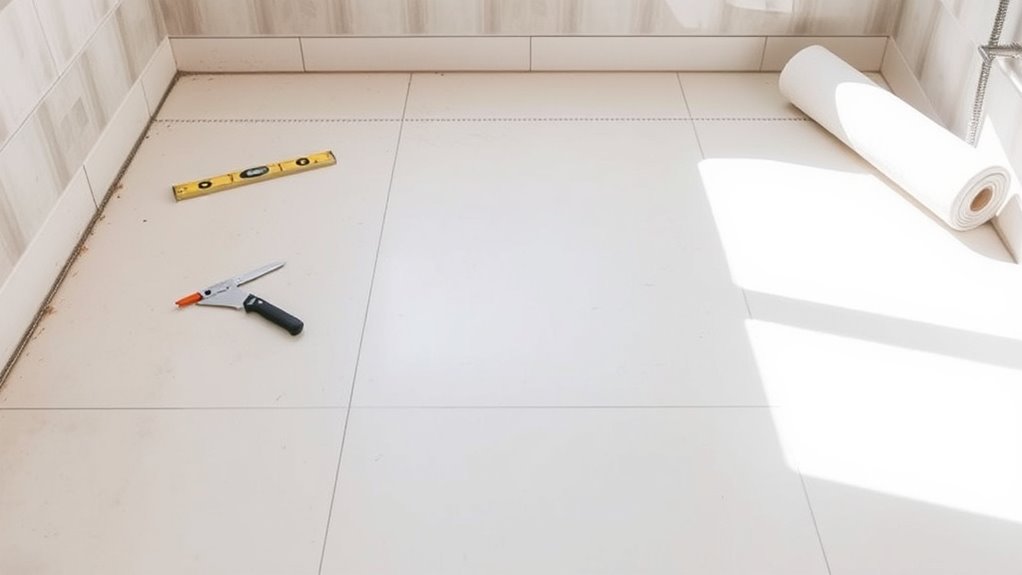
Before you lay down any vinyl planks, you need to thoroughly prepare the bathroom subfloor to guarantee a smooth, long-lasting installation. Start by inspecting the subfloor for damage, ensuring it’s clean, dry, and level. Address any uneven spots with a leveling compound to prevent planks from shifting or cracking. Moisture considerations are critical in bathrooms; use a moisture barrier or sealant to protect the subfloor from dampness that can cause warping or mold. If you’re working over concrete, test for moisture content with a reliable meter and apply a vapor barrier if necessary. Proper subfloor preparation sets the foundation for your vinyl plank flooring to remain durable and stable, giving you the freedom to enjoy a beautiful, worry-free bathroom floor.
Measure and Plan the Layout
Once you’ve prepared the subfloor, you’ll want to measure your bathroom carefully to plan the vinyl plank layout precisely. Accurate measurements guarantee a professional finish and avoid costly mistakes. Use reliable measuring tools like a tape measure, straightedge, and chalk line to capture every dimension, including alcoves or irregular spaces. When planning your layout design, consider these key steps:
Careful measurement of your bathroom ensures precise vinyl plank layout and a flawless, professional finish.
- Measure the length and width of the room, noting any obstacles.
- Calculate how many planks you’ll need, factoring in waste.
- Determine plank orientation to enhance space perception and minimize cuts.
Taking time here gives you freedom to customize the pattern and guarantees the installation flows smoothly, setting a solid foundation for the next steps.
Cut and Fit the Vinyl Planks
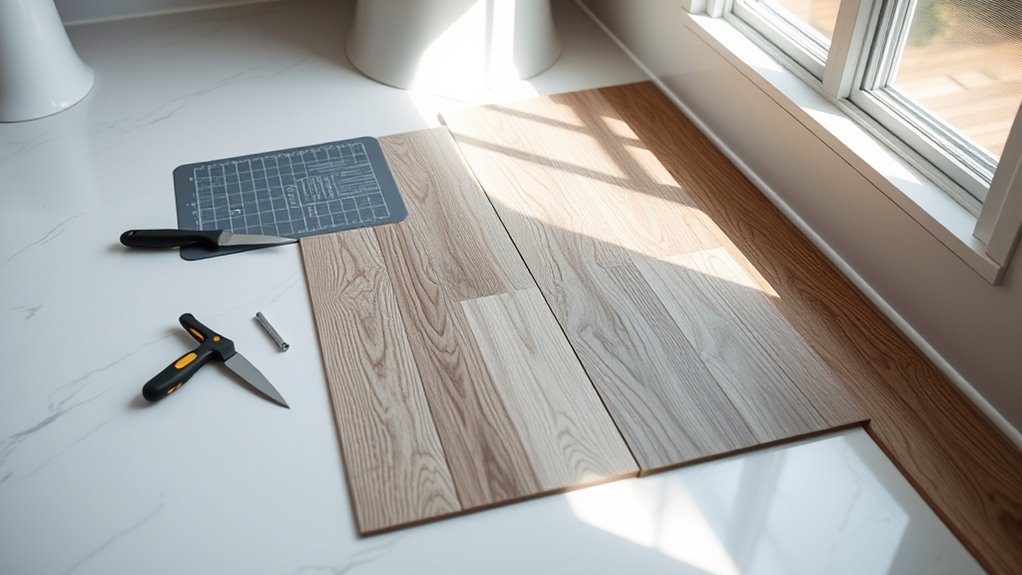
Start by carefully cutting your vinyl planks to fit the room’s dimensions and any irregular spaces. Use precise cutting techniques, such as scoring with a utility knife and snapping the plank cleanly, to guarantee smooth edges. Take accurate measurements, allowing for slight gaps near walls for expansion. When dealing with corners or around fixtures, create templates from cardboard to replicate complex shapes before cutting your planks. Pay close attention to plank alignment, maintaining consistent direction and staggering seams for a natural look and structural stability. Remember, tight plank alignment prevents gaps and water infiltration, vital in a bathroom setting. Stay patient and methodical—your careful cuts and exact fitting will set the foundation for a flawless vinyl floor that offers both freedom in design and durability.
Install the Vinyl Flooring
Lay the first vinyl plank carefully along your starting wall, guaranteeing it’s perfectly straight and aligned with your reference line. This precision sets the tone for flawless installation. Use these installation techniques for best results:
- Click each subsequent plank firmly into place, maintaining tight seams to prevent moisture intrusion.
- Stagger the joints by at least 6 inches to boost stability and create a natural look.
- Press down along each plank’s surface to guarantee strong adhesion and eliminate air pockets.
Work methodically across the floor, checking alignment frequently. Proper installation is key for long-lasting flooring maintenance and to keep your bathroom looking fresh. Taking your time now means less upkeep later, granting you freedom from constant repairs and allowing you to enjoy your stylish new vinyl floor worry-free.
Seal and Finish the Edges
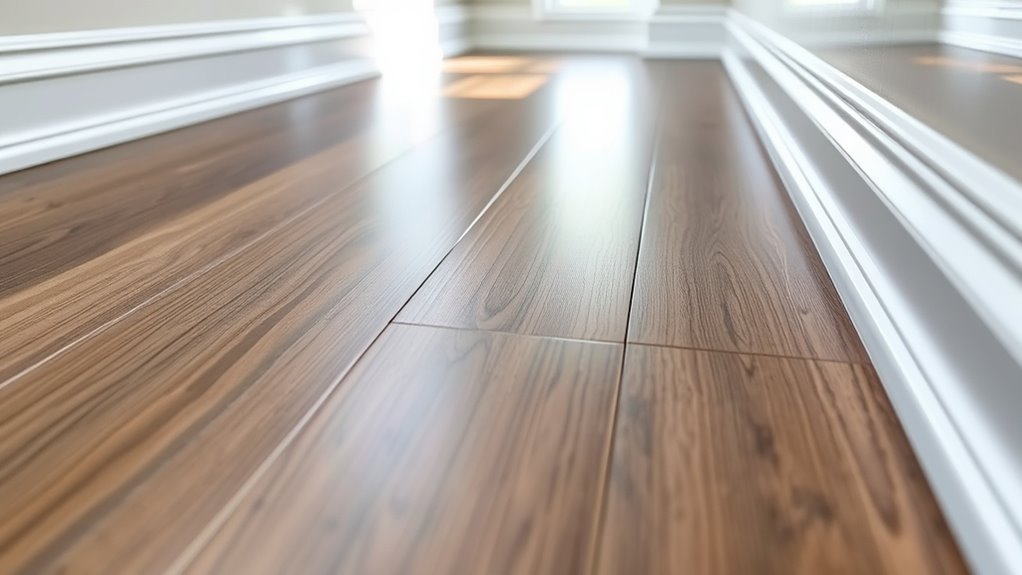
Three key areas require careful attention when sealing and finishing the edges of your vinyl plank flooring to guarantee durability and a professional look. First, focus on edge sealing along walls and fixtures to prevent moisture infiltration. Use a high-quality waterproof sealant designed for vinyl floors, applying it evenly with a caulking gun or brush. Second, pay close attention to connections between flooring and other surfaces; install appropriate trim or molding to protect edges and maintain a clean finish. Third, incorporate waterproofing techniques around sinks and tubs by sealing expansion gaps thoroughly, ensuring water can’t seep beneath the planks. By mastering these steps, you not only enhance your floor’s lifespan but also maintain the freedom to enjoy a worry-free, stylish bathroom environment without compromising on durability or aesthetics.


