To do cement floors yourself, first assess and prepare the existing surface, guaranteeing it’s clean, stable, and dry. Gather all necessary tools and quality materials. Clean and repair cracks or stains thoroughly. Apply a primer for proper adhesion, then mix the cement with the right water-cement ratio. Pour, level, and smooth the mixture skillfully. Add texture if needed, let it cure properly, and finally seal for durability. Following these steps correctly guarantees a professional finish; you can explore detailed techniques next.
Assessing and Preparing the Existing Floor
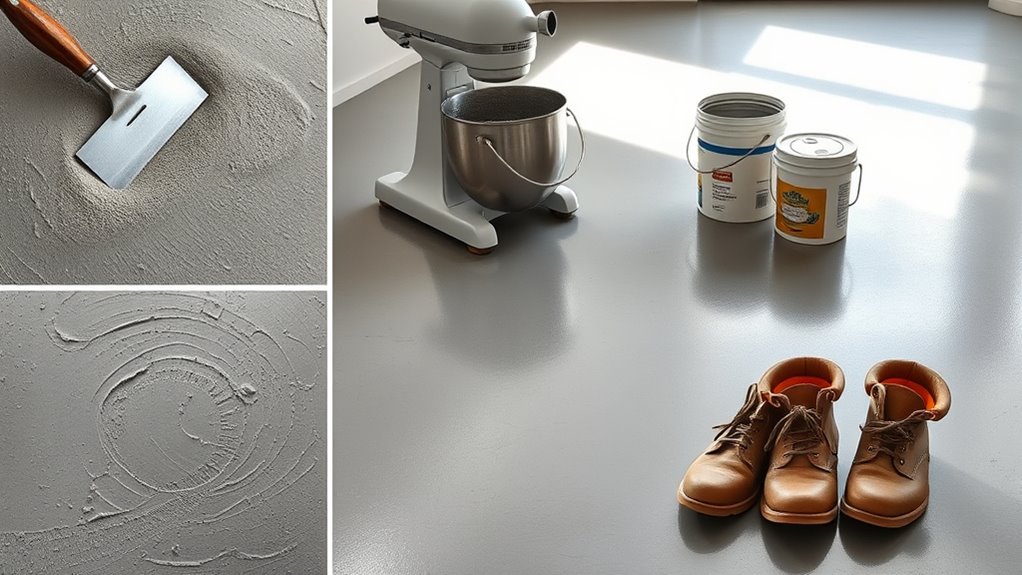
Before you begin applying cement to your floor, you need to thoroughly assess and prepare the existing surface to assure proper adhesion and durability. Start by inspecting floor stability; confirm the substrate is structurally sound with no loose or crumbling areas. Any instability must be repaired or reinforced before proceeding. Next, perform a moisture assessment using a reliable moisture meter to detect dampness levels, as excess moisture can cause cement failure or mold growth. If moisture is present, address it with suitable vapor barriers or drying techniques. Clean the floor meticulously, removing dust, grease, and debris, as contaminants impair bonding. By systematically verifying floor stability and conducting a moisture assessment, you create a solid, dry foundation. This preparation empowers you to apply cement floors that last, giving you the freedom to enjoy your space without worry.
Gathering Necessary Tools and Materials
Before starting your cement floor project, you’ll need to gather specific tools like a concrete mixer, trowels, and a level to guarantee proper application and finish. Selecting high-quality materials, including cement, aggregates, and sealants, is essential for durability and appearance. Having everything prepared upfront will streamline your workflow and improve the final result.
Essential Tools Checklist
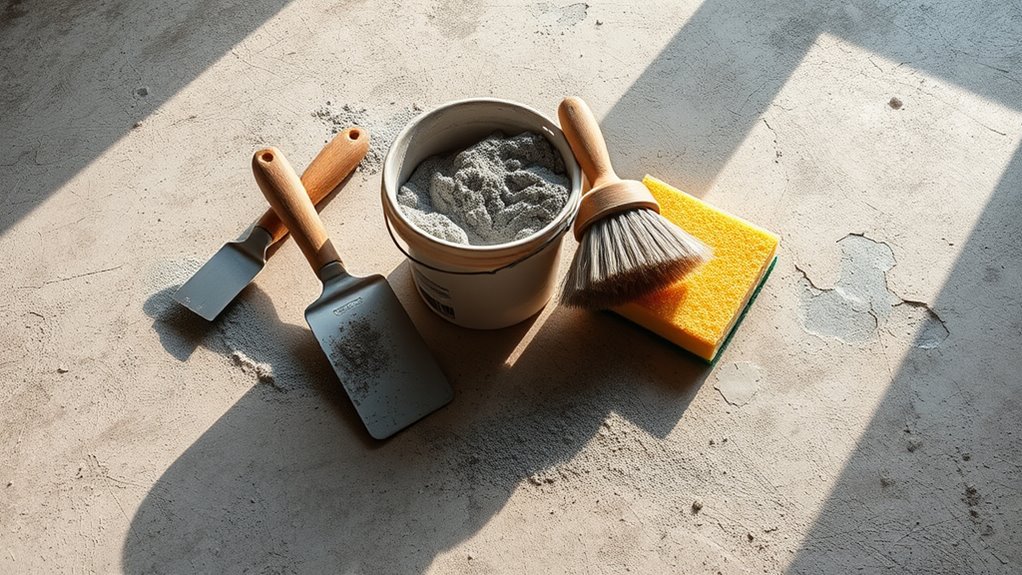
While gathering the necessary tools and materials for your DIY cement floor project, you’ll want to ascertain you have the right equipment to achieve a smooth, durable finish. Proper tools not only streamline your workflow but also support safety precautions and effective maintenance tips down the line. Here’s an essential checklist to keep you prepared:
- Trowel and float: For precise spreading and smoothing of cement.
- Concrete mixer or mixing drill: Ascertains consistent cement blend.
- Measuring tools: Tape measure and level for accurate layout and even surface.
- Protective gear: Gloves, dust mask, and safety goggles to prevent injury.
Having these tools ready empowers you to maintain control over your project’s quality, promotes safe working conditions, and sets you up for a floor that’s both resilient and easy to maintain.
Choosing Quality Materials
Though selecting materials might seem straightforward, choosing high-quality cement, aggregates, and additives is essential to secure your floor’s strength, durability, and finish. Start by researching reputable brands known for consistent quality. When choosing brands, prioritize those with positive reviews and certifications meeting industry standards. Next, compare prices carefully but avoid sacrificing quality for cost savings, as inferior materials compromise longevity. Select aggregates with uniform grain size to guarantee proper mixing and smooth texture. For additives, opt for proven water reducers or sealers that enhance workability and protect against moisture. Gathering these materials precisely lets you maintain control over your project, assuring a resilient, professional-grade cement floor that supports your desire for lasting freedom and independence in your space.
Cleaning and Repairing the Surface
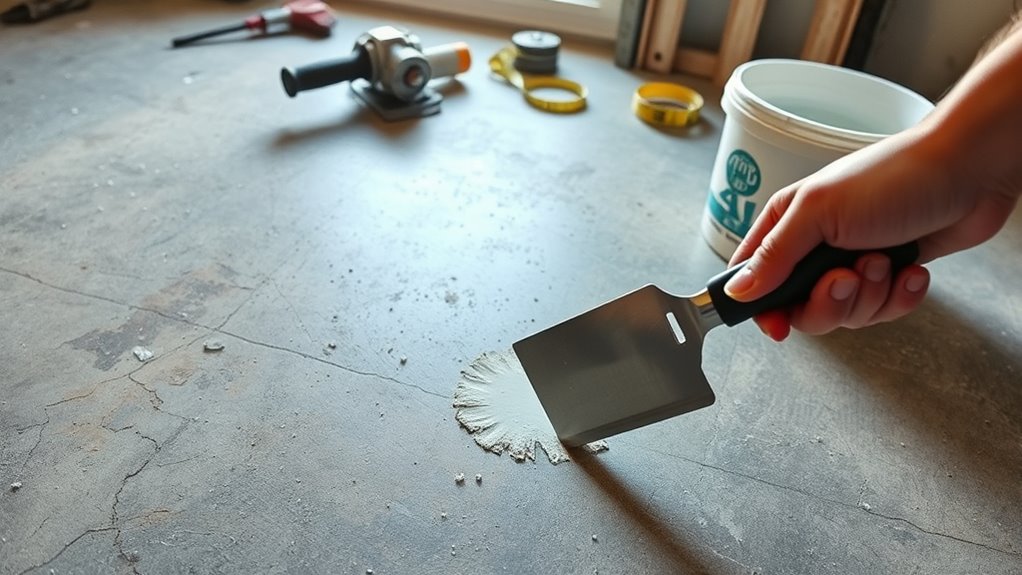
Start by thoroughly inspecting the cement surface for cracks, stains, and uneven areas using proper lighting and tactile assessment. Next, remove any stains with appropriate cleaners, ensuring you select products compatible with cement. Finally, fill cracks carefully with a suitable patching compound to create a smooth, durable base for finishing.
Surface Inspection Techniques
Before applying any finish or coating, you’ll need to thoroughly inspect the cement floor to identify any cracks, stains, or debris that could compromise adhesion. Accurate surface inspection guarantees you address all surface damage before proceeding. Use appropriate inspection tools like a flashlight, magnifying glass, moisture meter, and straightedge for a detailed assessment. Focus on:
- Identifying hairline cracks or chips that may need filling
- Checking for unevenness or surface irregularities
- Detecting embedded debris or dust that could interfere with bonding
- Measuring moisture levels to prevent future issues
Removing Stains Effectively
Since stains can penetrate cement pores and affect adhesion, you’ll need to employ targeted cleaning methods to remove them effectively. Start by identifying the stain type—oil, rust, or organic—because each requires specific stain removal techniques. For oil stains, apply a poultice made from baking soda and water, let it sit, then scrub with a stiff brush. Rust stains respond well to a diluted oxalic acid solution, applied carefully to avoid damage. Organic stains can be treated with a mixture of water and trisodium phosphate. Use effective cleaning solutions suited for cement surfaces to avoid compromising the substrate. Always rinse thoroughly and allow the floor to dry completely before proceeding. Proper stain removal guarantees a clean, stable base, critical for achieving a durable, long-lasting cement floor finish.
Filling Cracks Properly
Once stains are thoroughly removed and the floor is completely dry, addressing any cracks is the next step to secure a smooth, stable surface. Identifying the crack types—hairline, structural, or surface—is vital for selecting appropriate repair techniques. You’ll want to follow these steps:
- Clean the cracks using a wire brush or compressed air to remove debris.
- For hairline cracks, apply a penetrating epoxy or concrete sealer.
- Larger cracks require filling with a polymer-modified cement or patching compound.
- Smooth the repair with a trowel, making sure it’s level with the surrounding floor.
These precise methods guarantee durability and prevent further damage, allowing your cement floor to maintain integrity and freedom from future repairs.
Applying a Primer or Bonding Agent
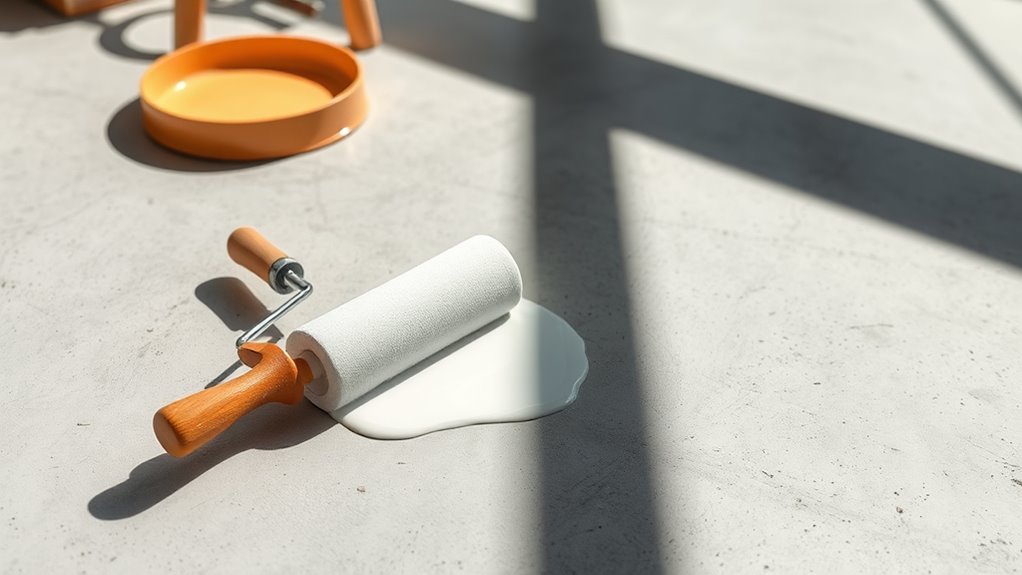
Applying a primer or bonding agent is an essential step to guarantee proper adhesion between the cement floor and subsequent coatings or overlays. You’ll find several primer types designed for specific substrates and conditions—epoxy primers offer durability, while acrylic primers improve surface porosity. Selecting the right primer type guarantees ideal bonding and prevents delamination. Bonding agent benefits include increased surface strength and enhanced resistance to moisture infiltration, which prolongs your floor’s lifespan. Apply the primer evenly using a roller or brush, guaranteeing full coverage without puddling. Allow sufficient drying time according to the manufacturer’s instructions before proceeding. By mastering this step, you maintain control over your project’s quality and durability, achieving a professional finish that stands the test of time without relying on costly contractors.
Mixing the Cement Properly
You’ll need to measure the cement-to-water ratio carefully to guarantee the mix isn’t too dry or too runny. Consistent mixing techniques help achieve a uniform texture, which is essential for strength and durability. Keep stirring until the mixture reaches a smooth, workable consistency without lumps.
Correct Cement-to-Water Ratio
A proper cement-to-water ratio is essential for achieving a durable and smooth floor surface. Getting this balance right guarantees your cement mixture cures correctly, preventing cracks and uneven texture. When considering cement mixture ratios, remember water absorption factors vary with the type of cement and aggregate used. Too much water weakens the mix, while too little hinders workability.
Keep these points in mind:
- Use a ratio of about 1 part cement to 2 parts sand and 3 parts aggregate for standard mixes.
- Add water gradually to avoid over-saturation.
- Adjust water based on humidity and material moisture content.
- Aim for a consistency that’s wet enough to spread but firm enough to hold shape.
This precision grants you the freedom to create a resilient, professional-grade cement floor on your own terms.
Consistent Mixing Techniques
Maintaining a consistent mixing technique guarantees your cement blend retains the proper texture and strength established by the correct cement-to-water ratio. You’ll want to measure materials accurately and combine them in a uniform sequence every time. Start by dry-blending cement, sand, and aggregate thoroughly before gradually adding water. Use a mechanical mixer or a sturdy hoe to mix at a steady pace, avoiding overmixing, which can weaken the mixture. Consistency importance cannot be overstated; uneven mixing leads to weak spots, reduced durability, and potential cracking. By adhering to precise mixing techniques, you guarantee your cement floor achieves ideal bonding and longevity. Remember, your freedom to create a lasting floor depends on disciplined, repeatable processes throughout mixing.
Pouring and Spreading the Cement
Begin by carefully pouring the cement mixture onto the prepared surface, ensuring even distribution to prevent weak spots. Mastering pouring techniques is vital to avoid air pockets and uneven coverage. You’ll want to use controlled, steady motions, starting from one corner and working systematically.
For effective spreading methods, consider these tips:
- Use a shovel or hoe to move cement across the area.
- Avoid overworking the mix to maintain proper consistency.
- Spread cement in manageable sections to maintain control.
- Keep the pouring height low to minimize splash and waste.
Leveling and Smoothing the Surface
Once you’ve poured and spread the cement, you’ll need to level and smooth the surface promptly to secure a durable, even finish. Start with a screed board to apply your primary leveling method, moving it in a sawing motion across the form edges to remove excess cement and fill low spots. Next, employ smoothing techniques using a magnesium float or a trowel to compact the surface and eliminate ridges. For larger areas, a bull float is effective in achieving a uniform flatness. Timing is critical—work when the cement begins to firm but is still pliable to avoid disruptions. These precise leveling methods and smoothing techniques secure your floor’s foundation is solid, allowing you the freedom to customize or seal confidently later without issues from unevenness or weak spots.
Adding Texture or Decorative Finishes
Although your cement floor is now smooth and level, adding texture or decorative finishes enhances both its appearance and functionality. You can choose from various textured finishes or apply decorative coatings to increase slip resistance and aesthetic appeal. Consider these options for customization:
- Stamping or imprinting patterns into the wet cement for visual interest.
- Applying a broom finish to create a non-slip surface.
- Using acid stains or dyes to add color and depth.
- Sealing with epoxy or polyurethane coatings for durability and shine.
Each technique requires precise timing and appropriate tools to guarantee adhesion and longevity. By selecting and applying these finishes carefully, you gain a personalized floor that reflects your style while improving safety and durability—giving you freedom in both design and function.
Allowing the Cement to Cure
While the cement floor may look dry on the surface, it’s important to allow it to cure properly to achieve maximum strength and durability. Curing time typically spans 7 to 28 days, depending on environmental conditions and cement mix. During this period, moisture control is critical; you must keep the surface consistently damp to prevent premature drying and cracking. Use plastic sheeting or misting methods to retain moisture without oversaturating the floor. Avoid heavy foot traffic or placing objects on the floor until curing is complete, as this can compromise the structural integrity. Proper curing guarantees the cement reaches its designed compressive strength, providing a resilient, long-lasting surface that supports your freedom to customize and use the floor without worry.
Sealing and Protecting the Finished Floor
After the cement has fully cured and reached its ideal strength, the next step is to seal and protect the surface to enhance durability and appearance. Selecting the right sealing methods and protective coatings guarantees your floor resists stains, moisture, and wear. You’ll want to take into account:
- Penetrating sealers that lock in moisture without altering texture
- Acrylic coatings for a glossy finish and UV protection
- Epoxy coatings offering strong chemical resistance and durability
- Polyurethane sealers that provide a tough, clear protective layer
Apply these coatings evenly following manufacturer instructions, allowing adequate drying time between layers. Proper sealing frees you from frequent maintenance and safeguards your investment, giving your cement floor a long-lasting, polished look that stands up to daily use with minimal effort.


