To take up bathroom floor tile in three easy steps, first gather tools like a pry bar, hammer, chisel, safety gear, and prepare the area by clearing space and protecting surfaces. Next, carefully pry up tiles one by one, applying steady pressure to avoid subfloor damage while wearing protective equipment. Finally, clean off adhesive residue, sweep, and repair any subfloor imperfections to prepare for new flooring installation. Keep going, and you’ll discover detailed tips on each step for a smooth project.
Gather Your Tools and Prepare the Area
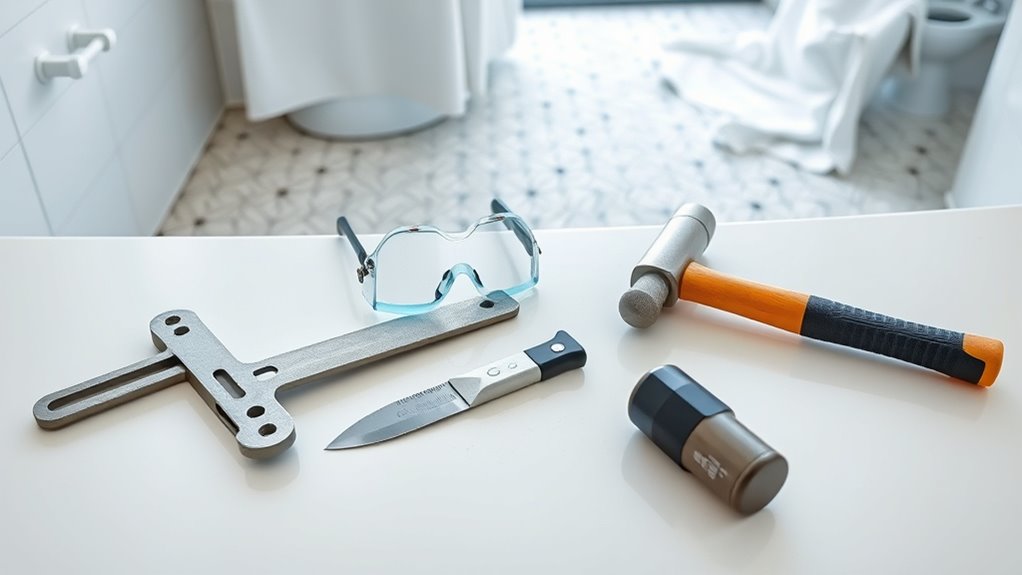
Before you begin removing bathroom vloer tiles, gather all necessary tools to guarantee a smooth process. Your tool selection should include a pry bar, hammer, chisel, utility knife, safety goggles, gloves, and a dust mask. A cordless drill with a scraper attachment can speed up tile removal. For area preparation, clear the bathroom completely, removing all movable items to avoid damage. Lay down heavy-duty plastic sheeting or drop cloths to protect fixtures and catch debris. Seal off adjoining rooms with plastic barriers to contain dust. Ascertain adequate lighting and ventilation to maintain a safe environment. Methodically organizing your workspace and selecting the right tools empowers you to work efficiently, maintaining control and freedom throughout the project. This meticulous preparation sets the foundation for a successful tile removal process.
Remove the Bathroom Floor Tiles Safely
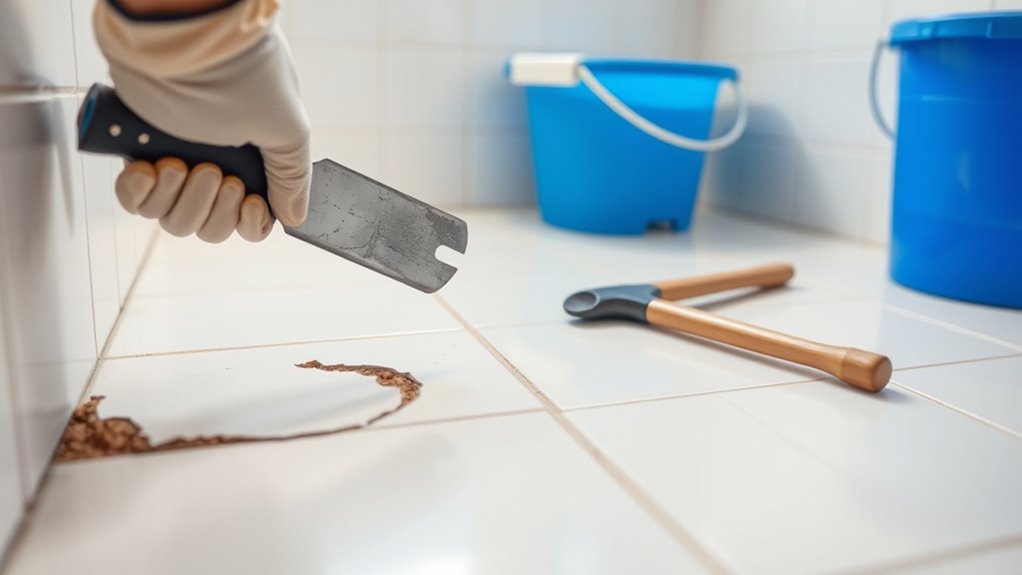
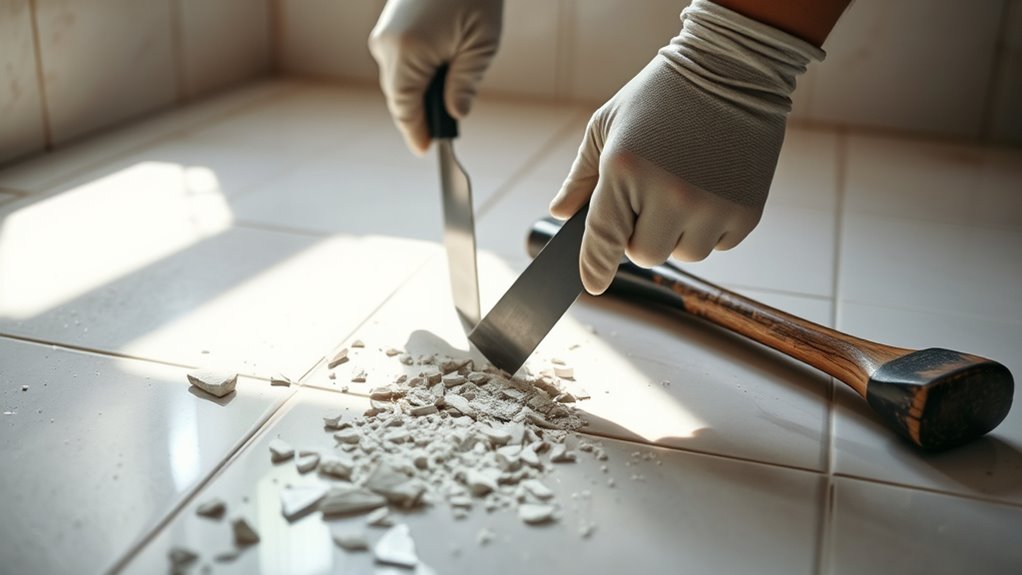
Start by identifying a single tile to remove, preferably one near a broken or loose edge to ease initial access. Employ tile removal techniques such as using a chisel and hammer to carefully pry under the tile’s edge. Work methodically, applying consistent pressure to avoid damaging the subfloor. Always wear safety goggles and gloves as essential safety precautions to protect from sharp tile shards. Dust masks are also recommended to prevent inhaling debris. Proceed tile by tile, loosening adhesive with a putty knife or scraper if necessary. Maintain control to prevent sudden tile breakage, which could cause injury. Following these steps guarantees an efficient, safe tile removal process, giving you the freedom to prepare your bathroom floor for its next transformation.
Clean Up and Prepare the Surface for New Flooring
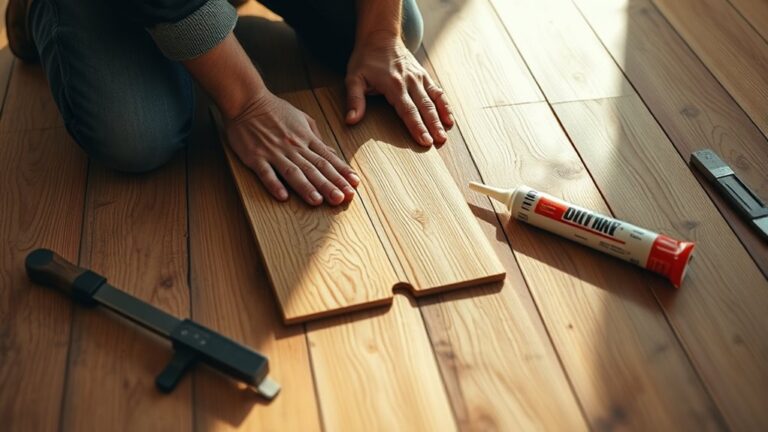
Once you’ve removed the tiles, the next step is to thoroughly clean the surface to confirm proper adhesion of the new flooring. Begin by scraping off any residual adhesive or mortar with a floor scraper or putty knife, confirming the subfloor is flat and free of debris. Next, sweep or vacuum the area to remove dust and loose particles. Follow this with a damp mop using a mild detergent solution for effective surface cleaning, eliminating oils or contaminants that could hinder bonding. Allow the floor to dry completely before proceeding. Inspect for any damage such as cracks or uneven sections; repair these imperfections with a leveling compound as part of essential flooring preparation. This meticulous cleaning and preparation confirm your new bathroom floor tile adheres securely and lasts longer.