First, inspect the damage closely to determine if you need to replace a plank or just repair scratches. Gather tools like a pry bar, utility knife, and replacement planks that match your floor. Clean the area to remove dust and debris. Carefully remove the damaged plank by scoring and prying it out without harming adjacent pieces. Prepare and cut the new plank to fit perfectly, then lock it into place using the tongue-and-groove system. Finish by blending seams and sealing for durability. You’ll find detailed guidance to guarantee a flawless repair.
Assess the Damage on Your Laminate Flooring

Before beginning any repairs, you’ll need to carefully assess the damage on your laminate flooring to determine the extent of the problem. Start with a thorough flooring inspection, focusing on scratches, dents, warping, or moisture damage. Use a bright light to highlight surface imperfections and identify areas where the laminate has lifted or separated. Note whether the damage is localized or widespread, as this will influence your repair strategy. Document each affected section precisely, including size and depth of damage, to facilitate an accurate damage assessment. Understanding the scope helps you decide if spot repairs or full plank replacement is necessary. This disciplined approach guarantees you maintain your flooring’s integrity and enjoy the freedom of a well-maintained, durable surface.
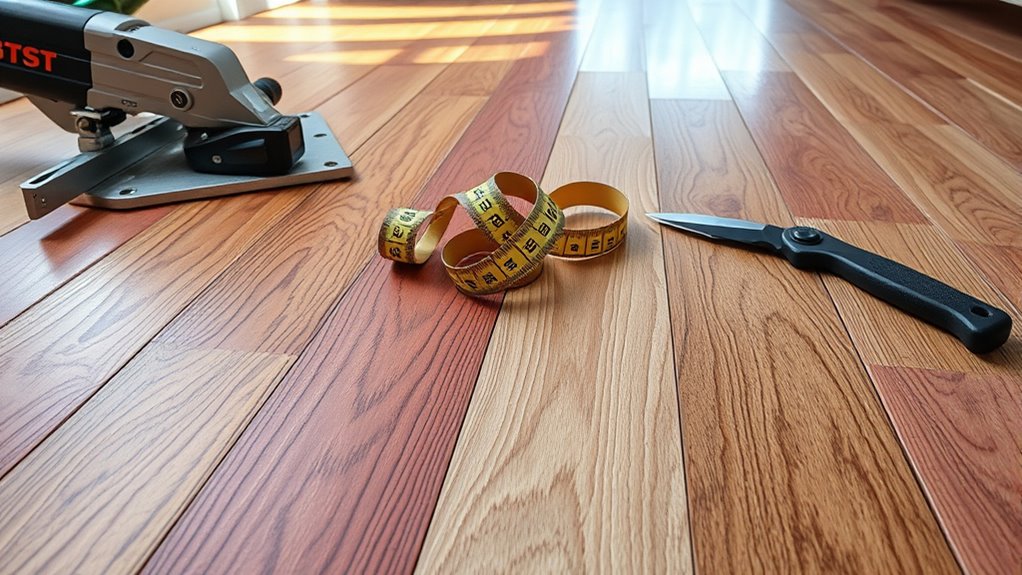
Gather Necessary Tools and Materials
Before starting your laminate vloer repair, you’ll need to gather essential tools such as a pry bar, tapping block, and measuring tape. Make sure you have the correct repair materials, including replacement planks and laminate adhesive. Don’t forget safety equipment like gloves and eye protection to prevent injuries during the process.
Essential Tool Checklist
To efficiently repair your laminate flooring, you’ll need a specific set of tools and materials that guarantee accuracy and durability. Start with a utility knife for precise cuts matching your laminate types. A tapping block and pull bar help align planks seamlessly when applying repair techniques. Use a rubber mallet to avoid damaging the surface during installation or removal. Have a measuring tape for exact dimensions and a straightedge for clean, straight cuts. A putty knife assists in applying filler compounds smoothly. Don’t forget a vacuum or brush to clear debris before starting. These tools empower you to execute repair techniques confidently and maintain the integrity of your laminate types, ensuring a durable and professional finish without limitations.
Required Repair Materials
Once you have your tools prepared, focus on gathering the necessary repair materials specific to your laminate flooring. Different laminate types often require tailored repair techniques, so selecting the right materials guarantees a seamless fix. Here’s a precise list to get you started:
- Replacement laminate planks matching your floor’s style and thickness
- Laminate flooring adhesive or glue formulated for your laminate type
- Wood filler or putty for minor scratches and dents
- Color-matched touch-up markers or crayons to blend repairs
- Sandpaper with fine grit for smoothing edges and surfaces
Having these materials ready allows you to address common damages efficiently and maintain the aesthetic integrity of your flooring. Your choice of materials should always align with the laminate types and specific repair techniques you plan to apply.
Safety Equipment Needed
Although gathering the right tools and materials is essential, ensuring you have the proper safety equipment is equally important to protect yourself during laminate flooring repairs. Before starting, equip yourself with safety goggles to shield your eyes from dust, splinters, or flying debris. Protective gloves are crucial to prevent cuts, abrasions, and contact with adhesives or cleaning agents. Choose gloves with a snug fit to maintain dexterity while handling tools or flooring components. Additionally, consider wearing a dust mask if you’re sanding or cutting laminate to avoid inhaling fine particles. Proper footwear with slip-resistant soles helps maintain balance and prevents accidents. By prioritizing this safety gear, you’ll work efficiently and confidently, preserving both your well-being and the quality of your laminate flooring repair project.
Clean the Area Around the Damage
Before you begin repairing the damaged laminate, thoroughly clean the surrounding area to guarantee proper adhesion and accurate assessment of the damage. Employ effective cleaning techniques to remove dust, debris, and oils that can compromise repair materials. This step is vital for damage prevention and guarantees a smooth repair process.
Follow these steps to clean the area:
- Use a vacuum with a soft brush attachment to remove loose particles.
- Wipe the surface with a damp microfiber cloth to capture fine dust.
- Apply a mild detergent solution to eliminate grease or stains.
- Avoid excessive water to prevent swelling or warping of the laminate.
- Allow the area to dry completely before proceeding with repairs.
Remove the Damaged Laminate Plank
First, carefully inspect the flooring to identify the exact plank that’s damaged. You’ll need tools like a tapping block, pry bar, and utility knife to remove the plank without harming adjacent pieces. Follow safe extraction methods by loosening the plank gently and lifting it out to prevent further damage.
Identifying Damaged Planks
When you spot a damaged laminate plank, you’ll need to remove it carefully to prevent harming adjacent boards. Identifying the exact plank to replace requires understanding plank types and typical damage causes like moisture, impact, or wear. Assess each plank for visible defects such as warping, cracking, or delamination.
Check for these signs:
- Surface scratches or gouges compromising finish integrity
- Swollen or buckled edges indicating water damage
- Cracks or splits reducing structural strength
- Loose or popped joints affecting floor stability
- Discoloration or staining signaling deeper issues
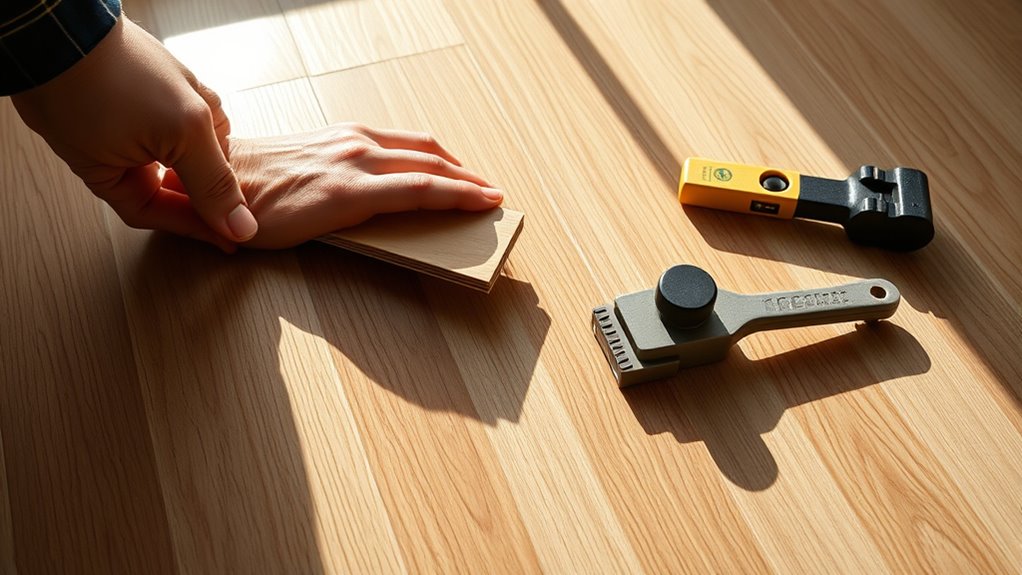
Tools Needed for Removal
Once you’ve pinpointed the damaged plank, gathering the right tools is necessary to remove it without damaging surrounding boards. Essential tools include a pry bar, a hammer, a tapping block, and a utility knife. The utility knife helps score any adhesive or cut through the plank’s surface if needed. The pry bar and hammer are critical for removal techniques, allowing you to carefully lift the damaged plank. A tapping block protects adjacent planks during plank extraction by providing controlled force. Additionally, a pull bar can assist in loosening tight joints. Having these tools ready guarantees precision and minimizes collateral damage. Proper tool selection directly impacts the efficiency and success of your removal process, giving you the freedom to proceed confidently with your laminate flooring repair.
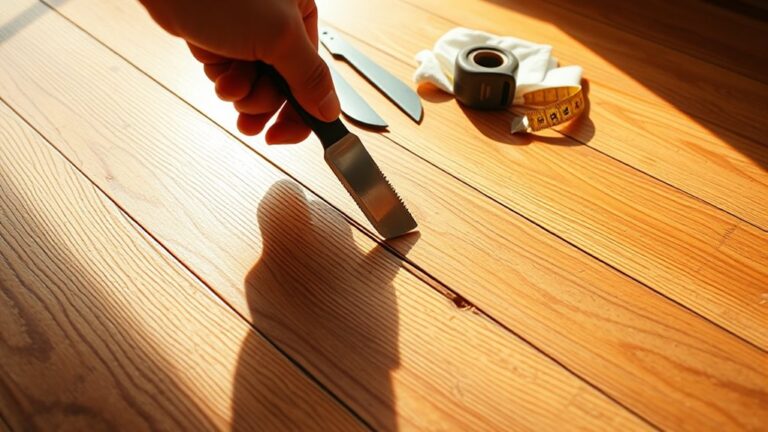
Safe Plank Extraction Methods
Although removing a damaged laminate plank requires careful attention, following safe extraction methods will prevent damage to surrounding flooring. Mastering plank removal techniques is essential for effective laminate flooring maintenance. Begin by identifying the damaged plank and clear the area. Use appropriate tools to gently loosen the plank without force. Here are key steps to guarantee safe extraction:
- Score the damaged plank’s edges with a utility knife to weaken the adhesive bond.
- Use a flat pry bar or pull bar to lift the plank carefully.
- Work slowly from one end, avoiding sudden force that could crack adjacent planks.
- Remove any underlayment debris to prepare for replacement.
- Inspect surrounding planks for hidden damage before reinstalling.
These precise steps protect your flooring’s integrity while allowing you the freedom to repair confidently.
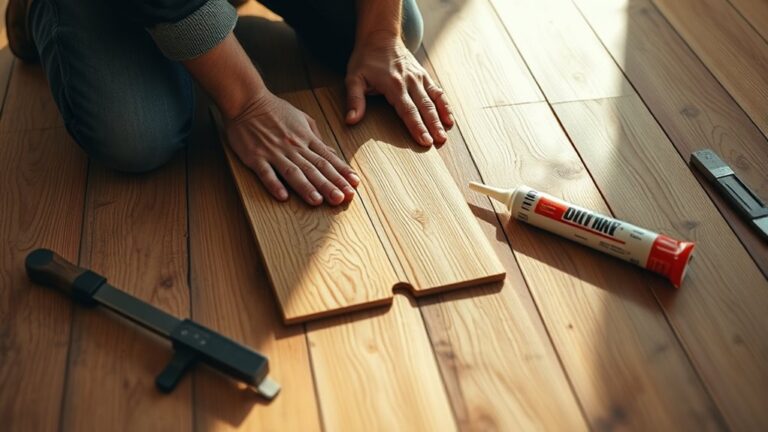
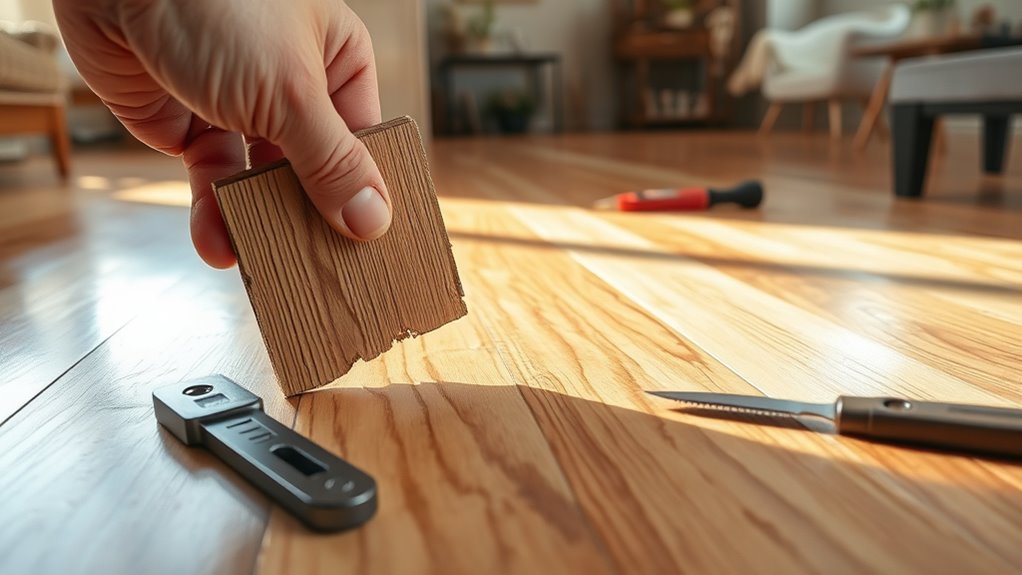
Prepare the Replacement Laminate Plank
Before installing the replacement plank, you’ll need to verify it matches the existing flooring in size, color, and texture. Accurate plank selection is critical to maintain the floor’s uniform appearance and structural integrity. Measure the length, width, and thickness of the damaged plank you removed, then compare these dimensions to your replacement options. Check the color tone and surface texture under natural light to guarantee a seamless blend. If you’re using leftover flooring from the original installation, confirm it hasn’t warped or faded. These precise repair techniques avoid installation issues and visual discrepancies. Prepare the replacement plank by trimming it to exact dimensions if necessary, using a fine-toothed saw, and clean its edges to remove debris. This preparation guarantees a snug fit and smooth shift during installation.
Install the New Laminate Plank
With the replacement plank prepared to exact specifications, you’re ready to position it into the flooring. Proper plank alignment is critical to guarantee a seamless fit and maintain structural integrity. Follow these installing techniques to place the new plank accurately:
- Angle the plank slightly to engage the tongue-and-groove locking system.
- Gently slide the plank into place, aligning edges flush with adjacent boards.
- Apply steady pressure to lock the plank securely without forcing it.
- Use a tapping block and mallet to fine-tune the fit if necessary.
- Check the plank’s surface for levelness and adjust if it sits unevenly.
Finish and Blend the Repair Seamlessly
Once the new plank is securely installed, you’ll need to focus on finishing and blending the repair to confirm it matches the rest of the floor. Start by cleaning the area thoroughly, then apply blending techniques such as color-matched markers or stain pens to conceal any visible seams. Use fine-grit sandpaper lightly if needed to smooth edges. Finish with a protective laminate floor sealant to guarantee durability.
| Stap | Doel |
|---|---|
| Color Matching | Conceals seam lines effectively |
| Licht schuren | Smooths uneven edges subtly |
| Sealant Application | Protects and unifies the surface |
These finishing touches will help you integrate the repair seamlessly, restoring your floor’s uniform appearance without limiting your freedom to enjoy your space.