To repair your floor jack in five steps, start by diagnosing issues like hydraulic leaks or low fluid. Gather the right tools and replacement seals or fluid. Safely disassemble the jack by releasing pressure and removing key components. Clean and inspect internal parts for wear or damage, replacing any faulty pieces. Finally, reassemble everything carefully and test lifting performance under load. Follow these steps closely, and you’ll restore reliable function while uncovering tips for durable maintenance.
Diagnose the Problem With Your Floor Jack
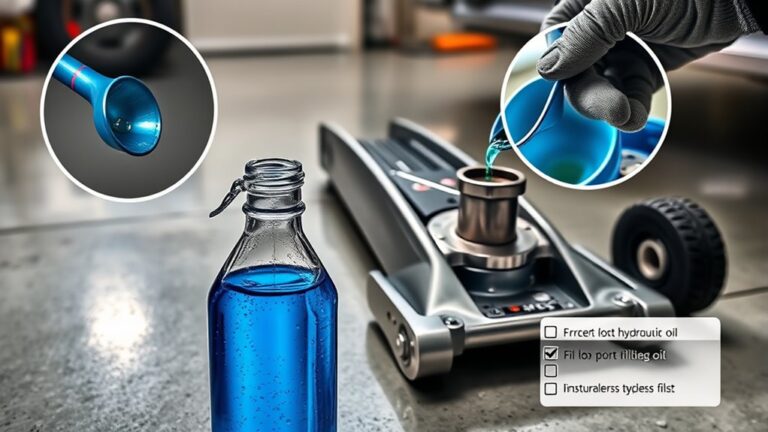
How do you pinpoint the issue with your vloer jack before attempting repairs? Start by inspecting the jack thoroughly for any signs of malfunction. Focus on leak identification—check around seals and fittings for hydraulic fluid drips or stains, as leaks often cause pressure loss. Next, test the lifting mechanism; if it fails to hold weight, air may have entered the hydraulic system or fluid levels might be low. Examine the hydraulic fluid’s condition and level; dirty or insufficient fluid compromises performance. Also, listen for unusual noises during operation, which can indicate internal damage. Document findings precisely to target repairs effectively. By diagnosing the problem methodically, you guarantee a smoother repair process and restore your floor jack’s reliable function, maintaining your freedom to work independently.
Gather Necessary Tools and Replacement Parts
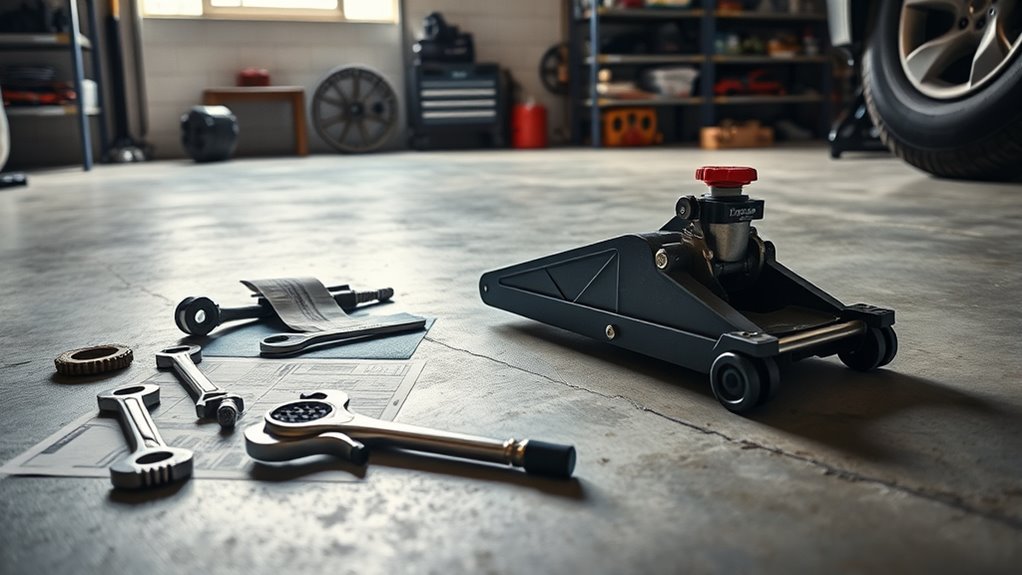
Before you begin repairs, confirm you have all the necessary tools and replacement parts ready to avoid interruptions. Essential tool types include adjustable wrenches, socket sets, screwdrivers, pliers, and a hydraulic fluid syringe. These cover most mechanical and hydraulic components needing attention. For replacement options, identify parts like seals, O-rings, hydraulic fluid, and release valves specific to your floor jack model. Opt for OEM parts when available to guarantee compatibility and durability. If OEM parts aren’t accessible, select high-quality aftermarket alternatives that meet specification standards. Having these tools and parts organized maximizes efficiency and prevents delays, letting you restore your floor jack’s function smoothly and independently. Preparing properly empowers you to take control of the repair process without relying on external help.
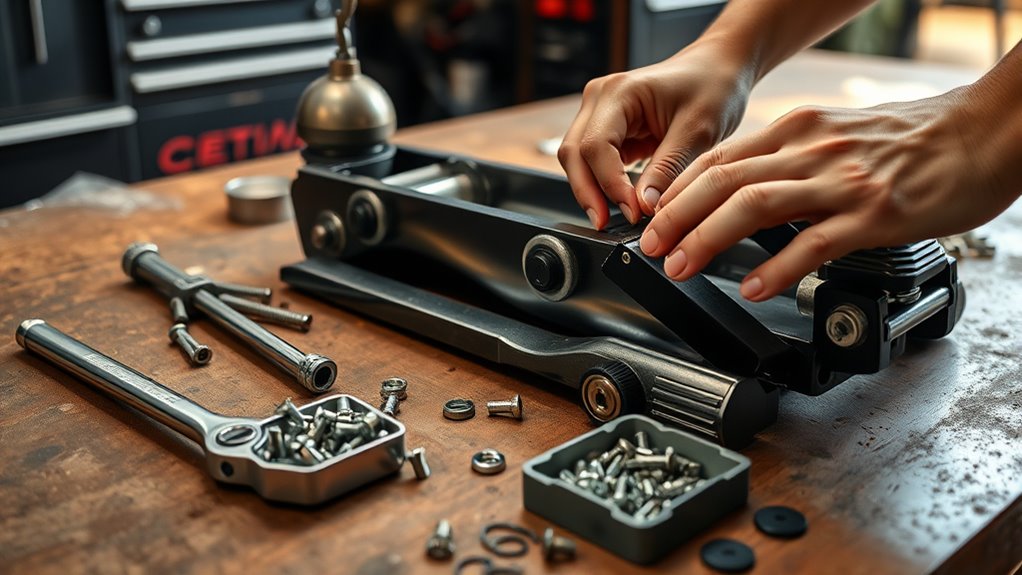
Disassemble the Floor Jack Safely

Once you have your tools and parts ready, you can proceed with disassembling the floor jack. Begin by fully lowering the jack to release hydraulic pressure—this is a vital safety precaution. Wear gloves and eye protection to shield yourself from accidental fluid leaks or debris. Use a wrench to carefully remove the release valve, allowing any remaining hydraulic fluid to drain safely. Keep track of all bolts, springs, and seals as you dismantle the jack body. Avoid forcing components apart; instead, apply steady pressure to prevent damage. Following these safety precautions not only protects you but also preserves the jack’s integrity for effective jack maintenance. Working methodically guarantees you can reassemble the jack correctly and enjoy the freedom of reliable, do-it-yourself repairs.
Clean and Inspect Internal Components
Although disassembly is complete, you’ll need to thoroughly clean all internal components to affirm peak performance. Use effective cleaning techniques such as wiping parts with a lint-free cloth soaked in a degreaser or solvent to remove grime and old lubricant. Avoid abrasive tools that might damage surfaces. After cleaning, conduct a detailed component inspection; check seals, pistons, springs, and valves for wear, corrosion, cracks, or deformation. Pay close attention to the hydraulic cylinder and release valve for leaks or damage. Replace any compromised parts to maintain safety and function. Proper cleaning and component inspection affirm your floor jack operates smoothly, extends its lifespan, and keeps you free from unexpected failures. Take your time—this step sets the foundation for reliable repair and freedom in your workspace.
Reassemble and Test the Floor Jack
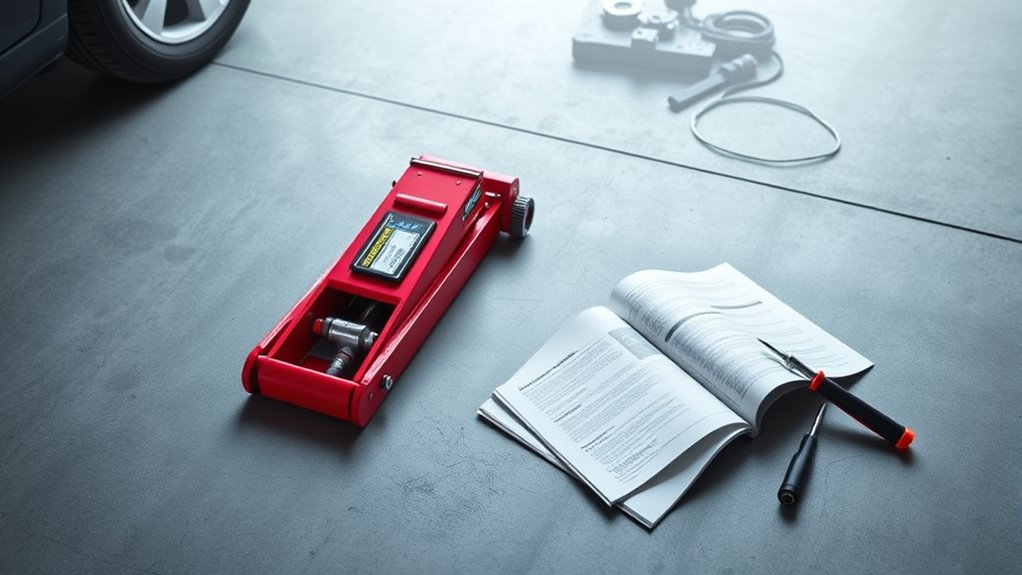
Since all components are clean and inspected, you can begin reassembling the floor jack by carefully aligning and securing each part in its proper position. Apply precise reassembly techniques to guarantee smooth operation and avoid misalignment. Follow these steps:
With clean, inspected parts, carefully align and secure each component to ensure smooth, precise floor jack reassembly.
- Reinstall the hydraulic cylinder and secure it with bolts, making sure seals are correctly seated.
- Reattach the pump assembly and verify the release valve functions smoothly.
- Reconnect the handle and test the lifting arm’s movement for consistent travel.
Once assembled, use effective testing methods to confirm functionality. Check for hydraulic pressure build-up, smooth lifting and lowering, and absence of leaks. Test on a stable surface with a moderate load to confirm safety and reliability. This approach assures your floor jack is restored to peak working condition, granting you freedom from equipment failure.