To lay tile on a cement floor, start by thoroughly cleaning and checking for moisture or cracks. Choose durable, water-resistant tiles like porcelain, then mix and spread thinset mortar evenly with a notched trowel. Press tiles firmly, ensuring proper alignment and spacing. Use a wet saw for precise cuts around edges. Once set, grout the joints and seal to protect against moisture. Keep following these steps to master every detail of a flawless tile installation.
Preparing the Cement Floor for Tiling
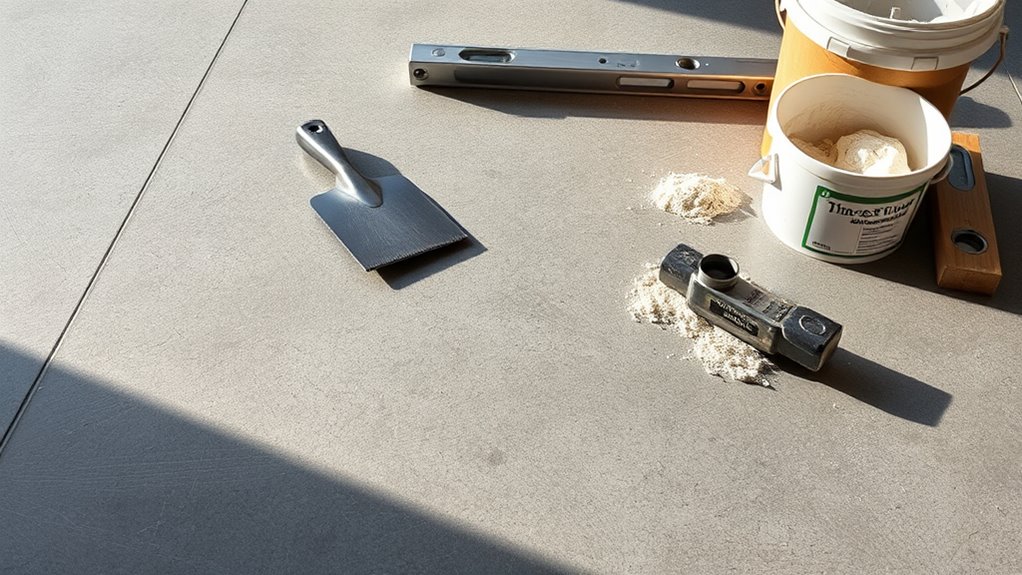
Proper preparation of the cement vloer is essential before laying tile to ascertain durability and adhesion. Start by thoroughly cleaning the surface to remove dust, grease, and debris that could compromise the bond. Use a vacuum and mop to guarantee no particles remain. Next, conduct a moisture assessment; excess moisture can cause tile failure or mold growth. Employ a reliable moisture meter to check the floor’s dampness levels. If moisture exceeds recommended thresholds, address it with appropriate sealants or vapor barriers. Additionally, inspect the floor for cracks or unevenness—these must be repaired or leveled to create a stable base. By rigorously preparing the cement floor through cleaning surface and moisture assessment, you ascertain your tile installation remains solid and long-lasting, granting you freedom from future repairs.
Choosing the Right Tile and Materials
With the cement floor cleaned, assessed for moisture, and leveled, your focus shifts to selecting the tile and materials that will best suit your project. Choose tiles based on durability, slip resistance, and aesthetics. Porcelain or ceramic tiles are ideal for cement floors due to their strength and water resistance. Consider glossy finishes for areas where easy cleaning is essential, but balance this with potential slipperiness. Plan your tile patterns carefully; straightforward grids offer simplicity, while herringbone or diagonal layouts enhance visual interest and allow personal expression. Ascertain you have quality grout and appropriate spacers to maintain consistent joints. Selecting the right thinset mortar compatible with your tile type guarantees strong adhesion. Your choices here will define both the look and longevity of your tiled floor, giving you the freedom to create a space that’s both functional and stylish.
Applying Thinset Mortar and Laying Tiles
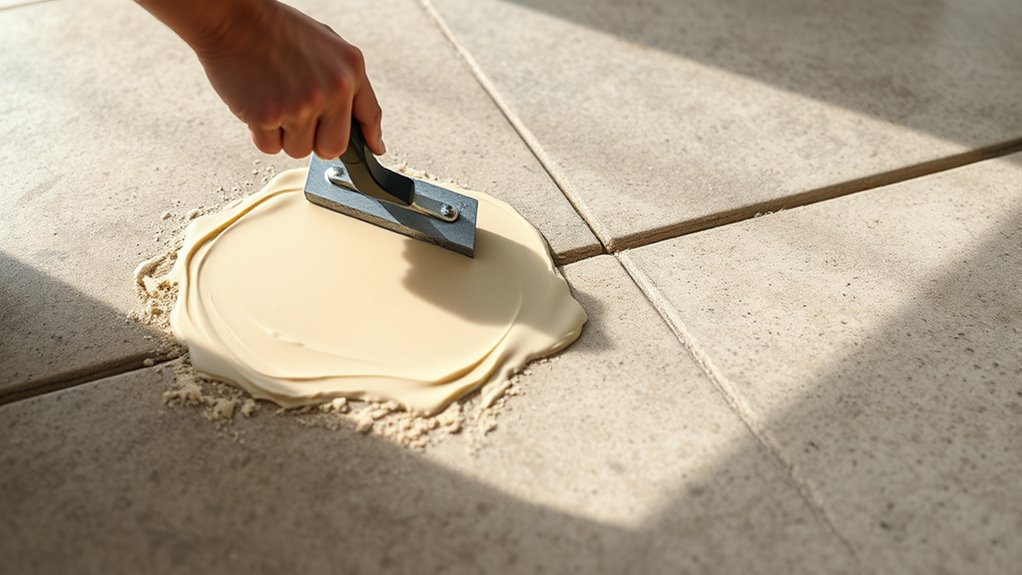
Start by mixing the thinset mortar to a smooth, peanut butter-like consistency, ensuring there are no lumps. Mastering thinset application techniques is key for a solid bond and even surface. Use a notched trowel to spread the mortar, maintaining consistent ridges that allow tiles to set evenly. Follow these tile installation tips for precision:
- Apply thinset in manageable sections to prevent drying.
- Press tiles firmly, twisting slightly for better adhesion.
- Use spacers to maintain uniform grout lines.
- Check alignment frequently with a level or straight edge.
Cutting and Fitting Tiles Around Edges
Although laying whole tiles covers most of the floor, cutting and fitting tiles around edges and obstacles guarantees a clean, professional finish. For precise tile cutting, use a wet saw or a high-quality tile cutter to guarantee smooth, accurate cuts without chipping. Measure the gap carefully, considering grout space, then mark the tile exactly before cutting. When it comes to edge fitting, work slowly to position the cut tiles snugly against walls or fixtures, maintaining consistent grout lines for uniformity. Don’t forget to wear safety goggles and gloves during tile cutting to protect yourself. Mastering these technical steps lets you achieve freedom in design while maintaining impeccable craftsmanship, turning a simple floor into a polished, durable tiled surface.
Grouting and Sealing the Tiled Surface
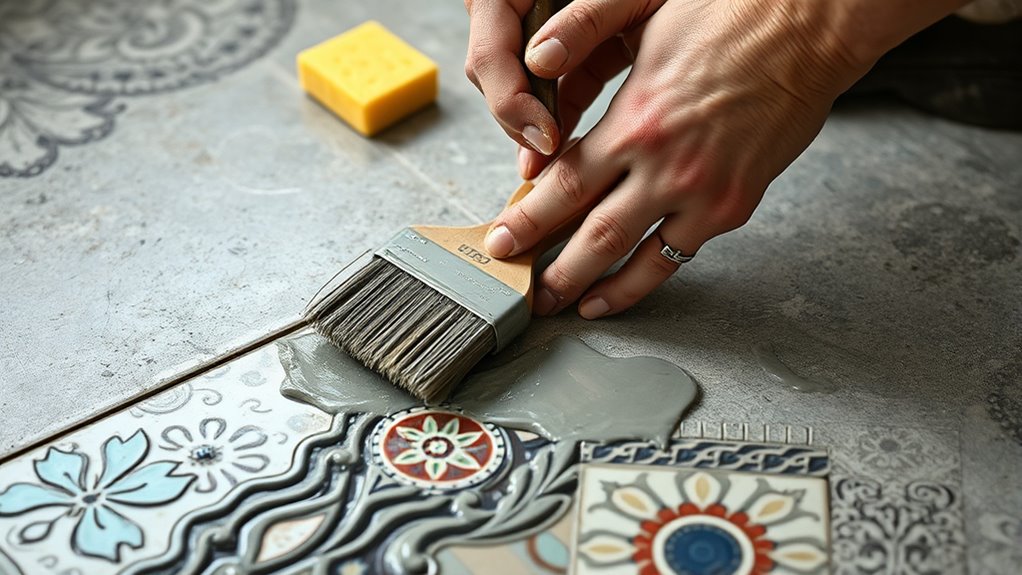
Once your tiles are accurately cut and fitted, the next step is to fill the joints with grout to secure the tiles and prevent debris from settling in between. Choose grout types—sanded for wider joints, unsanded for narrow ones—based on your tile spacing. Apply grout using a rubber float, pressing it firmly into the joints and removing excess with a damp sponge. After the grout cures, employ sealing techniques to protect both grout and tiles from moisture and stains. Consider sealing:
Secure your tiles and protect them from moisture by carefully grouting and sealing all joints and surfaces.
- Grout lines for enhanced durability
- Porous tile surfaces to prevent absorption
- Edges and corners prone to wear
- Entire tiled area for uniform protection
Following this method guarantees a long-lasting, clean finish that upholds your freedom to enjoy your space without worry.