First, check that your tile floor is stable, clean, and dry. Fix any cracked or loose tiles and smooth grout lines with leveling compound. Choose a moisture-resistant flooring like vinyl planks or laminate with a moisture barrier for durability. Next, install a compatible underlayment and vapor barrier to protect against mold and warping. Finally, start laying your new floor from the longest wall, using spacers for expansion and tight-fitting joints. Keep following these steps for a flawless finish.
Assessing Your Existing Tile Floor

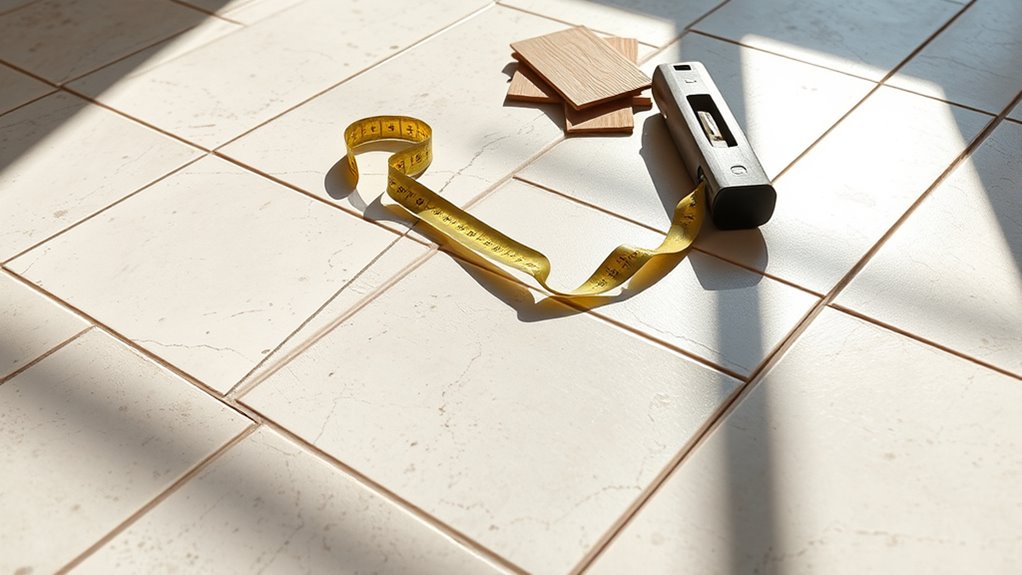
Before you begin laying new vloeren over tile, you need to thoroughly assess the condition and stability of your existing tile floor. Start by inspecting the tile condition—look for cracks, loose tiles, or uneven surfaces that could compromise the new flooring’s integrity. Pay close attention to grout lines; damaged grout can indicate underlying issues. Next, check moisture levels carefully, especially in areas prone to dampness like bathrooms or basements. Use a moisture meter to verify the substrate beneath the tile is dry, as excess moisture can lead to mold or adhesive failure. Only when the tile is stable, intact, and dry should you proceed. This assessment guarantees your new floor will adhere properly and last, granting you the freedom to enjoy a flawless finish without future repairs.
Preparing the Tile Surface for New Flooring
Once you’ve confirmed the tile floor is stable and dry, your next step is to prepare the surface meticulously to guarantee proper adhesion of the new flooring. Start by employing effective cleaning techniques—use a degreasing cleaner and a stiff brush to remove all dirt, grime, and residues that could interfere with bonding. Rinse thoroughly and allow the floor to dry completely. Next, evaluate the surface for any unevenness; tile grout lines and cracked tiles can create bumps. Use a leveling compound to fill low spots and smooth out the surface, ensuring a flat, uniform base. Proper surface leveling is essential; any imperfections may cause issues down the line. Taking these precise steps will give you a solid foundation, freeing you to proceed confidently with your flooring project.
Choosing the Right Flooring Material to Install Over Tile

How do you determine which flooring material will perform best over your existing tile? Focus on durability, ease of installation, and moisture resistance. Vinyl planks offer excellent waterproof qualities and flexibility, making them ideal for uneven tile surfaces. Laminate options provide a cost-effective, sturdy alternative but require a moisture barrier to prevent damage. Consider your lifestyle and room conditions carefully.
| Vloertype | Duurzaamheid | Vochtbestendigheid | Installation Complexity |
|---|---|---|---|
| Vinyl Planks | Hoog | Uitstekend | Gematigd |
| Laminate Options | Gematigd | Low to Moderate | Easy |
| Engineered Wood | Gematigd | Gematigd | Gematigd |
| Tapijt | Laag | Poor | Easy |
| Keramische tegels | Hoog | Uitstekend | Difficult |
Choose wisely to guarantee lasting freedom and style.
Installing Underlayment and Moisture Barriers
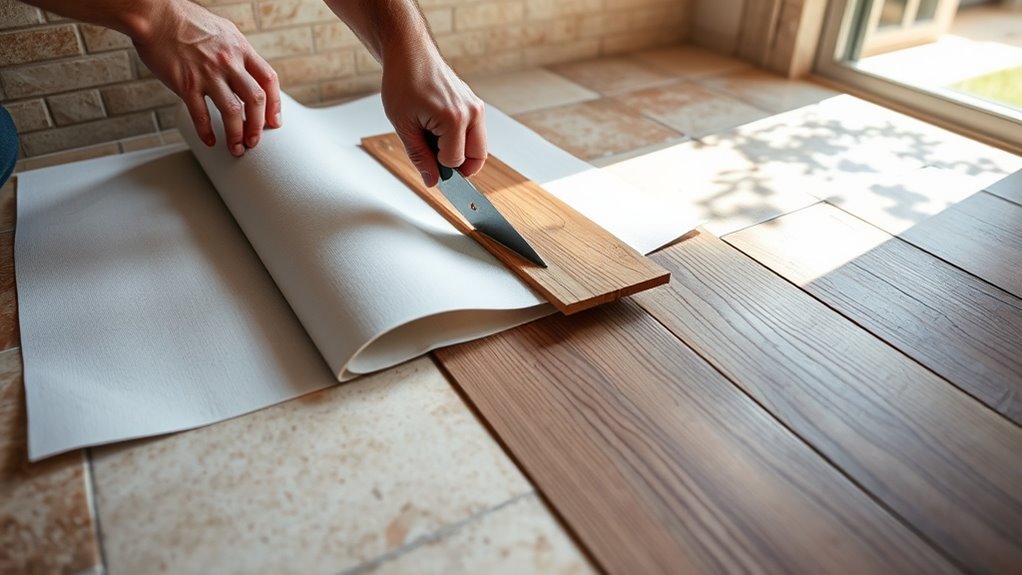
Selecting the right flooring material is only part of the process; guaranteeing proper underlayment and moisture barriers are in place will protect your investment and improve performance. You’ll want to evaluate underlayment types—foam, cork, plywood, or cement board—each offering distinct benefits like sound dampening, cushioning, or structural support. Moisture control is critical, especially over tile, which can trap humidity. Installing a moisture barrier, such as a polyethylene sheet or specialized membrane, prevents mold and warping by blocking moisture transmission from below. Make sure the underlayment is compatible with your flooring choice and tile substrate, and that it’s installed flat without gaps or overlaps. Taking these steps guarantees lasting durability and a smooth, stable surface for your new floor, giving you freedom from future issues.
Step-by-Step Installation Process for Your New Flooring

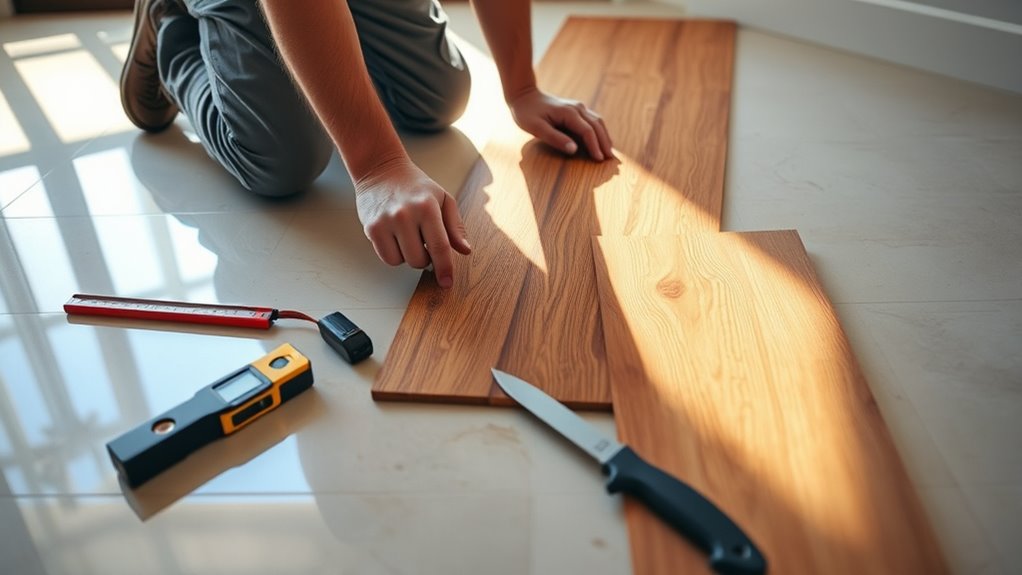
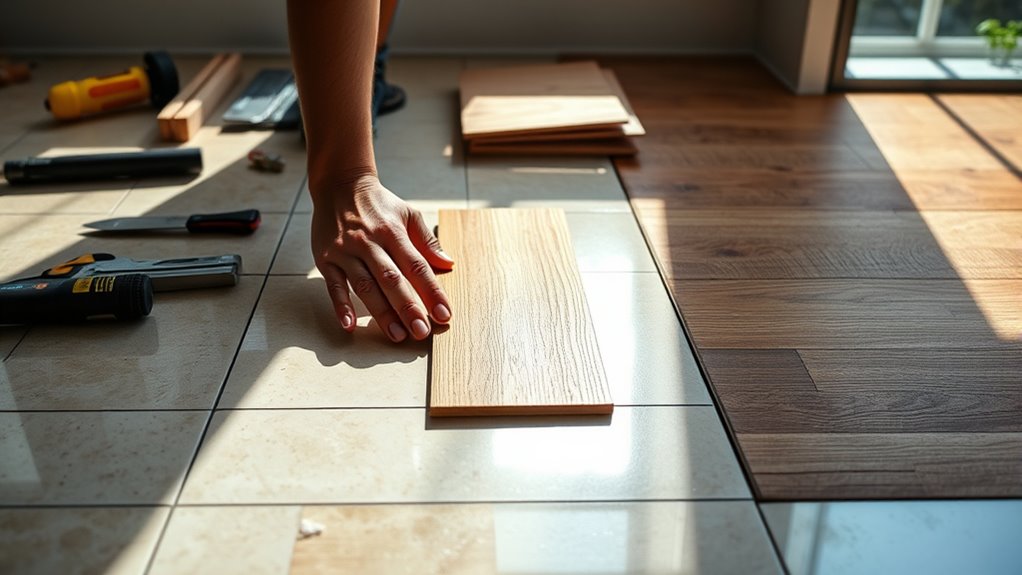
Before you begin laying your new flooring over tile, confirm your workspace is clean, dry, and free of debris that could interfere with adhesion or leveling. Start by selecting appropriate installation tools—such as spacers, a tapping block, and a rubber mallet—tailored to your chosen flooring types like vinyl planks, laminate, or engineered hardwood. Begin at the longest wall, placing the first row with spacers to maintain expansion gaps. Verify each piece locks securely before continuing. Use a tapping block and mallet to tighten joints without damage. For irregular cuts, measure precisely, then trim with a saw suited to your flooring. Proceed row by row, maintaining alignment and expansion gaps. Finally, install baseboards or moldings to cover gaps, securing your floors while allowing natural movement.


