To fix squeaky floors, first locate the exact spot causing the noise by walking slowly and pressing on boards. Clear the area and gather tools like screws, a drill, and powdered graphite. Secure loose boards by screwing them into the joists, then apply powdered graphite between joints to reduce friction. If needed, reinforce the subfloor with additional fasteners or install shims. Test the floor for remaining squeaks and maintain humidity to prevent future creaks. Follow these steps carefully, and you’ll uncover ways to guarantee lasting silence.
Identify the Source of the Squeak
Before you can fix a squeaky floor, you need to pinpoint exactly where the noise is coming from. Start by walking slowly across the floor, paying close attention to each step. Squeak causes often stem from loose nails, friction between floor joists and subfloor, or gaps in floor materials like hardwood or plywood. If the floor is carpeted, press down firmly with your foot to detect subtle noises beneath. You might also try moving furniture to isolate the area. Knowing the specific floor materials helps determine the squeak causes; for example, hardwood floors may creak due to wood expansion, while subfloor movement is common in plywood. Once you identify the exact spot, you’ll be ready to tackle the repair with confidence and regain your freedom from noise.
Gather Necessary Tools and Materials
Once you know where the squeak is coming from, you’ll need to gather the right tools and materials to fix it effectively. Start by compiling a tools checklist to guarantee you have everything needed for a smooth repair. Essential materials and tools typically include:
- Wood screws or nails to secure loose floorboards
- A cordless drill or screwdriver for easy fastening
- Wood shims or powdered graphite to fill gaps and reduce friction
Having these on hand saves you from interruptions and lets you work with freedom and confidence. Make certain your tools are in good condition and that the materials match your floor type. Preparing this way guarantees your fix is durable and your workspace stays organized. This practical approach will help you tackle the squeaky floor without hassle.
Clear the Area Around the Squeaky Floor
Before you start fixing the squeaky floor, carefully move any furniture away from the area to avoid damage and give yourself enough working space. Make sure to clear all debris, dust, and dirt from the floor surface so nothing interferes with your repair. Taking these steps will help you work safely and efficiently.
Remove Furniture Carefully
Although it might seem like a simple step, removing furniture carefully is crucial to avoid damaging your belongings or the floor while you work on the squeaky area. Proper furniture relocation requires careful handling to protect both surfaces and guarantee you have full access.
Follow these tips for safe removal:
- Use sliders or blankets under heavy pieces to prevent scratches.
- Lift furniture with a partner when possible to avoid strain and accidental drops.
- Clear smaller items first to create space and reduce clutter.
Clear Debris Thoroughly
Two essential steps in fixing squeaky floors involve clearing debris and thoroughly cleaning the area around the problem. You’ll want to start with debris removal by sweeping or vacuuming the floor to eliminate dust, dirt, and small particles that can worsen the squeak. Next, focus on floor cleaning with a damp mop or cloth to remove any remaining residue. A clean surface guarantees better contact when you repair or secure floorboards.
| Taak | Doel |
|---|---|
| Sweep or Vacuum | Remove loose debris |
| Dampen Mop or Cloth | Clean residual dust |
| Inspect Area | Identify hidden debris or gaps |
| Dry Floor | Prevent moisture damage |
| Ready for Repair | Guarantee ideal repair adhesion |
This thorough approach frees you to fix your floor effectively and avoid recurring noise.
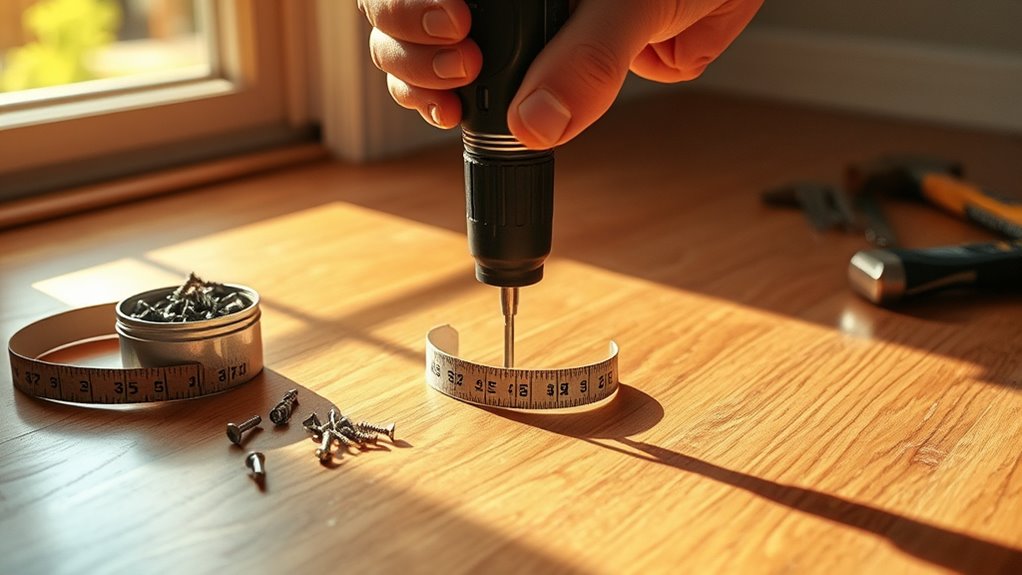
Secure Loose Floorboards With Screws
Start by locating the loose floorboards that cause the squeaking. Once found, you’ll want to secure them tightly using the right screws. First, consider the screw types; wood screws with a sharp point work best for most floorboard materials like pine or oak. Next, pre-drill small pilot holes to prevent splitting. Then, drive the screws through the floorboard into the joist beneath.
Locate loose boards, pre-drill pilot holes, then secure with sharp wood screws into the joists beneath.
Here’s how to proceed:
- Choose screws compatible with your floorboard materials for a solid grip.
- Space screws evenly along the loose board for uniform tightness.
- Countersink screws slightly below the surface to avoid tripping hazards.
This method locks down the boards, eliminating movement and freeing you from that annoying squeak.
Use Powdered Graphite to Lubricate Joints
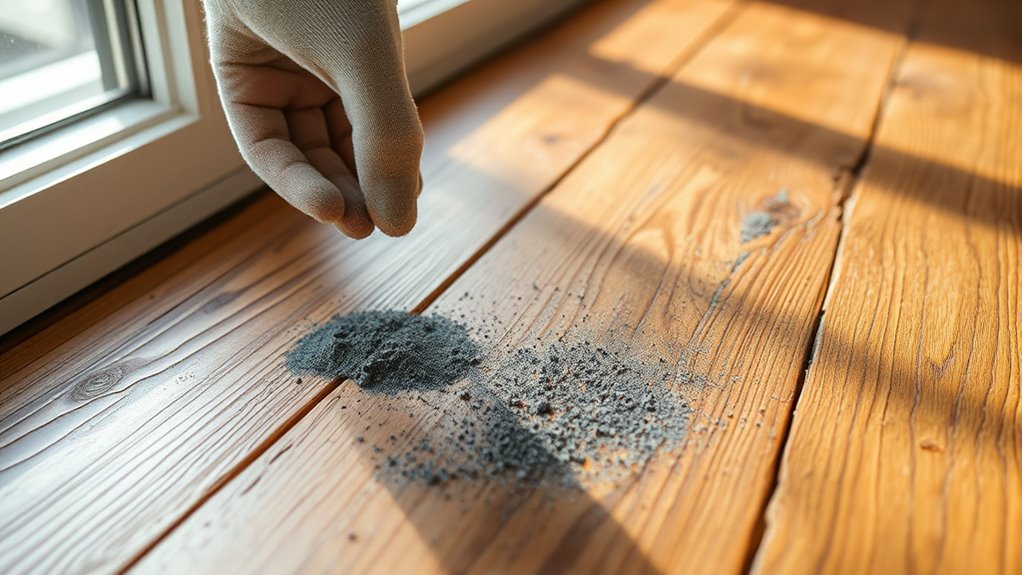
You can use powdered graphite to lubricate the joints between floorboards and stop squeaks without making a mess. It’s dry, won’t attract dust, and works well in tight spaces where liquid lubricants might fail. To apply, sprinkle a small amount along the seams and work it in by pressing the boards together or walking over the area.
Benefits of Powdered Graphite
Although powdered graphite might seem unconventional, it’s an excellent lubricant for squeaky floor joints because it reduces friction without attracting dust or dirt. When you use powdered graphite, you tap into several graphite benefits that make your repair lasting and hassle-free. The lubrication advantages include:
- Long-lasting effect: Unlike oils, graphite doesn’t dry out, so the squeak stays gone longer.
- Clean application: It won’t leave sticky residues or attract grime, keeping your floors cleaner.
- Temperature resistance: Graphite performs well under varying temperatures, maintaining smooth joints year-round.
Application Tips and Tricks
When applying powdered graphite to lubricate squeaky floor joints, it’s important to prepare the area properly to guarantee the best results. First, identify the squeaky floor causes by walking over the floor and listening for creaks. Clear debris from joints using a vacuum or brush to ensure graphite can reach tight spaces. Next, sprinkle powdered graphite directly into the gaps where wood moves against wood or nails rub. Tap the floor gently to work the graphite deeper, then wipe away any excess to avoid mess. For lasting relief, repeat this process seasonally as part of your floor maintenance tips. This method keeps joints lubricated without attracting dirt, giving you freedom from noisy floors with minimal effort and no harsh chemicals.
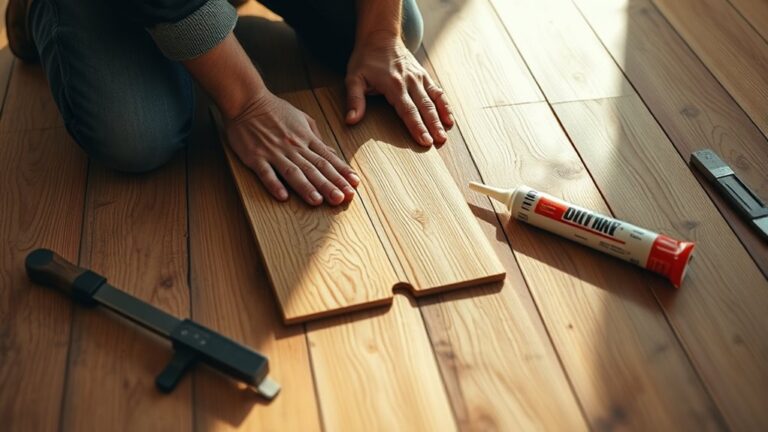
Apply Wood Glue to Gaps Between Floorboards
If gaps between your floorboards are causing the squeaks, applying wood glue can be an effective way to secure them and reduce noise. First, choose the right wood glue type—look for one designed for gap filling and strong adhesion. Next, clean out any debris from the gaps to guarantee the glue bonds properly. Finally, apply the glue carefully:
- Use a thin nozzle or toothpick to push glue deep into each gap.
- Press floorboards together if possible, wiping off excess glue immediately.
- Allow the glue to dry fully, usually 24 hours, before walking on the floor.
This method fills the gaps and locks the boards in place, giving you a quieter floor and freedom from annoying creaks.
Reinforce the Subfloor With Additional Fasteners
Securing the gaps between floorboards with wood glue helps reduce squeaks on the surface, but sometimes the noise comes from beneath. To reinforce the subfloor, first identify the subfloor materials—usually plywood or OSB. Use appropriate fastener types such as screws rather than nails, as screws provide a stronger hold and resist loosening over time. Locate the joists under the subfloor, then drive screws through the subfloor into the joists every 6 to 8 inches to tighten the connection. Avoid overdriving screws to prevent damaging the material. This method stabilizes the subfloor, reducing movement that causes squeaks. By reinforcing with the right fasteners, you gain lasting freedom from floor noise without major renovations.
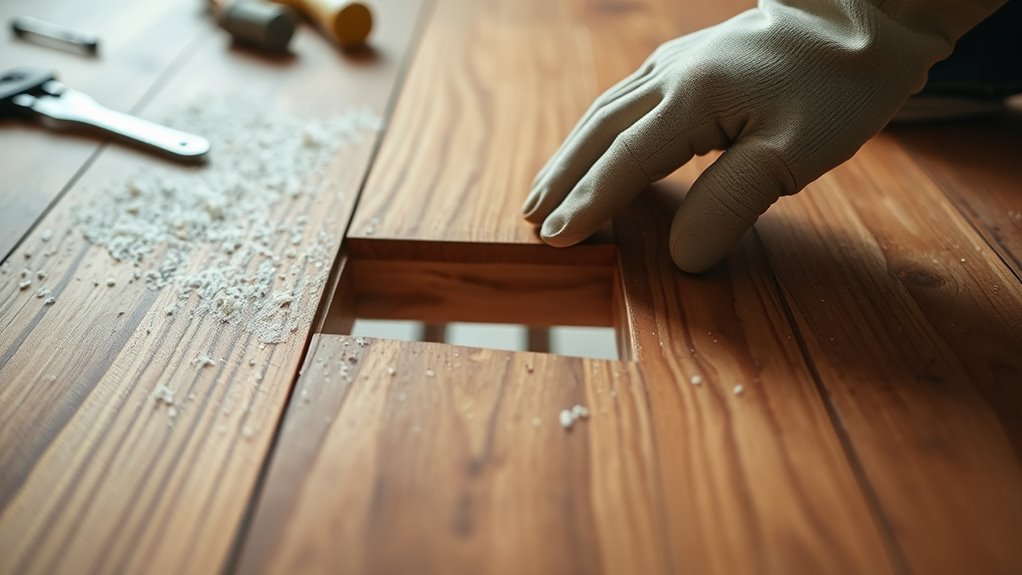
Install Shims Between Joists and Subfloor
One effective way to stop floor squeaks is to install shims between the joists and the subfloor. This shim installation helps tighten gaps caused by joist misalignment, reducing movement and noise. Here’s how you can do it:
Installing shims between joists and subfloor tightens gaps to reduce floor squeaks and movement.
- Locate squeaky spots by walking over the floor and marking them.
- Gently tap thin wooden shims into the gaps between the joists and subfloor, ensuring snug contact without forcing or splitting the wood.
- Trim any excess shim material flush with the joist surface to keep the floor level.
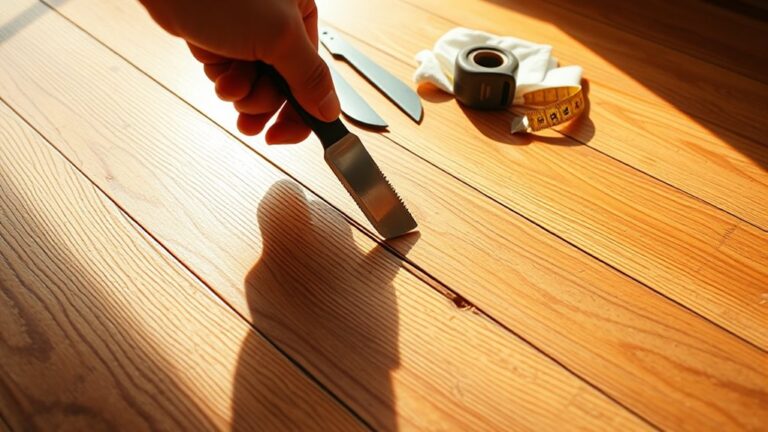
Test the Floor for Remaining Squeaks
Once you’ve installed the shims, walk carefully across the floor to pinpoint any remaining squeaks. Pay close attention to areas where the noise persists so you can target further repairs. This step helps confirm whether your previous fixes were effective or if additional work is needed.
Identify Squeak Locations
Before you can fix squeaky floors effectively, you need to pinpoint exactly where the noises are coming from. Accurate squeak detection guarantees you don’t waste time and effort on unnecessary repairs. Start by walking slowly across the entire floor, paying close attention to changes in sound. Different vloeren materials may hide squeaks differently, so consider these steps:
- Use a flashlight to spot gaps or loose boards where movement might cause noise.
- Press down firmly on suspect areas to feel any give or shifting.
- Have someone walk the floor while you listen from below or adjacent rooms for clearer detection.
Confirm Repair Effectiveness
After completing your repairs, test the floor thoroughly to verify that all squeaks are gone. Walk across the entire repaired area, applying pressure where the noise was previously noticeable. Pay close attention to any lingering sounds—these indicate spots that may need additional attention. Use your chosen repair techniques, like tightening screws or adding shims, to address stubborn squeaks. Remember, effective soundproofing methods can also reduce noise, so consider applying floor adhesives or underlayment if squeaks persist. Document the areas still causing issues, then systematically reapply your fixes. Testing systematically guarantees you don’t miss subtle creaks and helps you restore freedom of movement without the distraction of noise. Verifying repair effectiveness is key to achieving a quiet, comfortable floor you can trust.
Maintain Floors to Prevent Future Squeaks
Although fixing squeaky floors can be a quick solution, maintaining them regularly is key to preventing new noises from developing. Proper floor maintenance involves taking preventive measures that keep your floorboards secure and stable.
To maintain your floors and avoid future squeaks, you should:
- Inspect your floors periodically for loose boards or nails, tightening or replacing them as needed.
- Control humidity levels in your home since excessive moisture can cause wood expansion and contraction, leading to squeaks.
- Apply wood lubricant or talcum powder between floorboards to reduce friction and noise.