First, identify your scratch depth—surface or deep gouge. Clean the area and gather fine sandpaper, matching wood filler or wax sticks, and a stain marker. For minor scratches, apply the stain marker or wax stick, blend, then buff gently. For deeper damage, fill the gouge, let dry, sand smooth, and touch up with stain. Finally, seal and polish the spot with compatible products for protection and shine. Follow these steps to guarantee a flawless restoration.
Assessing the Type and Depth of the Scratch

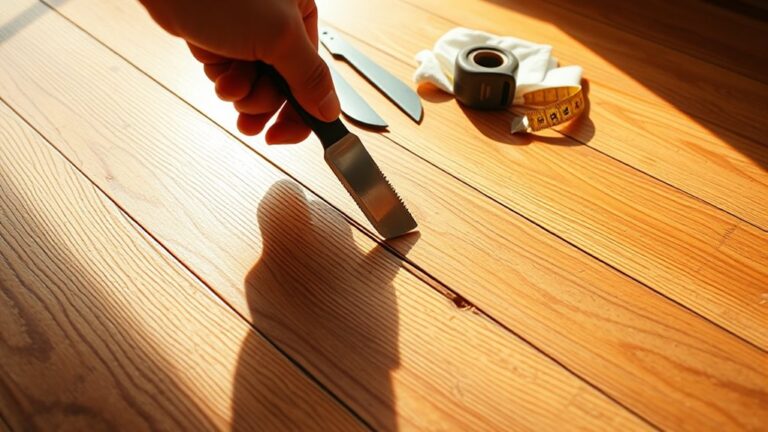
Before you begin repairing, you need to accurately assess the type and depth of the scratch on your wood vloer. Start by employing scratch identification techniques such as visual inspection under varying light angles and using a fingernail test to gauge surface damage. Different wood floor types—solid hardwood, engineered wood, or laminate—respond differently to scratches, so recognizing your floor type is essential. Surface scratches that only affect the finish require different treatment than deeper gouges penetrating the wood fibers. Measure the scratch depth carefully; if the scratch disrupts the wood grain, it demands more intensive repair. By precisely identifying the scratch characteristics, you’ll guarantee your restoration method preserves the floor’s integrity and appearance, granting you the freedom to correct damage efficiently and effectively.
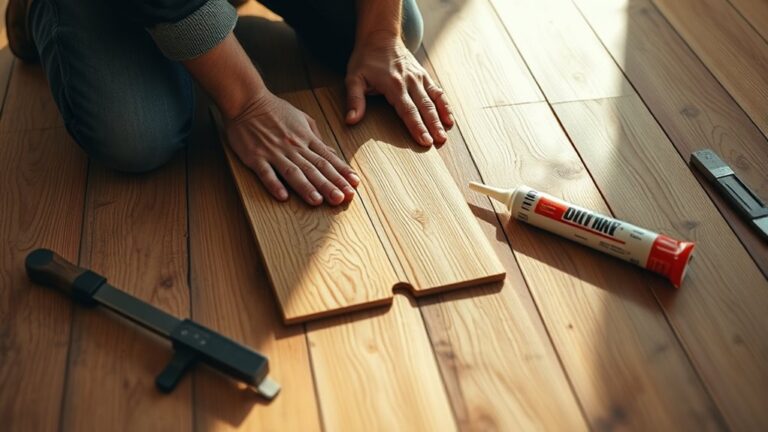
Gathering Necessary Tools and Materials
Properly addressing a scratch on your wood floor requires assembling the right tools and materials tailored to the scratch’s depth and your floor type. Start with tool selection tips: a fine-grit sandpaper (220-grit) is ideal for smoothing minor scratches, while a putty knife helps with deeper gouges. Material recommendations include wood filler or wax sticks matched to your floor’s stain color, ensuring seamless blending. You’ll also need clean cloths, a soft-bristle brush, and a finish compatible with your floor—polyurethane for sealed floors or oil-based products for unfinished wood. Avoid using harsh chemicals that could damage the wood. By carefully selecting tools and materials based on your floor’s characteristics and scratch severity, you’ll achieve a professional, lasting repair without restricting your freedom to maintain your wood floor effectively.
Repairing Minor Surface Scratches

Minor surface scratches can often be repaired quickly with a few targeted steps. First, clean the scratched area thoroughly to remove dust and debris without damaging the finish. Then, apply a wood stain marker or wax stick that matches your floor’s color to fill the scratch precisely. Use a soft cloth to blend the product evenly, ensuring it penetrates the scratch for effective wood preservation. After drying, buff the area gently to restore the floor’s sheen. This process not only repairs but helps reinforce scratch prevention by sealing vulnerable spots. Regular maintenance and immediate attention to minor scratches will extend your floor’s life and maintain its appearance, giving you the freedom to enjoy your space without constant worry about surface imperfections.
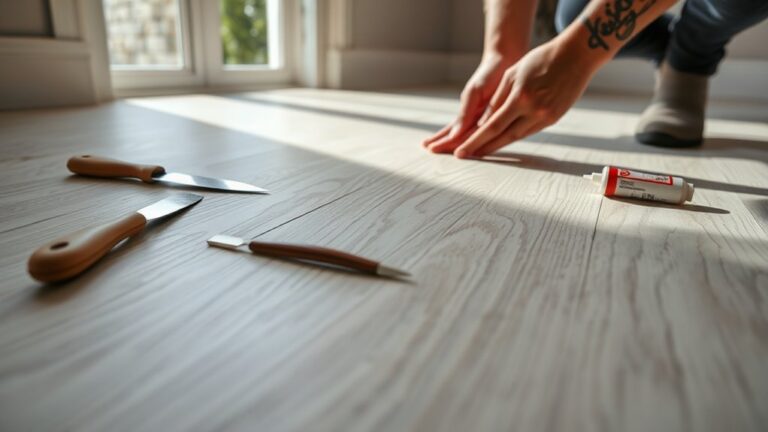
Fixing Deeper Scratches and Gouges
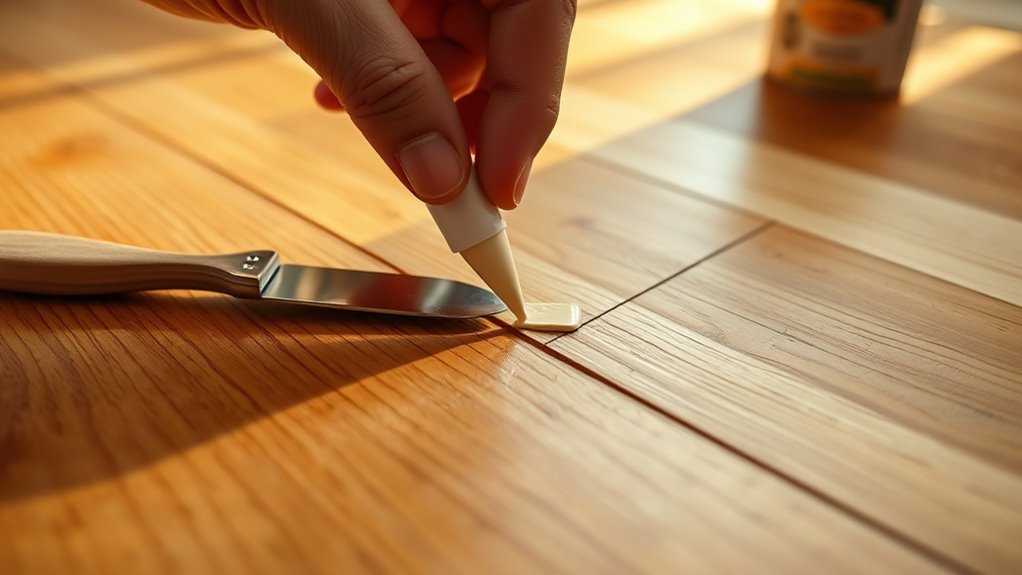
While surface scratches can be addressed with simple staining and buffing, deeper scratches and gouges require a more involved repair process to restore the wood floor’s integrity. For effective gouge repair, you’ll need to clean the area, fill the gouge with wood filler or wax sticks, and sand it smooth once dry. Scratch treatment at this level demands precision to match color and texture.
| Stap | Actie |
|---|---|
| 1 | Clean the damaged area |
| 2 | Apply wood filler or wax stick |
| 3 | Let filler dry completely |
| 4 | Sand gently for smoothness |
| 5 | Color match with stain or marker |
This guarantees your deeper scratches and gouges blend seamlessly with the surrounding floor.
Sealing and Polishing the Repaired Area

Once the filler has dried and the surface is smooth, you’ll need to seal and polish the repaired area to protect it and restore the floor’s original sheen. Start by applying an appropriate sealant using precise sealing techniques; this creates a barrier that prevents moisture and dirt from penetrating the repair. Use a high-quality brush or applicator for even coverage. After the sealant dries, select polishing products compatible with your floor’s finish—wax, polyurethane, or oil-based polishes work well depending on your wood type. Apply the polish evenly with a soft cloth or buffer, enhancing the floor’s luster while blending the repaired section seamlessly with surrounding areas. Proper sealing and polishing guarantee durability and maintain the floor’s aesthetic, giving you the freedom to enjoy your space without worry.