To fix lifting laminate flooring, first identify moisture or subfloor issues causing the problem. Clear the area and carefully remove baseboards to access expansion gaps. Adjust these gaps to manufacturer specs, usually about 1/4 inch, to relieve pressure. Replace any damaged planks if needed, then use weights or clamps to flatten the floor, leaving them in place 24–48 hours. Finally, reattach baseboards properly without nailing into the vloeren to allow natural movement. Follow this guide to resolve lifting effectively and prevent future issues.
Identify the Cause of Lifting Laminate Flooring
Before you can effectively fix lifting laminate flooring, you need to pinpoint the root cause. Common causes of lifting include moisture issues, inadequate expansion gaps, or subfloor unevenness. Moisture is the primary culprit; excess humidity or water infiltration causes laminate planks to swell and lift. Check for leaks, high humidity, or spills that weren’t promptly cleaned. Also, inspect the subfloor for dampness or water damage. Identifying moisture issues is critical because without addressing them, any repair will be temporary. Additionally, insufficient expansion gaps around the perimeter restrict natural plank movement, leading to buckling. Uneven subfloors can also cause lifting by preventing planks from lying flat. By accurately diagnosing these causes of lifting, you guarantee your repair efforts restore your flooring’s freedom from warping and prolong its durability.
Gather Necessary Tools and Materials
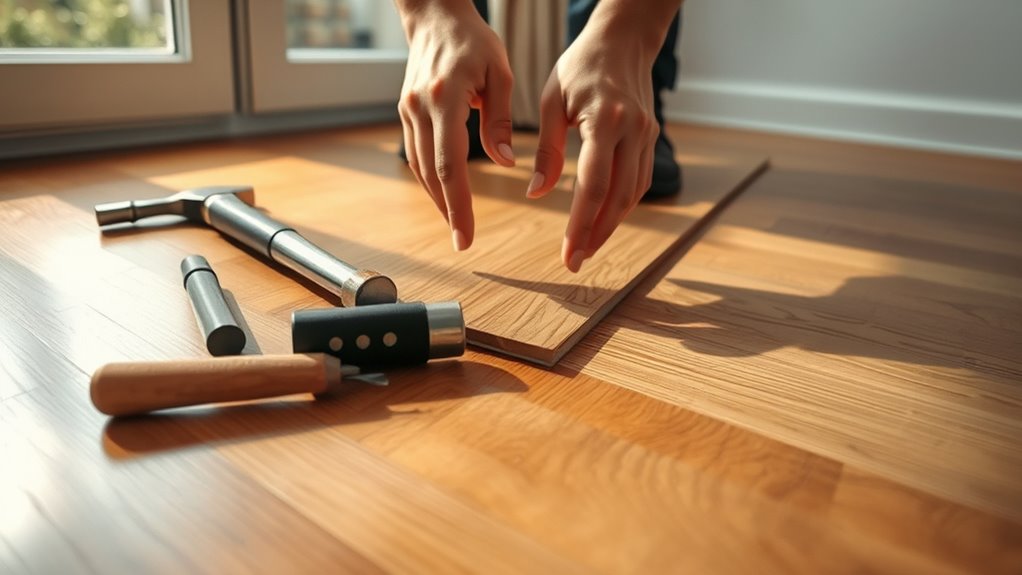
Before starting the repair, you’ll need to assemble essential tools like a rubber mallet, pry bar, and measuring tape. Make certain to have replacement laminate planks or underlayment materials on hand if the damaged sections require swapping out. Having everything ready guarantees a smooth and efficient fixing process.
Essential Repair Tools
While tackling lifting laminate flooring, having the right tools at hand guarantees an efficient and effective repair process. Different laminate types require precise handling, and proper flooring maintenance tools assure lasting results. Equip yourself with these essentials:
| Tool | Doel |
|---|---|
| Rubber Mallet | Gently tapping planks without damage |
| Pull Bar | Removing stubborn planks safely |
| Tapping Block | Securing planks tightly for seamless joints |
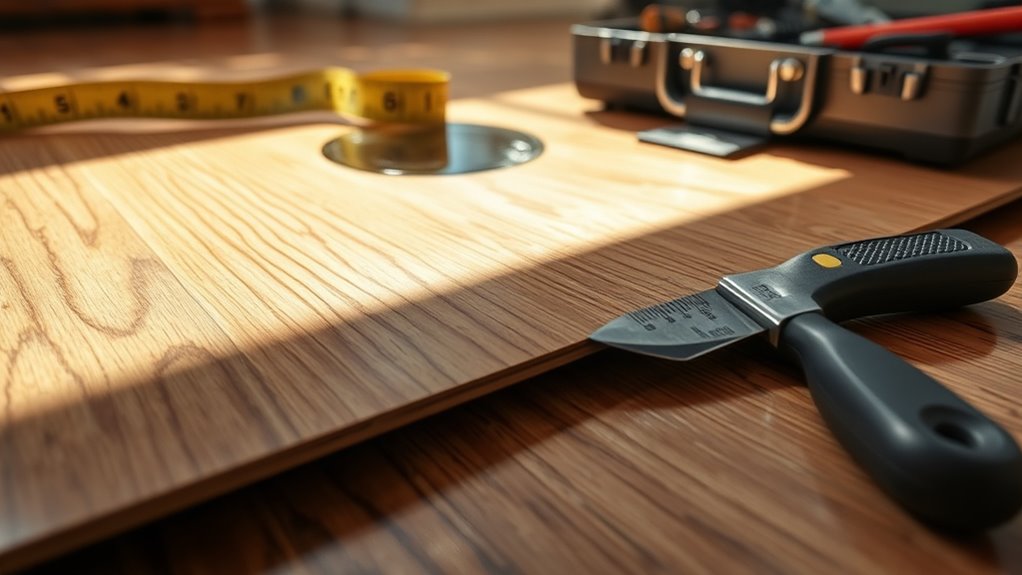
| Measuring Tape | Accurate measurements for precise cuts |
Each tool supports a specific task, reducing risk of damage and streamlining repair. You’ll appreciate the freedom to manage repairs confidently by preparing these practical tools. Avoid unnecessary replacements by focusing on proper maintenance and careful handling of various laminate types. This preparation sets the foundation for a smooth, professional-quality fix.
Required Replacement Materials
Successful laminate floor repairs depend on having the correct replacement materials on hand. Begin by identifying your specific flooring type to guarantee compatibility. Common replacement options include matching laminate planks, underlayment sheets, and appropriate adhesives or locking mechanisms. If your laminate uses a click-lock system, source planks with identical profiles to maintain structural integrity. For glue-down types, select adhesives recommended by the manufacturer. Additionally, consider moisture barriers if your flooring is in a high-humidity area. Having precise replacement materials prevents future lifting and preserves the floor’s durability. Avoid generic substitutes, as mismatched materials can compromise the repair’s effectiveness. Preparing these components before starting gives you the freedom to work efficiently and confidently, guaranteeing your laminate floor returns to a stable, seamless condition.
Clear the Affected Area
Before you start repairs, remove all furniture and debris from the affected area to guarantee full access. Then, clean the surface thoroughly to eliminate dust and dirt that can interfere with adhesion. This preparation is essential for a secure and lasting fix.
Remove Furniture and Debris
Since you’ll need unobstructed access to the area with lifting laminate, start by removing all furniture and debris from the affected space. Carefully rearrange furniture to avoid damage and maximize workspace, placing items in a designated holding area. Prioritize heavier pieces first to clear the floor efficiently. Next, gather all debris—dust, small laminate fragments, or loose underlayment pieces—and dispose of them properly using appropriate waste containers. Efficient debris disposal prevents contamination or interference during repairs. Maintain a clean, organized environment to ease your workflow and allow precise inspection of the damaged laminate. Streamlining furniture arrangement and debris clearance guarantees you have the freedom to work without hindrance and sets the foundation for a successful fix.
Clean Surface Thoroughly
Although you’ve cleared the furniture and debris, you’ll need to clean the laminate surface thoroughly to guarantee proper adhesion during repair. Begin by selecting effective cleaning techniques suited for laminate, such as a mild detergent diluted in warm water. Avoid excessive moisture that can warp the flooring. Use a soft cloth or sponge to gently remove dust, dirt, and any adhesive residue. For stubborn spots, a rubbing alcohol solution can be applied sparingly. After cleaning, dry the area completely with a microfiber cloth to prevent moisture retention. This surface preparation step is critical: any remaining dirt or moisture compromises the glue’s bond strength. Ensuring a clean, dry surface creates the ideal environment for repair materials to adhere securely, restoring your laminate floor’s integrity and freedom from lifting issues.
Remove Baseboards and Molding
To access the edges of your laminate flooring for repair, you’ll need to carefully remove the baseboards and molding surrounding the room. Begin by scoring along the caulk line between the wall and baseboard with a utility knife to prevent wall damage. Use a pry bar gently, placing a scrap wood piece between the bar and wall to distribute pressure evenly. Work incrementally along the baseboard removal, avoiding bending or breaking the molding. Label each piece for easier reinstallation. Once removed, inspect the molding and baseboards for damage—you want them intact for molding installation after repairs. Store them safely to maintain freedom in your workspace. This step is essential for accessing expansion gaps and ensuring a precise, lasting fix for your laminate flooring.
Relieve Pressure by Adjusting Expansion Gaps
With the baseboards and molding removed, you now have clear access to the expansion gaps around your laminate flooring. These gaps are critical for allowing the flooring to expand and contract with humidity changes, preventing buckling or lifting. Check if the gaps have been compromised—too small or filled with debris—and carefully widen them using a pull bar or tapping block to create consistent spacing. This adjustment provides essential pressure relief, freeing the flooring from stress points that cause lifting. Measure the gaps to verify they meet manufacturer recommendations, usually around 1/4 inch. Properly sized expansion gaps let your laminate move naturally, maintaining its integrity and appearance. Taking this step gives you control over pressure relief, helping your flooring settle back into place without damage.
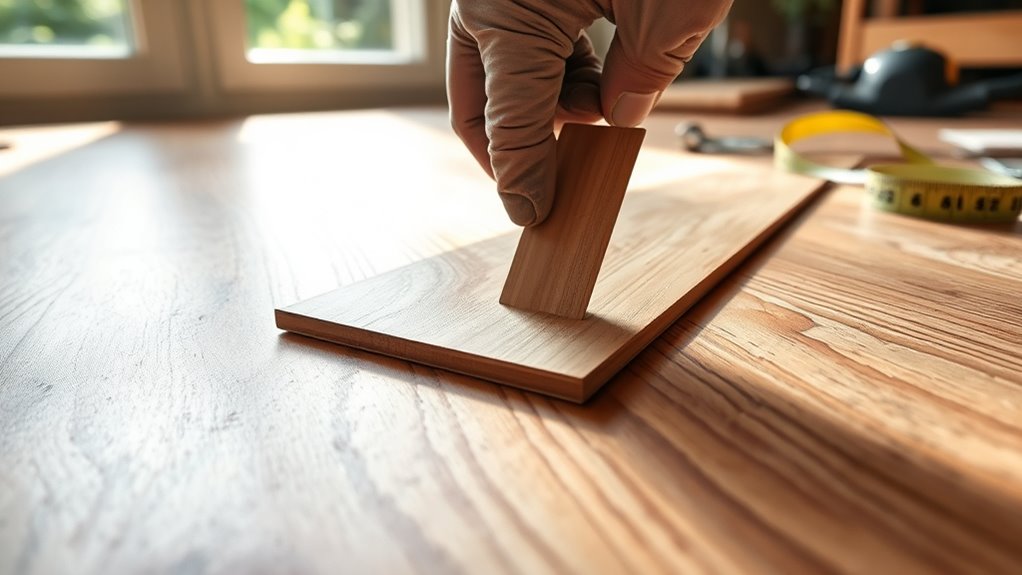
Reinstall or Replace Damaged Planks
Once you’ve relieved pressure by adjusting expansion gaps, you can focus on reinstalling or replacing damaged planks to restore your floor’s stability and appearance. Start by carefully removing the affected planks, preserving surrounding pieces to avoid additional damage. When selecting replacement planks, match the original laminate installation in thickness, color, and wear rating to guarantee seamless integration. Check planks for defects before installation to prevent recurring issues. Install new planks by aligning locking edges precisely, using gentle tapping to secure joints without forcing them, which could cause warping. Proper plank selection and accurate installation techniques are critical in maintaining floor integrity, preventing future lifting, and preserving your freedom to enjoy a smooth, level surface. Always work methodically, confirming each step before proceeding to the next.
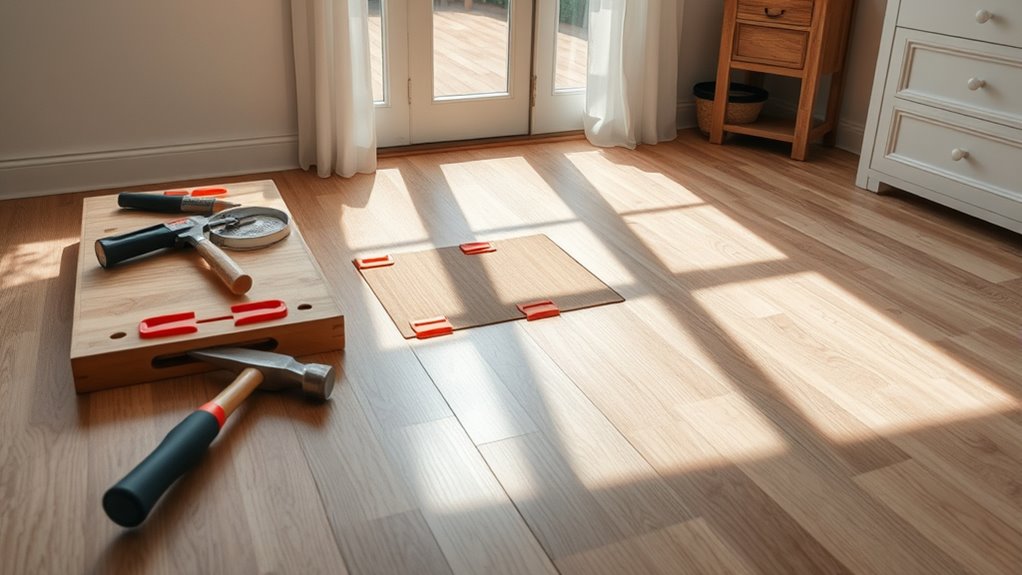
Use Weights or Clamps to Flatten the Flooring
Applying weights or clamps is an effective method to flatten lifting laminate flooring without causing additional damage. To guarantee success, focus on proper weight distribution and clamp placement to avoid uneven pressure or warping.
Proper weight distribution and clamp placement are key to flattening lifting laminate flooring safely and effectively.
- Identify the lifting area and clean it thoroughly to remove debris beneath the plank.
- Position clamps evenly across the affected planks, guaranteeing firm but gentle clamp placement to avoid denting.
- Distribute weights strategically, using flat, heavy objects that cover the lifting section evenly for balanced pressure.
- Leave the weights or clamps in place for 24 to 48 hours, allowing the laminate to settle and adhere back to the subfloor.
Following these steps will restore the flooring’s flatness while preserving its structural integrity and your freedom to enjoy a smooth surface.
Reattach Baseboards and Molding
After securing the laminate flooring flat with weights or clamps, the next step is to reattach the baseboards and molding. Begin by selecting the appropriate molding types that complement your flooring and wall structure. During baseboard installation, verify the boards align tightly against the wall and floor to conceal expansion gaps effectively. Use a pneumatic nailer or hammer with finishing nails to fasten baseboards securely without damaging the laminate surface. For corners, miter cuts provide a clean joint, enhancing the overall finish. When reattaching molding types like quarter round or shoe molding, position them to cover any visible gaps and nail them carefully into the baseboards, not the flooring, to allow for natural movement. This precise approach restores your floor’s aesthetic and structural integrity efficiently.
Prevent Future Lifting Issues
To prevent laminate flooring from lifting again, you’ll need to address the root causes such as moisture, improper installation, and insufficient expansion gaps. Implementing effective moisture control and committing to regular maintenance are vital steps. Follow these practical measures:
- Confirm a moisture barrier is installed beneath the laminate to prevent subfloor dampness.
- Maintain consistent indoor humidity levels using dehumidifiers or HVAC systems.
- Verify proper installation techniques, including adequate expansion gaps around the perimeter.
- Schedule routine inspections to detect early signs of lifting or moisture intrusion.