To cut floor tile in 10 easy steps, first gather your tools like a wet saw, tile cutter, safety gear, and marking tools. Measure and mark your tile carefully, allowing for grout lines. Choose the appropriate cutting tool—manual cutters for ceramic, wet saws for stone. Score the tile, snap it cleanly, and smooth edges with a file or sandpaper. Test fit the piece, then clean up debris properly. Follow these steps precisely, and you’ll achieve accurate cuts—explore further for detailed tips.
Verzamel uw gereedschap en materialen
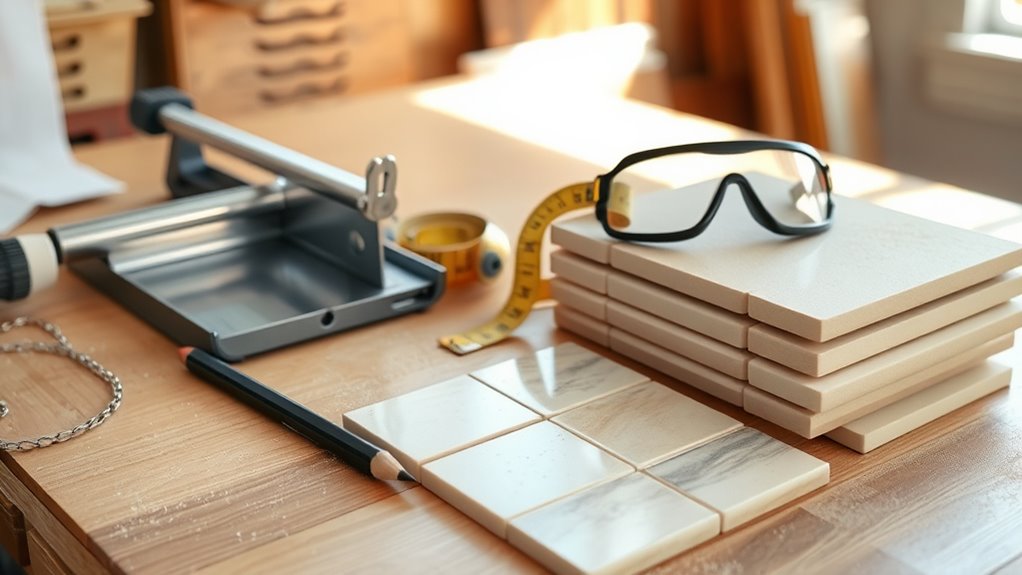
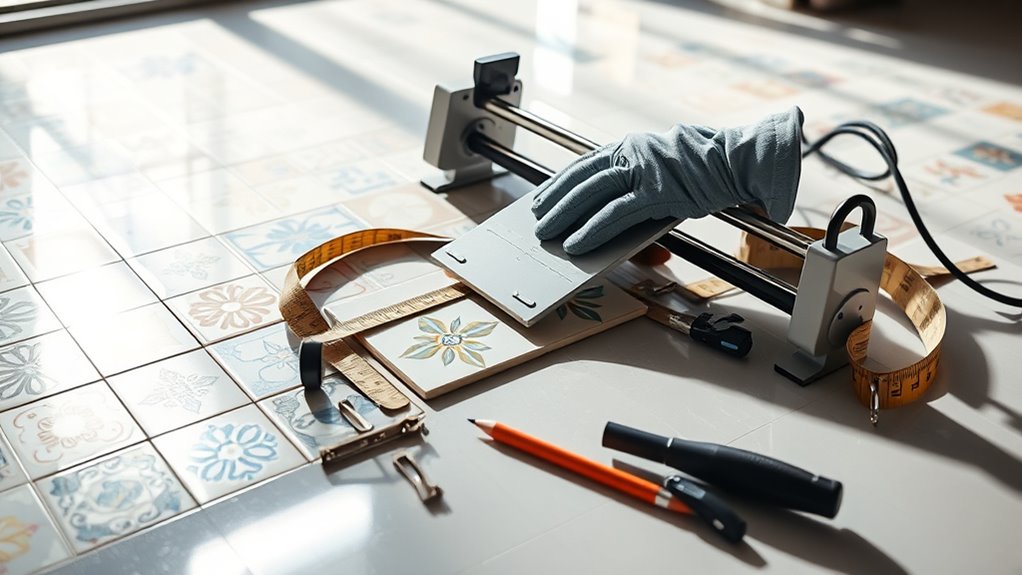
Before you begin cutting vloer tile, you’ll need a specific set of tools and materials to guarantee accuracy and safety. Different tile types—such as ceramic, porcelain, or natural stone—require tailored cutting techniques and tools. Essential equipment includes a wet saw for clean, precise cuts on hard tiles, a tile cutter for straight scoring on softer tiles, and a diamond blade for intricate shapes. Safety gear like gloves, goggles, and a dust mask are non-negotiable to protect you during cutting. Additionally, a pencil and straightedge help maintain precision. Selecting the right tools aligned with your tile types empowers you to execute cutting techniques efficiently, ensuring freedom in your project without compromising quality or safety. Gather these essentials before proceeding to avoid interruptions and maintain workflow integrity.
Measure and Mark the Tile
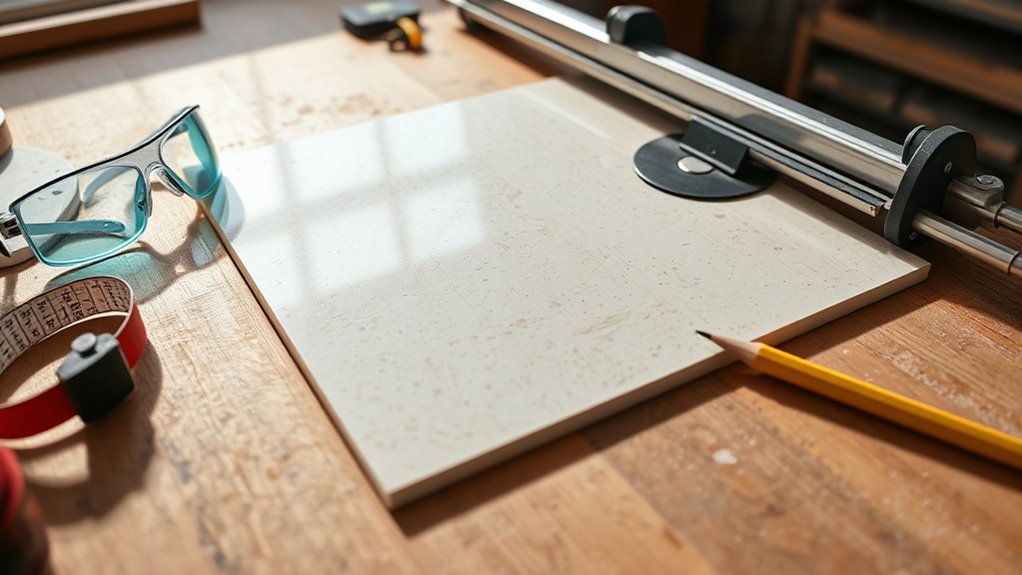
With your tools and materials ready, the next step is to measure and mark your tile accurately. Start by using precise tile measurement techniques—measure twice to verify exact dimensions, accounting for grout spacing. Use a straightedge or ruler for clear, straight lines. Select appropriate marking tools, such as a pencil or a fine-tip marker designed for tiles, to avoid permanent damage or smudging. Position the tile on a flat surface, and carefully mark the cut line using your measurements. Confirm that your markings are visible yet minimal to maintain tile aesthetics. Accurate measurement and marking are essential to achieving clean cuts and a professional finish. Taking time here grants you the freedom to cut confidently, minimizing waste and ensuring your tile installation fits perfectly.
Choose the Right Cutting Tool
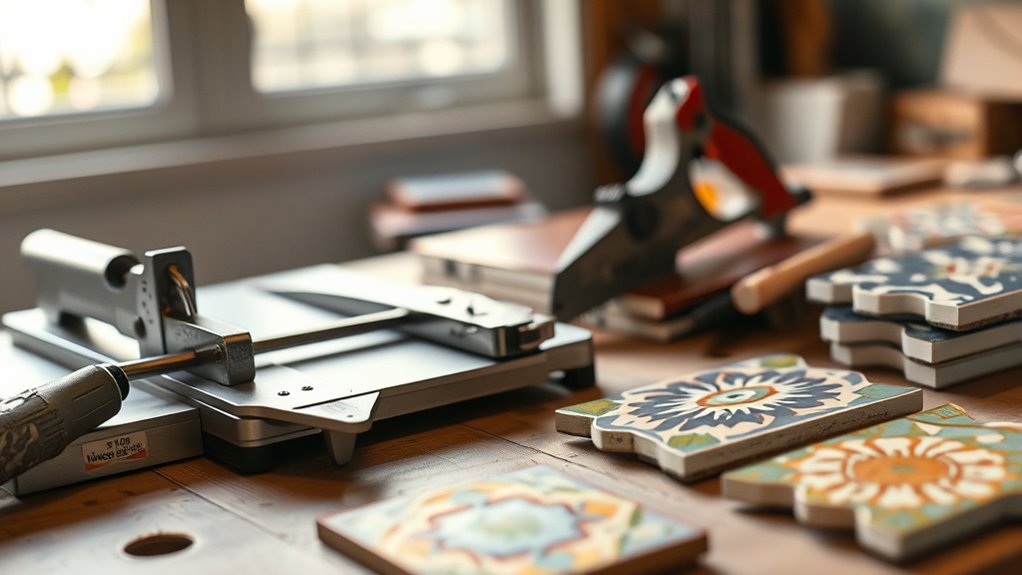
Three main types of cutting tools are commonly used for floor tiles: manual tile cutters, wet saws, and angle grinders. Your choice depends on the tile materials and cutting techniques needed. Manual tile cutters excel with ceramic and porcelain tiles, scoring and snapping them cleanly. Wet saws are ideal for harder materials like natural stone or thick porcelain, using a diamond blade with water to minimize dust and heat. Angle grinders offer versatility for curved cuts and intricate shapes but require steady control and safety precautions. Assess your project’s complexity and tile characteristics before selecting a tool. Picking the right cutter guarantees precision, efficiency, and reduces material waste, giving you freedom to execute your design confidently and professionally.
Prepare Your Workspace
Setting up your workspace properly is essential for accurate tile cutting and safety. Prioritize workspace organization to maintain efficiency and reduce hazards. Clear your area of unnecessary items and guarantee good lighting for precise cuts. Remember, safety considerations are non-negotiable—protect yourself and your surroundings.
Before you start, make certain to:
- Use a stable, flat surface for cutting.
- Keep your cutting tools within easy reach.
- Wear safety goggles and gloves.
- Ventilate the area to avoid dust buildup.
- Lay down a protective mat to catch tile shards.
Score the Tile Surface
Begin by firmly placing the tile on a flat surface, then use a carbide-tipped scoring tool to draw a straight line where you want the cut. Apply steady, even pressure as you score, ensuring the line is continuous and unbroken. This precision is essential, especially when working with complex tile patterns, as inconsistent scoring can result in uneven breaks or damage. Employ proper scoring techniques by holding the tool at a consistent angle and avoiding multiple passes over the same line, which can weaken the tile. Focus on accuracy to maintain pattern integrity and avoid waste. By mastering the score phase, you gain control over the cut, enabling you to execute clean, exact lines that respect your design’s freedom and flow.
Snap the Tile Along the Score Line
You’ll need to align the tile’s score line exactly with the edge of your work surface before snapping. Apply firm, even pressure on both sides to guarantee a clean break without cracking. Always wear safety gear to protect yourself from sharp edges and debris during this step.
Align Score Line Perfectly
Once the score line is clearly marked, you’ll need to position the tile so it aligns exactly with the snapping tool or edge. Mastering tile alignment techniques guarantees score line precision, critical for a clean break. Before snapping, confirm the score line sits perfectly on the designated guide. Use these steps to align accurately:
- Place the tile flat on a stable surface.
- Adjust the tile so the score line matches the snapping edge.
- Verify the score line runs parallel with the cutting tool.
- Check alignment from multiple angles to avoid parallax errors.
- Lock or hold the tile firmly to prevent shifting.
Pas gelijkmatige druk toe
After guaranteeing the score line is perfectly aligned, the next step is to snap the tile by applying even pressure along that line. Position the tile on a stable surface with the scored side facing up. Use your hands or a tile snapping tool to exert consistent pressure directly on the score line. Applying uneven force risks cracking beyond the intended break, so focus on pressure techniques that distribute force evenly. Maintain balance by supporting both sides of the tile firmly to prevent shifting. Press gently but steadily until the tile snaps cleanly along the score. Avoid sudden or jerky movements, as they compromise precision. Mastering this controlled pressure guarantees a smooth, accurate break, empowering you to customize your tile freely and confidently.
Use Proper Safety Gear
Before snapping the tile along the score line, make sure you’re wearing proper safety gear to protect yourself from sharp edges and flying shards. This step is vital for maintaining your freedom to work safely and confidently. Always equip yourself with:
- Safety glasses to shield your eyes from debris
- A dust mask to avoid inhaling fine particles
- Protective gloves to guard your hands against cuts
- Long sleeves to protect your arms from sharp fragments
- Closed-toe shoes to prevent foot injuries
Using this gear minimizes risk and lets you focus on precision. Don’t cut corners here—your safety gear is your first line of defense. With these precautions in place, you can snap the tile cleanly along the score line without worry, ensuring both safety and accuracy in your tile cutting project.
Use a Wet Saw for Curved or Intricate Cuts
When tackling curved or intricate cuts, you’ll need a wet saw equipped with the correct diamond blade for your tile type. Before cutting, make certain the saw is properly set up with water flowing to cool the blade and reduce dust. Carefully guide the tile through the blade, maintaining steady control to achieve precise, safe cuts.
Selecting the Right Blade
Choosing the right blade greatly impacts the quality and ease of your tile cuts. Different blade types suit specific cutting techniques, so selecting one tailored to your tile material is crucial. For curved or intricate cuts, a wet saw paired with the proper blade guarantees precision and smooth edges.
Consider these blade factors:
- Diamond blades: Ideal for hard materials like porcelain; offer durability and clean cuts.
- Turbo blades: Provide faster cutting with moderate edge quality.
- Segmented blades: Best for rough cuts on ceramic or natural stone.
- Continuous rim blades: Deliver smooth finishes on delicate tiles.
- Blade size and arbor compatibility: confirm proper fit to your wet saw for best performance.
Choosing wisely enhances your freedom to execute precise, professional cuts efficiently.
Preparing the Wet Saw
Set up your wet saw by securely mounting the diamond blade and filling the water reservoir to guarantee continuous cooling during cuts. Begin your wet saw setup by verifying the blade is tightly fastened, preventing wobble or slippage. Check the water reservoir’s level, making sure it’s full to maintain consistent blade lubrication and reduce overheating. Confirm the water delivery system directs a steady flow onto the blade’s cutting surface. Inspect the power cord and switch for safety. Position the tile guide or fence for accurate alignment. Finally, test the saw briefly without a tile to verify water flow and blade rotation. A precise wet saw setup is essential for clean, controlled cuts, especially for curved or intricate tile shapes. Proper preparation assures freedom to cut complex patterns confidently and efficiently.
Executing Curved Cuts Safely
A number of curved cuts require steady control and careful coordination to prevent tile damage or blade binding. Using a wet saw is essential for executing curved cutting techniques safely and accurately. This tool allows precise tile shaping methods with minimal risk.
Keep these tips in mind:
- Use a diamond blade designed for wet saws to guarantee smooth cuts.
- Mark your cut line clearly with a pencil or marker.
- Slowly feed the tile into the blade, maintaining steady pressure.
- Support the tile firmly to avoid vibrations or slips.
- Continuously cool the blade with water to prevent overheating.
Smooth the Edges With a Tile File or Sandpaper
Once you’ve cut the tile, you’ll need to smooth the edges to prevent chipping and guarantee a clean fit. Among essential tile finishing techniques, edge smoothing methods like using a tile file or sandpaper stand out for effectiveness and ease. Start by gently rubbing the cut edge with a diamond-tipped tile file, maintaining consistent pressure to remove sharp fragments. Alternatively, fine-grit sandpaper (around 120-220 grit) works well, especially on ceramic tiles—wrap it around a flat block for control. Move in one direction to avoid uneven surfaces. These methods refine the edge, ensuring durability and a professional appearance. Mastering this step gives you freedom from imperfections and helps the tile integrate seamlessly into your flooring project.
Test Fit the Tile Piece
Before permanently installing the tile, you’ll want to test fit the piece to assure it aligns perfectly with surrounding tiles and the layout. Testing the tile piece guarantees accuracy and prevents costly mistakes during installation.
When you test tile placement, keep these points in mind:
- Verify the piece fits snugly within the floor layout without gaps
- Check alignment with adjacent tiles to maintain consistent grout lines
- Confirm the cut edges match the intended floor pattern
- Adjust the piece slightly to accommodate any wall or floor irregularities
- Ascertain the tile sits flush with neighboring tiles for a smooth surface
Taking the time to test fit your tile piece grants you freedom to correct errors before adhesive application, securing a professional-looking finish.
Clean Up and Dispose of Tile Debris
Once you’ve finished cutting, you’ll need to gather your tile debris for proper disposal to prevent hazards. Use a broom and dustpan or a shop vacuum to collect all fragments thoroughly. Follow your local regulations for disposing of construction waste to guarantee compliance.
Proper Disposal Methods
Although cutting floor tile creates a significant amount of debris, proper disposal is crucial to maintain safety and cleanliness. You’ll want to handle tile remnants responsibly, especially since some materials could be hazardous waste. Follow these disposal guidelines:
- Collect tile shards in durable, sealed containers to prevent injury and dust spread.
- Check local regulations for recycling tile options; many areas accept ceramic and porcelain for repurposing.
- Avoid mixing tile debris with general household waste if hazardous substances are present.
- Use designated hazardous waste facilities for tiles containing harmful glazes or adhesives.
- Label disposal bags clearly to inform waste handlers about tile contents.
Taking these steps guarantees you comply with environmental standards and maintain a safe workspace free from hazards.
Cleaning Tools Needed
Effective cleanup of tile debris requires specific tools designed to handle sharp fragments and fine dust safely. You’ll need a sturdy broom and dustpan to collect larger shards without risking injury, alongside a vacuum equipped with a HEPA filter to capture fine particles thoroughly. Use heavy-duty gloves for protection during cleanup, and dispose of debris in a puncture-resistant container to prevent accidents. For tile maintenance, a damp microfiber cloth helps remove residual dust from surfaces, ensuring a clean workspace. Avoid using water excessively on freshly cut tiles to prevent damage. Having the right cleaning supplies streamlines the process, reduces hazards, and preserves your workspace’s integrity. By carefully selecting and using these tools, you maintain safety and efficiency, giving you the freedom to focus on your next project phase confidently.