To clean tile grout on your floor, start by removing loose dirt with a broom or vacuum. Mix baking soda and water into a paste and apply it to grout lines. Spray with vinegar solution to fizz away stains, then scrub with a firm brush. For tough spots, use hydrogen peroxide safely. After cleaning, rinse thoroughly and consider sealing grout to prevent future stains. Keep practicing these steps daily, and you’ll maintain bright, mold-free grout—you can explore more in-depth tips next.
Understanding Tile Grout and Its Common Issues
Although tile grout might seem like just a simple filler between tiles, understanding its composition and vulnerabilities is essential for effective cleaning. Grout composition typically includes cement, sand, and water, making it porous and prone to absorbing dirt, moisture, and stains. You’ll often find common stains like mold, mildew, grease, or rust embedded in the grout lines. Because grout is porous, these stains can settle deep, making surface cleaning ineffective if you don’t address the material’s nature. Recognizing this helps you select the right cleaning methods and solutions that penetrate rather than just mask dirt. By grasping how grout’s makeup interacts with various contaminants, you’re better equipped to maintain clean, durable grout and enjoy the freedom of a fresh, polished tile vloer.
Essential Tools and Materials for Grout Cleaning
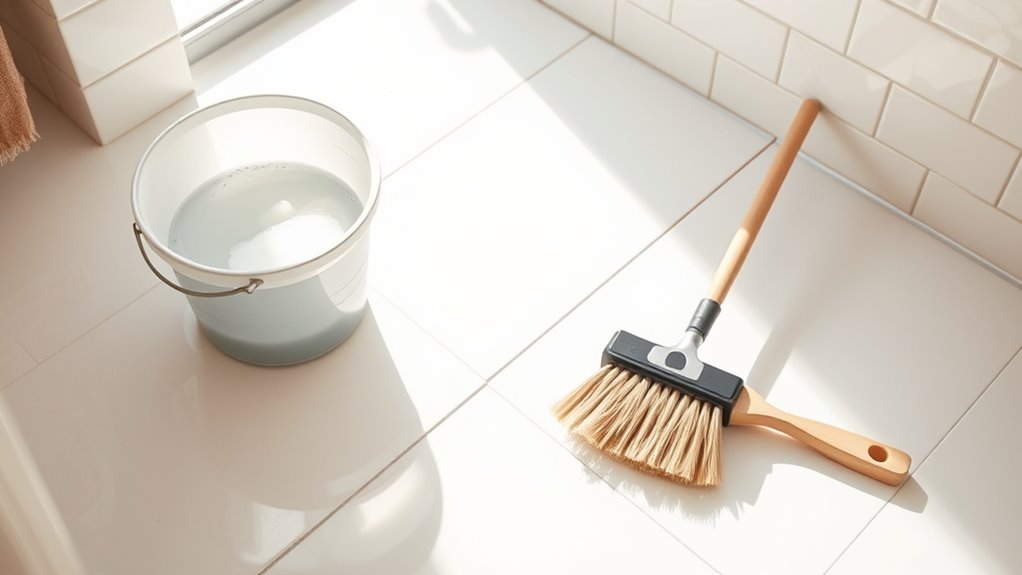
Before you begin cleaning your tile grout, it’s important to gather the right tools and materials to guarantee an effective and thorough job. For grout cleaning, you’ll need a stiff-bristled brush or an old toothbrush to reach into the narrow grout lines without damaging the tile. Essential materials include a grout cleaner or a mixture of baking soda and vinegar for natural cleaning. Don’t forget protective gloves to safeguard your skin and a bucket for mixing solutions. A spray bottle helps apply cleaners evenly, while microfiber cloths are perfect for wiping and drying. If you prefer, a small scraper can assist in removing stubborn debris. Having these tools and essential materials ready assures you’re prepared to restore your grout’s appearance with precision and ease.
Preparing the Floor for Grout Cleaning
To prepare your floor for grout cleaning, start by thoroughly removing any loose dirt, dust, or debris from the tiles and grout lines. Conduct a careful floor assessment to identify stained or damaged grout areas needing extra attention. Proper surface preparation guarantees effective cleaning and prevents damage.
| Stap | Benodigd gereedschap | Doel |
|---|---|---|
| Sweep/Vacuum | Broom or vacuum | Remove loose particles |
| Inspect Grout | Zaklamp | Identify problem spots |
| Mop Floor | Damp mop | Eliminate surface residue |
Using Baking Soda and Vinegar to Clean Grout
You’ll start by mixing baking soda with water to create a thick paste that you can apply directly onto the grout lines. Next, spray or pour a vinegar solution over the paste, which will cause a fizzy reaction to help lift dirt and stains. Finally, use a stiff brush to scrub the grout, then rinse thoroughly with clean water to remove all residue.
Mixing Baking Soda Paste
Although baking soda and vinegar are common household items, mixing them into an effective paste requires the right proportions to guarantee perfect grout cleaning. Start with three parts baking soda to one part water—this ratio maximizes baking soda benefits, such as its mild abrasiveness and deodorizing power. Gradually add water to the baking soda, stirring continuously until you achieve a thick paste consistency that’s easy to spread but won’t drip. The perfect paste should hold its shape when applied to grout lines without running off the tile. Avoid making it too watery, which reduces cleaning power, or too dry, which makes application difficult. By mastering this balance, you guarantee the paste clings to grout for best stain removal when you apply your vinegar solution next.
Applying Vinegar Solution
Once your baking soda paste is evenly applied and holds its shape along the grout lines, it’s time to introduce the vinegar solution. Mix equal parts white vinegar and water in a spray bottle for an effective yet gentle cleaner. Vinegar benefits include its natural acidity, which breaks down grime and mold without harsh chemicals, making it a preferred cleaning alternative. Spray the solution lightly over the baking soda paste—expect a fizzing reaction as the mixture activates. This effervescent action helps lift dirt trapped in the grout. Be careful not to oversaturate the area to avoid damaging the grout or tile. Let the vinegar solution sit for about 5 to 10 minutes; this allows it to penetrate and work efficiently before you move on to scrubbing and rinsing.
Scrubbing and Rinsing Tips
Three essential steps will help you effectively scrub and rinse your tile grout after applying the baking soda and vinegar mixture. First, use a stiff-bristled brush to apply targeted scrubbing techniques, focusing on grout lines with circular motions to lift dirt without damaging tiles. Next, be patient—let the mixture sit for 5–10 minutes to break down grime. Then, rinse methods are vital: start by wiping with a damp microfiber cloth to remove loosened residue. Follow up by mopping the floor with clean water to guarantee all cleaning agents are fully removed, preventing any sticky buildup. Finally, dry the grout with a clean towel to avoid moisture retention, which can encourage mold growth. These precise steps give you freedom from stubborn stains and a fresh, clean grout finish.
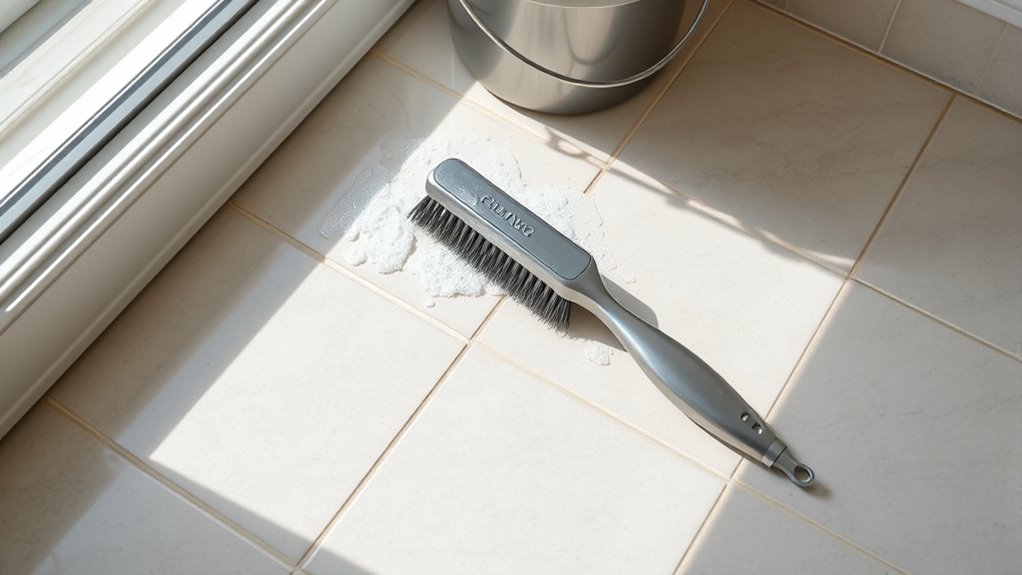
Applying Hydrogen Peroxide for Tough Stains
When tackling tough grout stains, hydrogen peroxide is an effective choice because it breaks down organic matter without harsh chemicals. You’ll want to apply it directly to the grout lines using a small brush or spray bottle, letting it sit for 10 minutes before scrubbing. Remember to wear gloves and guarantee proper ventilation to protect your skin and respiratory system during use.
Hydrogen Peroxide Benefits
How exactly does hydrogen peroxide work to tackle tough stains in tile grout? Its oxidizing properties break down organic matter and discoloration, effectively lifting stubborn grime. You’ll find hydrogen peroxide uses extend beyond stain removal—it also disinfects and whitens grout without harsh chemicals. When you apply it, the fizzing action helps loosen dirt embedded deep in the porous grout lines. This makes your cleaning more thorough and efficient, giving you freedom from scrubbing endlessly. Remember, hydrogen peroxide safety is key: always use it in a well-ventilated area and avoid mixing it with other cleaners to prevent harmful reactions. Understanding these benefits empowers you to restore your tile grout’s brightness while maintaining a safe environment.
Application Tips and Safety
Knowing how hydrogen peroxide works is just the start; applying it correctly guarantees you get the best results while keeping your safety in check. When tackling tough grout stains, mastering application techniques and observing safety precautions are essential to protect yourself and preserve your floor’s integrity.
Follow these tips for a safe, effective process:
- Wear gloves and guarantee good ventilation to avoid skin irritation and inhalation risks.
- Use a spray bottle for even application, then let it sit for 5–10 minutes to break down stains without damaging grout.
- Gently scrub with a soft brush to lift grime without harming tiles, then rinse thoroughly with water.
Commercial Grout Cleaners: What to Choose
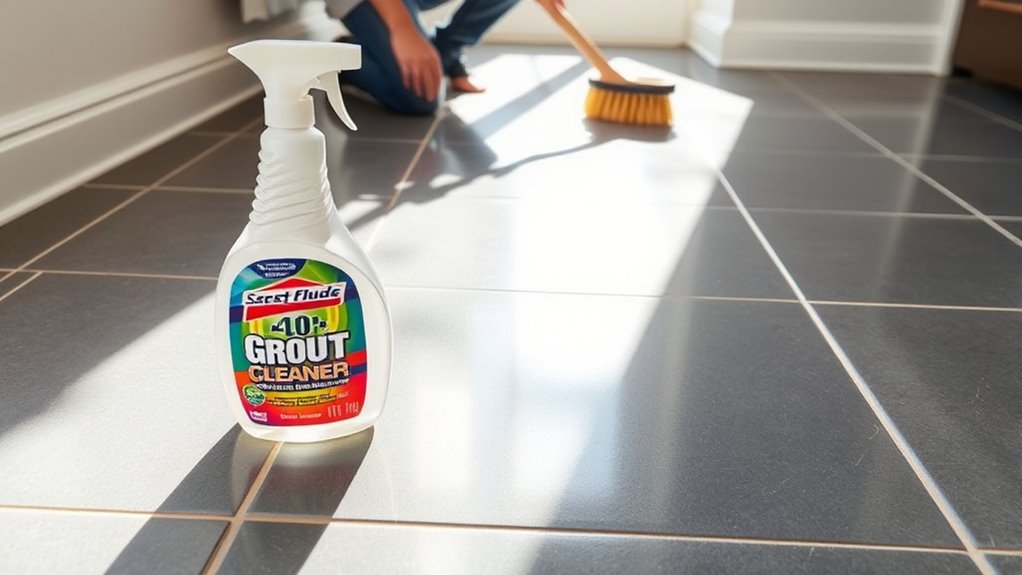
Although there are many commercial grout cleaners available, choosing the right one depends on your specific grout type, stain severity, and whether you prefer natural or chemical-based solutions. If you want to keep your cleaning routine environmentally responsible, seek out eco friendly options labeled for grout use. These products minimize harsh chemicals without compromising effectiveness. For tougher stains or epoxy grout, stronger commercial products with oxygen bleach or hydrogen peroxide can be more efficient. Always check if the cleaner suits your grout material to avoid damage. Reading product reviews and ingredient lists helps you make an informed choice that balances power and safety. By selecting the right commercial cleaner, you maintain grout integrity and enjoy a cleaner floor that supports your freedom to live and clean on your own terms.
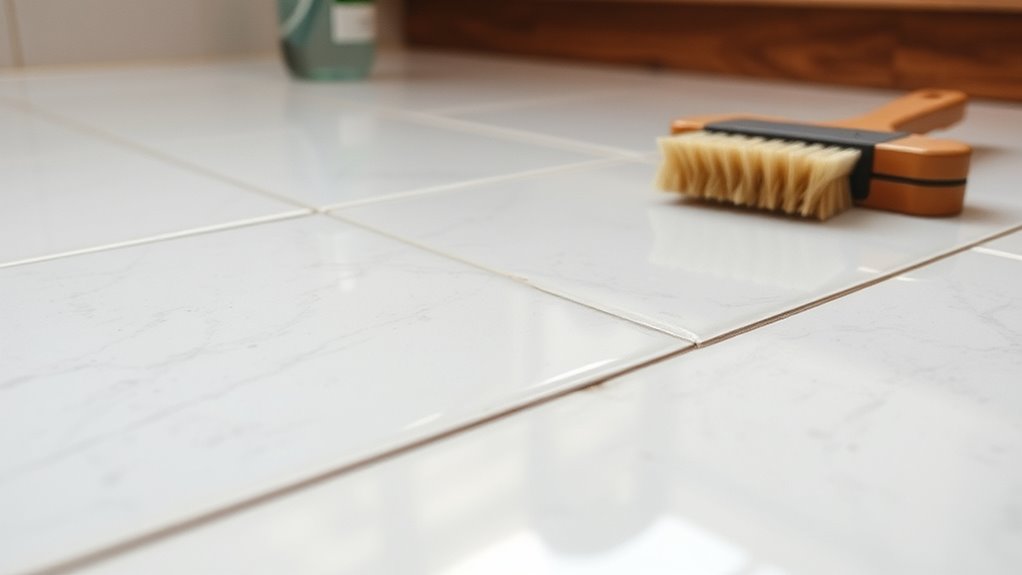
How to Use a Grout Brush Effectively
Selecting the right commercial grout cleaner sets the stage for effective scrubbing, but the real difference comes with your technique using a grout brush. To maximize your results, focus on these grout brush techniques:
- Apply firm, consistent pressure and scrub in a circular motion, which loosens dirt without damaging grout lines.
- Work in small sections, ensuring thorough cleaning and allowing the cleaner to penetrate deeply.
- Rinse the brush frequently during use to prevent redepositing grime and maintain scrubbing power.
After cleaning, prioritize brush maintenance by rinsing thoroughly and air drying to prolong bristle life. Mastering these steps not only frees you from stubborn grout stains but also keeps your brush ready for future use. With the right approach, your grout will look fresh, giving your floors a renewed sense of freedom and cleanliness.
Preventing Mold and Mildew in Grout Lines
Mold and mildew thrive in damp, poorly ventilated grout lines, so understanding these conditions is key to prevention. You’ll want to establish daily habits like wiping down surfaces and ensuring proper airflow to keep moisture at bay. By consistently applying these maintenance steps, you can effectively inhibit mold growth and protect your grout.
Causes of Mold Growth
Several factors contribute to the growth of mold and mildew in grout lines, and understanding these causes is key to effective prevention. Mold thrives when moisture isn’t controlled, so grasping these triggers empowers your mold prevention efforts.
- Excess Humidity – High indoor humidity creates a damp environment where mold spores flourish. Without proper ventilation, moisture clings to grout, inviting growth.
- Water Leaks – Hidden leaks under tiles or near plumbing continuously saturate grout, making it a breeding ground for mold and mildew.
- Poor Drainage – Water pooling on floors or grout lines after cleaning or spills leaves moisture trapped, negating your moisture control strategies.
Recognizing and addressing these factors helps you maintain grout free from mold, preserving both cleanliness and your freedom from constant worry.
Dagelijkse onderhoudstips
One of the most effective ways to keep grout lines free from mold and mildew is to incorporate a few simple daily maintenance habits into your routine. Prioritize daily cleaning by wiping down tile surfaces with a damp cloth or mop to remove moisture and dirt that encourage mold growth. After showers or mopping, guarantee grout lines dry quickly by improving ventilation—open windows or run exhaust fans. Avoid leaving standing water on tile floors, as excess moisture promotes mildew development. For grout upkeep, use a gentle brush to scrub grout lines weekly, preventing buildup before it becomes problematic. Consistently following these steps helps you maintain clean, mold-free grout and preserves the freedom to enjoy your space without worry.
Effective Mold Prevention
Although grout is porous and prone to trapping moisture, you can greatly reduce mold and mildew growth by implementing targeted prevention strategies. Effective mold prevention not only keeps your floors looking fresh but also protects your home’s air quality, giving you freedom from constant worry.
To boost mildew resistance in grout lines, focus on these key steps:
- Improve Ventilation – Use exhaust fans or open windows to reduce humidity, which mold loves.
- Seal Grout Regularly – Apply a high-quality grout sealer every six months to create a moisture barrier.
- Promptly Address Spills and Leaks – Wipe up water immediately to prevent prolonged dampness.
Sealing Grout to Maintain Cleanliness Longer
Because grout is porous, it easily absorbs dirt and stains, making it essential to apply a sealant after cleaning. Sealing grout provides several benefits: it creates a protective barrier that repels moisture and prevents dirt buildup, extending the life of your grout and reducing the frequency of deep cleaning. To get the best results, choose recommended sealants designed specifically for your grout type—penetrating sealants are ideal as they soak in without altering the grout’s appearance. Before applying, verify the grout is completely dry and clean to maximize adhesion. Use a small brush or applicator to spread the sealant evenly, avoiding excess pooling. Let it cure as per product instructions. By sealing your grout, you’ll maintain its cleanliness longer and enjoy a fresher, more durable floor surface.
Tips for Regular Maintenance of Tile Grout
To keep your tile grout looking fresh and prevent buildup, regular maintenance is essential. Adopting effective grout maintenance techniques and sticking to a regular cleaning schedule will help you enjoy a pristine floor without feeling tied down by chores.
- Schedule weekly cleanings using a gentle brush and a mild cleaner to remove dirt before it sets in.
- Immediately wipe up spills to avoid staining and keep grout lines bright.
- Inspect grout monthly for cracks or wear; prompt repairs prevent deeper damage and costly fixes.