To add hydraulic fluid to your floor jack, first gather the correct fluid, funnel, and cleaning materials. Place the jack on a stable, level surface to guarantee accuracy. Locate and carefully remove the fill plug, then inspect the existing fluid for clarity. Add the manufacturer-specified hydraulic fluid using a funnel, avoiding contamination. Securely replace the fill plug and test the jack’s operation by pumping the handle slowly. For detailed maintenance tips and troubleshooting, continue exploring these steps.
Gather the Necessary Tools and Materials

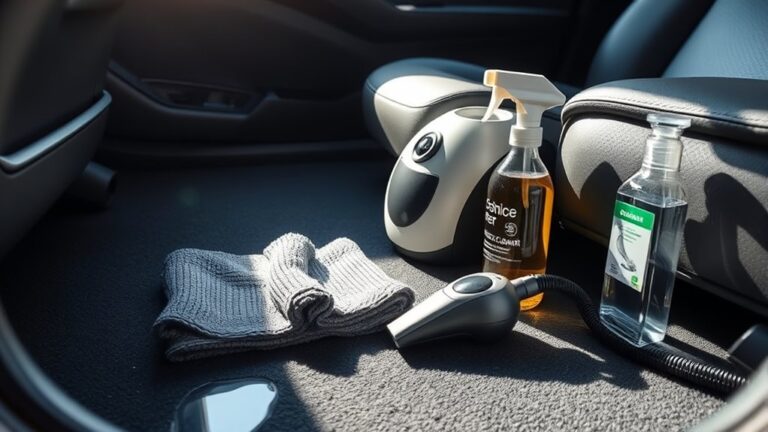
Before you begin adding hydraulic fluid to your vloer jack, you’ll need to gather a few essential tools and materials to guarantee the process goes smoothly. Start by getting the correct hydraulic fluid specified by the manufacturer to assure peak performance. You’ll also need a clean funnel to avoid contamination, a rag for wiping spills, and safety gloves and goggles as safety precautions. Having these ready helps you maintain control and avoid injury during the procedure. Additionally, keep a small container nearby to safely dispose of old fluid if necessary. Following these maintenance tips not only extends your jack’s lifespan but also assures reliable operation. Being prepared with the right supplies lets you work efficiently and confidently, preserving your freedom to handle repairs independently.
Ensure the Floor Jack Is on a Level Surface
To guarantee accurate fluid levels and prevent spills, position the floor jack on a stable, level surface. This step is vital because any tilt affects jack stability and compromises the hydraulic fluid’s distribution. Before proceeding, verify that the surface is flat using a carpenter’s level or comparable tool. Avoid uneven ground, inclines, or soft materials that could shift under weight. Ensuring jack stability also safeguards your safety and prevents damage during maintenance. Once the jack rests securely without wobbling, you’re set to measure or add hydraulic fluid accurately. Remember, a level surface maintains consistent pressure inside the hydraulic system, which is essential for your jack’s reliable performance. Take your time here—it’s a simple step that guarantees freedom from errors later on.
Locate and Remove the Hydraulic Fluid Fill Plug
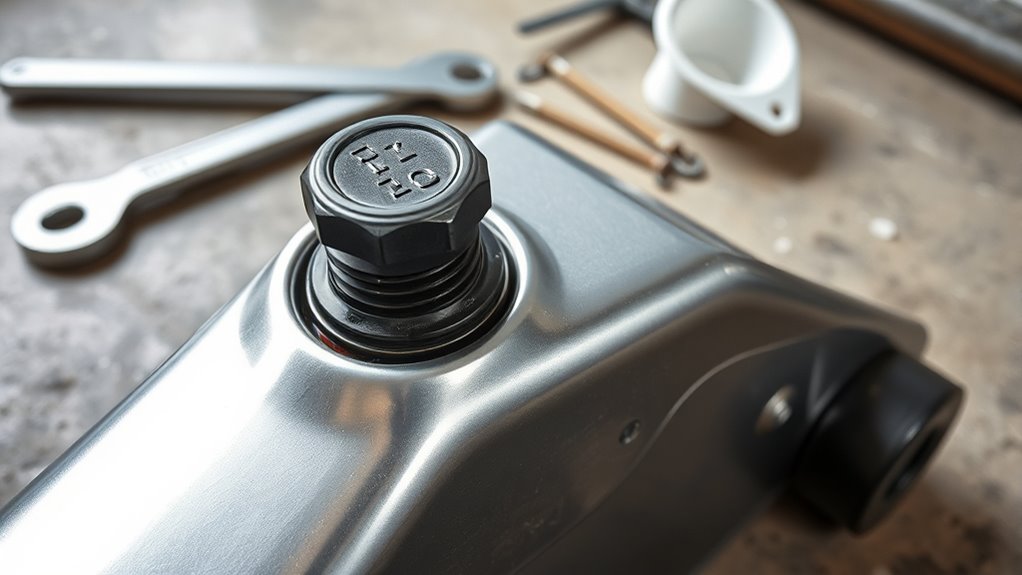
First, identify the hydraulic fluid fill plug, usually located on the jack’s main body near the reservoir. Use the appropriate tool, such as a wrench or screwdriver, to carefully loosen the plug without damaging the threads. Make sure to release any pressure slowly to avoid fluid spray or leaks during removal.
Identifying the Fill Plug
One key step in adding hydraulic fluid to your floor jack is locating the fill plug, which is usually a small, round cap positioned on the jack’s main body. For accurate fill plug identification, inspect the underside or side of the jack near the hydraulic cylinder. The fill plug often features a recessed slot or hexagonal shape to fit a screwdriver or wrench. Proper identification is essential for effective hydraulic system maintenance, ensuring you access the right port without damaging seals or components. Avoid confusing the fill plug with the release valve or other fittings. Once you’ve pinpointed the fill plug, you’re ready to proceed with removal and fluid addition, maintaining your jack’s performance and extending its operational freedom.
Safely Removing the Plug
Although locating the fill plug is essential, you must also remove it carefully to prevent damage to the jack’s seals and internal components. Start by ensuring the jack is on a stable surface and fully lowered. Follow all safety precautions, including wearing gloves and eye protection to avoid contact with hydraulic fluid. Select the correct plug tools—usually a flathead screwdriver or a hex key—matching the plug type precisely. Insert the tool firmly to avoid stripping the plug. Turn counterclockwise slowly, applying steady pressure. If the plug resists, avoid forcing it; instead, apply penetrating oil and wait a few minutes before retrying. Once loosened, remove the plug gently to prevent debris from entering the fluid chamber. Proper removal safeguards your jack’s integrity and prepares it for fluid addition.
Inspect the Hydraulic Fluid Level and Condition
Before adding hydraulic fluid, you need to accurately inspect the current fluid level and condition to ascertain ideal floor jack performance. Proper fluid maintenance tips assure your hydraulic system care prevents leaks and maintains pressure. Start by wiping the filler plug area clean, then visually check the fluid inside. The fluid should be clear, without contaminants or discoloration. Use the table below to assess fluid condition and decide your next step.
| Fluid Level | Fluid Color | Aanbevolen actie |
|---|---|---|
| Full | Clear | No action needed |
| Laag | Clear | Add fluid |
| Laag | Dark/Cloudy | Drain and replace fluid |
| Full | Dark/Cloudy | Drain and replace fluid |
| Empty | Any | Fill immediately |
This inspection is critical for effective hydraulic system care.
Add the Correct Type of Hydraulic Fluid
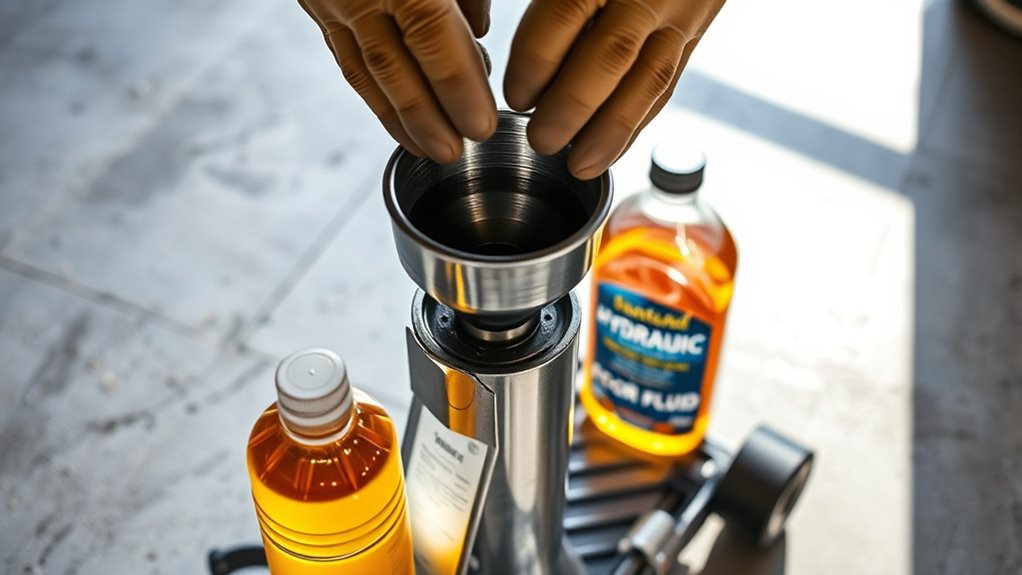
You need to select the hydraulic fluid specified by your floor jack’s manufacturer to guarantee proper operation. Refer to the fluid compatibility guide to avoid mixing incompatible fluids, which can damage seals and reduce performance. Using the correct fluid type maintains system integrity and extends the jack’s lifespan.
Choosing Fluid Types
Selecting the correct hydraulic fluid is essential for your floor jack’s performance and longevity. When choosing fluid types, focus on hydraulic fluid types specified by the manufacturer, usually mineral-based or synthetic oils. These fluids differ primarily in viscosity ratings, which indicate their flow characteristics under various temperatures. You’ll want a fluid with viscosity ratings that match your jack’s operating environment to guarantee smooth movement and prevent damage. Avoid using automotive brake fluid or motor oil, as these can degrade seals and impair function. Always consult your floor jack’s manual to identify the recommended hydraulic fluid types and viscosity ratings. Using the right fluid not only maintains ideal pressure and lift capacity but also extends your jack’s service life, giving you the freedom to work confidently and efficiently.
Fluid Compatibility Guide
Although it might seem straightforward, adding the correct hydraulic fluid requires careful attention to compatibility to confirm your floor jack operates safely and efficiently. Different fluid types—mineral-based, synthetic, or water-glycol—have unique chemical properties and viscosities. Using the wrong type can cause seal degradation, corrosion, or reduced lifting capacity. Always consult your floor jack’s manual for the recommended fluid type. When topping off or replacing fluid, verify the hydraulic fluid matches the original specifications precisely. Maintenance tips include regularly inspecting fluid clarity and level to prevent contamination and system failure. Avoid mixing fluid types, as incompatibility can compromise performance and safety. By following this fluid compatibility guide, you’ll maintain effective hydraulic function and extend your floor jack’s lifespan while preserving your freedom to work confidently.
Replace the Fill Plug Securely
Secure the fill plug firmly to prevent hydraulic fluid leaks and maintain proper pressure within the floor jack. After adding the appropriate fluid, position the fill plug back into its opening carefully. Make certain that the plug aligns properly with the threads before turning it clockwise. Avoid cross-threading by applying gentle pressure and feeling for smooth engagement. Use a wrench or the appropriate tool to tighten the fill plug until it achieves a secure attachment but avoid over-tightening, which can strip threads or damage the plug. A properly secured fill plug seals the system, preserving hydraulic integrity and guaranteeing reliable jack performance. Taking these steps allows you freedom from leaks and pressure loss, making sure your floor jack operates safely and efficiently every time.
Test the Floor Jack for Proper Operation
Once you’ve secured the fill plug, it’s essential to test the floor jack to verify it operates correctly under pressure. Begin by positioning the jack on a flat surface and pumping the handle slowly. Observe the jack’s lift response; it should raise smoothly without hesitation or unusual noises. Next, check for any hydraulic fluid leaks around seals and connections, as these indicate system weaknesses. Lower the jack carefully and confirm it descends steadily without sticking. Proper jack maintenance requires validating the hydraulic systems maintain pressure and fluid integrity to avoid failure during use. If the jack fails to lift or leaks persist, repeat the fluid top-up process or consult a professional. Testing confirms your floor jack provides reliable, safe operation, granting you the freedom to work confidently and efficiently.